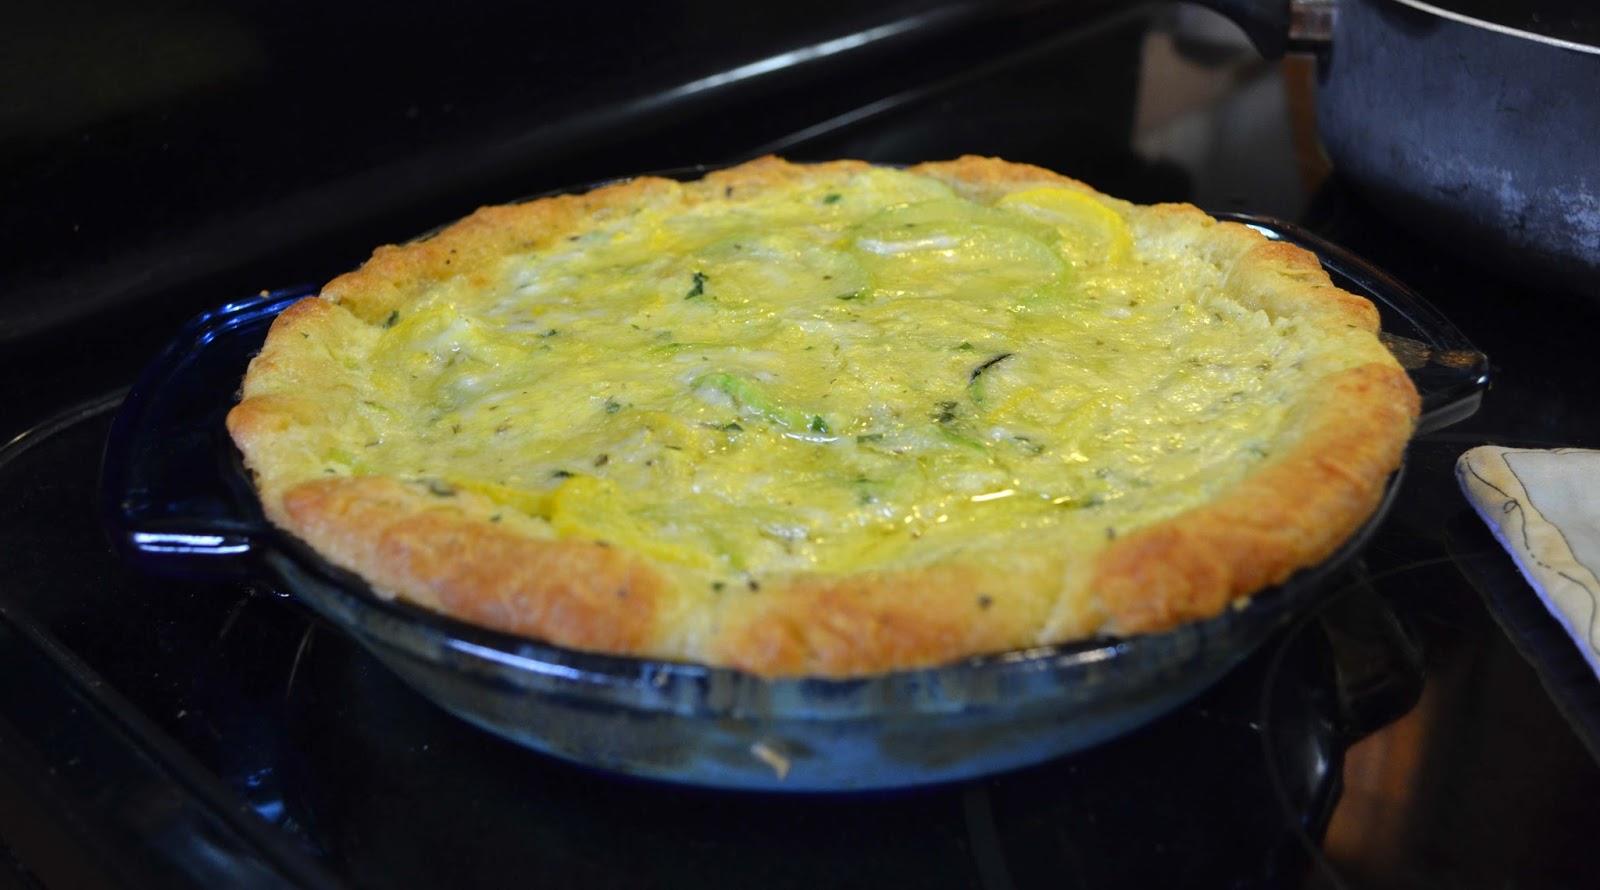
New and Improved Zucchini Alfredo
/

We are continuing "Zucchini Week" here and so far it is going well! I am still freezing more than we can eat, but it will be good in casseroles and zucchini bread this winter. Tonight we had sausage, potato, and zucchini packets on the grill, but last night my husband wanted my new and improved version of zucchini alfredo. The original recipe is HERE, but we like this one better. It is creamier and the texture is better with the addition of some pasta. If you are going for low carb, use the other one.
New and Improved Zucchini Alfredo
1 lb. penne pasta, cooked and drained
8 cups thinly sliced zucchini
2 cloves garlic
1 stick butter
2 cups milk
8 oz. cream cheese
6 oz. bag shredded parmesan cheese
1/2 cup mozzarella
1 tsp. salt
Saute the zucchini in butter with minced or pressed garlic cloves until soft, but not mushy. Meanwhile, melt cream cheese with milk in a medium saucepan. Stir in parmesan and mozzarella. Add salt. When the sauce is creamy, combine with the cooked pasta and zucchini. Heat thoroughly and serve.
Link Parties where I sometimes hang out...
Sew Can Do, Motivate Me Monday, Anything Goes Monday, Off the Hook Monday, Take a Look Tuesday, Naptime Creations, Carolyn's Homework, The Winthrop Chronicles, Handmade Tuesdays,Inspire Me Wednesday, We Did It Wednesday, Adorned From Above, Wow Me Wednesday, Your Whims Wednesday, Not Just a Housewife, Weekly Homemaking Party,Create It Thursday, The 36th Party, Friday Favs Party, Saturday Sewing, Think Pink Sunday, and Threading Your Way.