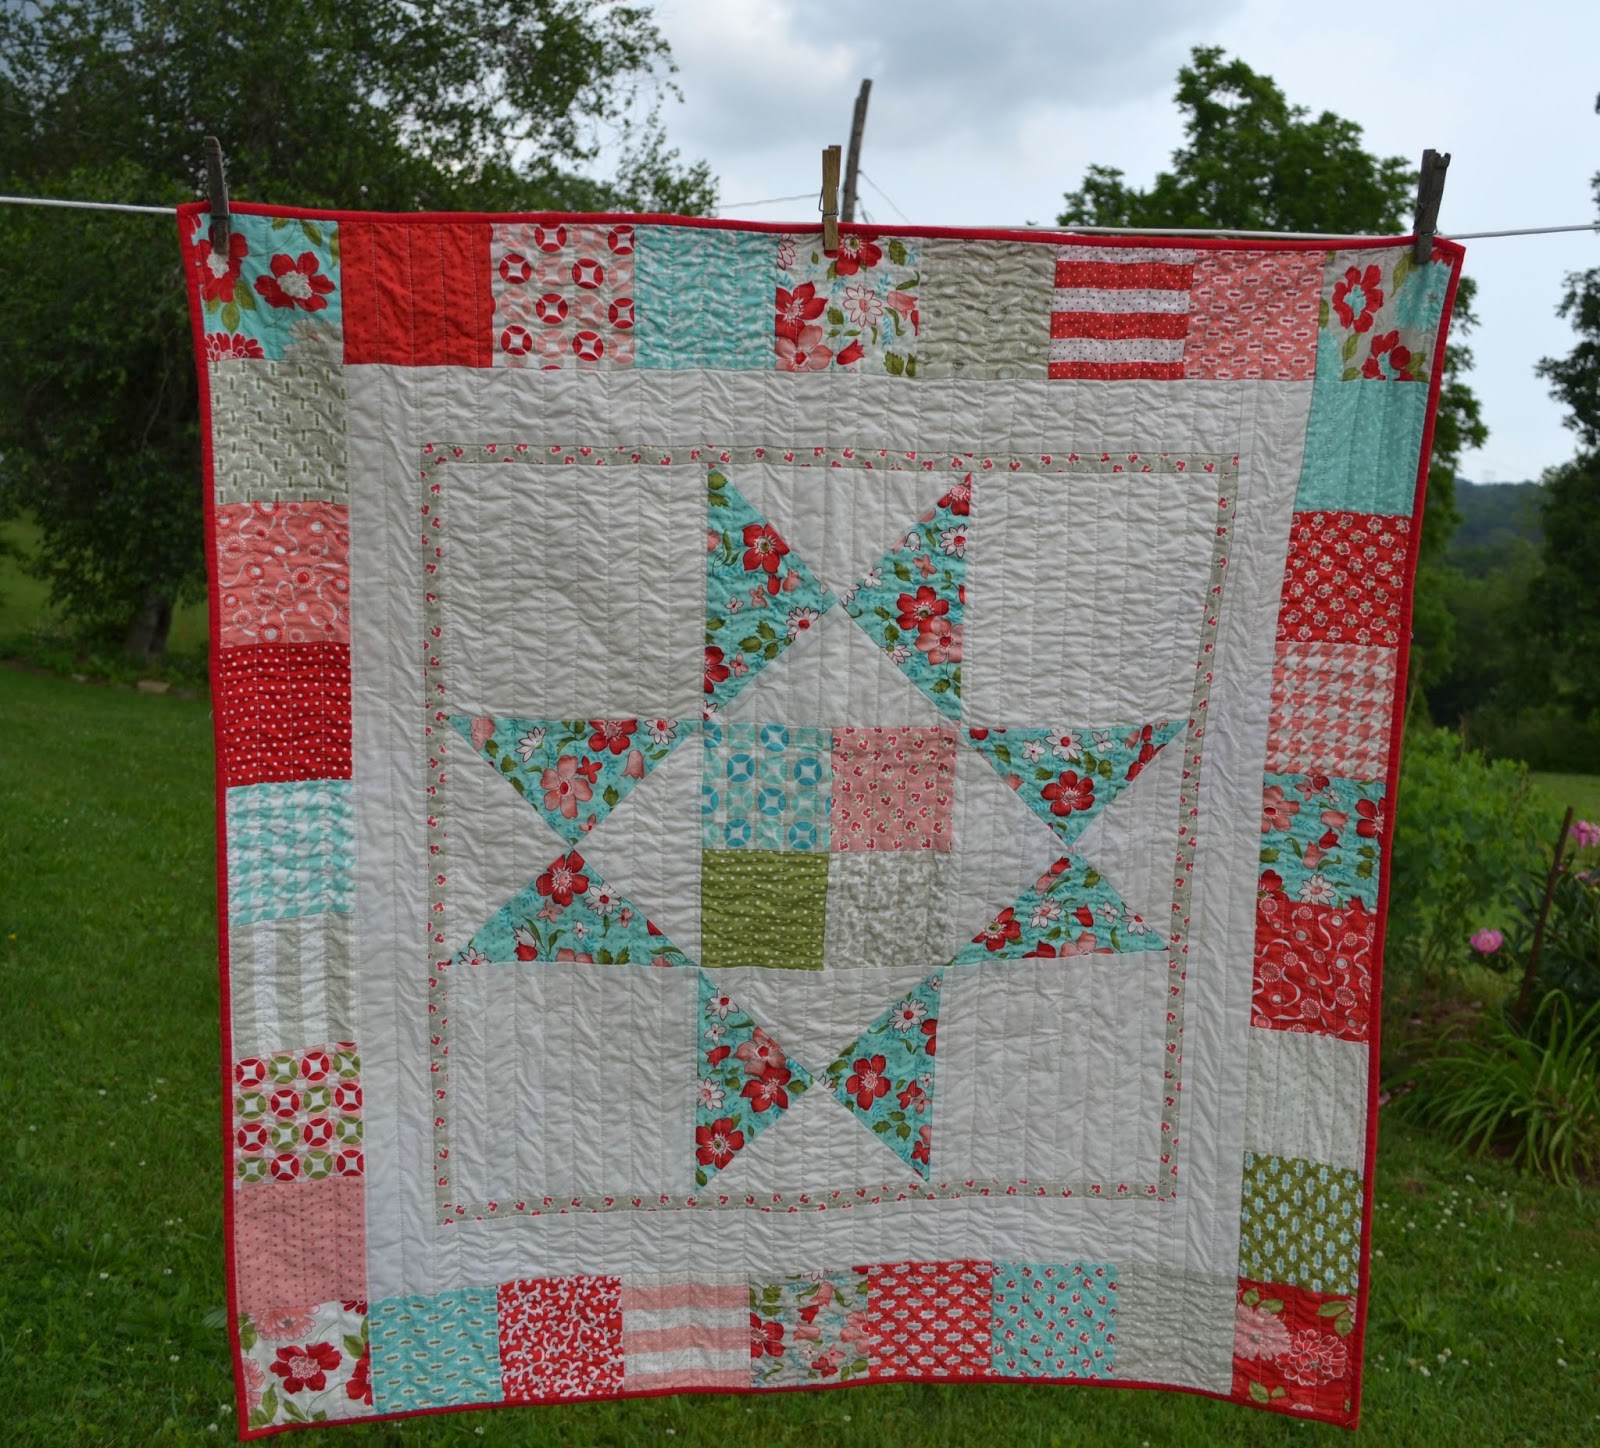
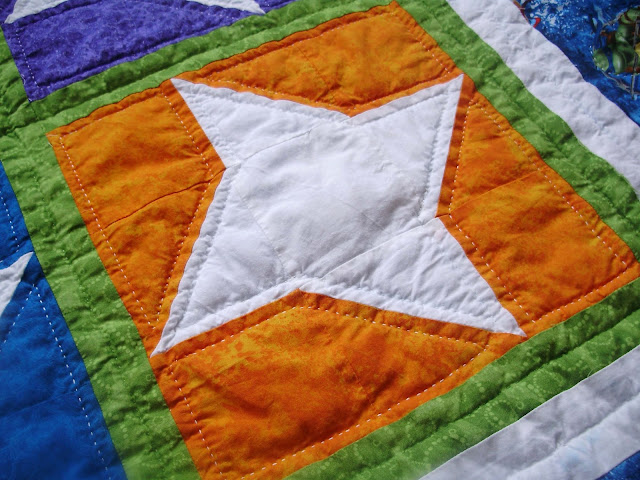
Vintage Modern Charm Square Star Quilt
/These pics are a little dark since a storm was rolling in... I am gonna' call it dramatic.
I used the Storybook Stars pattern from Moda Bake Shop HERE.
I did straight line quilting on my sewing machine. It is OK. I like wavy lines like I did HERE better.
Jungle Star Quilt
/
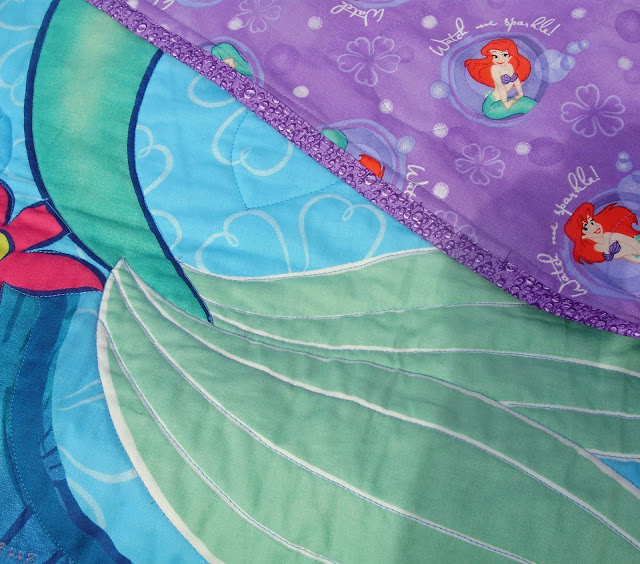
Ariel Quilt
/
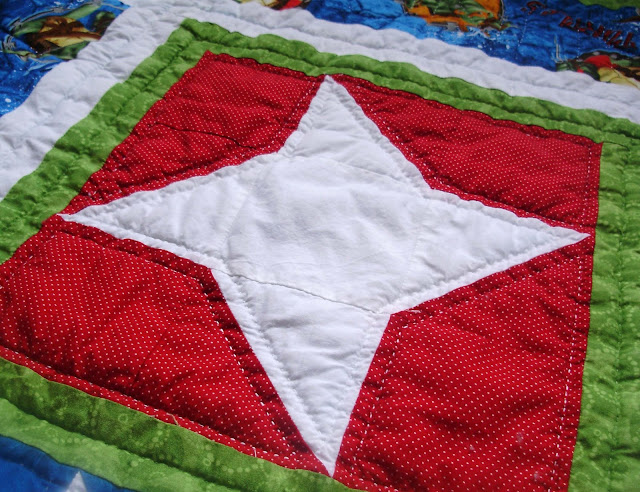
Hole in the Barn Door Quilt
/And then, because I am lazy uncomfortably pregnant, I walked a few feet outside to our garden, which is planted for grazing this year to give it a rest, flopped it on top of the spelt, and snapped a few pictures as the sun was going down.
Instead of hand quilting this one, I decided to try out the new sewing machine and machine quilted this one in a simple grid pattern. I was hesitant, because it really was difficult to climb around on my hands and knees on the kitchen floor to baste this one. It was even harder to keep Grace from running back and forth on top of the quilt while I did that and I used a thicker batting because it was what I had on hand. So, I wasn't confident that my basting was smooth enough, but that walking foot is amazing! No puckers on the back. YAY!
I bought the backing fabric a loooooong time ago and designed the rest of the quilt around this fabric. It has cute little farmer boys on Farmall tractors and says "What Happens on My Tractor Stays on My Tractor." The stripes didn't line up perfectly on the back, but it isn't horrible considering a toddler was running around on it as I basted.
And another great big WOOHOO because I can link up with Fiber of All Sorts' A Lovely Year of Finishes for a chance to win prizes for my May finish!!!
Summer Breeze Charm Tote
/After sewing my little heart out for the girls last week, I was determined to finally make something for myself! Last year, I won a giveaway at Quilting, Losing, and Tea (Thanks, Karen!). I thought that the Summer Breeze II charm squares would make a lovely tote bag and have been wanting to make one for myself ever since. Well, I needed some coordinating fabric for the handles and tossed around some different ideas for how I wanted to make it. My friend, Anita, helped me out a bit with all of that and I ended up with a mish-mash of things to get this:
I saw a bag that she made with side ties and LOVED it! It really helps pull the bag together, but allows for more room if you need it (and let's face it, with all of these kids, I will probably need it!) I think it will be a great size to take along to soccer and softball games this Spring (in our school colors of blue and gold! Go Eagles!!)
Lots of pockets for necessary things (I even did my first zipper pocket! WOOHOO!) and lots of room for snacks and things to entertain the kids/me. Now, I want to make a coordinating clutch or pouch to hold my embroidery projects- they are great to work on while waiting for practices and such. (Sadly, I am using a plastic sandwich bag right now.)
The handles are super sturdy- four layers of fabric and fusible fleece! My poor sewing machine!
I tried to FMQ the bag, but I can't lower the feed dogs on my machine and even if I cover them with the darning plate, I don't have the correct presser foot to make the tension work. So, I just fought against the feed dogs. It isn't pretty and it was quite a workout, but it gives the ripply texture I wanted.
If it hadn't been for SewLux's Charm Madness Blog Hop, I probably would not have pushed myself to get it done so quickly. So... Thank you!
Ninja Turtle Baby Quilt
/On the wider borders with the Ninja Turtle fabric, I quilted in some of their catchphrases: "Cowabunga, Awesome, and Turtle Power." On the remaining side, I quilted in my nephew's name.
Now, only one more nephew to go and I am caught up!


