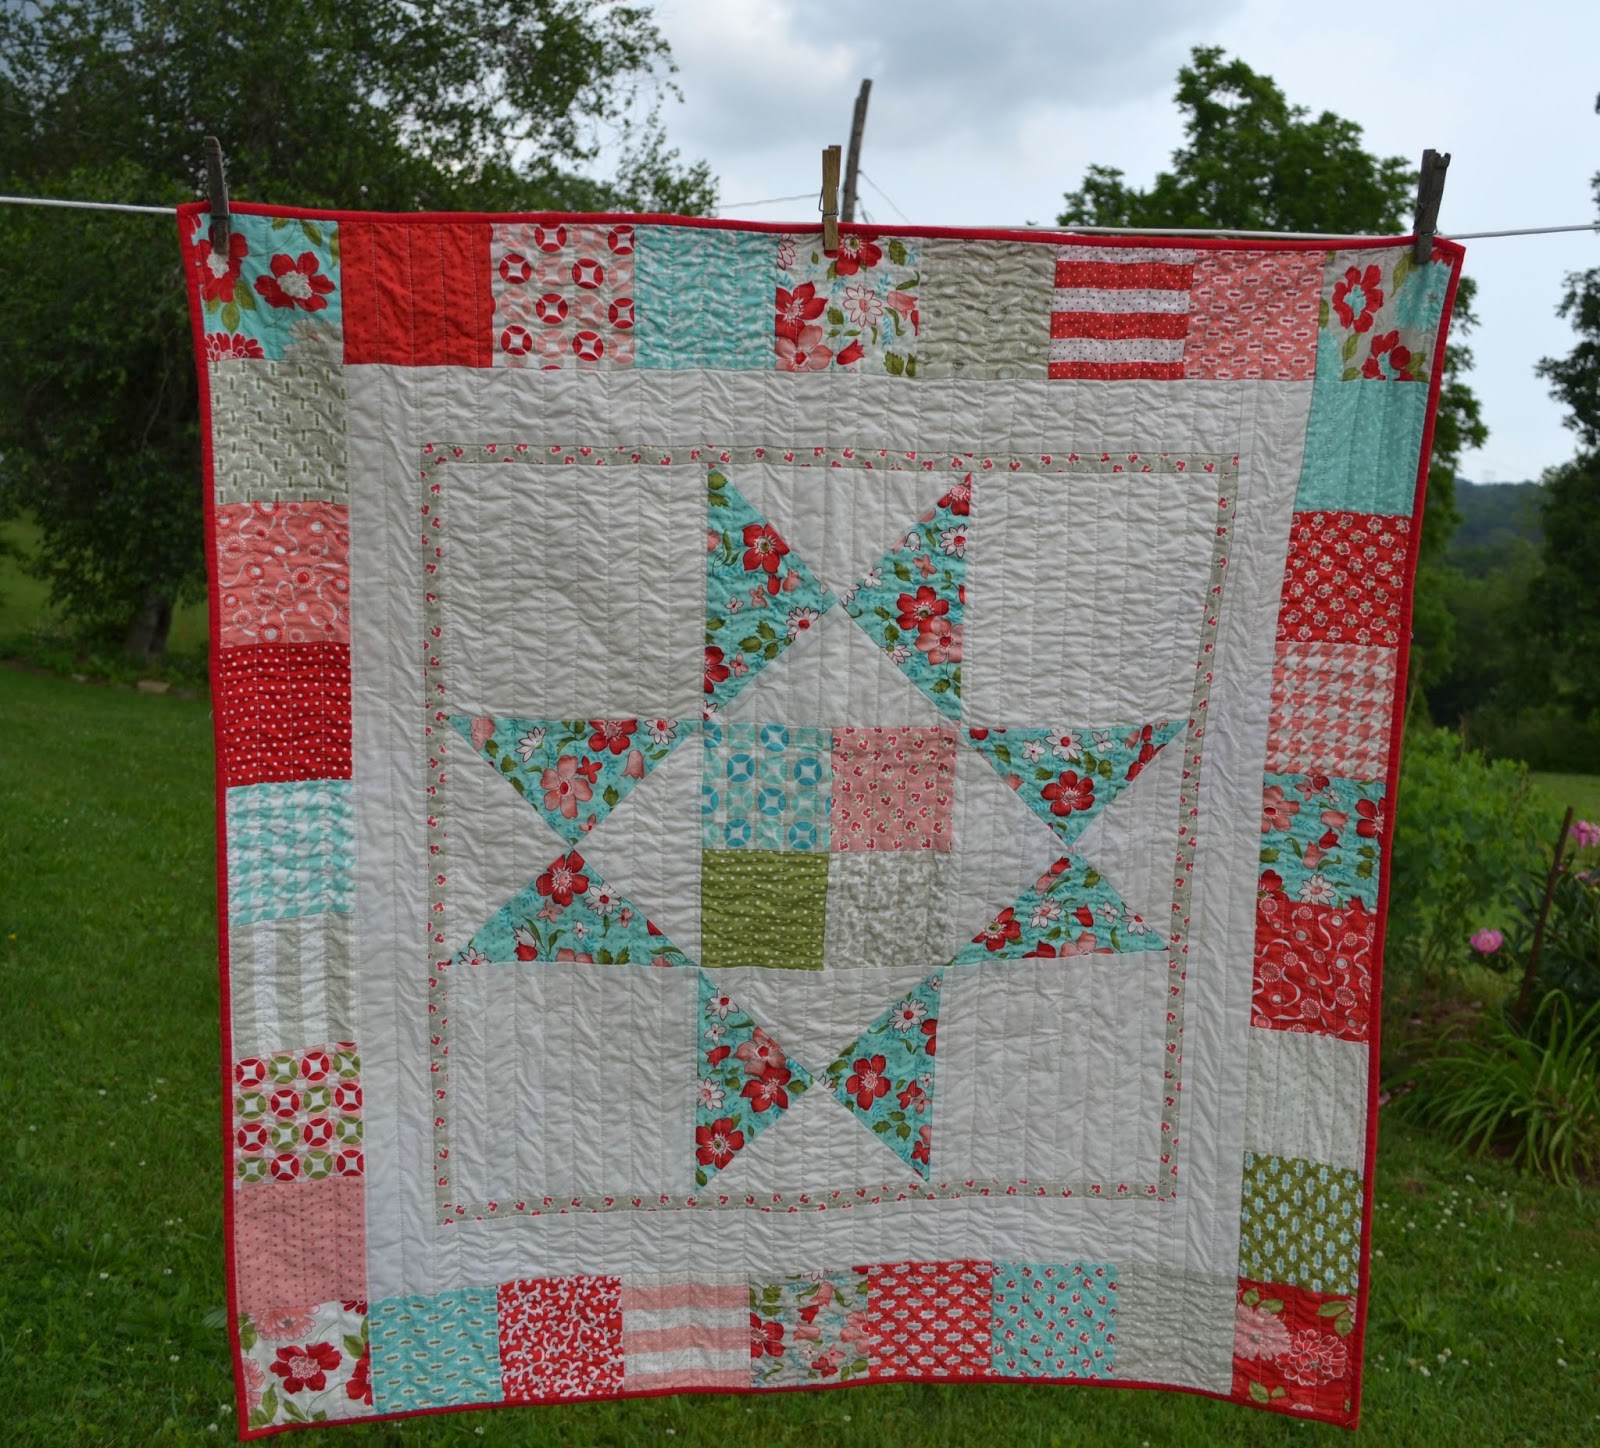
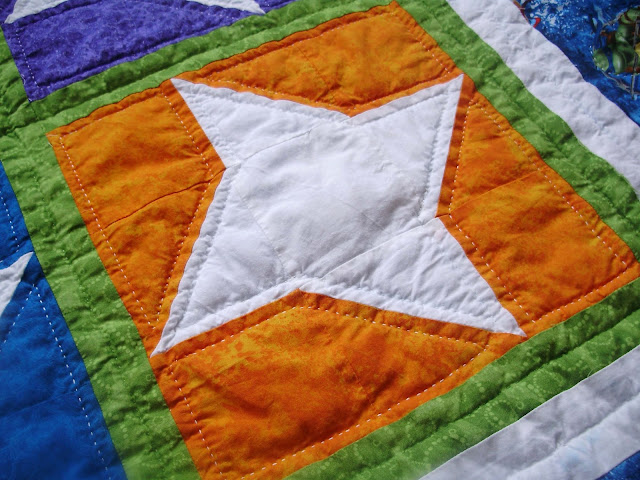
Vintage Modern Charm Square Star Quilt

vintagemodernquilt4.jpg
Finally! Another quilt finish! :)

These pics are a little dark since a storm was rolling in... I am gonna' call it dramatic.

I used the Storybook Stars pattern from Moda Bake Shop HERE.

I did straight line quilting on my sewing machine. It is OK. I like wavy lines like I did HERE better.

It is backed in some more Vintage Modern fabric and I used red Kona for the binding.

I don't even know what I am going to do with this quilt, but it is finished! Hooray!

Link Parties where I sometimes hang out...

Jungle Star Quilt

It only took a little over five years, but I finished it! :)
You see, I pieced this quilt top for my 5yo daughter before she was born. We like to leave the baby's gender a surprise, so I was going for something bright and fun and gender-neutral.
After the top was finished, I was afraid it was too girly and made another one. That one isn't very neutral either. I was thinking "rubber ducks" when I made it, but all the blue made it a little more masculine and, of course, we had a girl.  I should have just stuck with this one.
I made a lot of sawtooth star blocks back then, too.
Lots and lots of star blocks.
The finished quilt is pretty big, so the back was pieced to make the leftover jungle fabric work (it isn't like I could buy more now!) I usually don't like to piece backs, but that is growing on me, too.
The I am pretty new to machine quilting, but I really love the texture on this one! I didn't know what to do with those large jungle print blocks, so I decided to quilt the entire thing using long, random, "organic" wavy lines.
I watched a video tutorial HERE that was very helpful.  When it was all washed it created such a lovely, crinkly texture. I tried to capture it with a picture, but this doesn't do it justice.


 So, I guess this quilt is a mixture of my old style and new style. I suppose that is what you get when you wait so long to finish something. I am really happy with the way it turned out, even if I did struggle with my sewing machine and all of the tension issues. I am just hoping that it comes back working better than ever because I would love to try something like this again.


I don't know what I am doing with this quilt now. I might sell it or give it away. I guess it depends. I still can't decide if it is gender-neutral or not.  Anyway, I am just glad to have it finished. :)

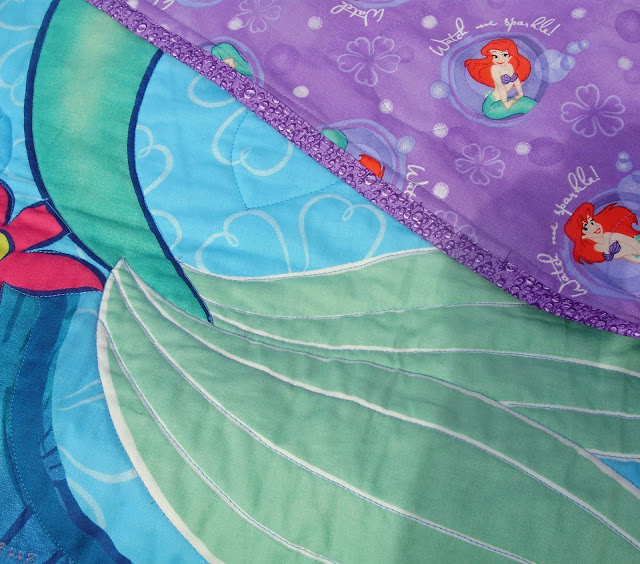
Ariel Quilt

arielquilt2.jpg
This quilt was put together pretty quickly for a very special baby girl.  I didn't have much notice (it's complicated) but I felt that she deserved something special.  I did all of the quilting and even the binding entirely on my new sewing machine, partly to try it out and partly to get it done faster.
I bought the Ariel panel and backing fabric, oh, about 7 years ago and I was saving it, in a way, for this specific purpose. I think God probably smiled at that, since He knew all along that His plans are not always our plans.
That being said, I just felt that I needed to embroider Jeremiah 29:11 onto this quilt. It is absolutely fitting to the situation. I used purple thread and the letter embroidery feature on my machine, which was tricky with so many layers.  I did a lot of seam ripping, but it was still faster than doing it by hand.

For I know the plans I have for you,” declares the Lord
“plans to prosper you and not to harm you, 
plans to give you hope and a future.
Jeremiah 29:11
The next quilt I am going to finish will be a top that I pieced before my 5yo was born! I am really clearing out the old stuff, right? If you are a quilter, what is the oldest fabric that you have been saving for something special?

Hole in the Barn Door Quilt

WOOHOO! I finished it, and it didn't even take me HALF of the month of May! Sweet!!!

And then, because I am lazy uncomfortably pregnant, I walked a few feet outside to our garden, which is planted  for grazing this year to give it a rest, flopped it on top of the spelt, and snapped a few pictures as the sun was going down.

Instead of hand quilting this one, I decided to try out the new sewing machine and machine quilted this one in a simple grid pattern.  I was hesitant, because it really was difficult to climb around on my hands and knees on the kitchen floor to baste this one.  It was even harder to keep Grace from running back and forth on top of the quilt while I did that and I used a thicker batting because it was what I had on hand.  So, I wasn't confident that my basting was smooth enough, but that walking foot is amazing! No puckers on the back. YAY!


I bought the backing fabric a loooooong time ago and designed the rest of the quilt around this fabric.  It has cute little farmer boys on Farmall tractors and says "What Happens on My Tractor Stays on My Tractor." The stripes didn't line up perfectly on the back, but it isn't horrible considering a toddler was running around on it as I basted.

OK, so the details of why I designed the quilt this way:

~The "fussy cut" squares were from a cute panel I bought a long time ago and I wanted to use some up.(Overly ambitious Plan A was to hand embroider little farm animals on the center squares.)
~The blue bandana print fabrc against the off-white background is because the parents' wedding colors were blue and white (inspired by their silos).
~At the time I was starting to plan this, they were constructing a blue pole building for their new business, but it did not have doors on it yet when I last drove by. When I found out that the churn dash block is also called "Hole in the Barn Door" I thought it fit perfectly! Plus, this block style looked very "traditional" and "old-fashioned" to me.
So, you can see, there was a logical thought process going on here. :)
 

And another great big WOOHOO because I can link up with Fiber of All Sorts' A Lovely Year of Finishes for a chance to win prizes for my May finish!!!

Also linking up here:

IMG_6373

And here:

Summer Breeze Charm Tote

After sewing my little heart out for the girls last week, I was determined to finally make something for myself!  Last year, I won a giveaway at Quilting, Losing, and Tea (Thanks, Karen!).  I thought that the Summer Breeze II charm squares would make a lovely tote bag and have been wanting to make one for myself ever since.  Well, I needed some coordinating fabric for the handles and tossed around some different ideas for how I wanted to make it.  My friend, Anita, helped me out a bit with all of that and I ended up with a mish-mash of things to get this:


I saw a bag that she made with side ties and LOVED it! It really helps pull the bag together, but allows for more room if you need it (and let's face it, with all of these kids, I will probably need it!)  I think it will be a great size to take along to soccer and softball games this Spring (in our school colors of blue and gold! Go Eagles!!)

Lots of pockets for necessary things (I even did my first zipper pocket! WOOHOO!) and lots of room for snacks and things to entertain the kids/me. Now, I want to make a coordinating clutch or pouch to hold my embroidery projects- they are great to work on while waiting for practices and such. (Sadly, I am using a plastic sandwich bag right now.)

The handles are super sturdy- four layers of fabric and fusible fleece! My poor sewing machine!

I tried to FMQ the bag, but I can't lower the feed dogs on my machine and even if I cover them with the darning plate, I don't have the correct presser foot to make the tension work.  So, I just fought against the feed dogs. It isn't pretty and it was quite a workout, but it gives the ripply texture I wanted.

If it hadn't been for SewLux's Charm Madness Blog Hop, I probably would not have pushed myself to get it done so quickly. So... Thank you!

They have lots of great ideas over there, so check it out! I am linking up my charm square project for a chance to win a giveaway, but really, I have already won because I can cross this one off of my to-do list!

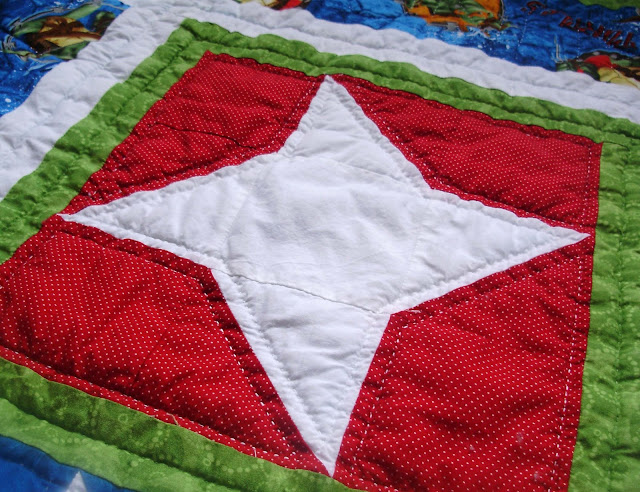
Ninja Turtle Baby Quilt

I finally finished it!  I started out with two yards of Teenage Mutant Ninja Turtle fabric that I had bought with the intention of making a quilt for my brother's first son.  That was years ago!  They weren't even engaged yet, but I was thinking ahead. :)  A little over 10 months ago, I finally got that nephew.  Then, I had to figure out what I was going to do with that fabric!
I hunted high and low for appropriate Ninja Turtle colors to match the fabric I already had.  These are the more recent movie version colors, and not the more traditional hues, so it was tough!
Then, I had to plan a quilt design.  Of course, I didn't follow that plan anyway, but it just sort of came together.
First, I made these adorable turtle blocks, thinking that the 3D effect of the feet, heads, and tails would make good chew toys.  Hey, he is teething right now, so I am just in time!
Then, I made the "ninja star" blocks.  They look like the paper "ninja stars" that my son likes to make, but this block is also called the "friendship star."  If you have ever seen the Teenage Mutant Ninja Turtles, you will understand just how fitting this is for them. :)
I also went with a twist on these, making the stars white and the backgrounds in their eye mask colors. (P.S. Michelangelo was always my favorite!)
I used green thread to hand quilt the sashing between each block and around the inside of the turtles. For the rest of the quilt, I used white cotton hand quilting thread, which is significantly thicker.  I quilted inside and around the stars and in the middle of the white borders.

On the wider borders with the Ninja Turtle fabric, I quilted in some of their catchphrases: "Cowabunga, Awesome, and Turtle Power."  On the remaining side, I quilted in my nephew's name.

Now, only one more nephew to go and I am caught up!

Little Star Quilt

macinequilting.jpg

 As I was stitching on the last little bit of the binding, I realized that I pieced this quilt 8 years ago!  WOW!  It isn't even a large quilt- only about 22 inches on each side.  Talk about procrastination!!!

I like the soft sage green and tan fabrics, but there is not much contrast between these colors.  The piecing is not perfect- I have definitely come a long way in the last 8 years!

I machine quilted it "in the ditch" to get get it DONE!  (I rarely machine quilt, but thankfully I didn't have any trouble with this one.)

I will be donating it to a good cause. :)

It also qualifies as another finish towards my 12in2012 goal of finishing half of the UFO list over there on the sidebar and the Quilter-in-the-Gap 2nd Quarter Finish-A-Long! Two things in one week! WOOHOOHOO!!