Vintage Easter Dresses

therosy.jpg

Oooh- the word "vintage" has become oh, so trendy.

Yes, I am jumping on the bandwagon.

It started out with this...

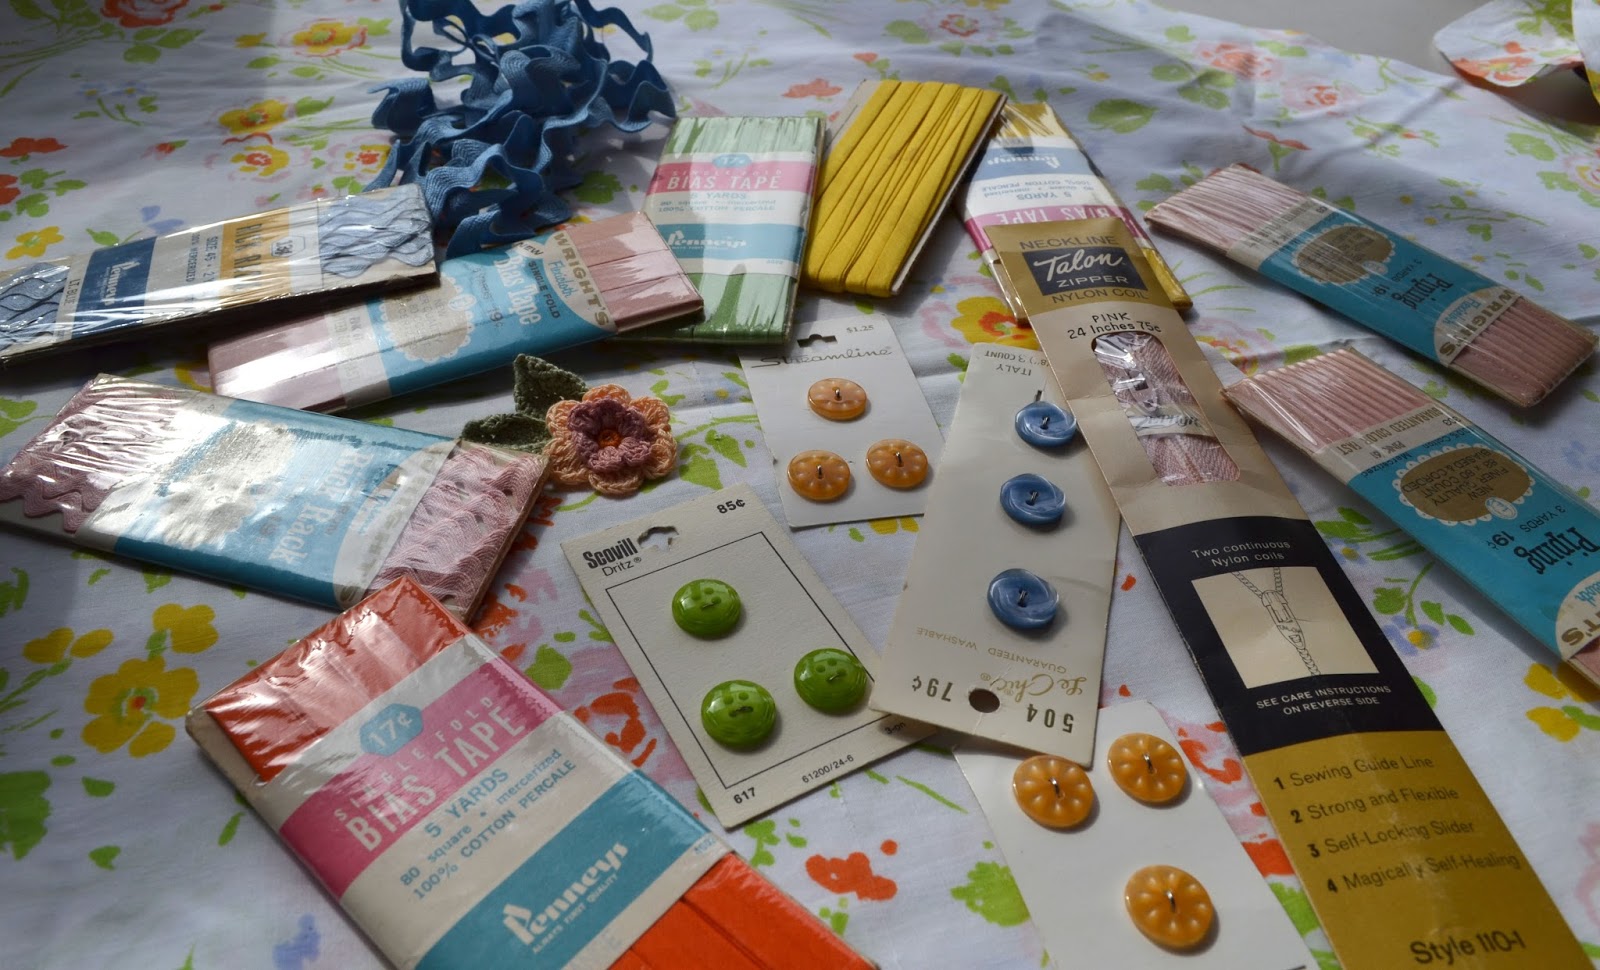
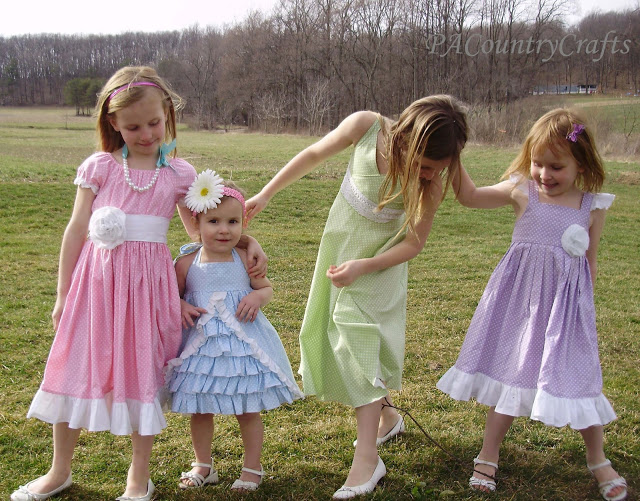
...two flat vintage sheets that my nana bought maybe in the 1970s and vintage trims, notions, and buttons given to me by some friends. The colors matched perfectly. There are 5 colors in the sheets (other than white) and I have 5 girls, so they each got their own accent color.

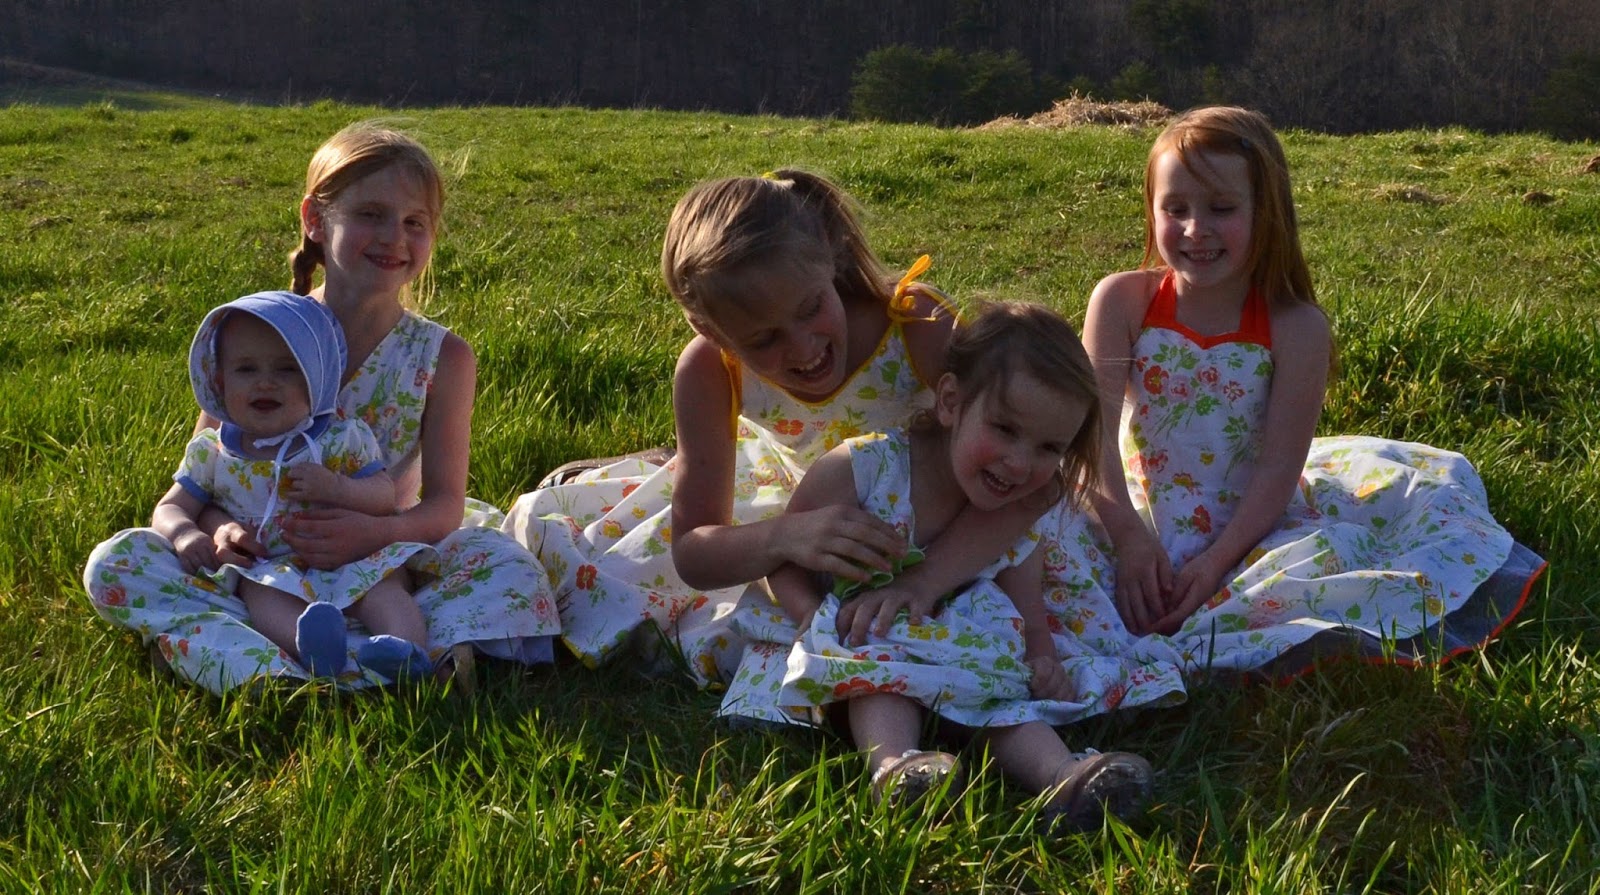
So, after 6 days of wild sewing, early Easter morning my girls were wearing new dresses from the vintage sheets that belonged to their great-great-grandmother.

I am so blessed to be able to do something special like this for my girls.

Tutorials coming soon(ish)...

***UPDATE*** Here are the tutorials and full posts for each dress!

vintage-sheet-easter-dresses

vintage-sheet-easter-dresses

I LOVE Baby Girl Sewing!

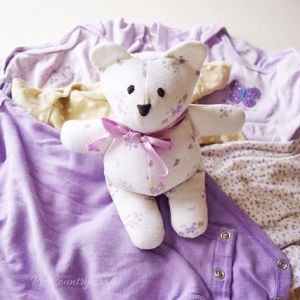
bearhatcreampink.jpg
I absolutely LOVE sewing cute baby things! Especially baby girl things! :D
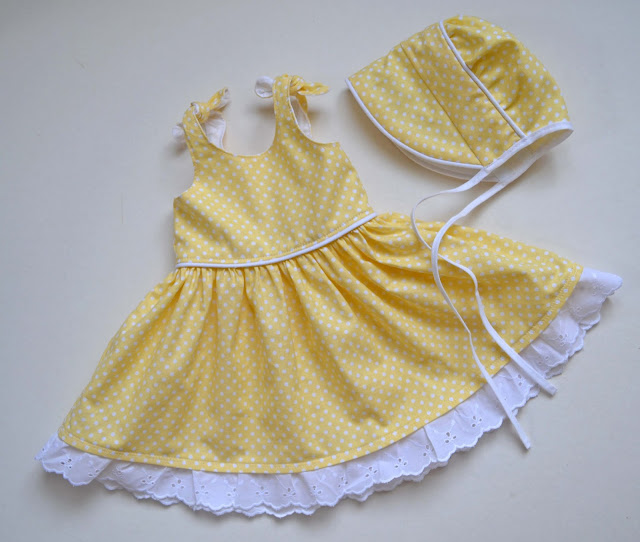
So, do you remember the Easter dresses I made this year? (If you don't they are shown at the end of THIS post.) I also made a matching tie for my son later this summer (shown in THIS post) but he didn't want the "girly" yellow I picked out so I used grey instead.  That meant I had a half yard of coordinating yellow polka dot fabric just waiting for Hannah to be born. I guess it was meant to be. ;)
So, I whipped up an Itty Bitty Baby dress (free pattern available HERE) and then went overboard with a Peekaboo Bonnet (pattern for sale HERE). 
I know, I almost never ever buy patterns, but I have always wanted to make a bonnet and this was my last chance! Oh, it is sooooo cute, too!  I am super pleased with how these turned out. I love piping and eyelet lace trim. (And tiny little baby feet, too!) LOVE!
I also love the sunshiney yellow color, and it matched the dress I wore for a pic taken 12 days before she was born when I was ginormous, so we did a little "after" pic to go with the "before" one.
Before...
...After.
Actually, first I made another dress for my niece so that they could match. The cousins were born two days apart and we all got to hang out at the hospital together. How cool is that? Of course, my niece was a big girl, so I made her dress in the 0-3 month size instead. Since this was my sister-in-law's first girl, I knew a little pink was in order, too. :)
I ran out of piping to do another bonnet, but I also made her a crocheted bear hat (using my free pattern HERE) that should fit her this fall and increased the size on that one as well.

I know I used the word "LOVE" an awful lot in this post, but making things for baby girls, especially girls this cute, really does that to me!

Strawberry Shortcake Dress

ssdresstop.jpg

Just a quick little show-off here...

I made another Strawberry Shortcake dress (original HERE) for my niece's 3rd birthday. It turned out super cute and she immediately wanted to put it on, so she must have liked it. :)

Same as before, it is a semi-circle skirt (left over from my screw-up two years ago) sewn to an embellished Garanimals T-shirt from Walmart.  This time I improved and did two things differently:

1. Garanimals shirts are extra long, so I chopped a few inches off the bottom to avoid that 80s drop-waist look.

2. I did freezer paper stenciling instead of applique for the top. I love it! It turned out so crisp and professional-looking! :)

Now my 5yo wants another one. We'll see. Maybe I can use that as an incentive around here. :)

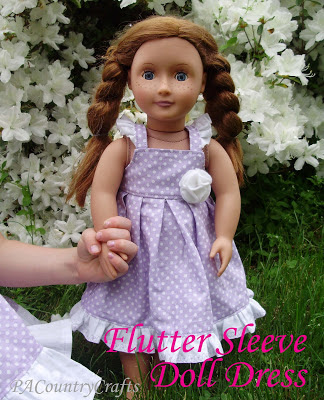
Flutter Sleeve Doll Dress

americangirldolleasterdresscollection.jpg

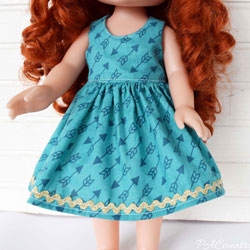
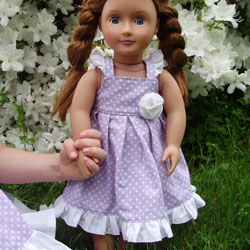
When my 5yo got her own "fake American Girl doll" for her birthday, she immediately began nagging incessantly for a doll dress to match her Flutter Sleeve Sundress. Since I made them for her sisters, it was only fair, so I whipped one up as soon as I got a chance.

She loves it! Again, I took pictures this time since I didn't have a deadline and could sew in the daylight hours, so you are getting a tutorial! YAY!

I made a pattern for you (again, this is for personal, non-commercial use only and don't sell this pattern, please and thank you). You can download the pdf pattern HERE. 

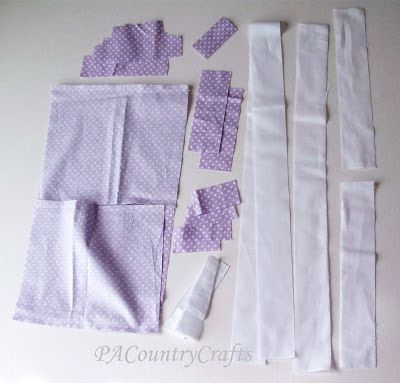
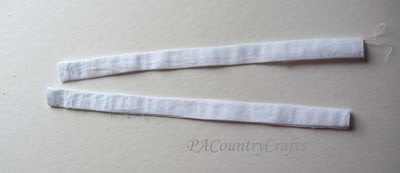
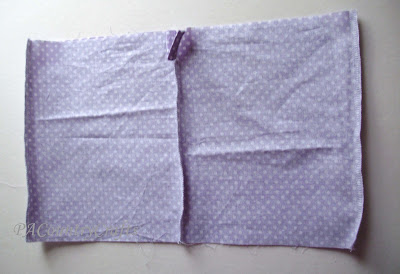
For the bottom ruffle and side ties, cut two strips 2" by the width of the fabric (about 44"). Cut one of those strips in half.  The bottom ruffle will take 1 1/2 strips.  Take the remaining half strip and cut that in half. Those are your side ties.

This is all of the pieces:

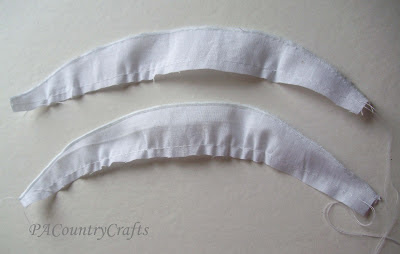
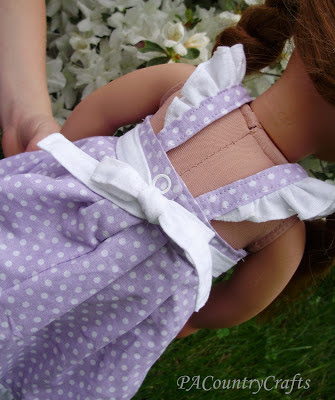
Let's start out with the straps. I used a rolled hem edge on the ruffles, so if you don't have a serger, you can cut them a bit wider and do a small folded hem instead. I sewed a long, gathering stitch along the bottom edge.

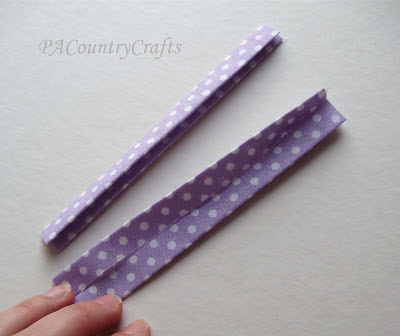
To make the straps, press the fabric like you are making double-fold bias tape.  Press the long edges to the center, then press again to fold it in half.

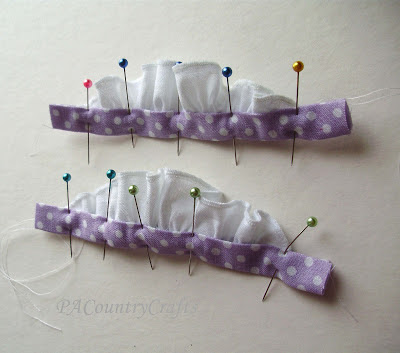
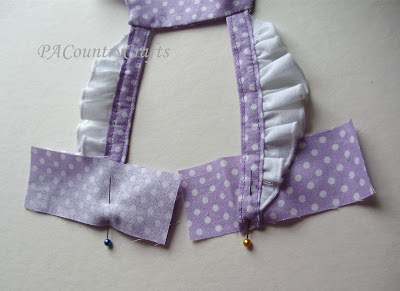
Gather the ruffles and sandwich them into the straps with pins. I left a little extra room on the ends in this pic, but the ends of the ruffles should be about 3/8" from the edge of the strap.

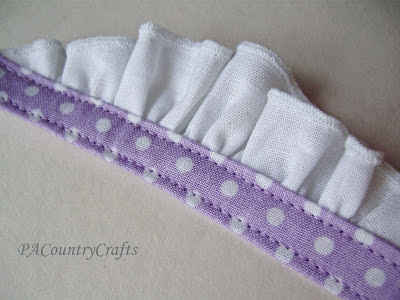
Sew about 1/8" or less from each side to attach the ruffle and topstitch. It looks so professional this way!

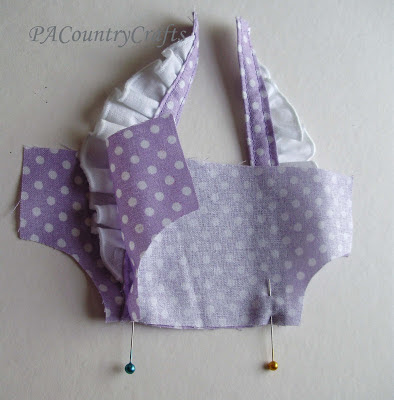
Pin the straps to the bodice, sandwiching them between the front and back pieces and leaving 1/4" seam allowance to the corners. 

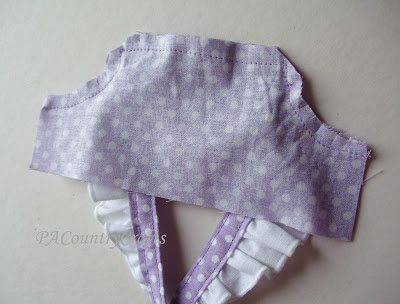
Clip the curves, flip, and press.

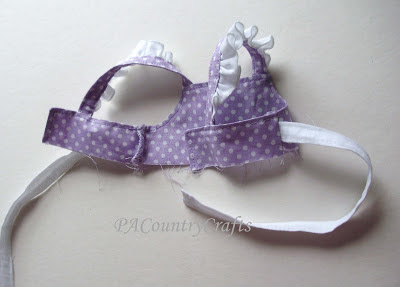
Attach the straps to the back pieces the same way.  The strap should be about 1" from the inside edge of the back and angled slightly as shown. (I left one of the back pieces off for the picture so that you can see the angle- they should be sandwiched when you sew it.)
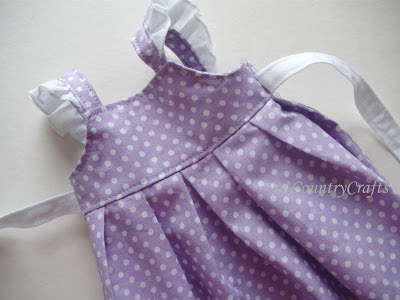
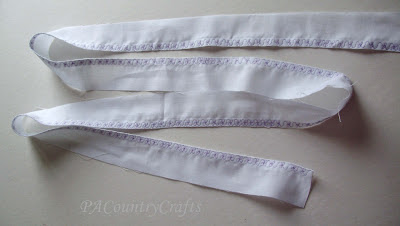
Make the side ties by sewing right sides together, flipping, and pressing neatly.

I topstitched all the way around and hemmed the ends, too. I just didn't take a picture of that. Now, I skipped some pictures here, but all you have to do is pin the straps into the sides 1/2" above the bottom edge and then sew the sides together. I serged them for more stability, too.  Then, I totstitched all the way around the edge of the bodice. Sorry, I know that is a lot at once.

OK, for the skirt portion of the dress... sew the sides together and sew up the back center seam, leaving the top 2" open. Overlock or zig-zag over the raw edges.

Make a button placket to cover the opening. I am not going into detail on that part because I already did that HERE if you need help.

Then, just make your pleats using good ol' trial and error and pin the skirt to the top, right sides together.

Sew and overlock or zig-zag the raw edge and topstitch in place on the bodice about 1/8" above the skirt.

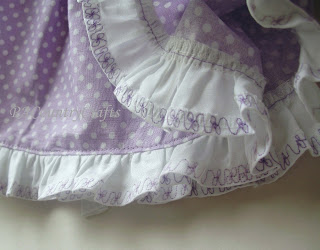
Almost done! Make the bottom ruffle by sewing the two pieces together and hemming the bottom edge.  I was playing with my new machine and made a fancy stitch here.  

Gather and sew it to the bottom edge of the skirt. Overlock or zig-zag stitch over the edge and then topstitch it in place.  

Insert a snap in the back...

...and make a little felt flower for the front.

TADA!

It made her so happy!

It makes me very happy that Grace isn't old enough to ask for a doll and matching dress for her Little Diva Dress though. I loved all those ruffles, but a doll is not worth that much effort to me.  I want to make her a matching purse instead, since she loves purses right now.

So, my 5yo wanted to take a picture of all of the dolls together...

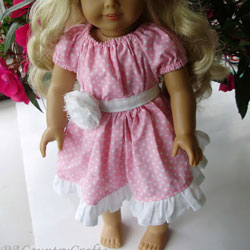
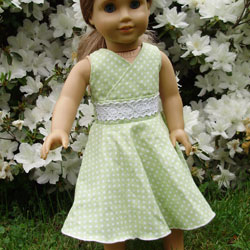
From left to right... Twirly Lace Doll Dress, Flutter Sleeve Doll Sundress, and Boutique Peasant Doll Dress.

If you make a dress using one of these patterns, I would love to see it! If you have any questions, just send me an e-mail. :)

Here are some more doll dress patterns you might like:

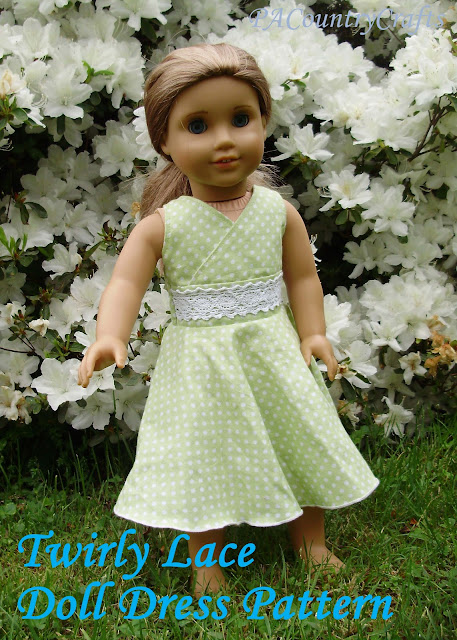
Twirly Lace Doll Dress Pattern

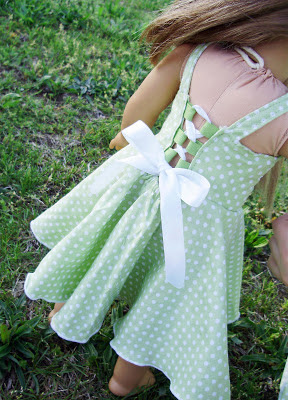
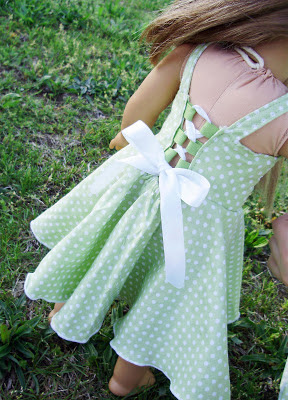
backoftwirlylacedolldress.jpg

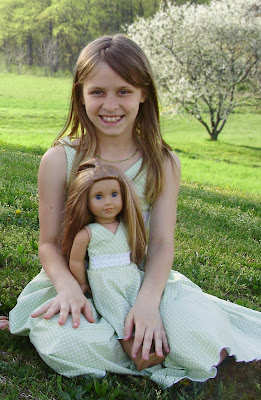
I had some fabric left over from the girls' Easter dresses, so I decided to make matching dresses for their new American Girl dolls. They loved this!

For this dress I actually made two because I am a perfectionist like that. It really took hardly any fabric, though, and I came up with some things to make it better.

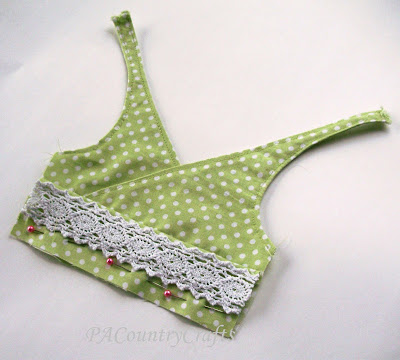
First of all, the bodice and straps are all one piece:

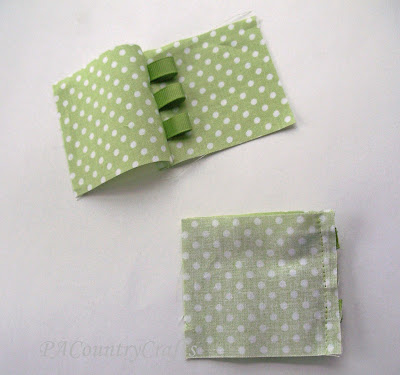
For the back, first I basted the ribbon loops into the back pieces...

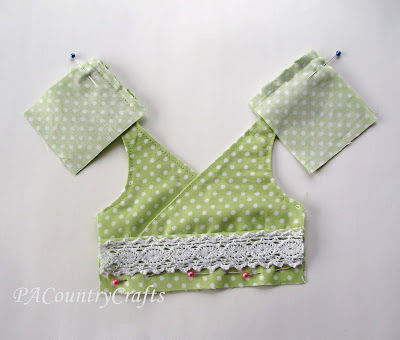
...then sewed the straps in along the tops like so...

This was much more efficient. I whipped the second dress up in less than an hour.

Everything else in the dress construction follows the Twirly Lace Dress Tutorial found HERE.  Use a 1/4" seam allowance for the doll dress. If you would like, for your own personal, home use only, here are the patterns that I used:

18" DOLL TWIRLY LACE DRESS

Here are some more patterns and tutorials you might want to check out...

Little Diva Dress

all4girls2.jpg
As soon as she found the chapstick, I knew I wasn't getting her to cooperate and look at the camera anymore. Oh, but she looks like a little diva in this ensemble! (For the record, I totally would not put up with diva behavior from my girls, though!)
This was my absolute FAVORITE Easter dress this year. It was a lot of work, but totally worth every bit of it! I started making a tutorial for it, but ended up sewing long into the night/early Easter morning. My sewing table is in a corner of our bedroom and my old beast of a machine is LOUD, so I wasn't going to subject my sleeping husband to flash photography on top of all of that racket.  
The construction of the skirt is similar to THIS tutorial from GirlInspired, except I cut my curved edges on more of an angle, used a rolled hem on the ruffles, and also made the ruffled inner section triangular (I wasn't ruffling any more than I had to!)
It was so heavy that I knew it would need a petticoat underneath, so I built one of those into the dress. It was definitely a good call and makes it super adorable on her, even if it is a bit more impractical when squeezing into a crowded pew on Easter Sunday.
The halter part was a breeze, so I might incorporate that part into a dress later and show you how to do it. I just don't think I have it in me to make another dress with this much ruffling. I am ruffled out. Seriously.
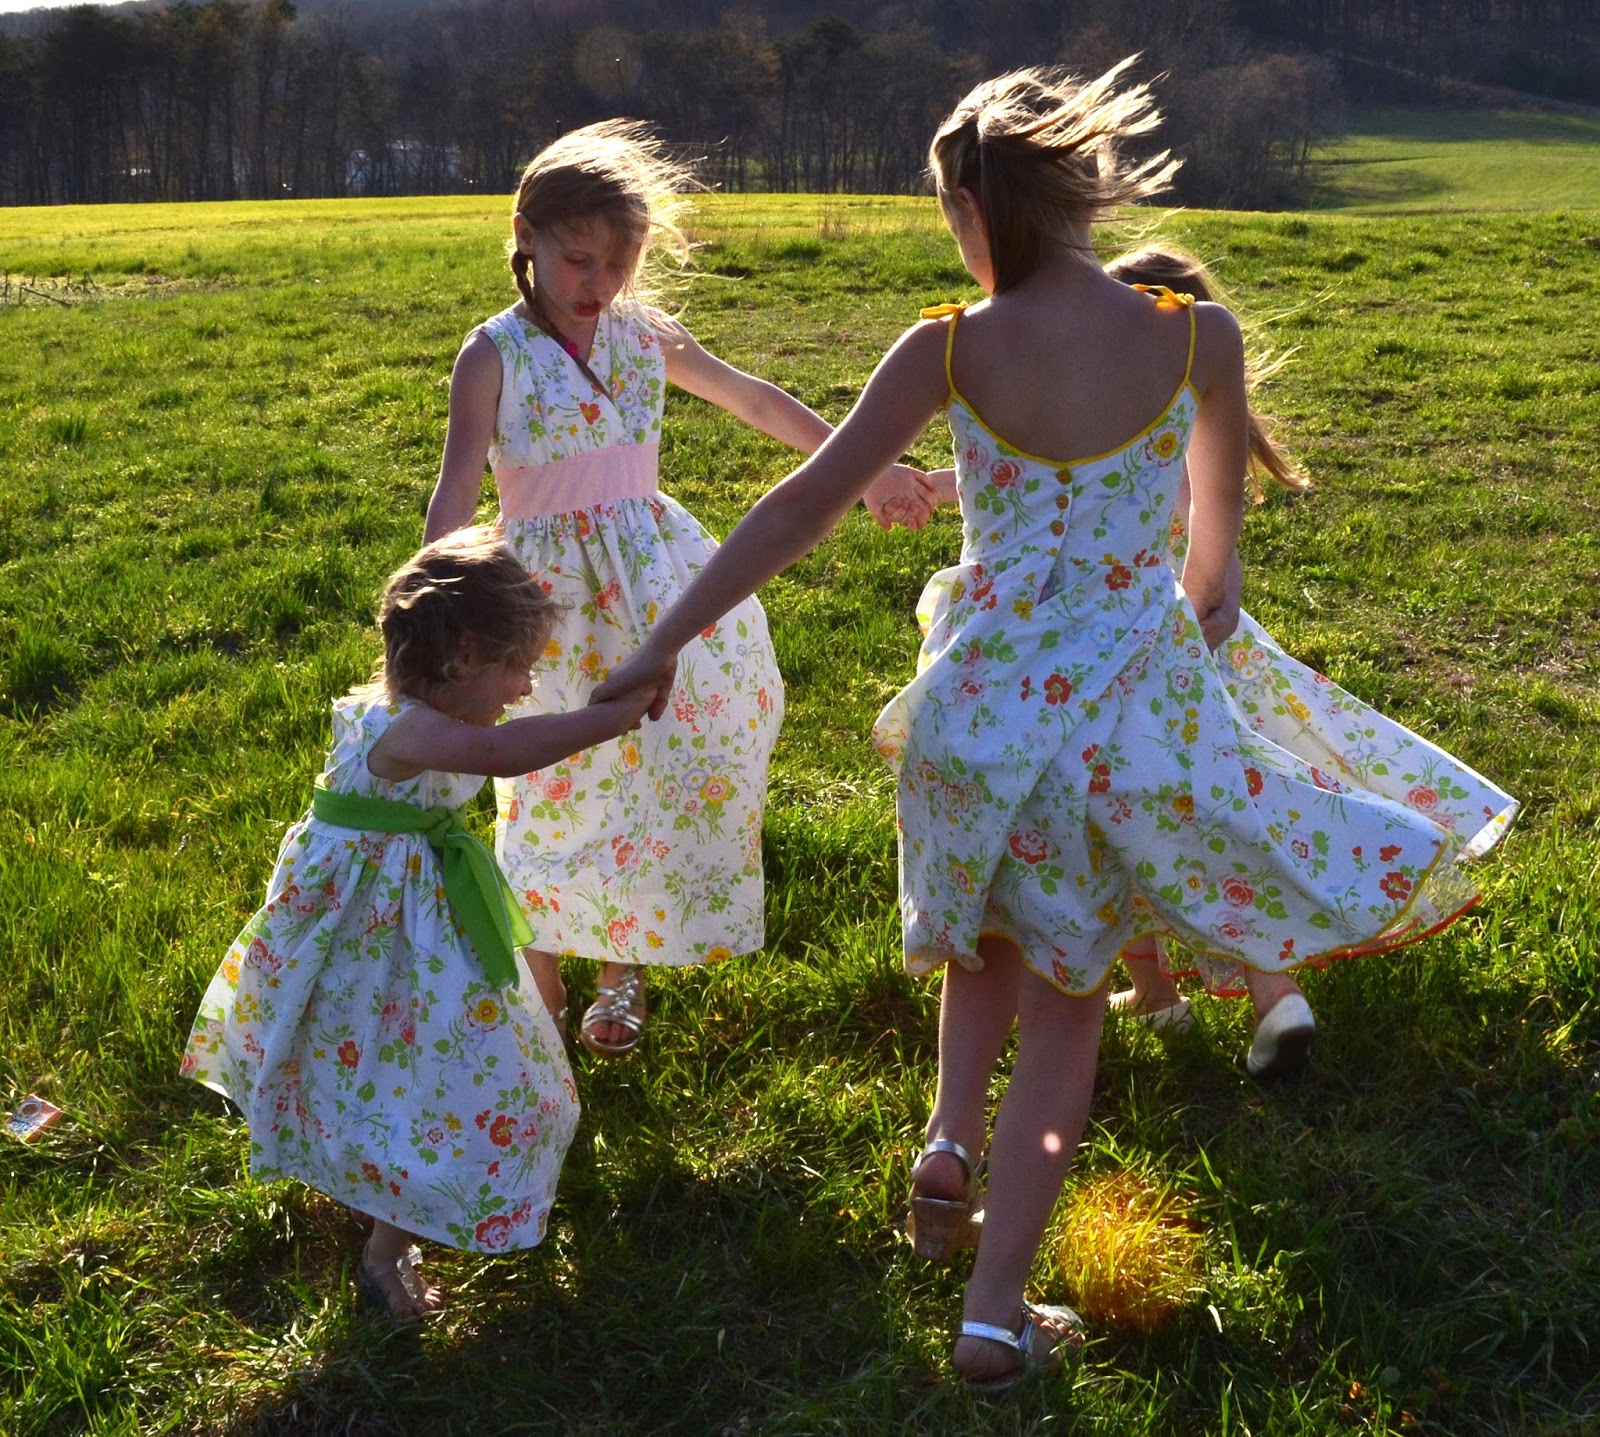
Now, for the twirling picture:
Oh, well, not so much. :)
Making (elaborate) Easter dresses for my girls is a lot of work, but it makes me happy to see them all dressed up and I know we are making some memories here...

To recap, here are the other dresses shown above:

Next Easter, I wonder if I will have four or five dresses to make? :)

I am linking this up to Project Run & Play's Sew-Along for Week 4: Spring Formal Wear.  I just couldn't wait until Week 4 of their competition to show everyone what I made this year. :)  These dresses make a great formal wear collection all together, although the Little Diva Dress is probably the fanciest one. :) You can read more about Project Run & Play HERE.

Linked up at: Craftastic Monday, Take A Look TuesdayYou Inspired, Show Off Your Stuff Party, Whatever Goes WednesdayMake It Wear It Thursday, Somewhat Simple, What We Wore, Read, and Made, Sugar and Spice, Friday Favs Party, Show and Tell Saturday, and Threading Your Way.