Doll Peasant Dress Pattern and Tutorial

doll-peasant-dress-1.jpg

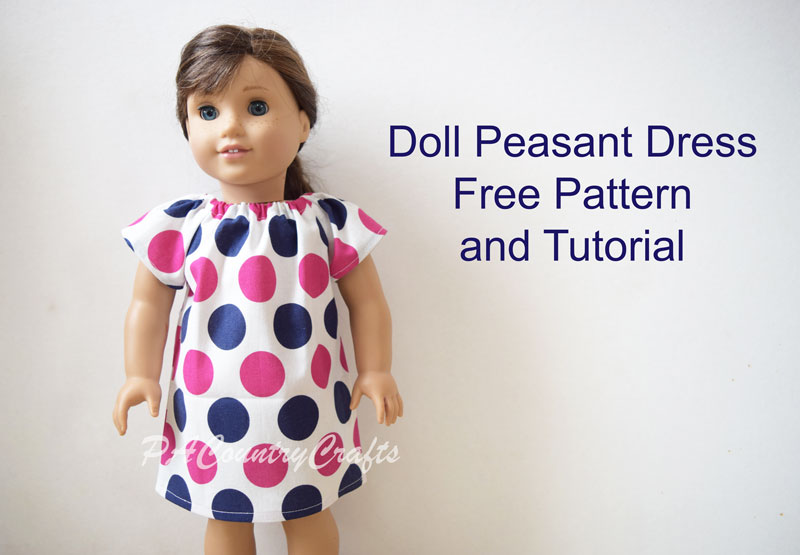
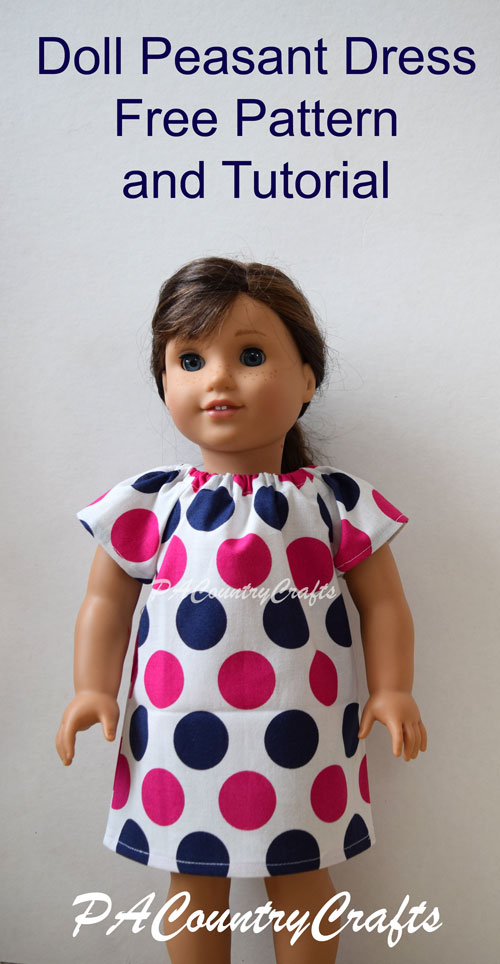
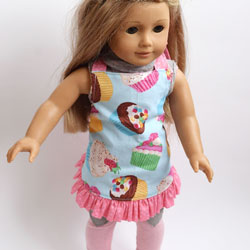
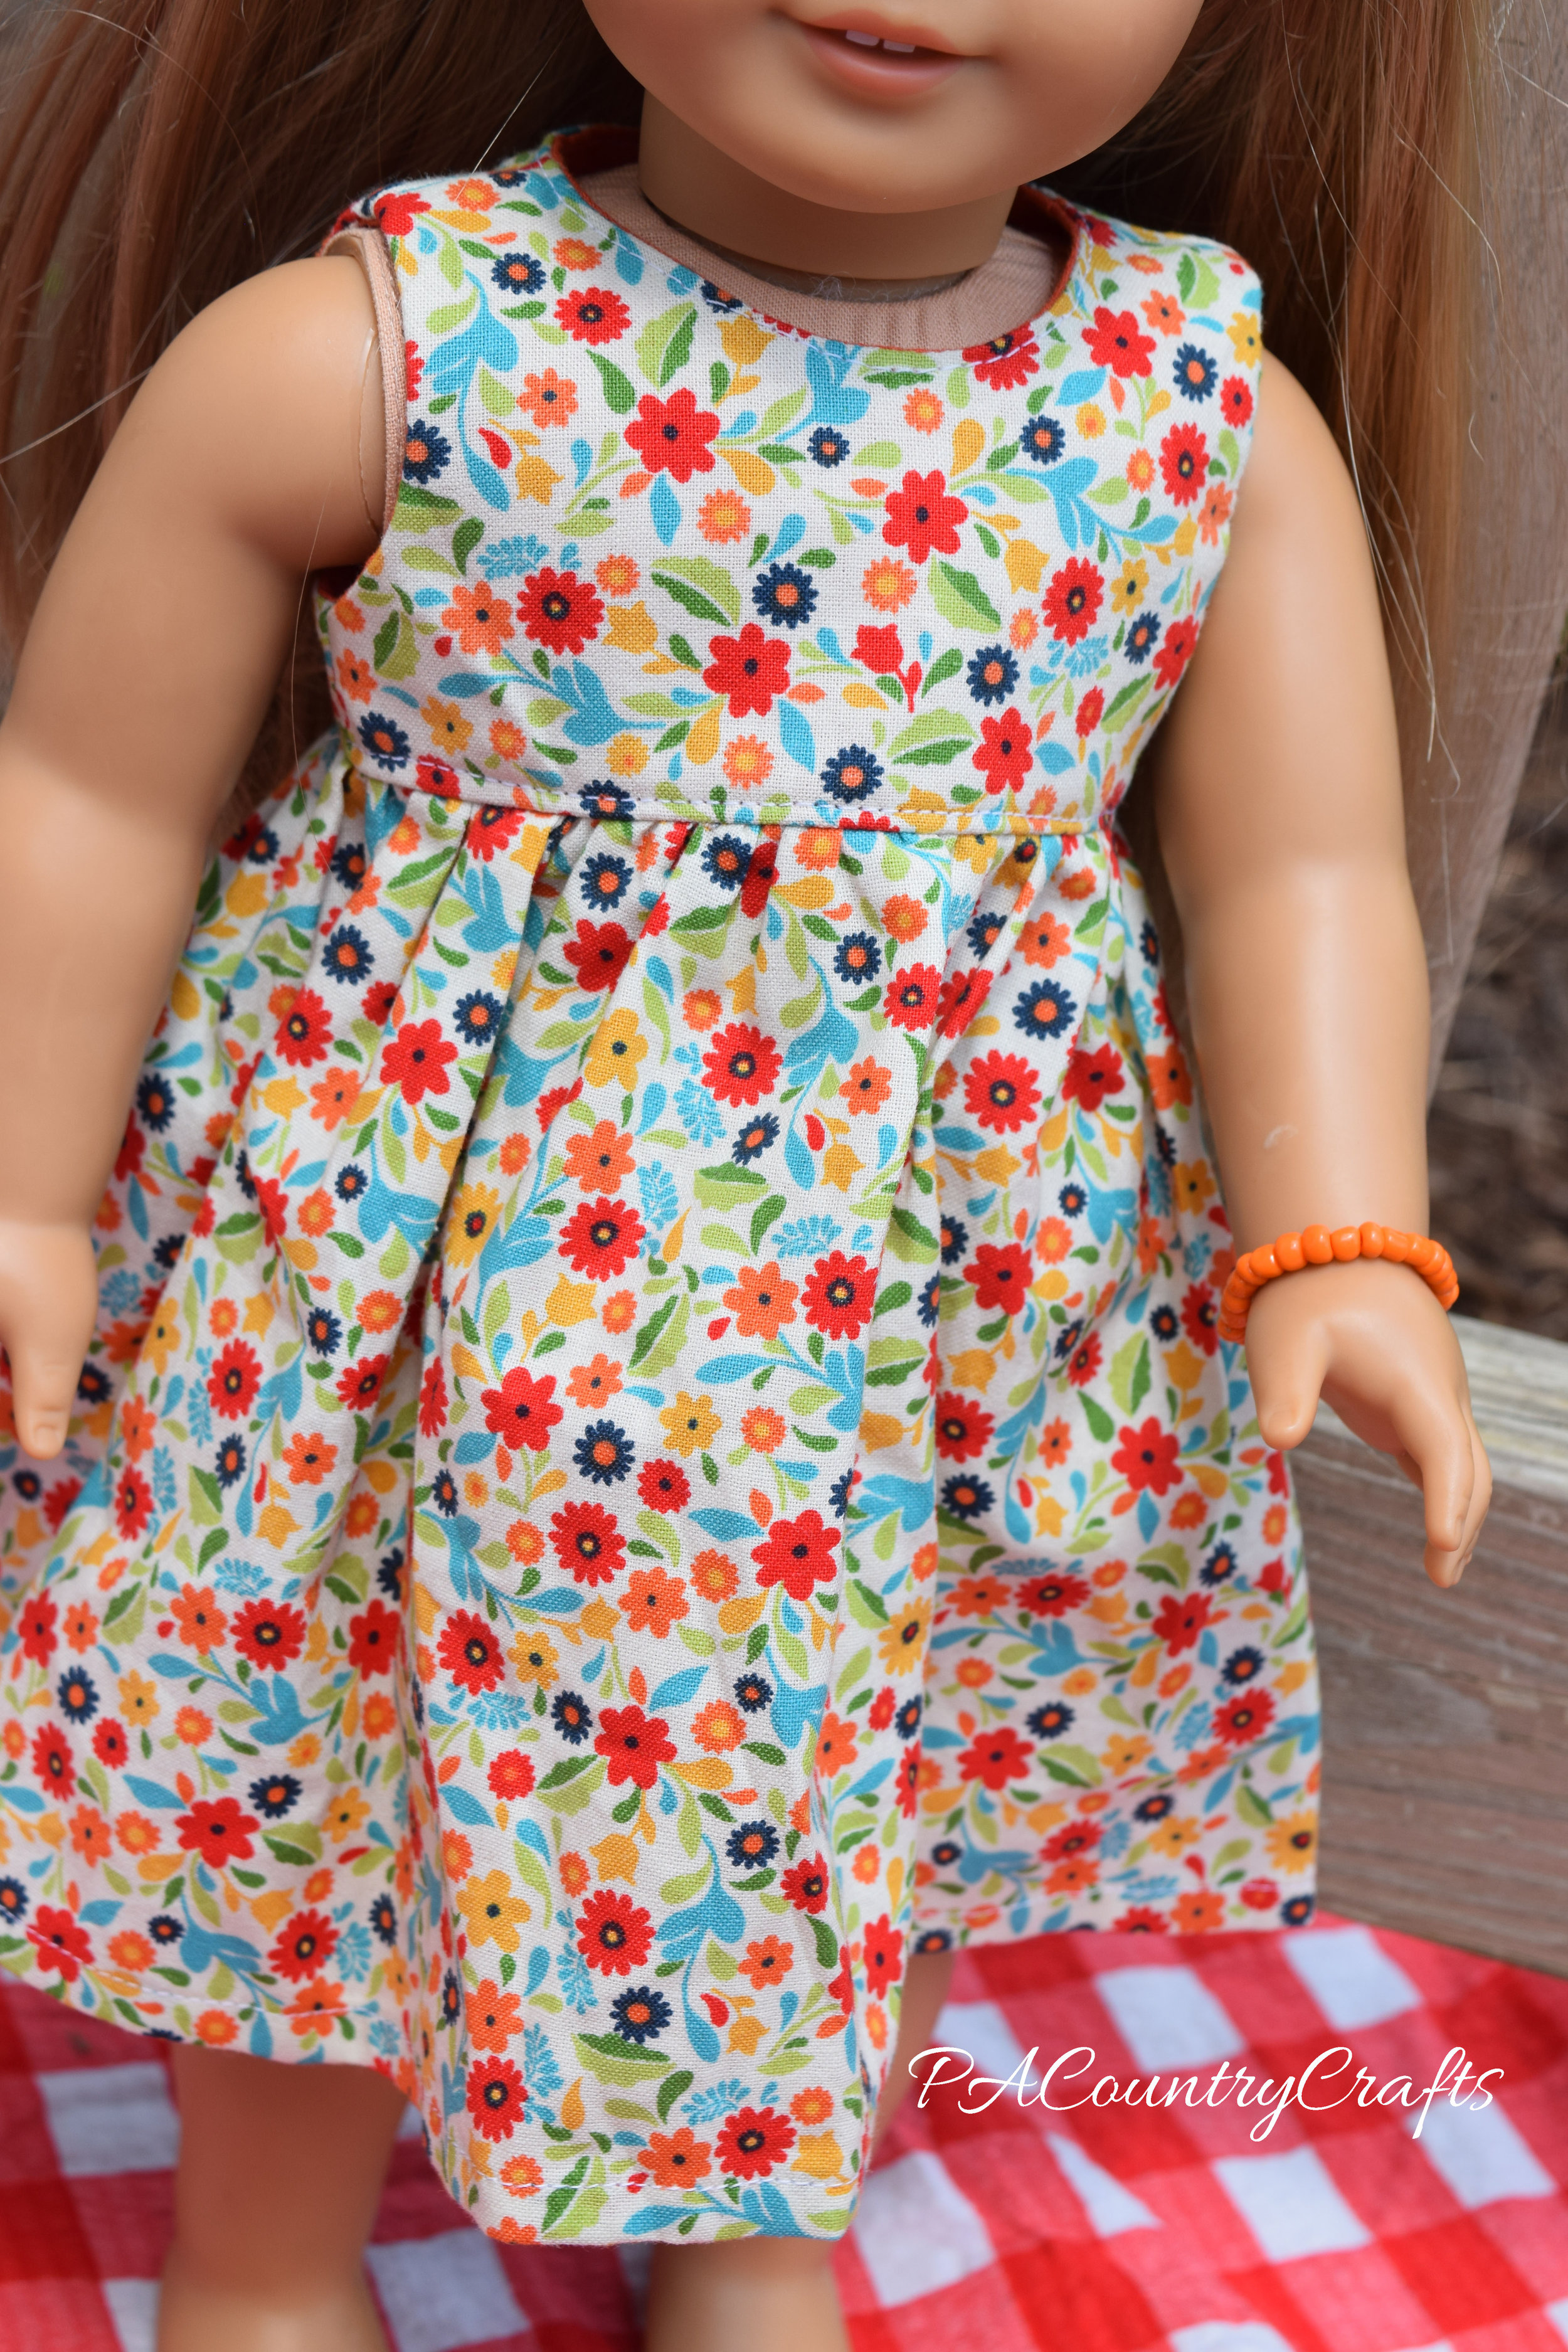
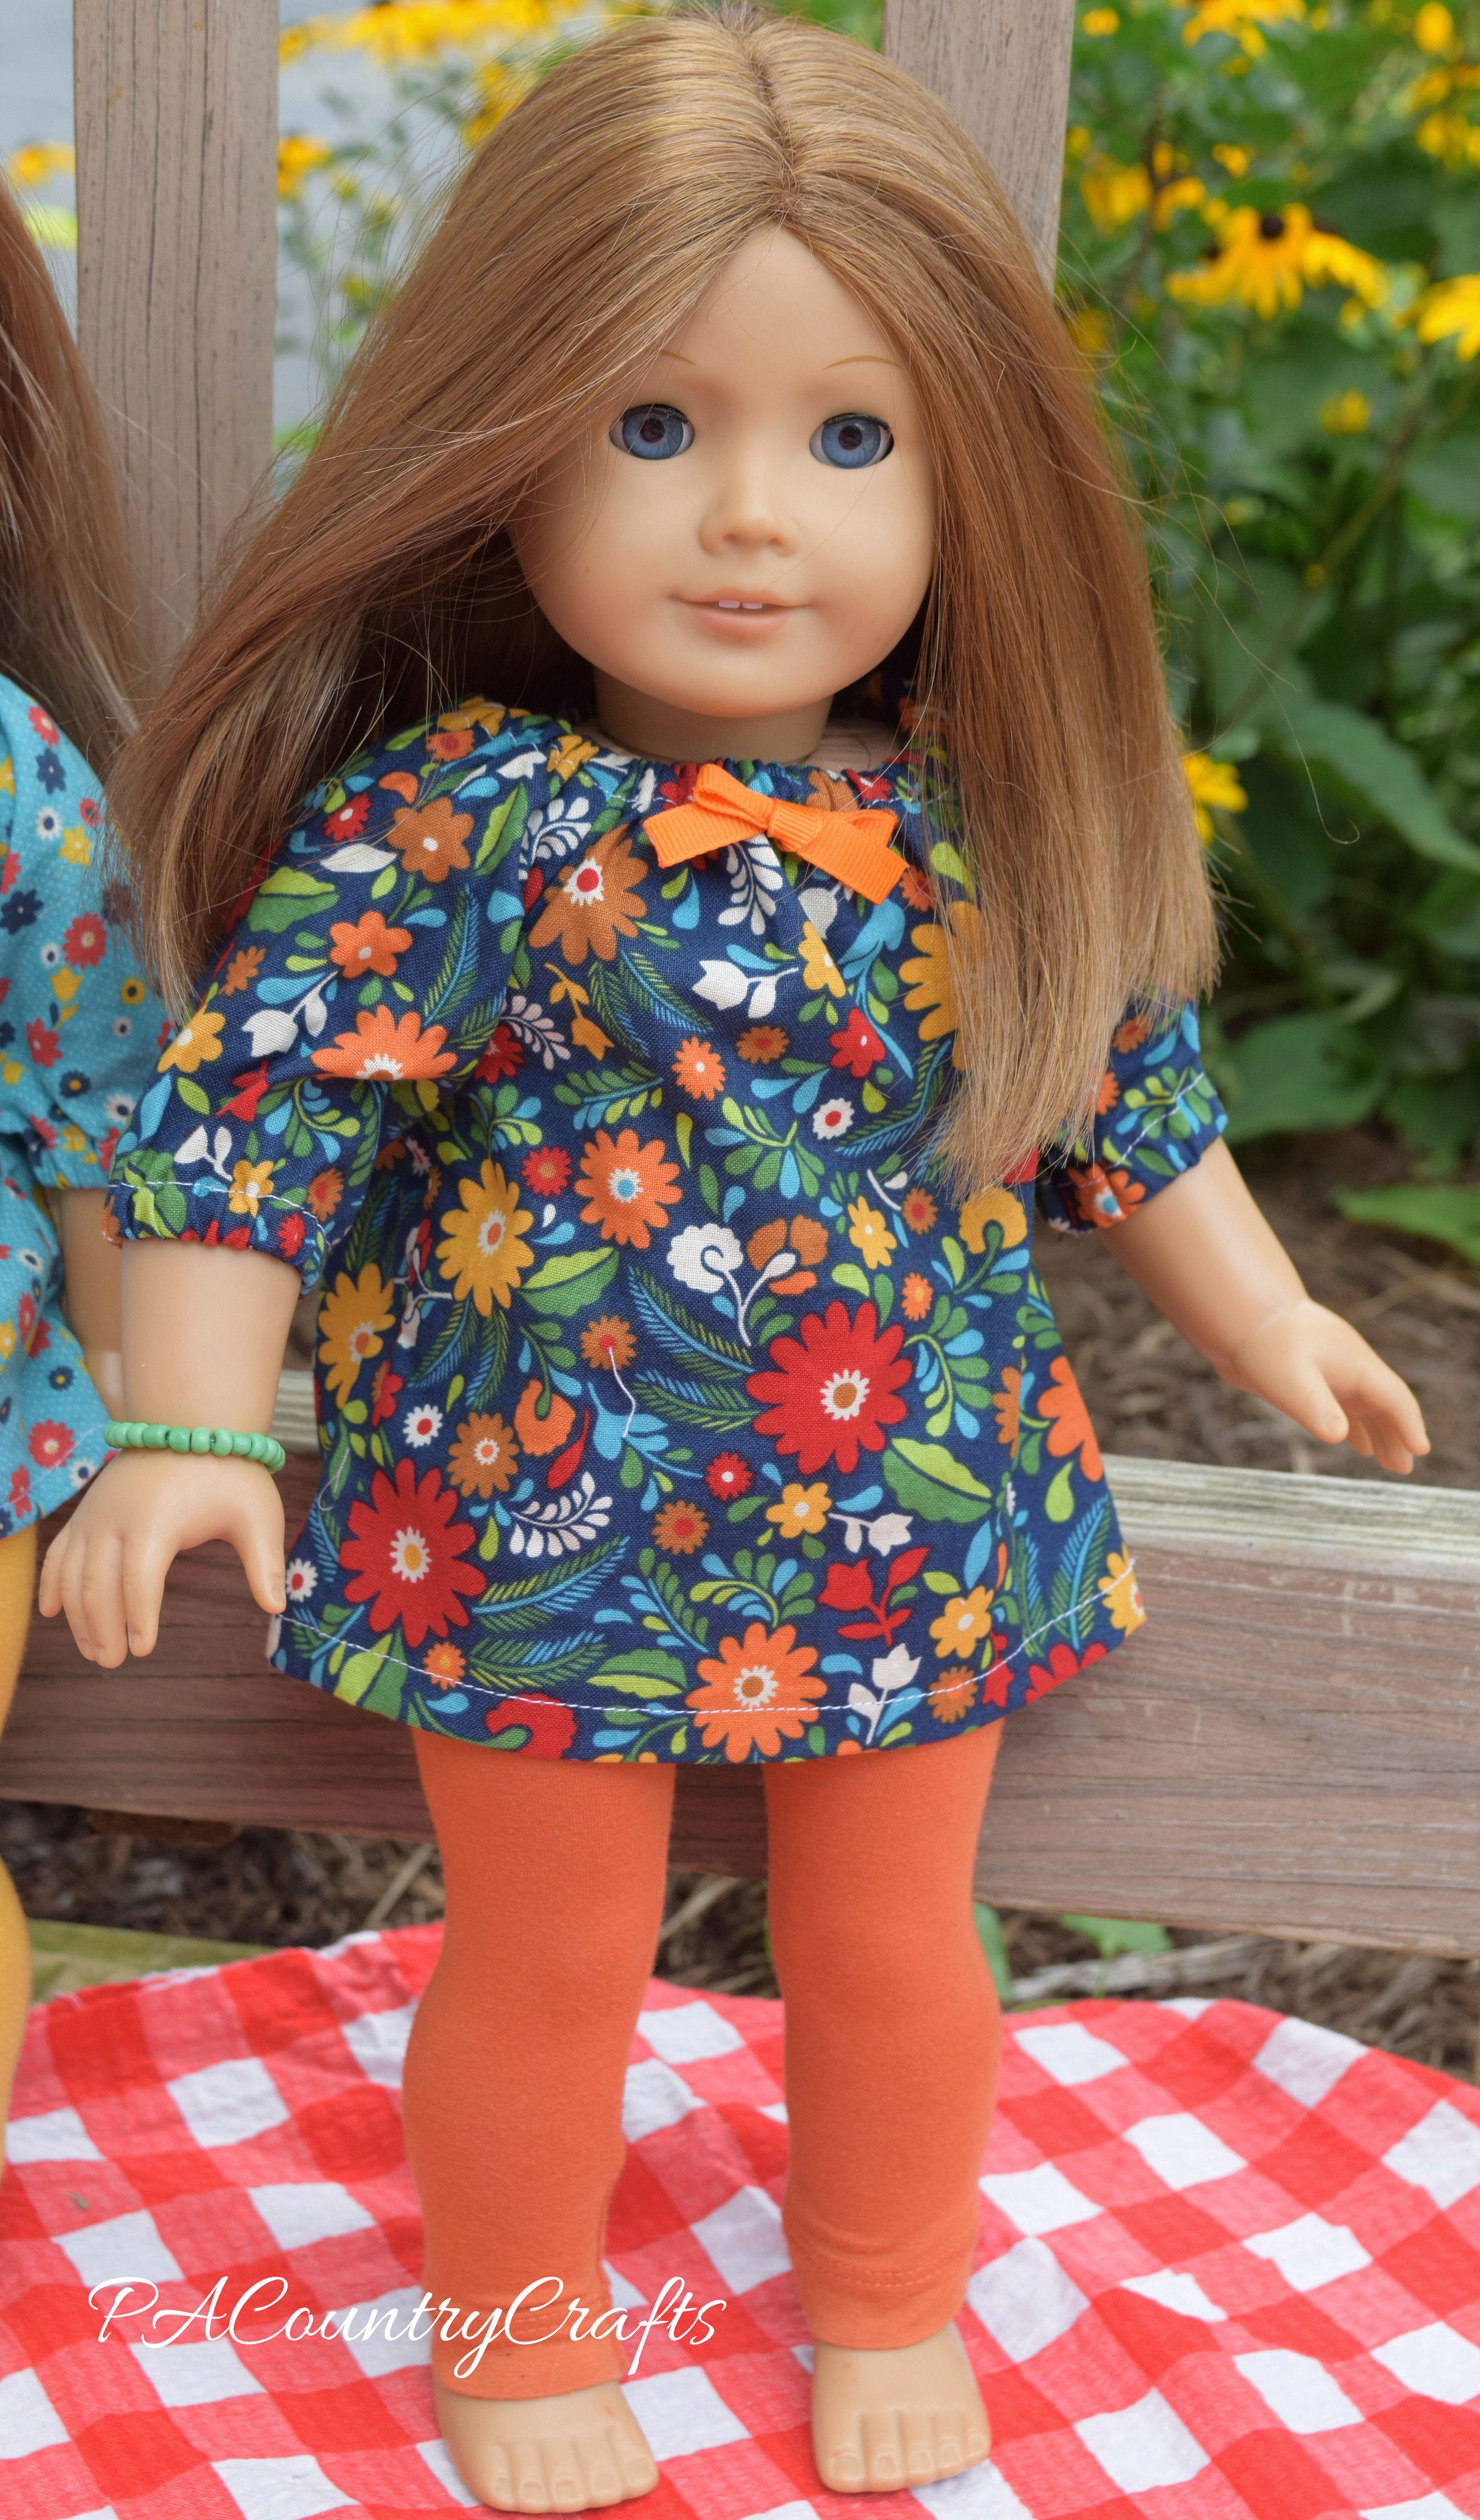
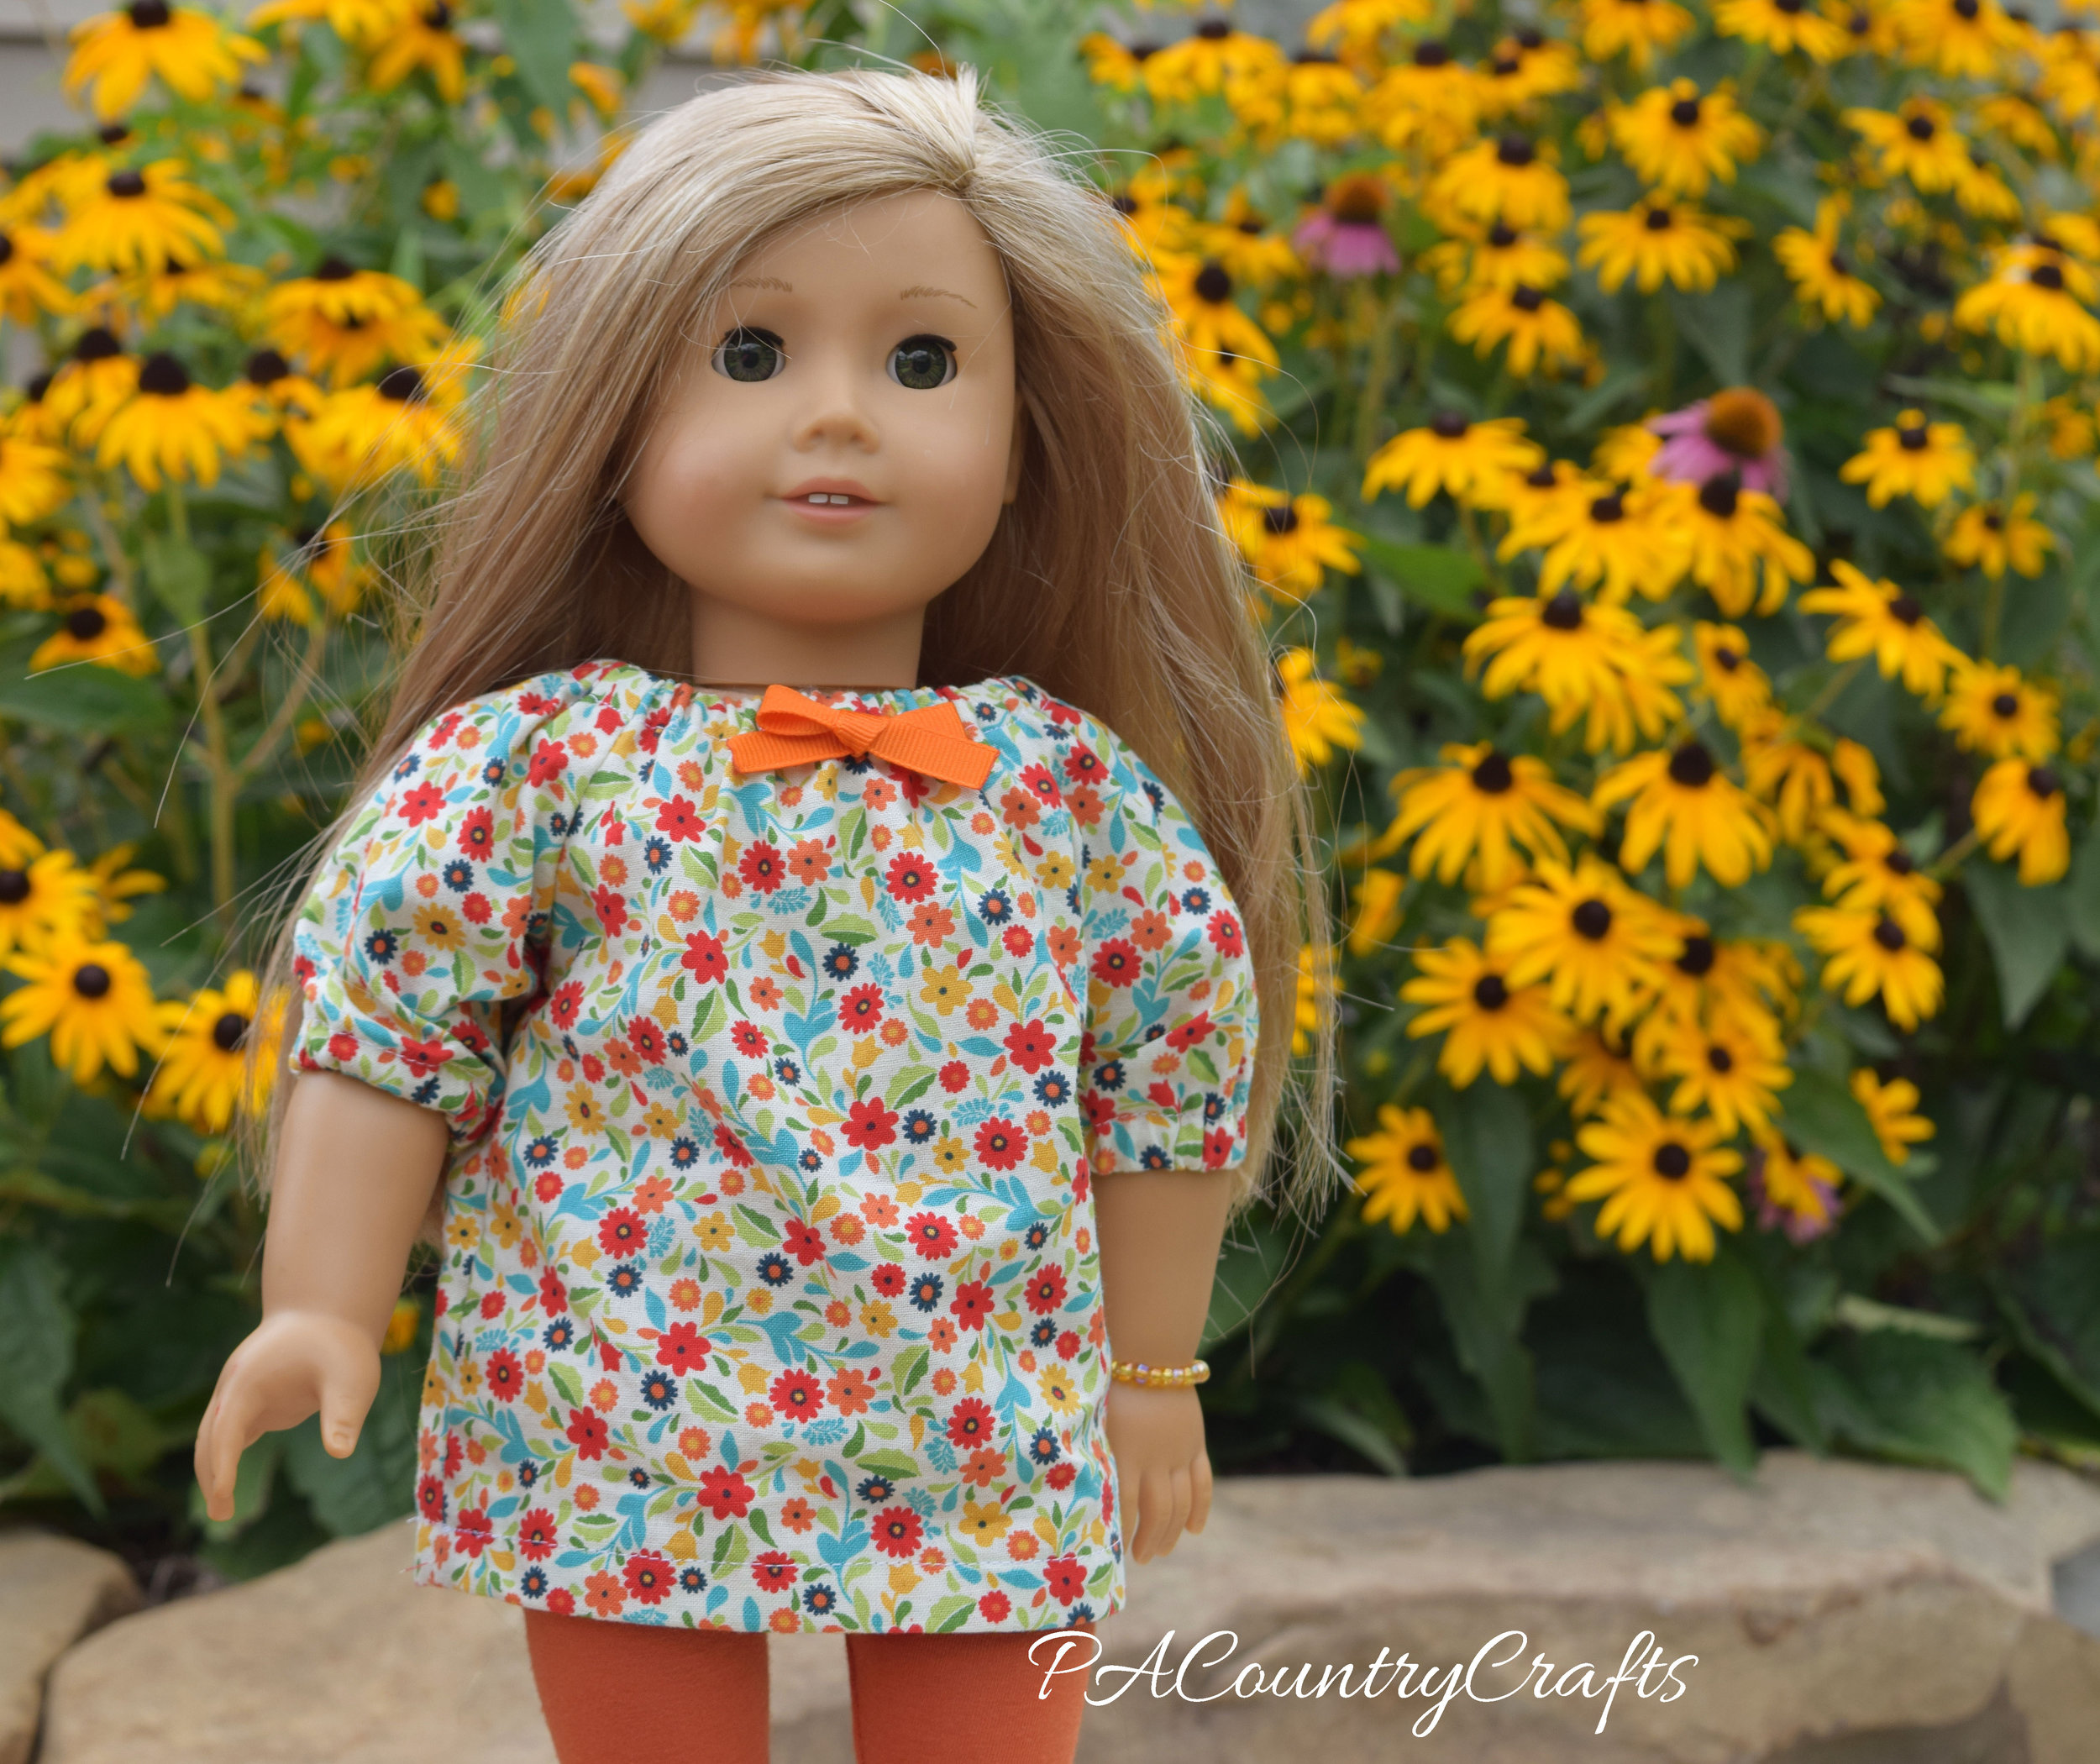
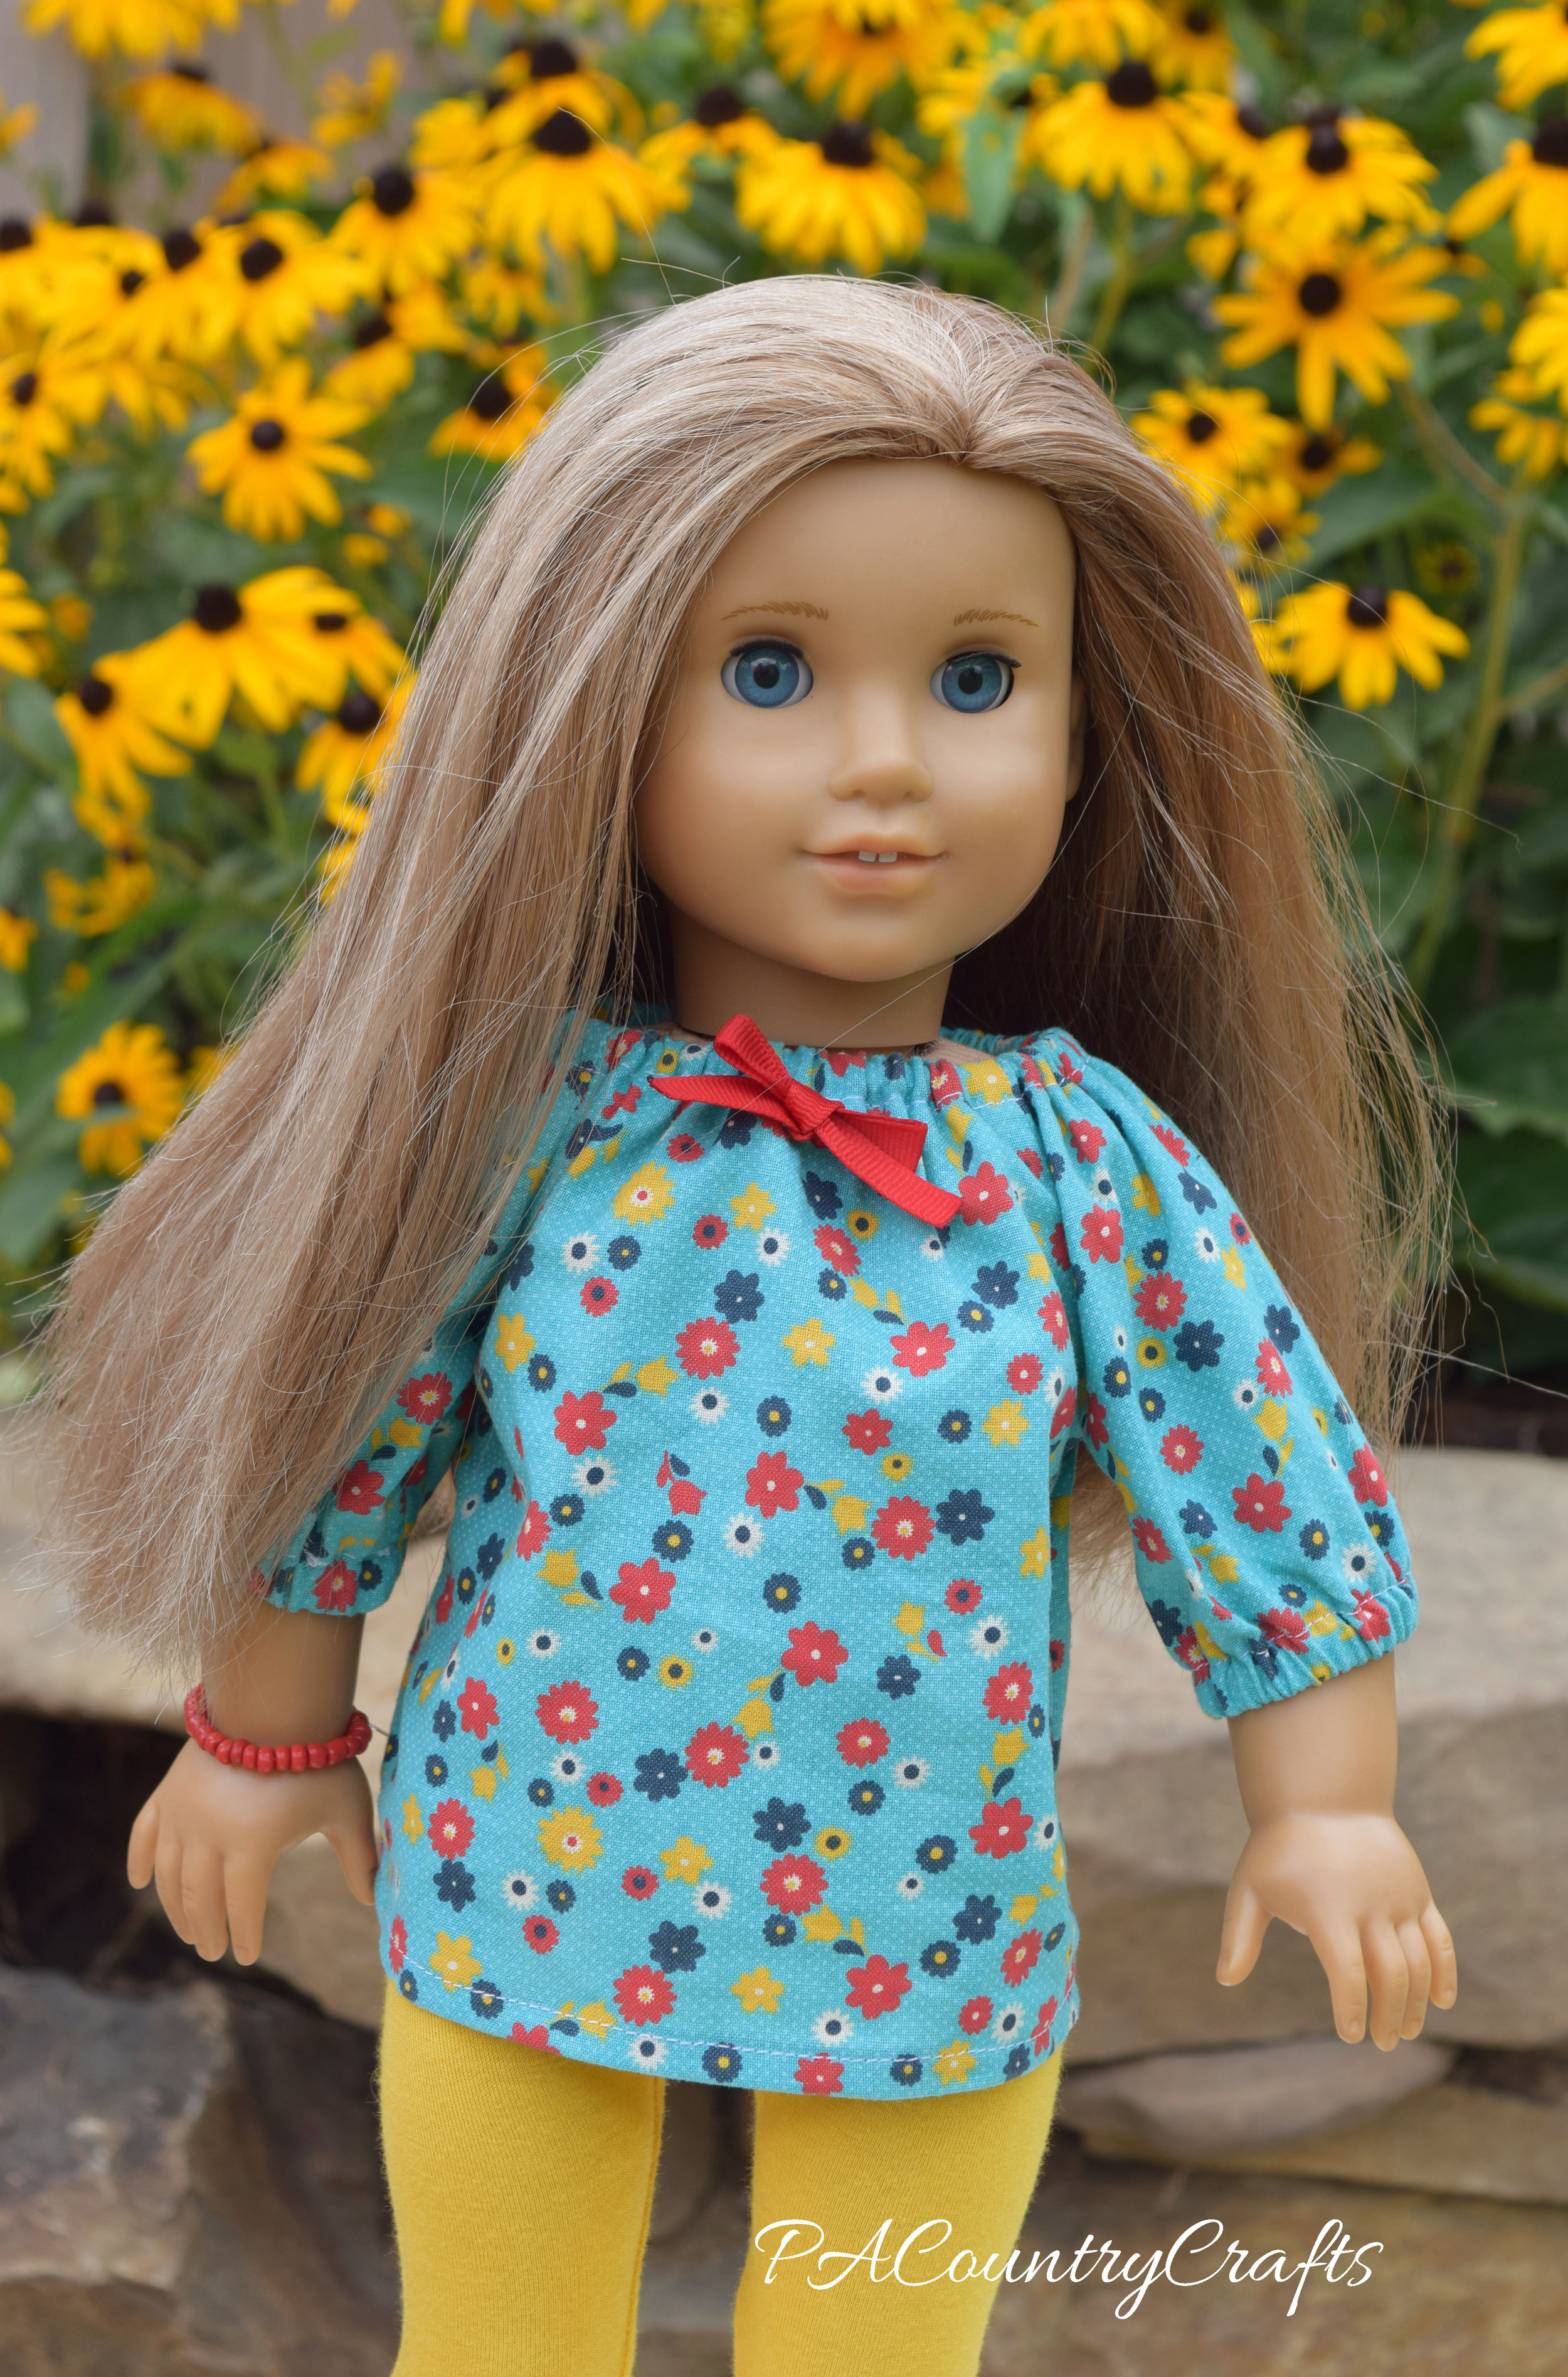
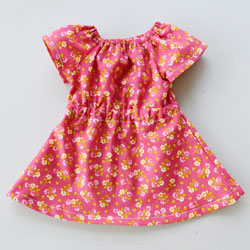
Peasant dresses are a really easy beginner sewing project. When I teach my daughters to sew doll clothes, this is our first lesson. I have to help with a few of the steps, but they can handle most of it.

doll-peasant-dress-tutorial.jpg

After you learn how to make this basic dress, there are a lot of options to change it up for a totally different look. I also have tutorials for making peasant dresses in girls' sizes. Matching girl/doll sets are always a pretty big hit!

These dresses have a lot of variations, and I hope to expand on this pattern in the future. For now, though, I am starting off simple with a basic, short sleeve peasant dress. I have picked up some tricks over the years to make sewing them a little faster and easier.

doll-peasant-dress-free-sewing-pattern-and-tutorial.jpg

You will need:

  • a fat quarter of fabric or 1/3 yard of fabric if bought from the bolt

  • 8 1/2" of 1/4" wide elastic

  • thread

  • pins or wonder clips

  • sewing machine and needles

  • printed free pattern- available HERE

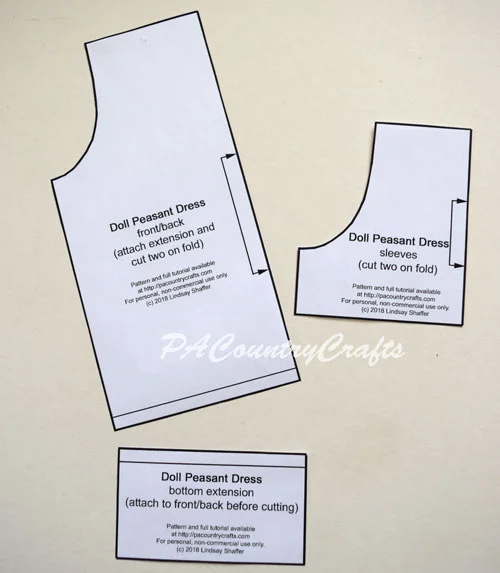
First, let's prep the pattern. Print it out in actual size and cut it out. To fit the longer main dress piece on the page, I had to do it in two pieces. So, you will have to overlap the little bottom section and tape it together. It is off a little bit- about 1/8" but I am not a professional and it is a free pattern so center it the best you can and don't complain. OK?

doll-dress-pattern-piececs.jpg
tape-dress-pieces-together.jpg

These dresses require very little fabric. A fat quarter works perfectly and I always seem to have a lot of those hanging around.

fat-quarter-doll-dress.jpg

You want to make sure to place the width of the fabric (the direction that stretches a little more) across the width of the pattern pieces. Just fold the fabric in enough to place both pieces on top.

how to cut a doll dress from a fat quarter

If you want to be really efficient about it, fold it again, accordion style, and cut two of each pattern piece.

How to double fold to cut two pattern pieces
how to cut two pieces on the fold

(If that was confusing, just ignore it and cut two pieces out individually!)

You will have four pieces total- a front, a back, and two sleeves.

doll peasant dress pieces

One trick I learned through experience is that it is easier to hem the sleeves before sewing the dress together. Fold it under 1/4" twice and sew 1/8" from the edge. (My girls usually need help with this when they are first learning because it is such a small hem.)

hem doll dress sleeves

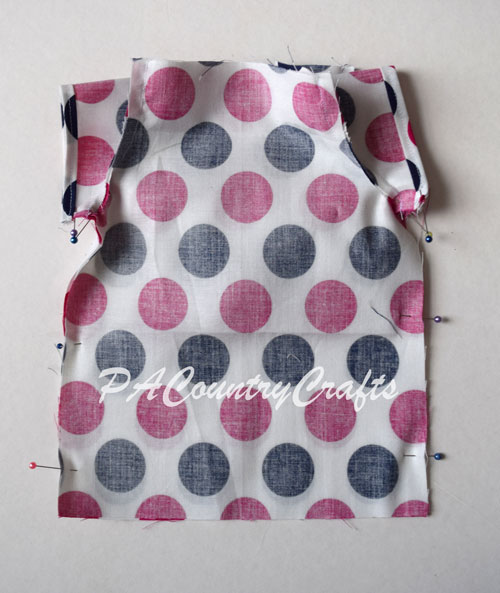
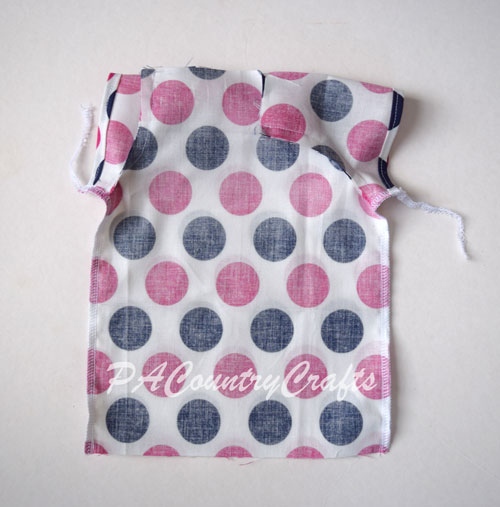
Next, line up the curved edges of one sleeve and one dress piece as shown. Make sure to line up each set on the same side.

how to sew a doll peasant dress

Sew the curves together with a 1/4" seam allowance. (I also use a shorter stitch length to make those curves tighter.)

Then, sew the opposite side of each sleeve to the other side of the dress. This part used to confuse me, so I will show it at a couple of different angles.

sew-front-and-back-together-at-sleeves.jpg
how-to-sew-a-peasant-dress.jpg

Again, use a 1/4" seam allowance. It is kind of like sewing everything together in a loop or a rectangle.

how-to-sew-a-peasant-top-or-dress.jpg

Next, fold the right sides together and line up the side seams. Make sure the ends of the sleeves and armpits line up.

(Normally, I would nest the armpit seams so that one goes in each direction. It would lay flatter and be easier to sew. However, on this particular project, I like to face both of the seams towards the dress pieces, away from the sleeve hem. I just don't want more bulk in that area. You can do whatever you like.)

line-up-armpits-of-peasant-dress.jpg

Pin and sew along each side with a 1/4" seam allowance.

sew-sides-of-peasant-dress.jpg

Now, I happen to have an overlock machine, or serger. If you don't have one, go buy one. They are awesome. If that isn't an option or desire for you, you can finish the seam another way- pinking shears, zig zag stitch, etc. Google it.

finish-side-seams-of-peasant-dress.jpg

Now, I happen to have created a separate tutorial for how to tuck in those serger threads. You can see it HERE.

Next you have to sew the elastic casing for the neckline. This is the hardest part, in my opinion. It just seems to take a little practice. The most important thing to remember is this: KEEP THE SEAMS ALL PRESSED IN THE SAME DIRECTION! Did that seem like I was shouting at you? Good. I was. Trust me. It is very frustrating to get the elastic stuck at a seam and this will prevent it.

press seams in one direction

Fold the raw edge down 1/4" to the inside.

press-down-neckline.jpg

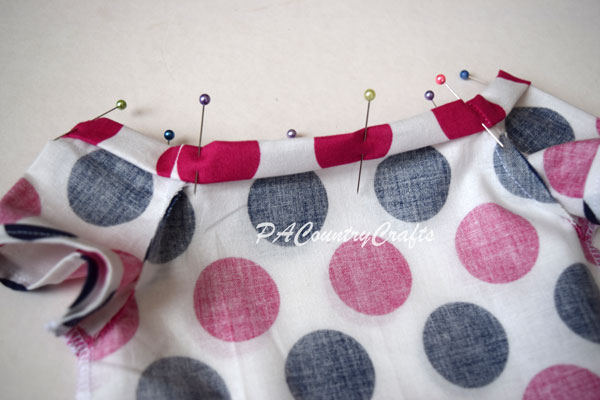
Next, fold it in 1/2" (and watch those seams!) You can iron and pin. You can use wonder clips (those rock!) You can just eyeball it up and fold it as you sew (maybe after some practice). So that I could take a picture... I pinned this time.

fold-neckline-down-again.jpg

Start sewing somewhere on the back. I like to start just before a seam. Sew about 1/8" from the folded edge all the way around. I keep my needle to the left and line up the outside folded edge with the edge of my presser foot.

sew-elastic-casing-neckline.jpg

Do NOT go all the way around! Leave the last inch or so open so that you can put the elastic into the casing.

leave-opening-in-neck-for-elastic.jpg

Cut a piece of 1/4" elastic 8 1/2" long. Pin a safety in onto each end. One will guide it through the casing. The other will keep the end from getting pulled in. (You can pin it to the dress if you want to be really sure!)

use-safety-pins-to-thread-elastic.jpg

Make sure that you push the safety pin towards the seam so that everything is going the same direction.

how-to-thread-elastic-into-a-neckline.jpg

Push the elastic all the way through the casing, being careful not to twist it.

make-an-elastic-neckline.jpg

Overlap the ends of the elastic about 3/4" or so.

overlap-elastic-ends.jpg

Use a small zig zag stitch on the machine to hold the ends together.

sew-elastic-ends-together.jpg

Stretch the casing to pull the elastic inside. Sew the opening closed.

sew-elastic-casing-closed.jpg

Finally, turn the bottom under 1/4" twice to make a small hem.

fold-hem-under.jpg

Stitch 1/8" from the edge.

hem-doll-peasant-dress.jpg

Hooray! It is finished!!!

doll-peasant-dress.jpg

To put it on the doll you will want to pull it up from the legs, not put it over the head. They are sort of disproportional so it is easier that way. Plus, you don't mess the hair up.

free-doll-dress-sewing-pattern.jpg

Don't forget to save the printable pattern...

If you want to pin this post to save the instructions for later...

doll-peasant-dress-free-pattern-and-tutorial.jpg

Here are some more tutorials you might like:

Spring Snow

main-pic

main-pic

You can vote for your favorite "greenery" inspired design HERE at Project Run and Play.

The challenge for Project Run and Play this week is "greenery" which is Pantone's color of the year. It is symbolic of spring, rejuvenation, and reconnecting with nature.

We are in the middle of a potentially record-breaking blizzard in PA today.

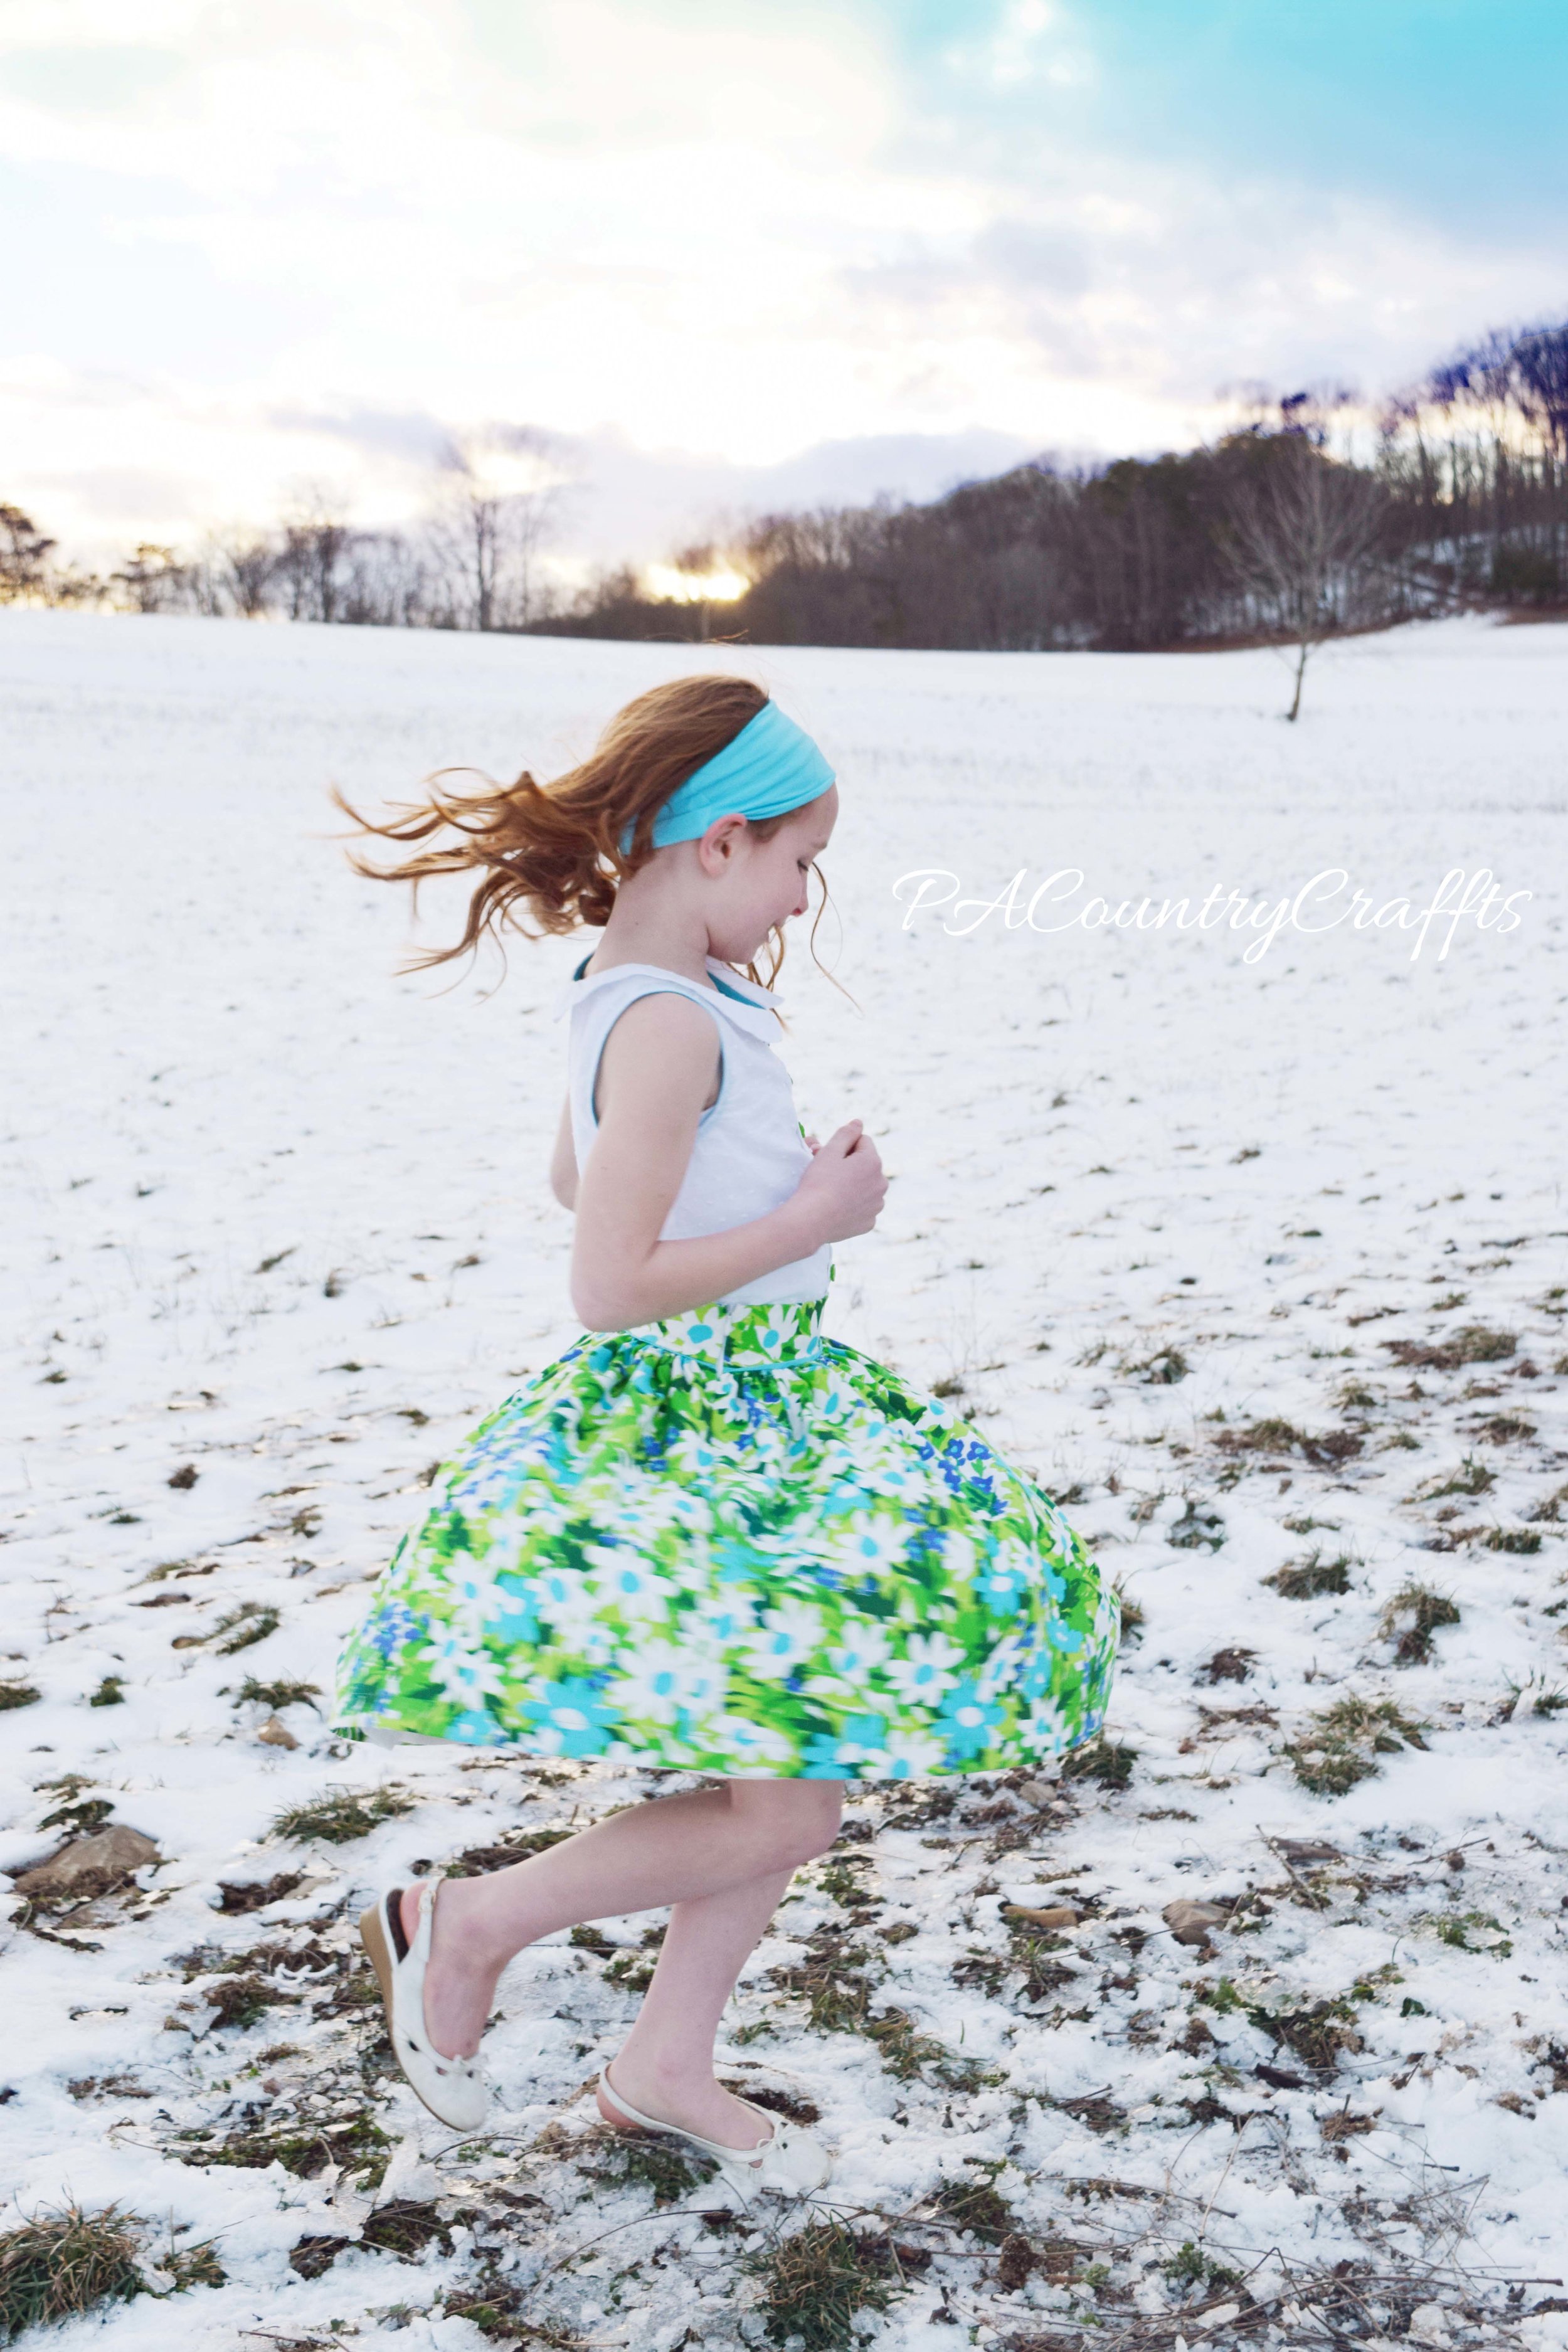
I was having a hard time connecting with the theme and figuring out how to take some pictures of the outfits, especially with the smaller snowstorm we got on Friday while I was freezing and sewing my little heart out in the sunroom. Then, I realized that the weather perfectly mirrored what I was trying to create. Like the bright blue skies and bits of green grass and daffodils peeking up out of the cold snow to bring new life, I aimed to create something beautiful out of things that were unwanted.

daffodils in the snow

daffodils in the snow

project run and play week 2 outfits

project run and play week 2 outfits

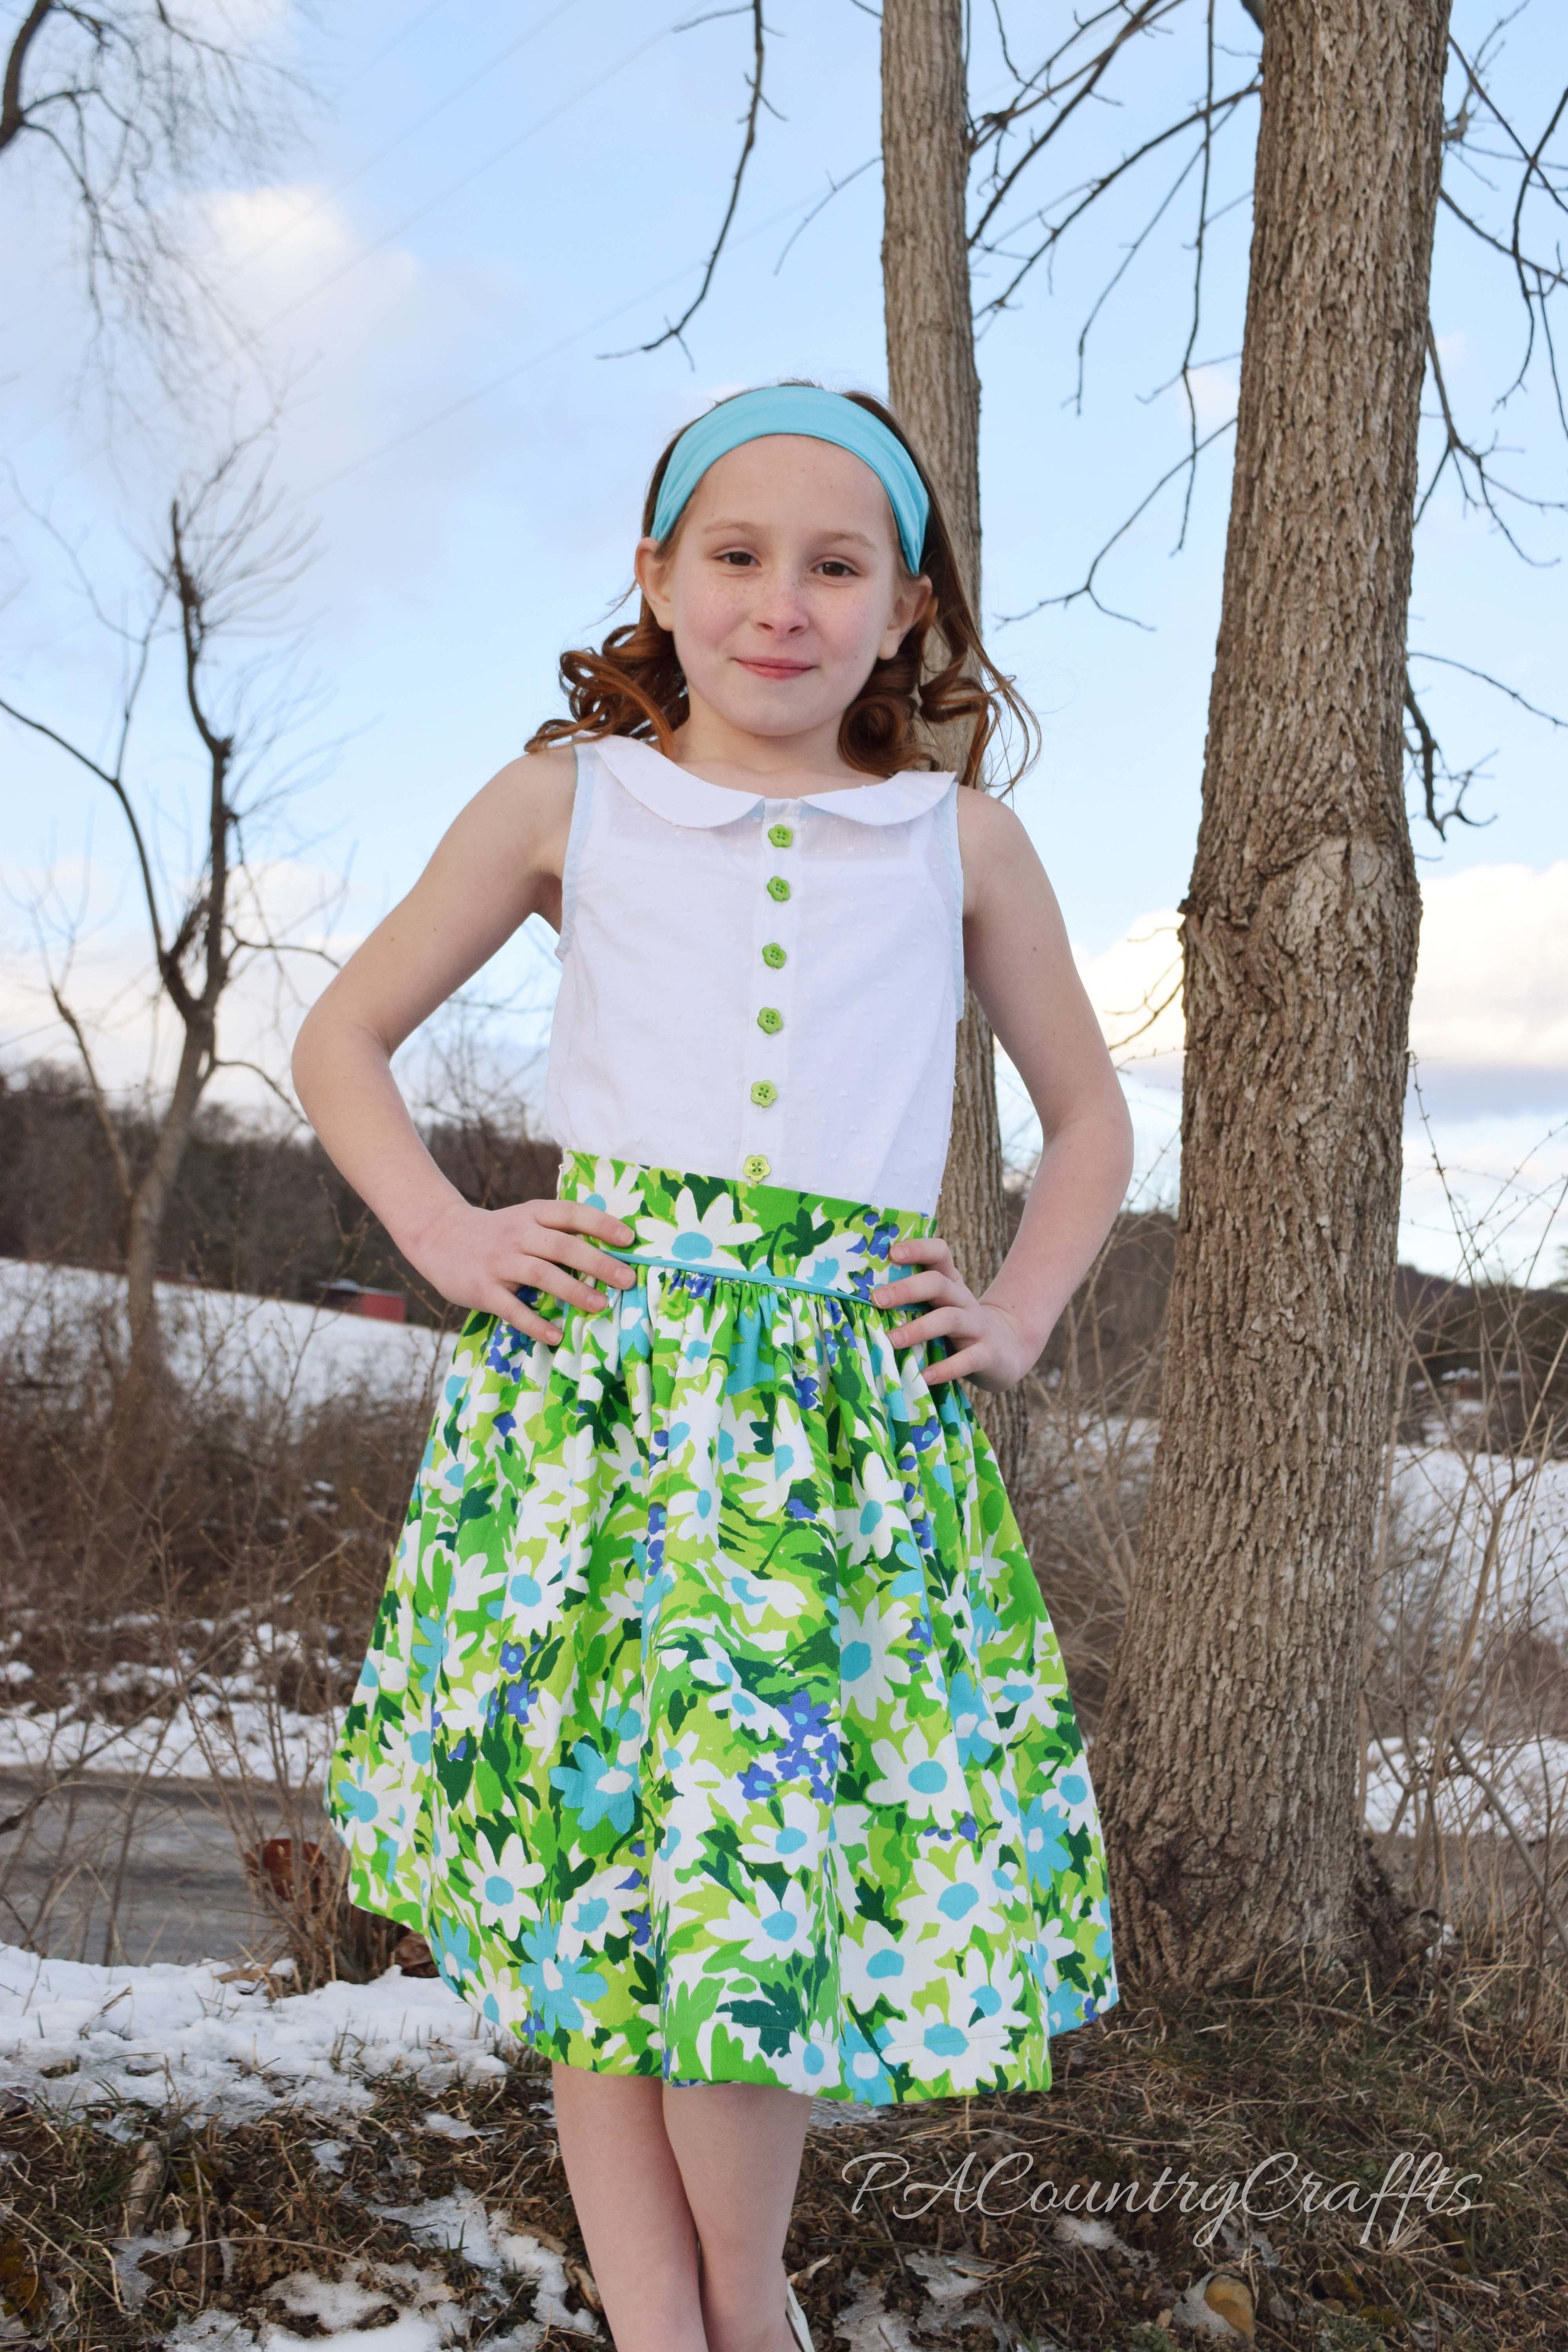
When I looked at Pantone's website to learn more about the color "greenery" I immediately pictured a piece of vintage fabric that I had stored in a box in my shed. It came from someone's attic and had been sewed and used for something else a long time ago. I pictured a full, vintage style skirt with a crisp, white, sleeveless swiss dot blouse.

Vintage style girls outfit

Vintage style girls outfit

vintage style girls outfit

vintage style girls outfit

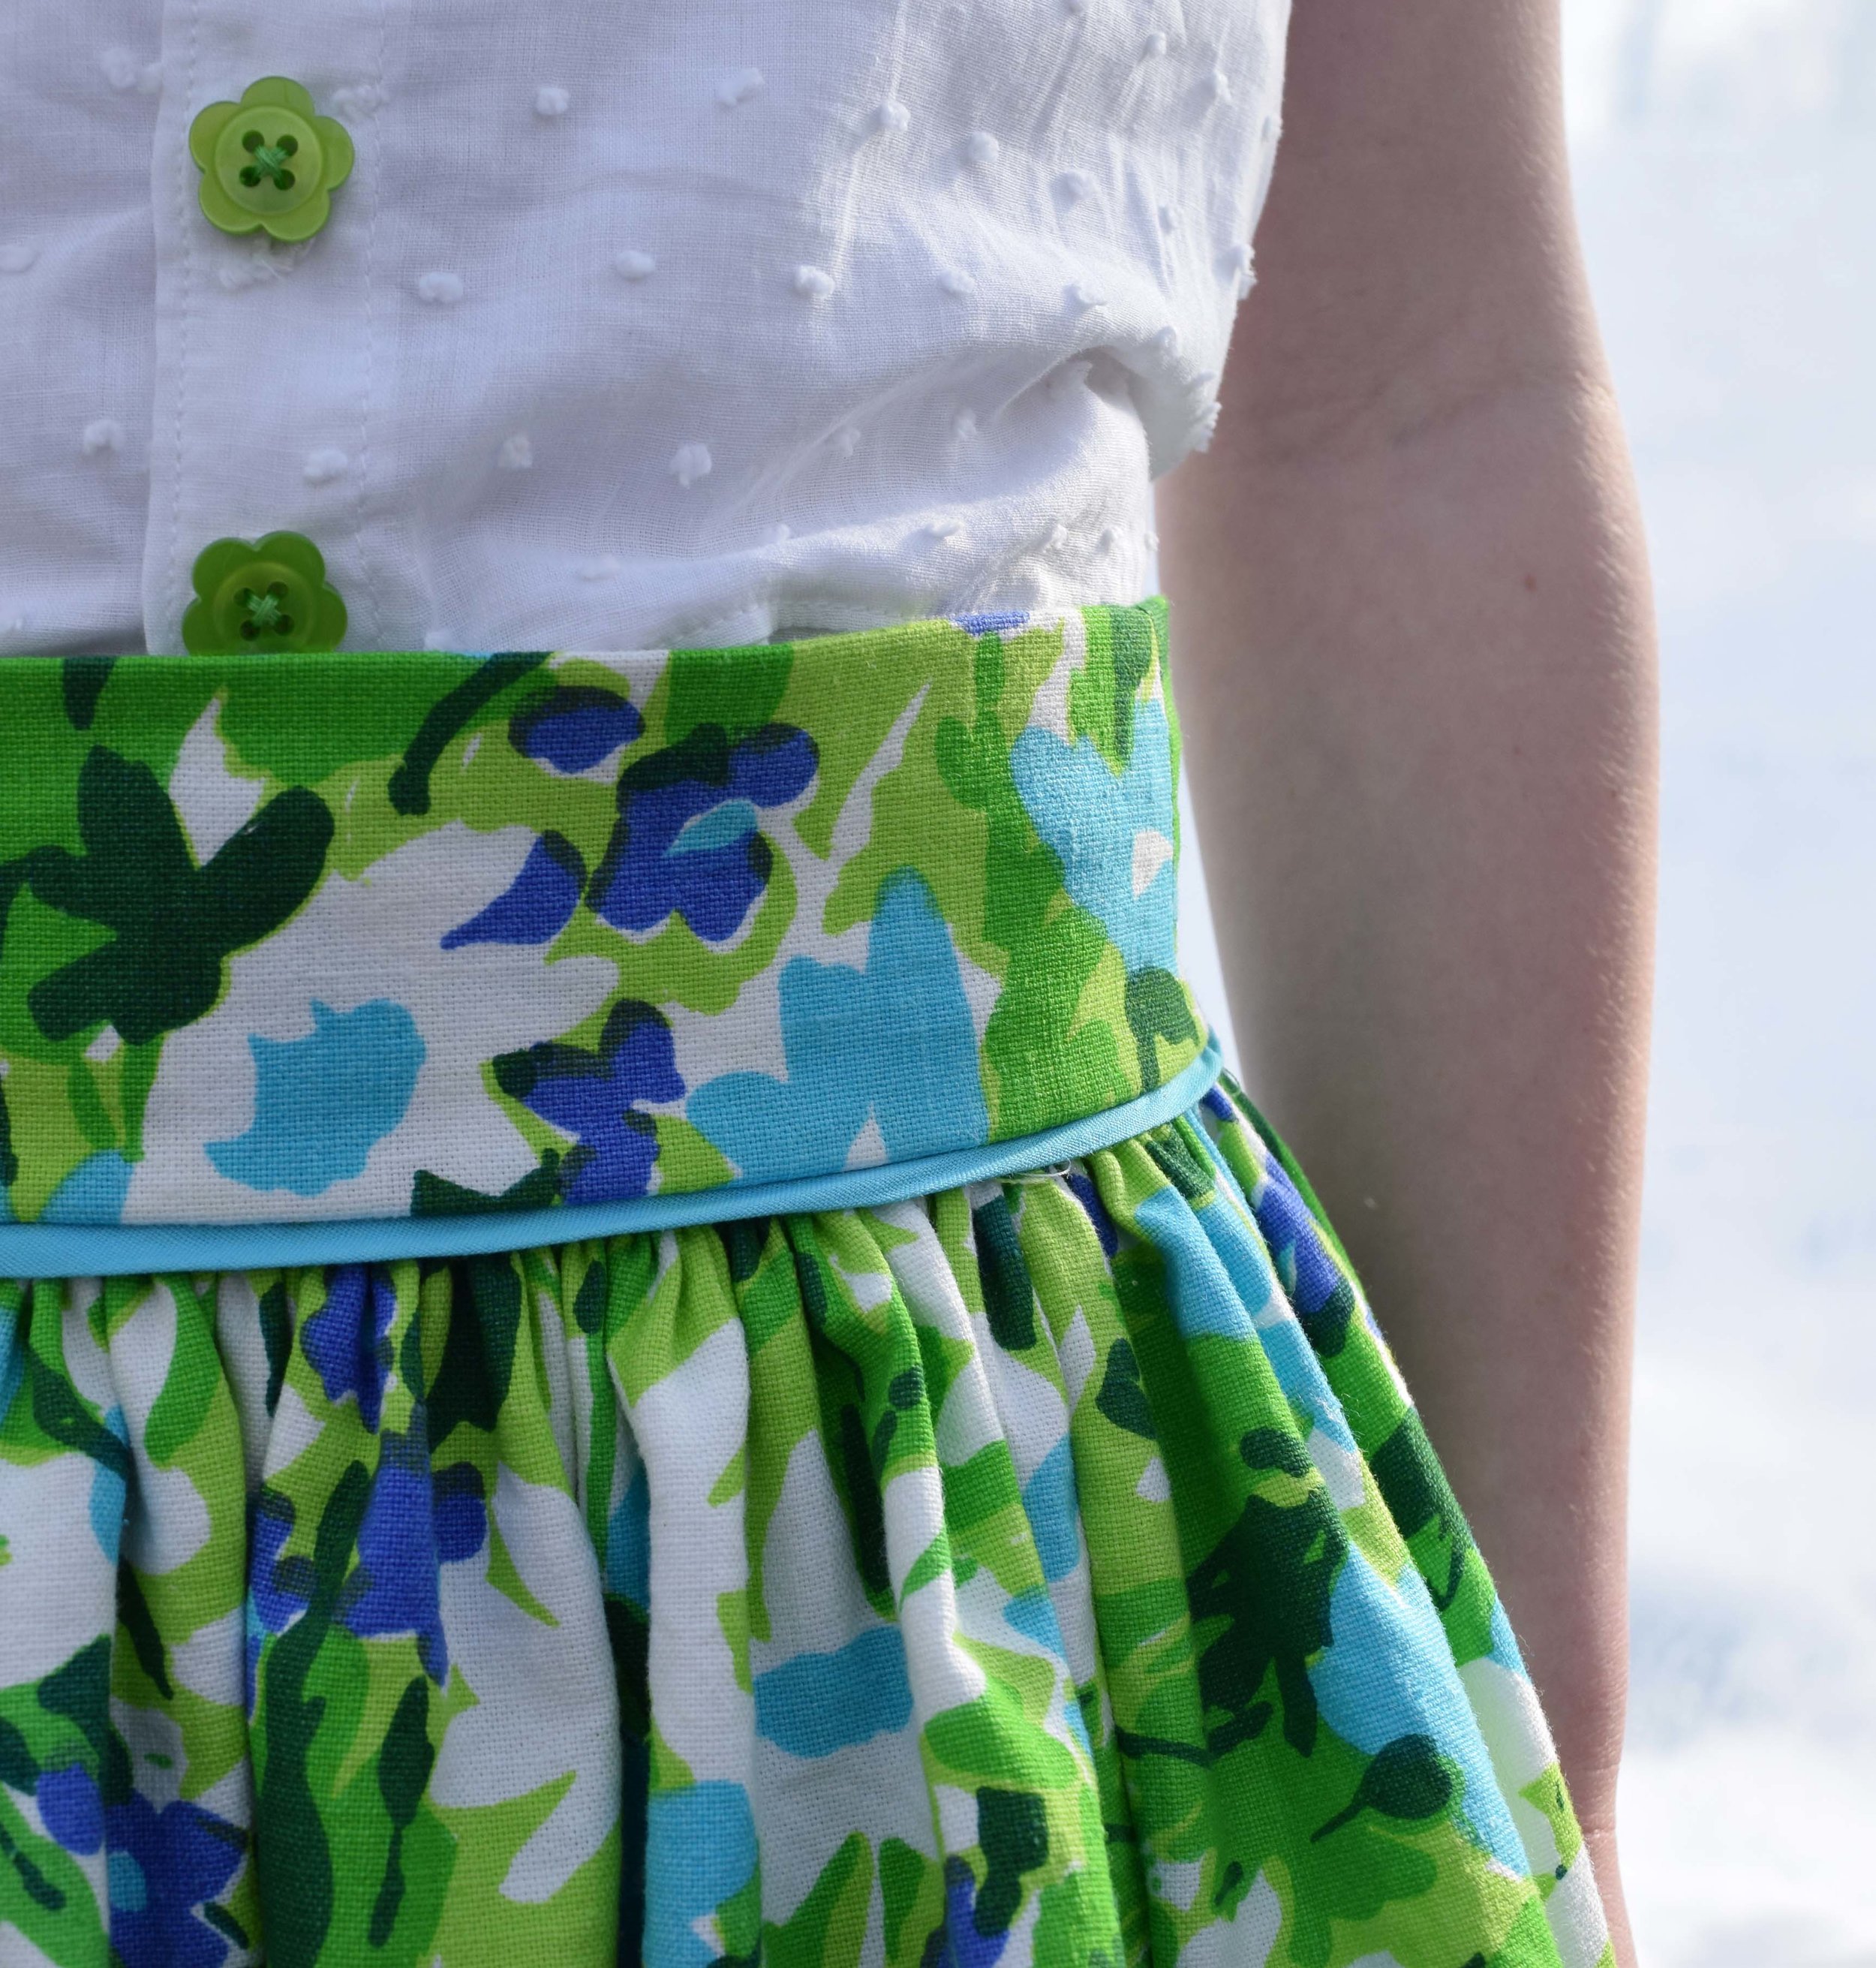
The skirt is so full!!! The fabric is heavier than quilting cotton, so it holds it shape very well. I added lining and a built in petticoat layer, so this skirt has 552 inches of gathering!!! I used some vintage bias tape as flat piping under the waistband, too.

flat piping made from bias tape

flat piping made from bias tape

The shirt was a bigger challenge for me. I drafted my own pattern and used some more of that vintage single-fold bias tape around the arms and neckline. The fabric is somewhat sheer, so it adds a hint of color to the edges. I hand stitched the button holes since my sewing machine started snapping needles again. The buttons are from Joann and I was excited because they matched perfectly!

swiss dot sleeveless blouse

swiss dot sleeveless blouse

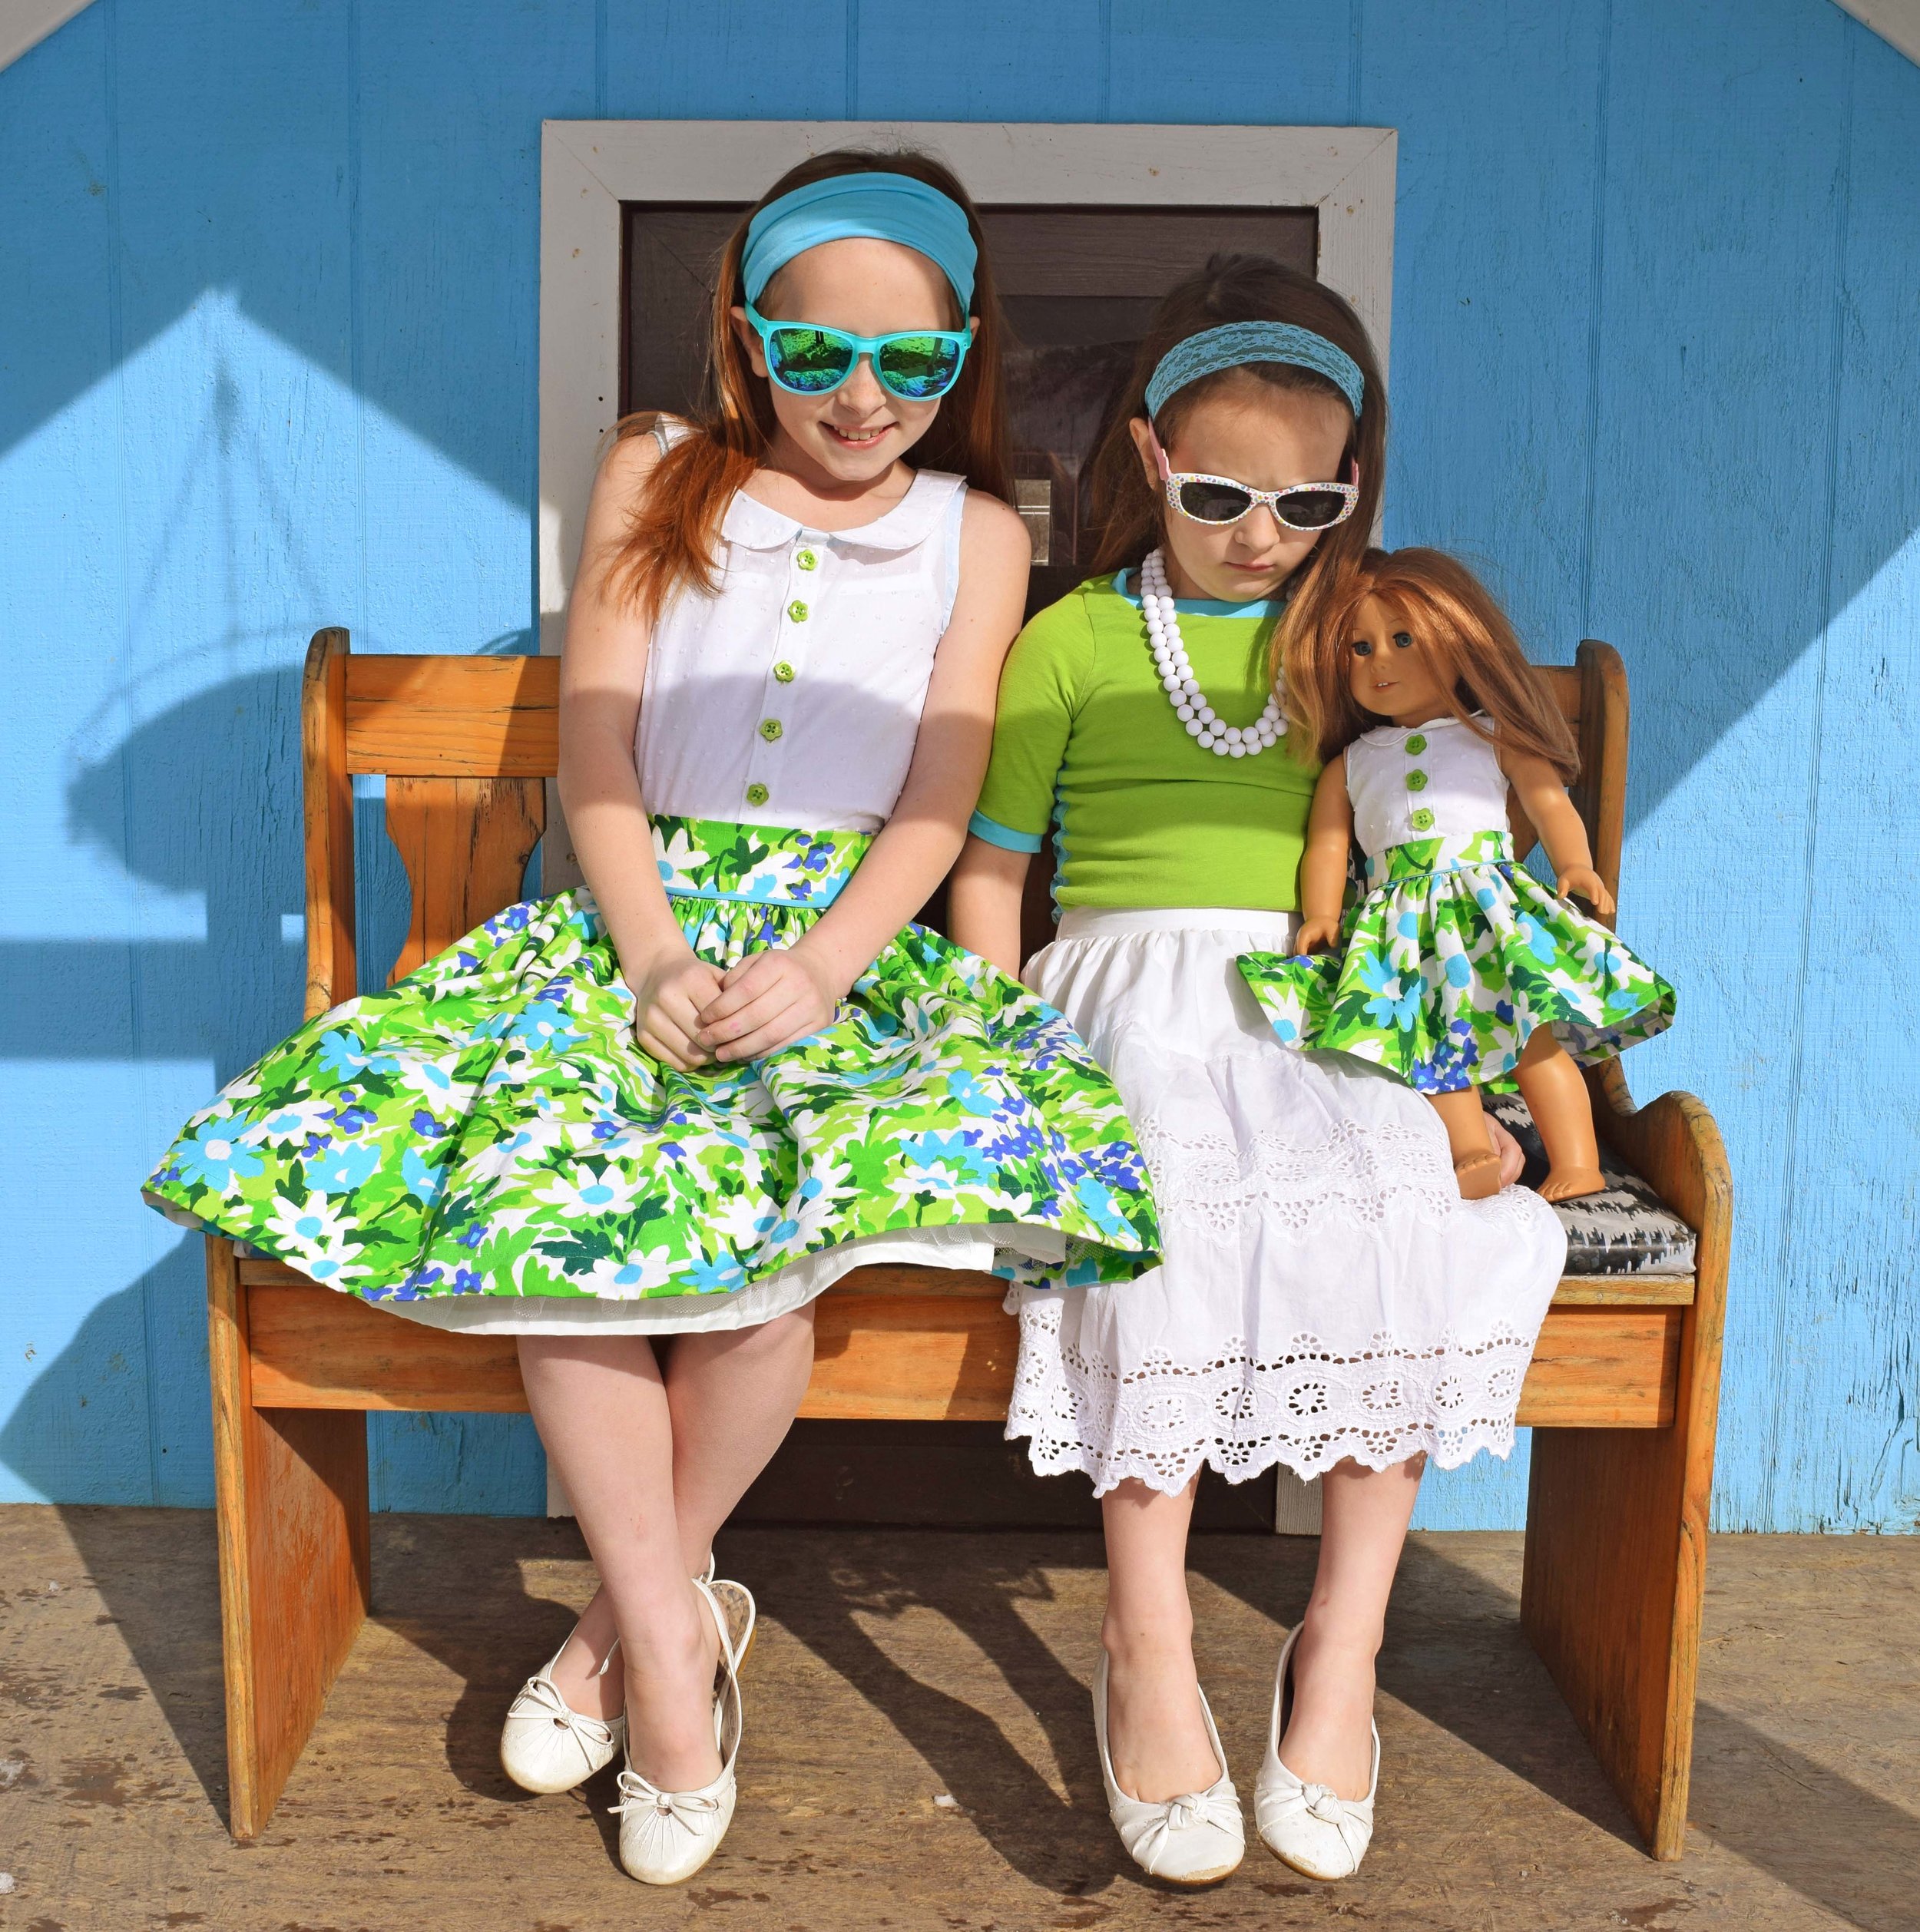
To take it a step further, I created a matching doll outfit from the scraps. I made my own patterns for these, too. It is lined, so I just used aqua topstitching around the edges.

matching vintage doll outfit

matching vintage doll outfit

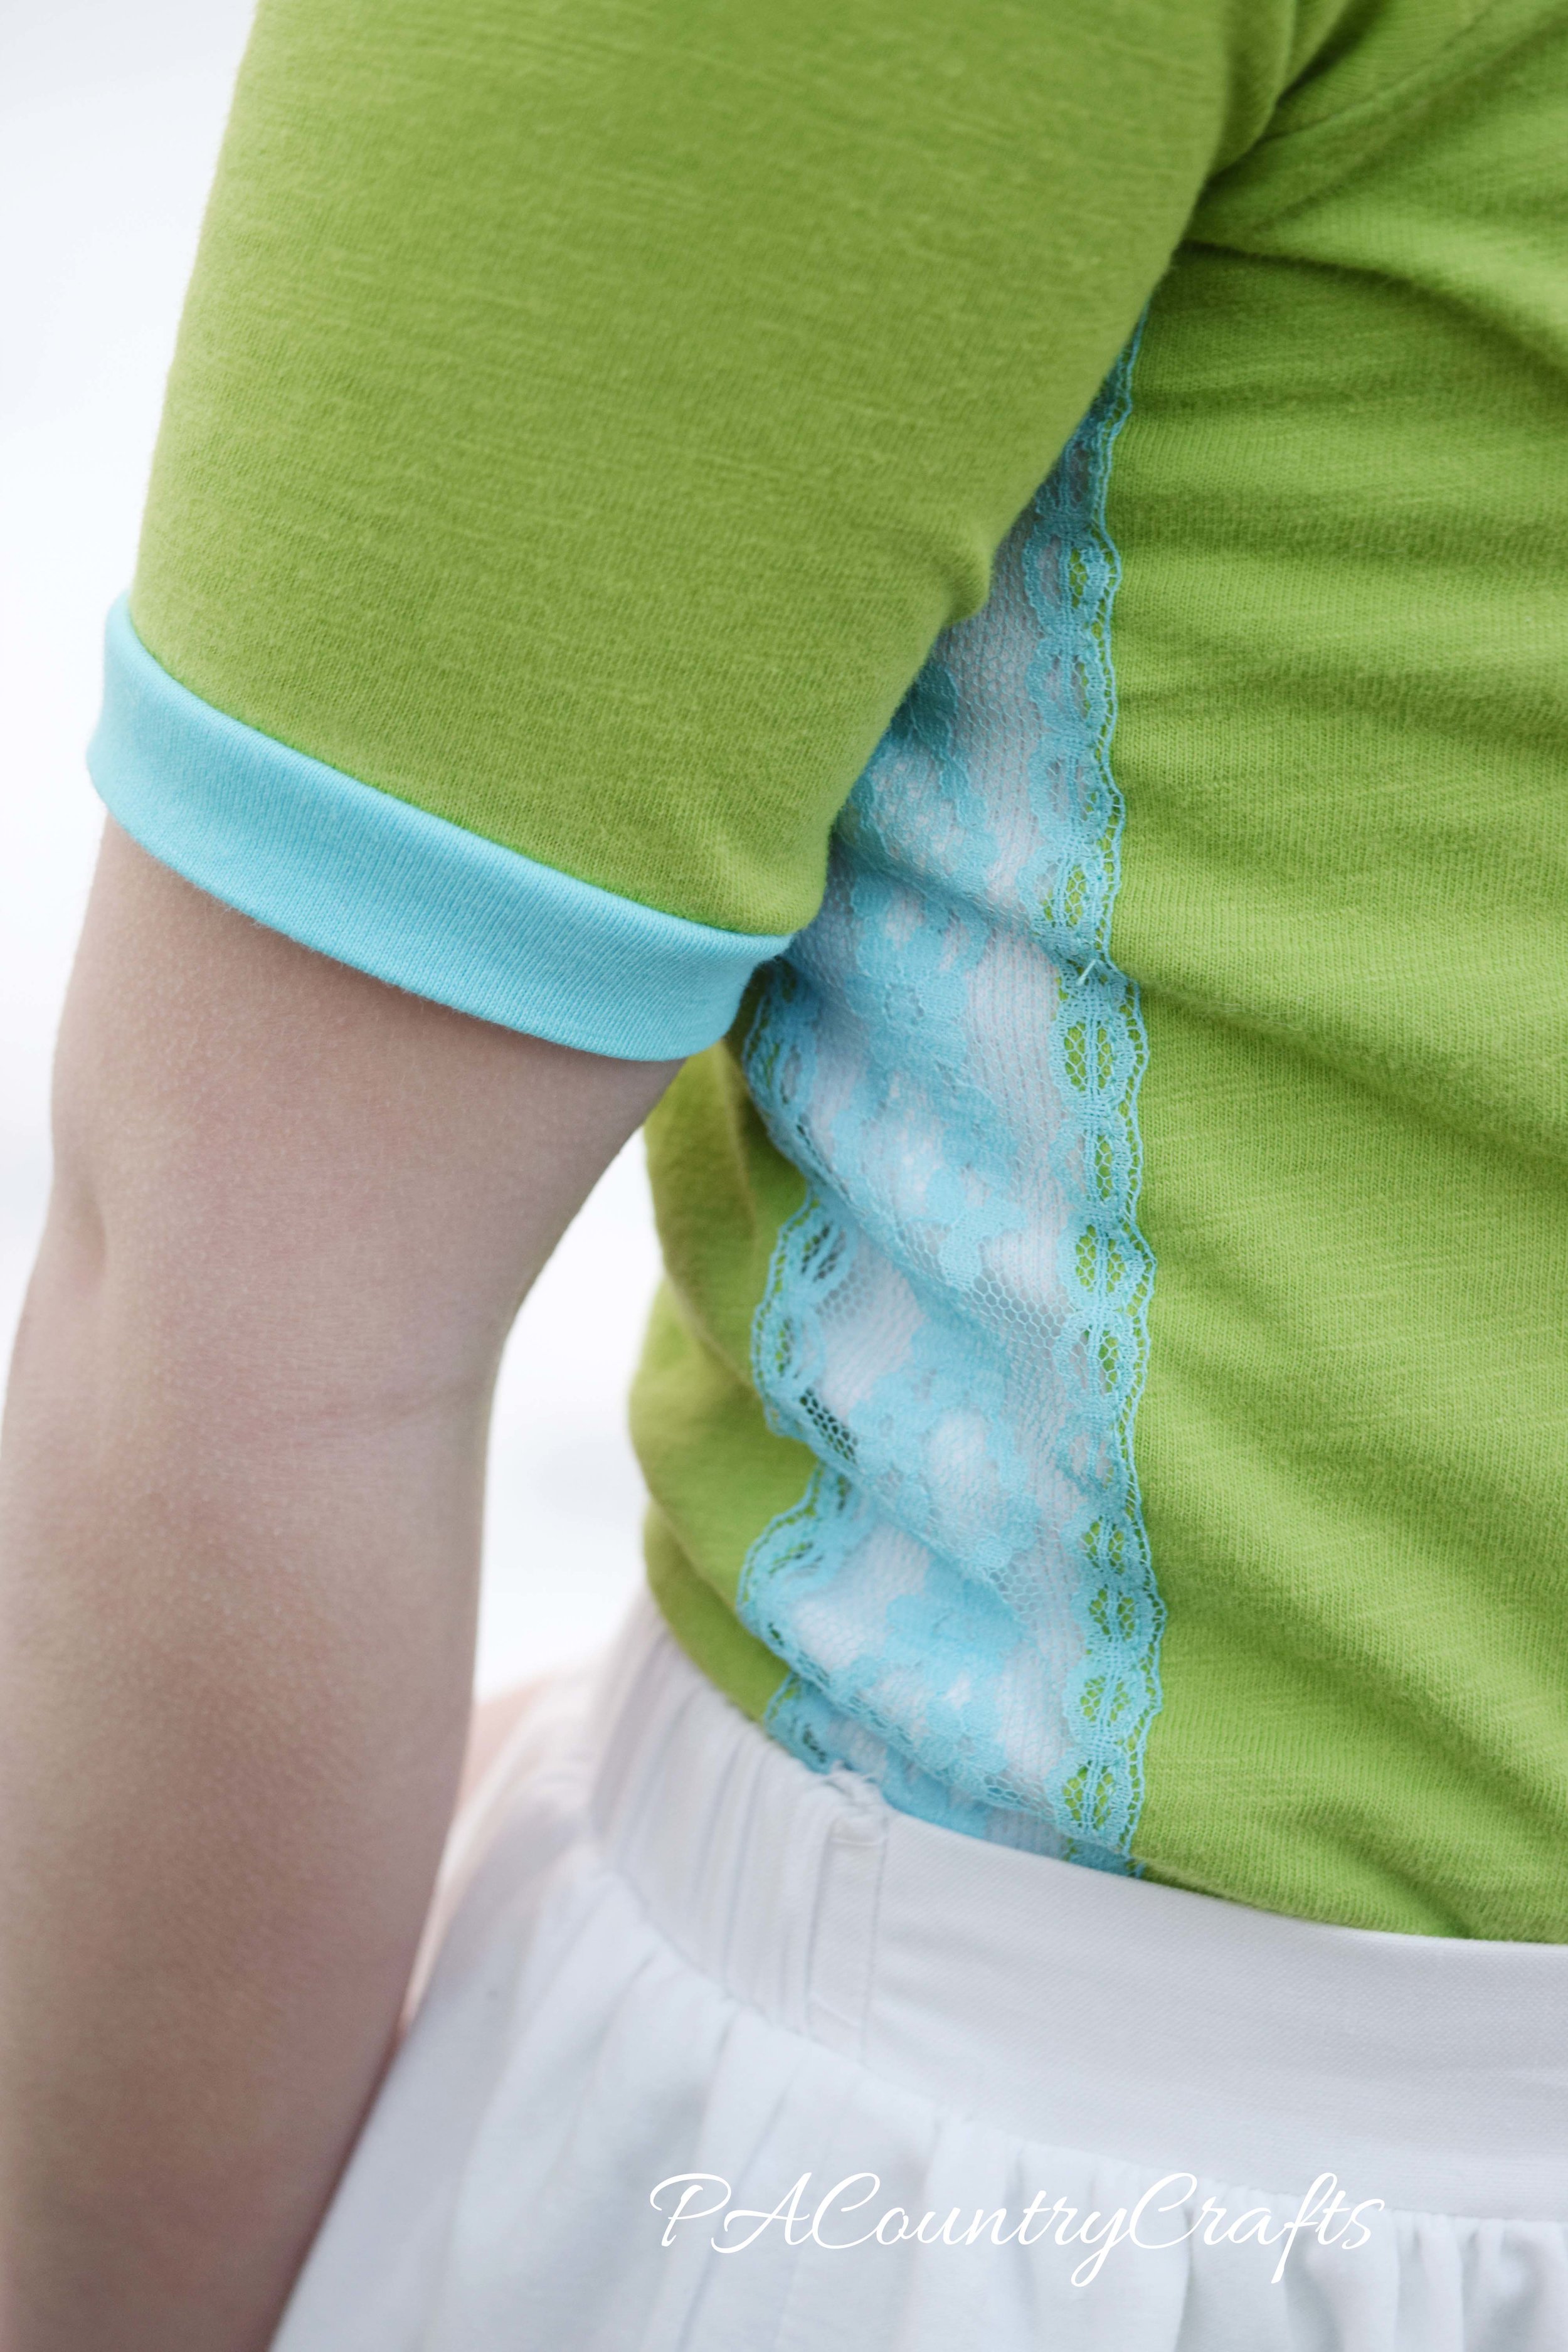
For the second outfit, I used two old t-shirts to create a new shirt in the same color scheme. I have never made a knit neckband before, so I was really happy with how that turned out. It has sheer, vintage lace under the arms.

lace inset sides

lace inset sides

(Yes, I know she has goosebumps. Poor girl! We took most of the pictures in our greenhouse so that it would be a little warmer.)

The beautiful lace eyelet skirt used to be part of a dress I found at the thrift store. I added some quilting cotton scraps to make a waistband that is elastic in the back. I know white is dangerous, but I figure there is always bleach. Something gross and awful happened to it after this photo shoot, so I will probably be testing that out soon. #keepitreal

I whipped up a few headbands to match from more lace and t shirt scraps.

greenery project run and play week 2 outfits

greenery project run and play week 2 outfits

Oh, and the bright blue playhouse is an upcycle project, too. It used to be a chicken pen with weathered wood and a leaky roof! Sometimes, all it takes it a little bit of hard work to bring new life to something that was unwanted. So, even though things may be looking like a winter mess where I live today,  I know that it is going to be OK: spring and all of the beauty that comes with it will be here soon.
Cute vintage style girls clothes made from repurposed materials- there is even a matching doll set!

Cute vintage style girls clothes made from repurposed materials- there is even a matching doll set!

You can vote for your favorite "greenery" inspired design HERE at Project Run and Play.

Thank you to everyone who voted for me last week! I am so excited to stay in the competition!!! Thank you again to the friends and family, even those with terrible fashion sense, who help me figure things out and give me honest opinions. Thank you to my Aunt Karen who forgot to vote, but gave me one of shirts I used. Thank you to Vicki for saving that wonderful, old fabric for me. Thank you to my friends and family who help me with my vision. Thank you to my husband for finishing the greenhouse before the snow came and being my photography assistant. As you can see by the picture below, one of my models was not as cooperative this week.

Adorable vintage style girls outfits made from upcycled materials

Adorable vintage style girls outfits made from upcycled materials

Bitty Baby Doll Clothes

Hey there! I am still around. And, believe it or not, I have been super crafty lately, too. The thing is, I just don't get a chance to blog about it.

My 12yo has also taken over my sewing area. She is sewing lots of doll clothes! Most of them are for American Girl or 18" dolls, but someone asked if she could make doll clothes for a Bitty Baby.

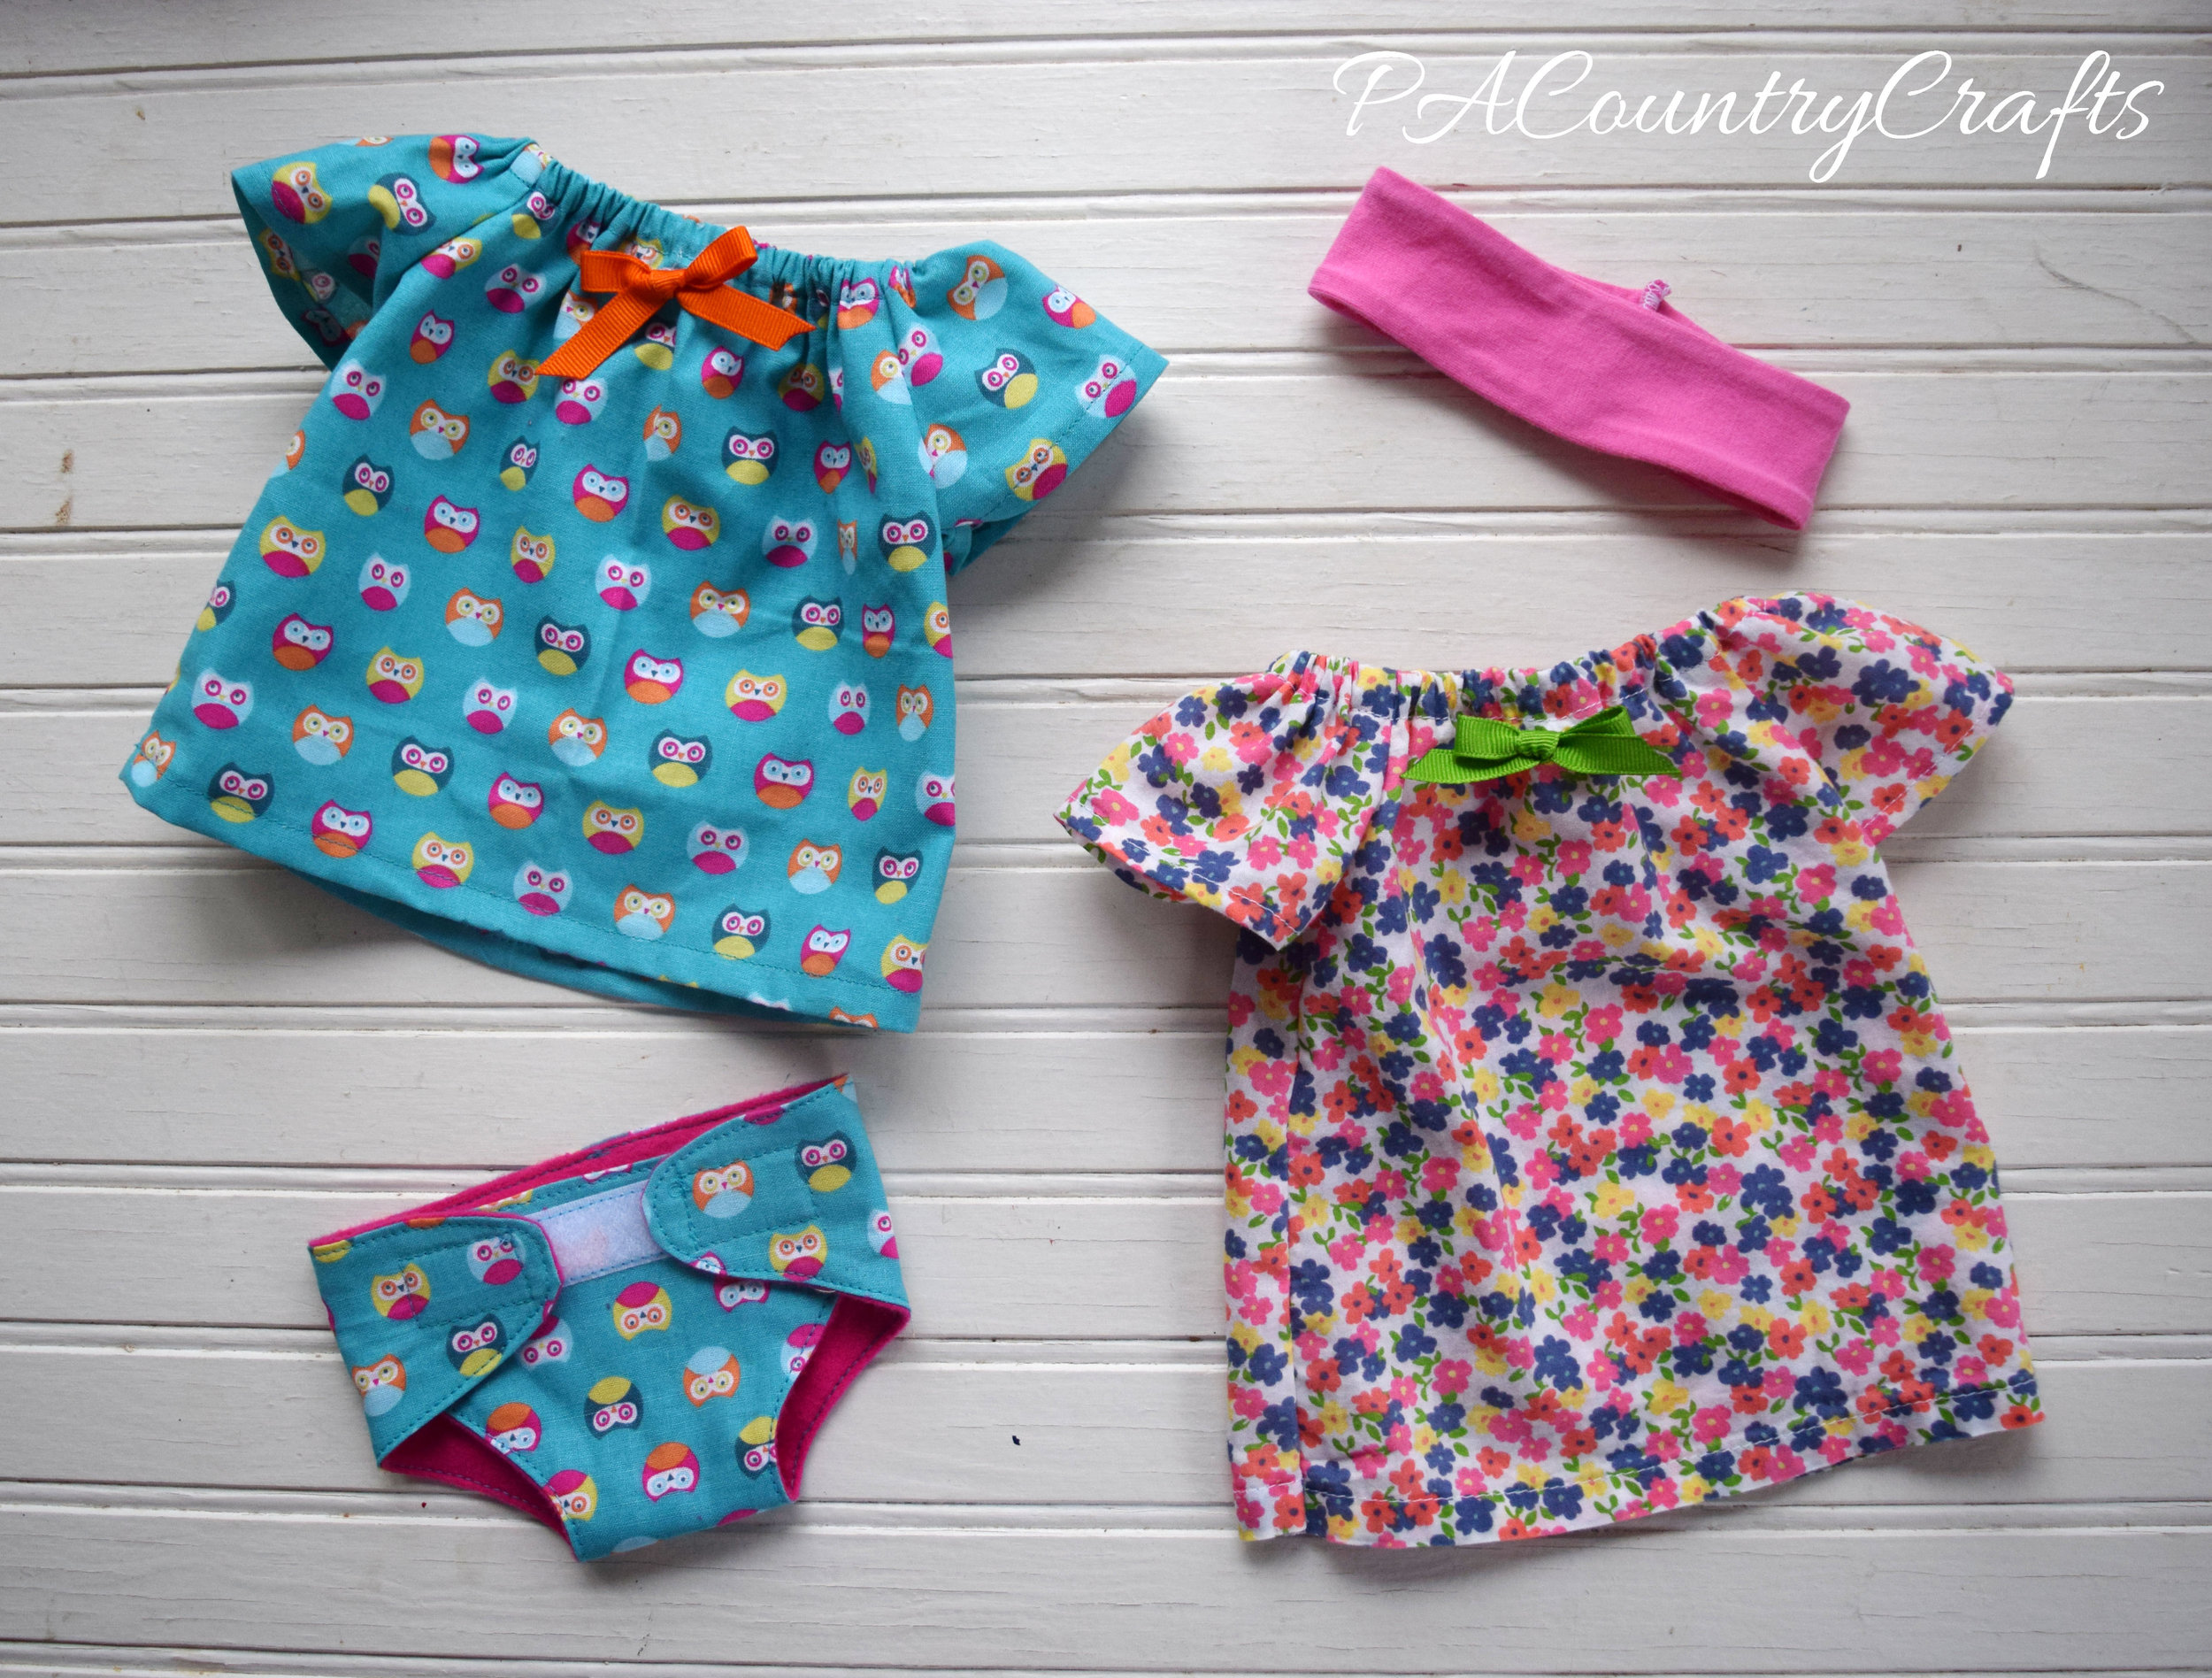
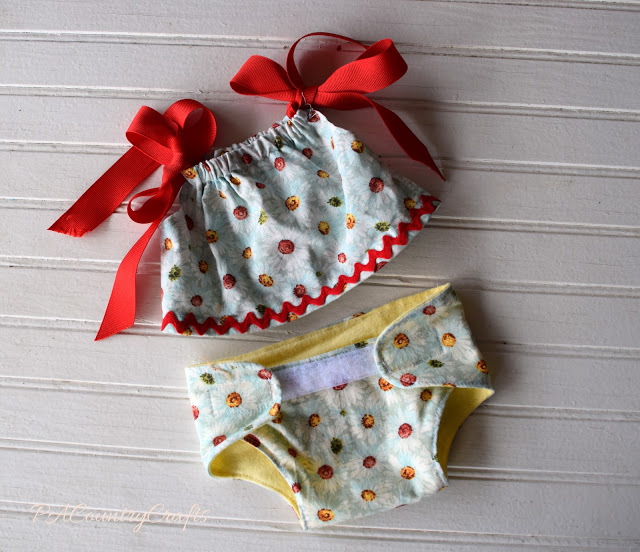
She made a dress and matching diaper out of this cute owl fabric. It is a peasant dress- modified from the pattern we usually use for 18" dolls.

Bitty Baby Owl Dress

Bitty Baby Owl Dress

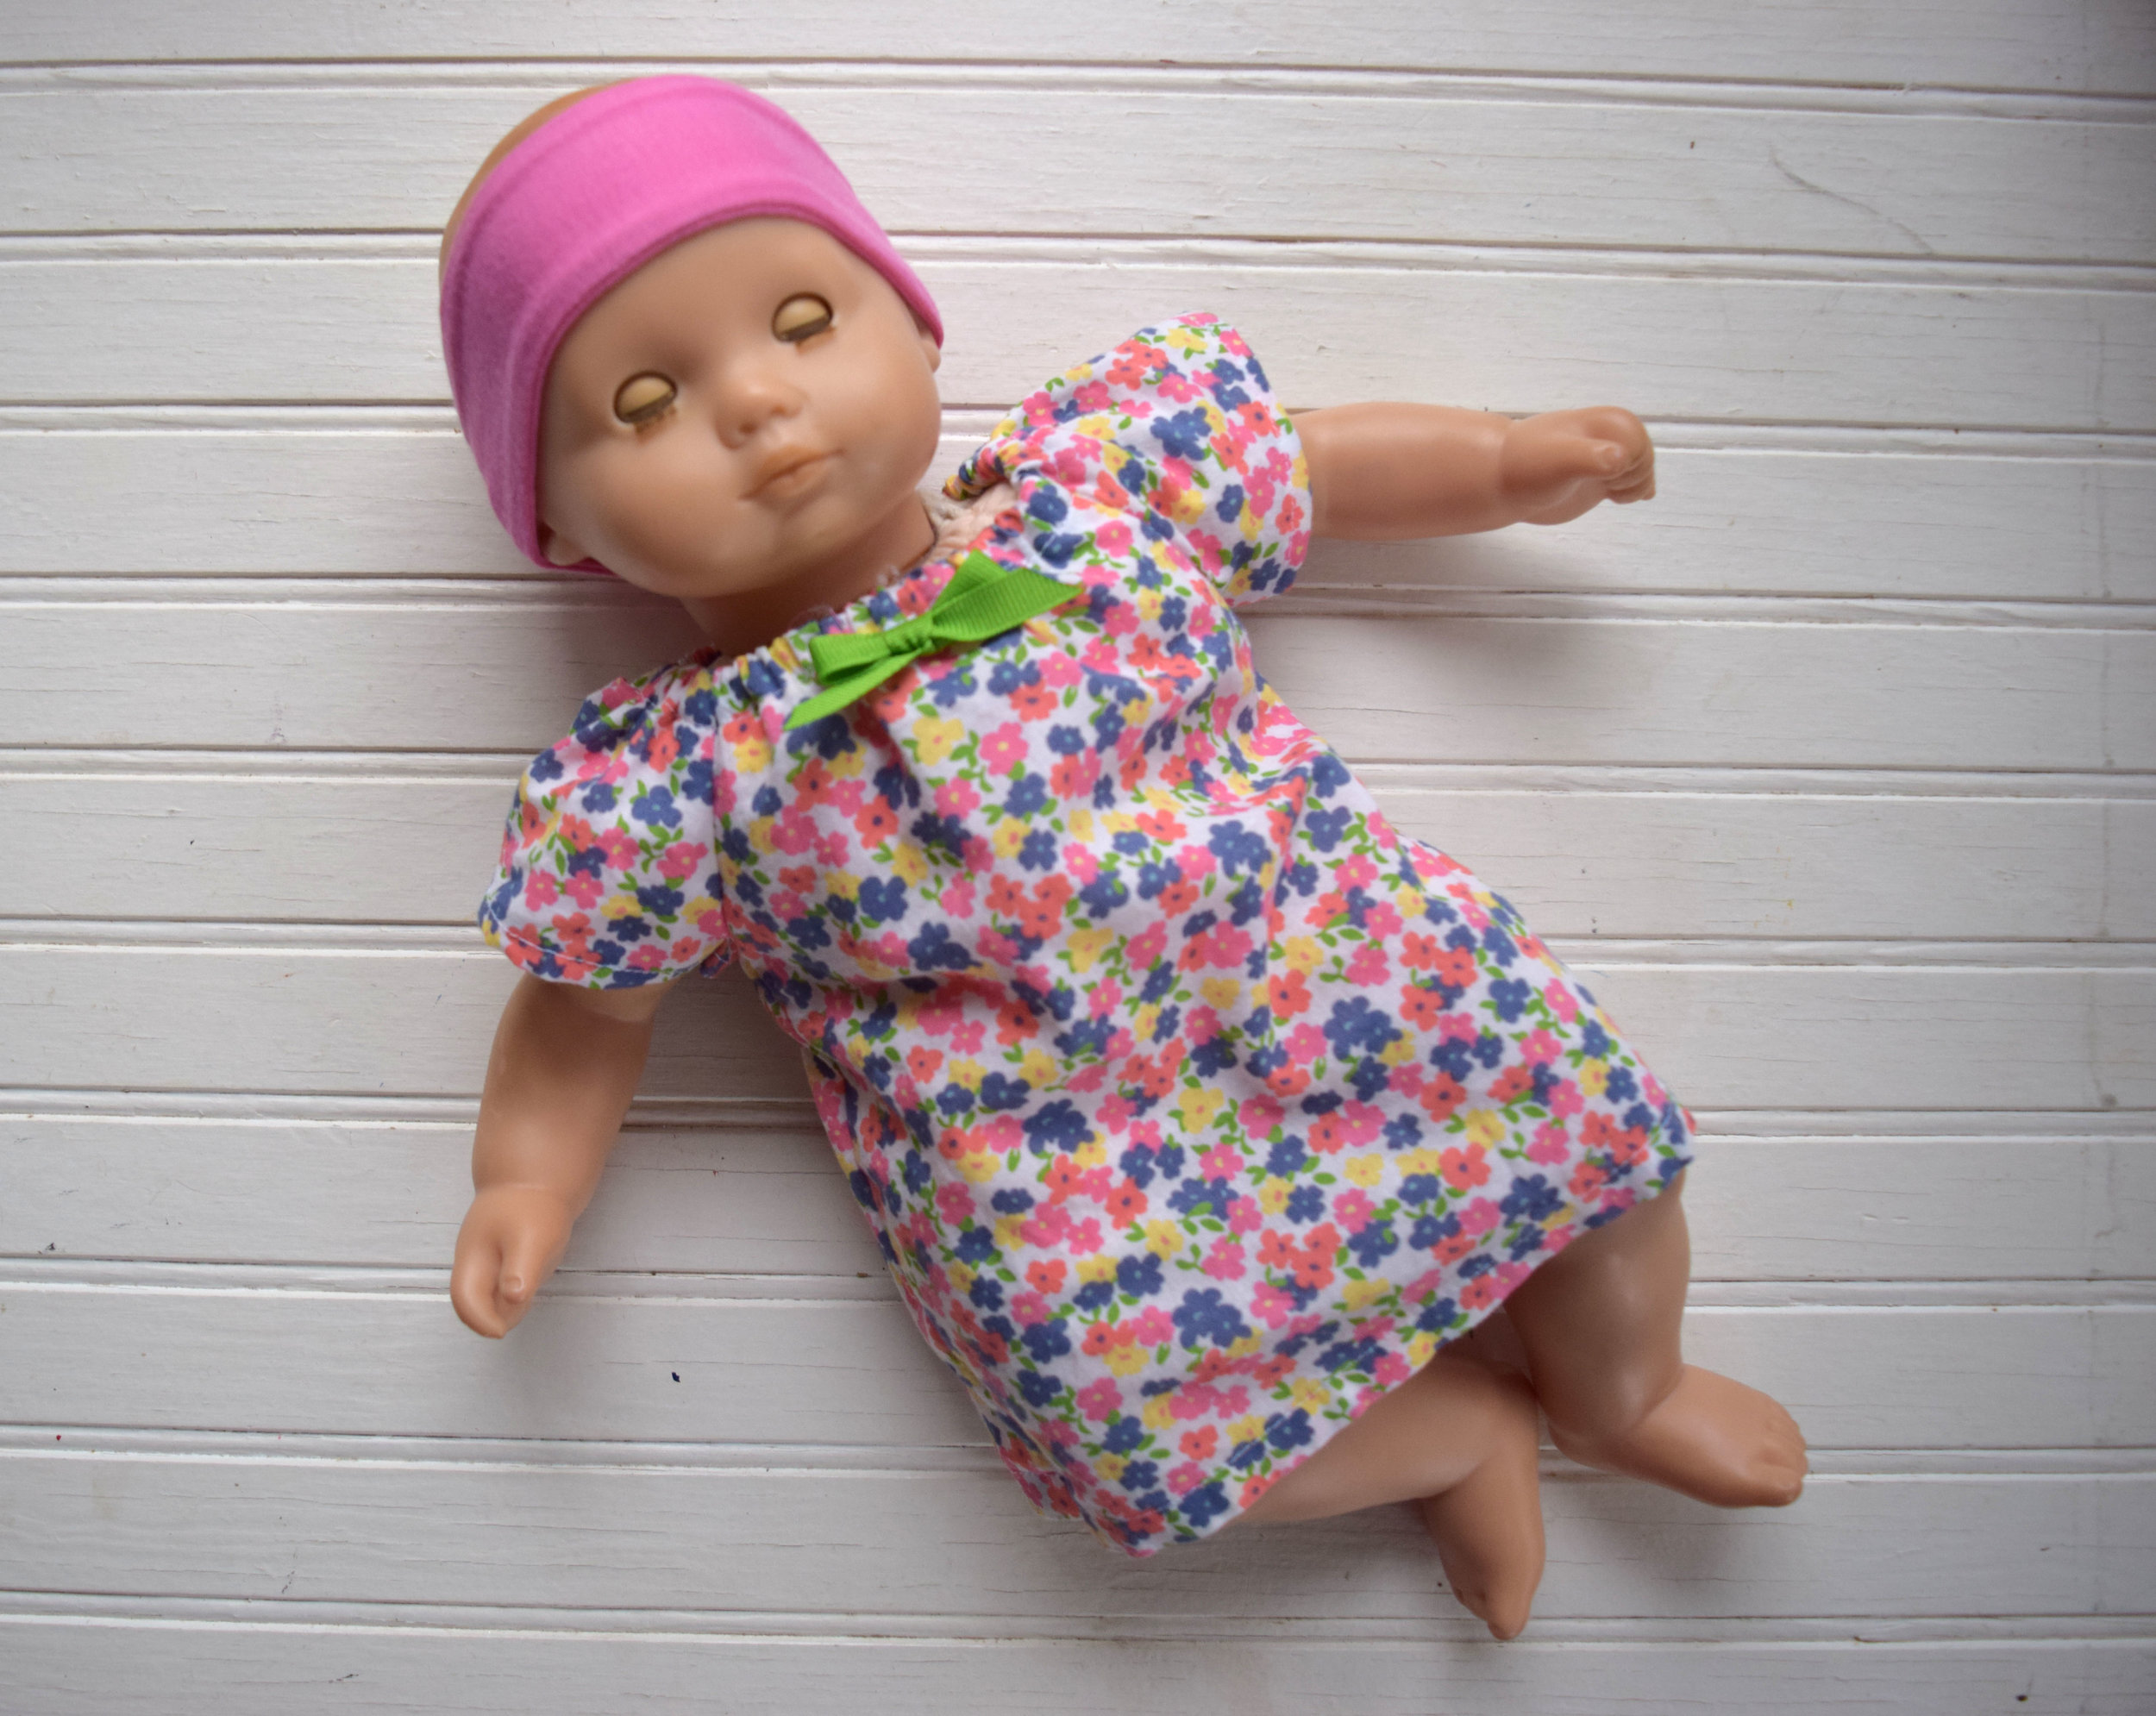
Then, she upcycled some clothing items for a headband and dress - scraps from a new shirt I bought on clearance to make toddler leggings and a cotton girls' top.

Bitty Baby Peasant Dress

Bitty Baby Peasant Dress

Both outfits turned out really adorable! I especially love the little diaper.

Bitty Baby Doll Clothes

Bitty Baby Doll Clothes

She has a lot more doll clothes that I will probably blog about eventually. We also have our own patterns for these clothes to share... one day. Things are a little crazy right now, so I am just trying to take pictures when I remember and I can always blog about it later, whenever that may be.

But right now, I have to go make a peanut butter and jelly sandwich.

Doll Clothes Sewn by a 12yo

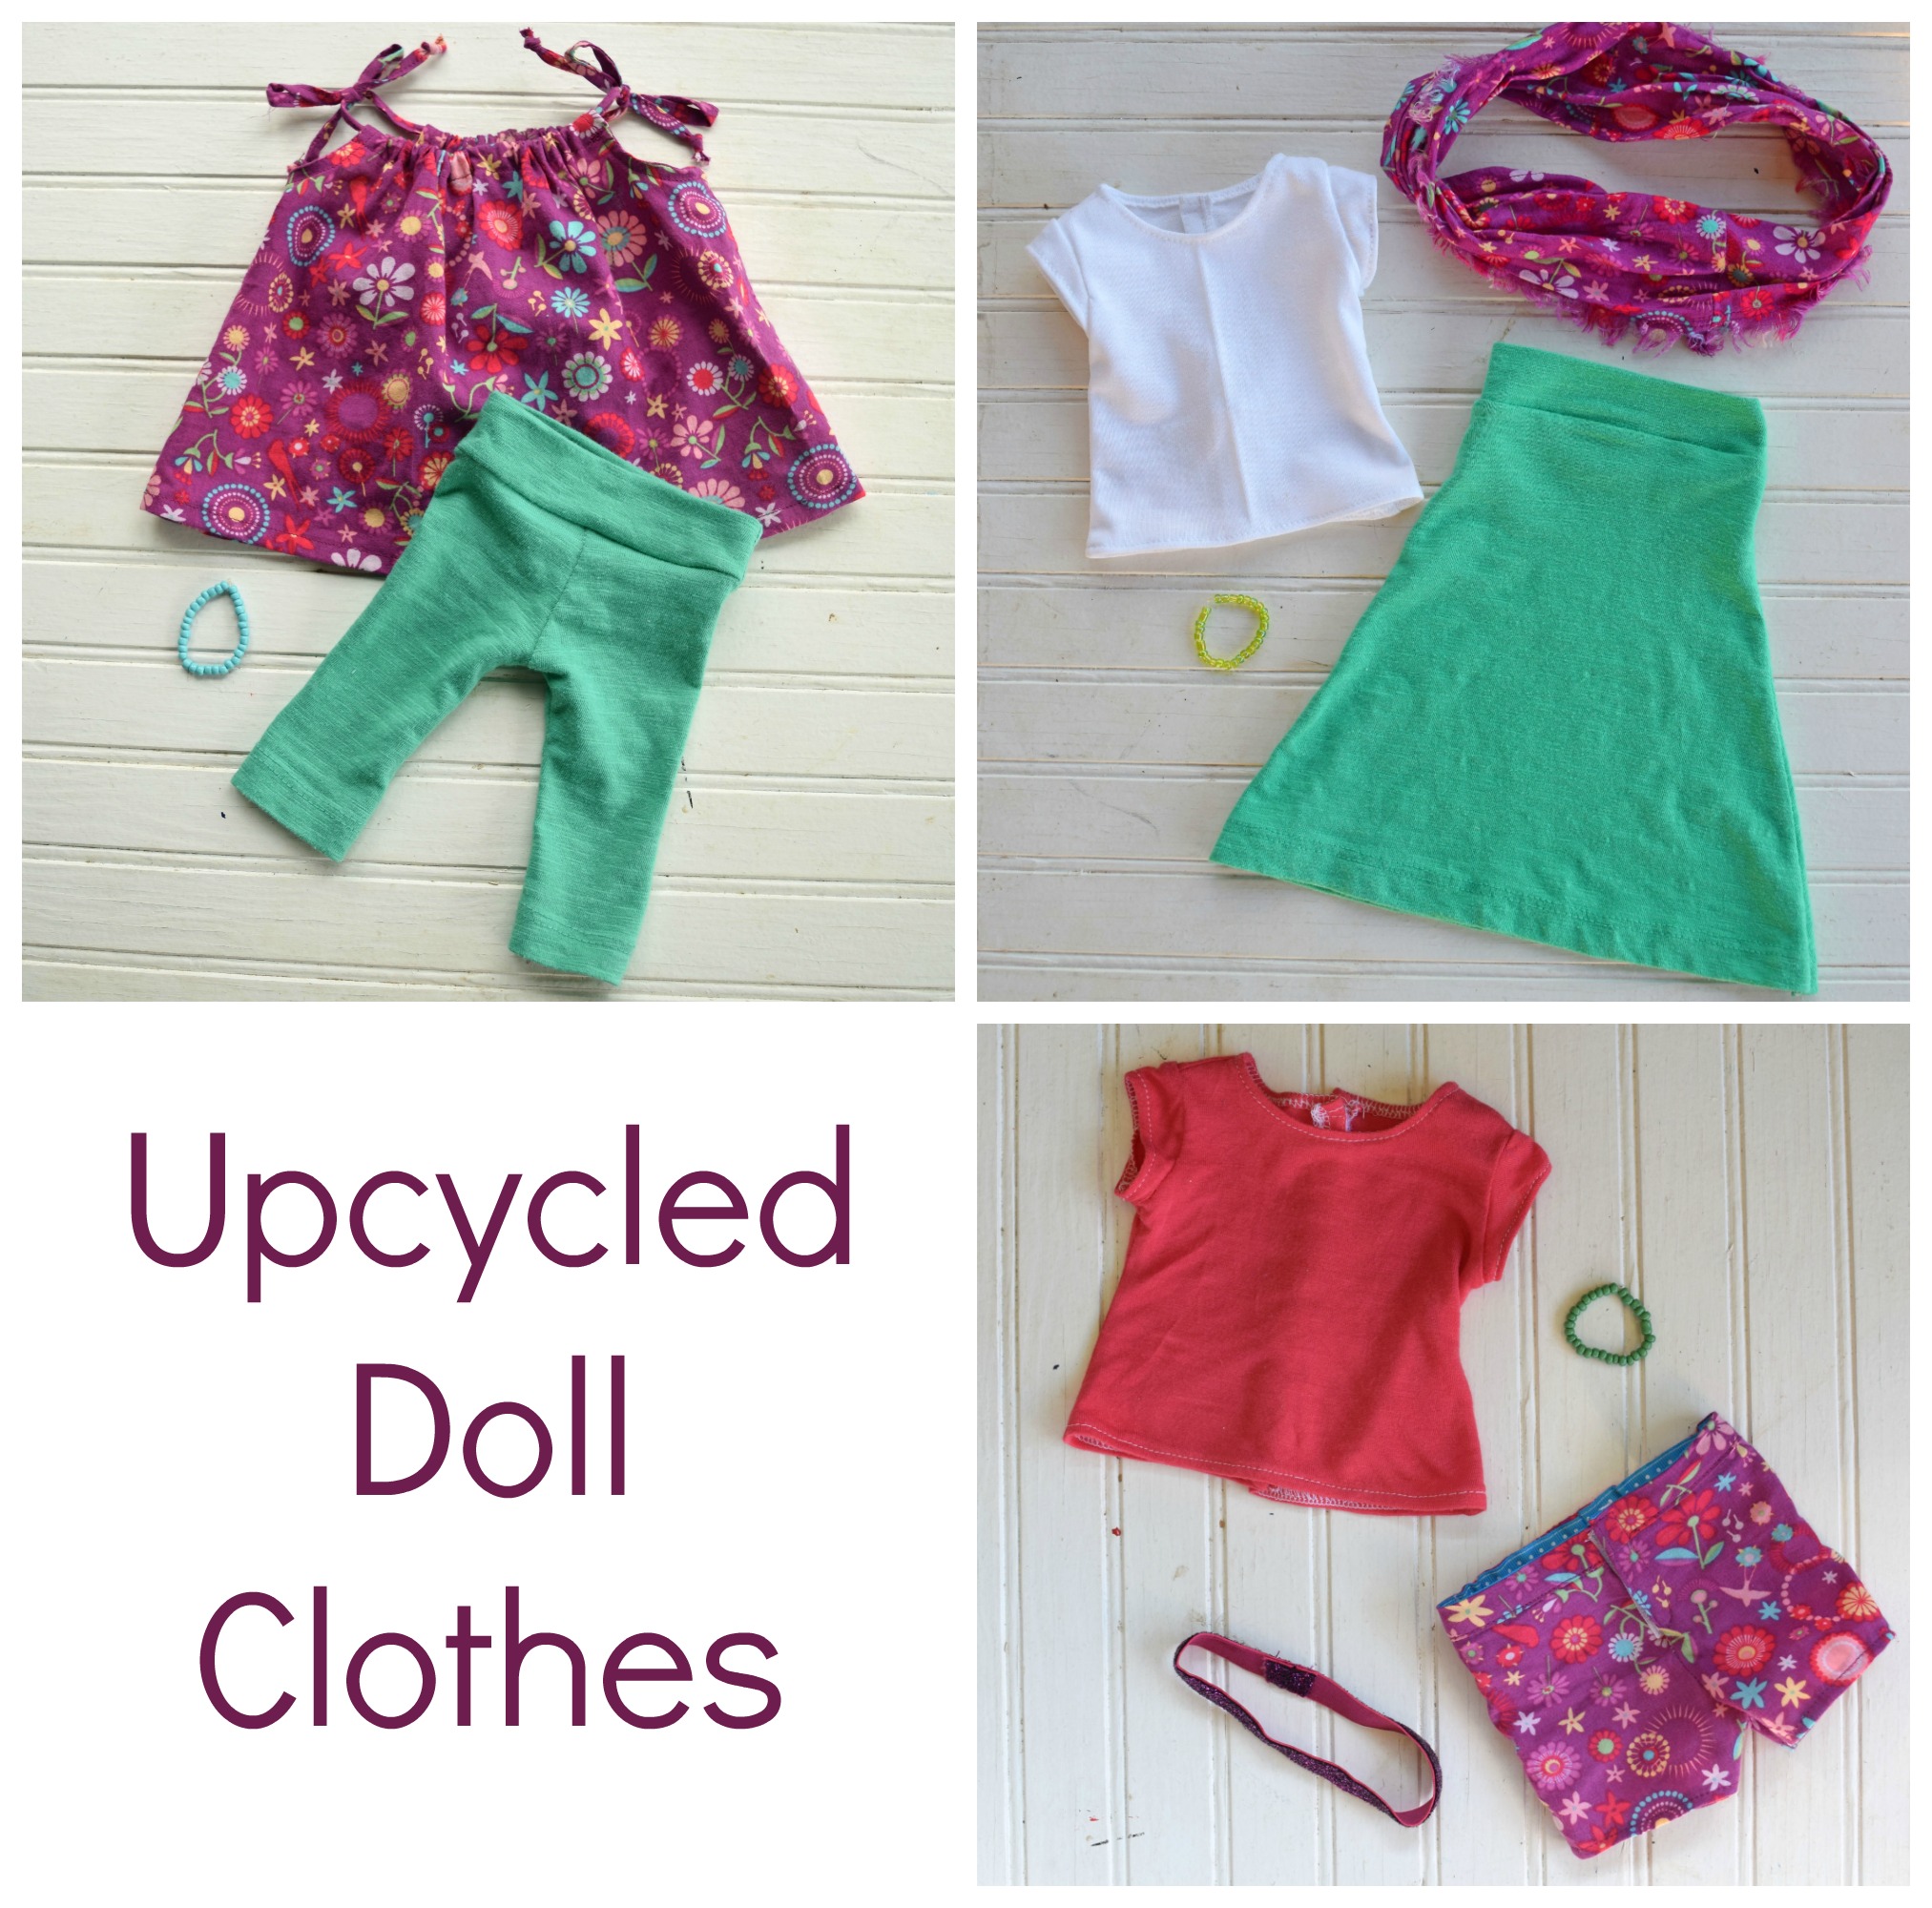
My 12yo daughter began making doll clothes this summer. She wanted some expensive shoes for school and would have exceeded her school shopping allotment. So, I told her she had to find a way to earn money to buy them herself. She began designing and sewing doll clothes (with a lot of help) and earned enough to get those shoes (YAY for a sale!), some additional clothes, gifts for friends, and add to her washi tape collection. She began by using clothes from our donation bag as a fabric source. So, the initial start-up was $0. It was hard to find things that matched in the bag. Some of the finished doll clothes had to be kept because they didn't pass my quality control. I also had to help her a lot with the T-shirts.

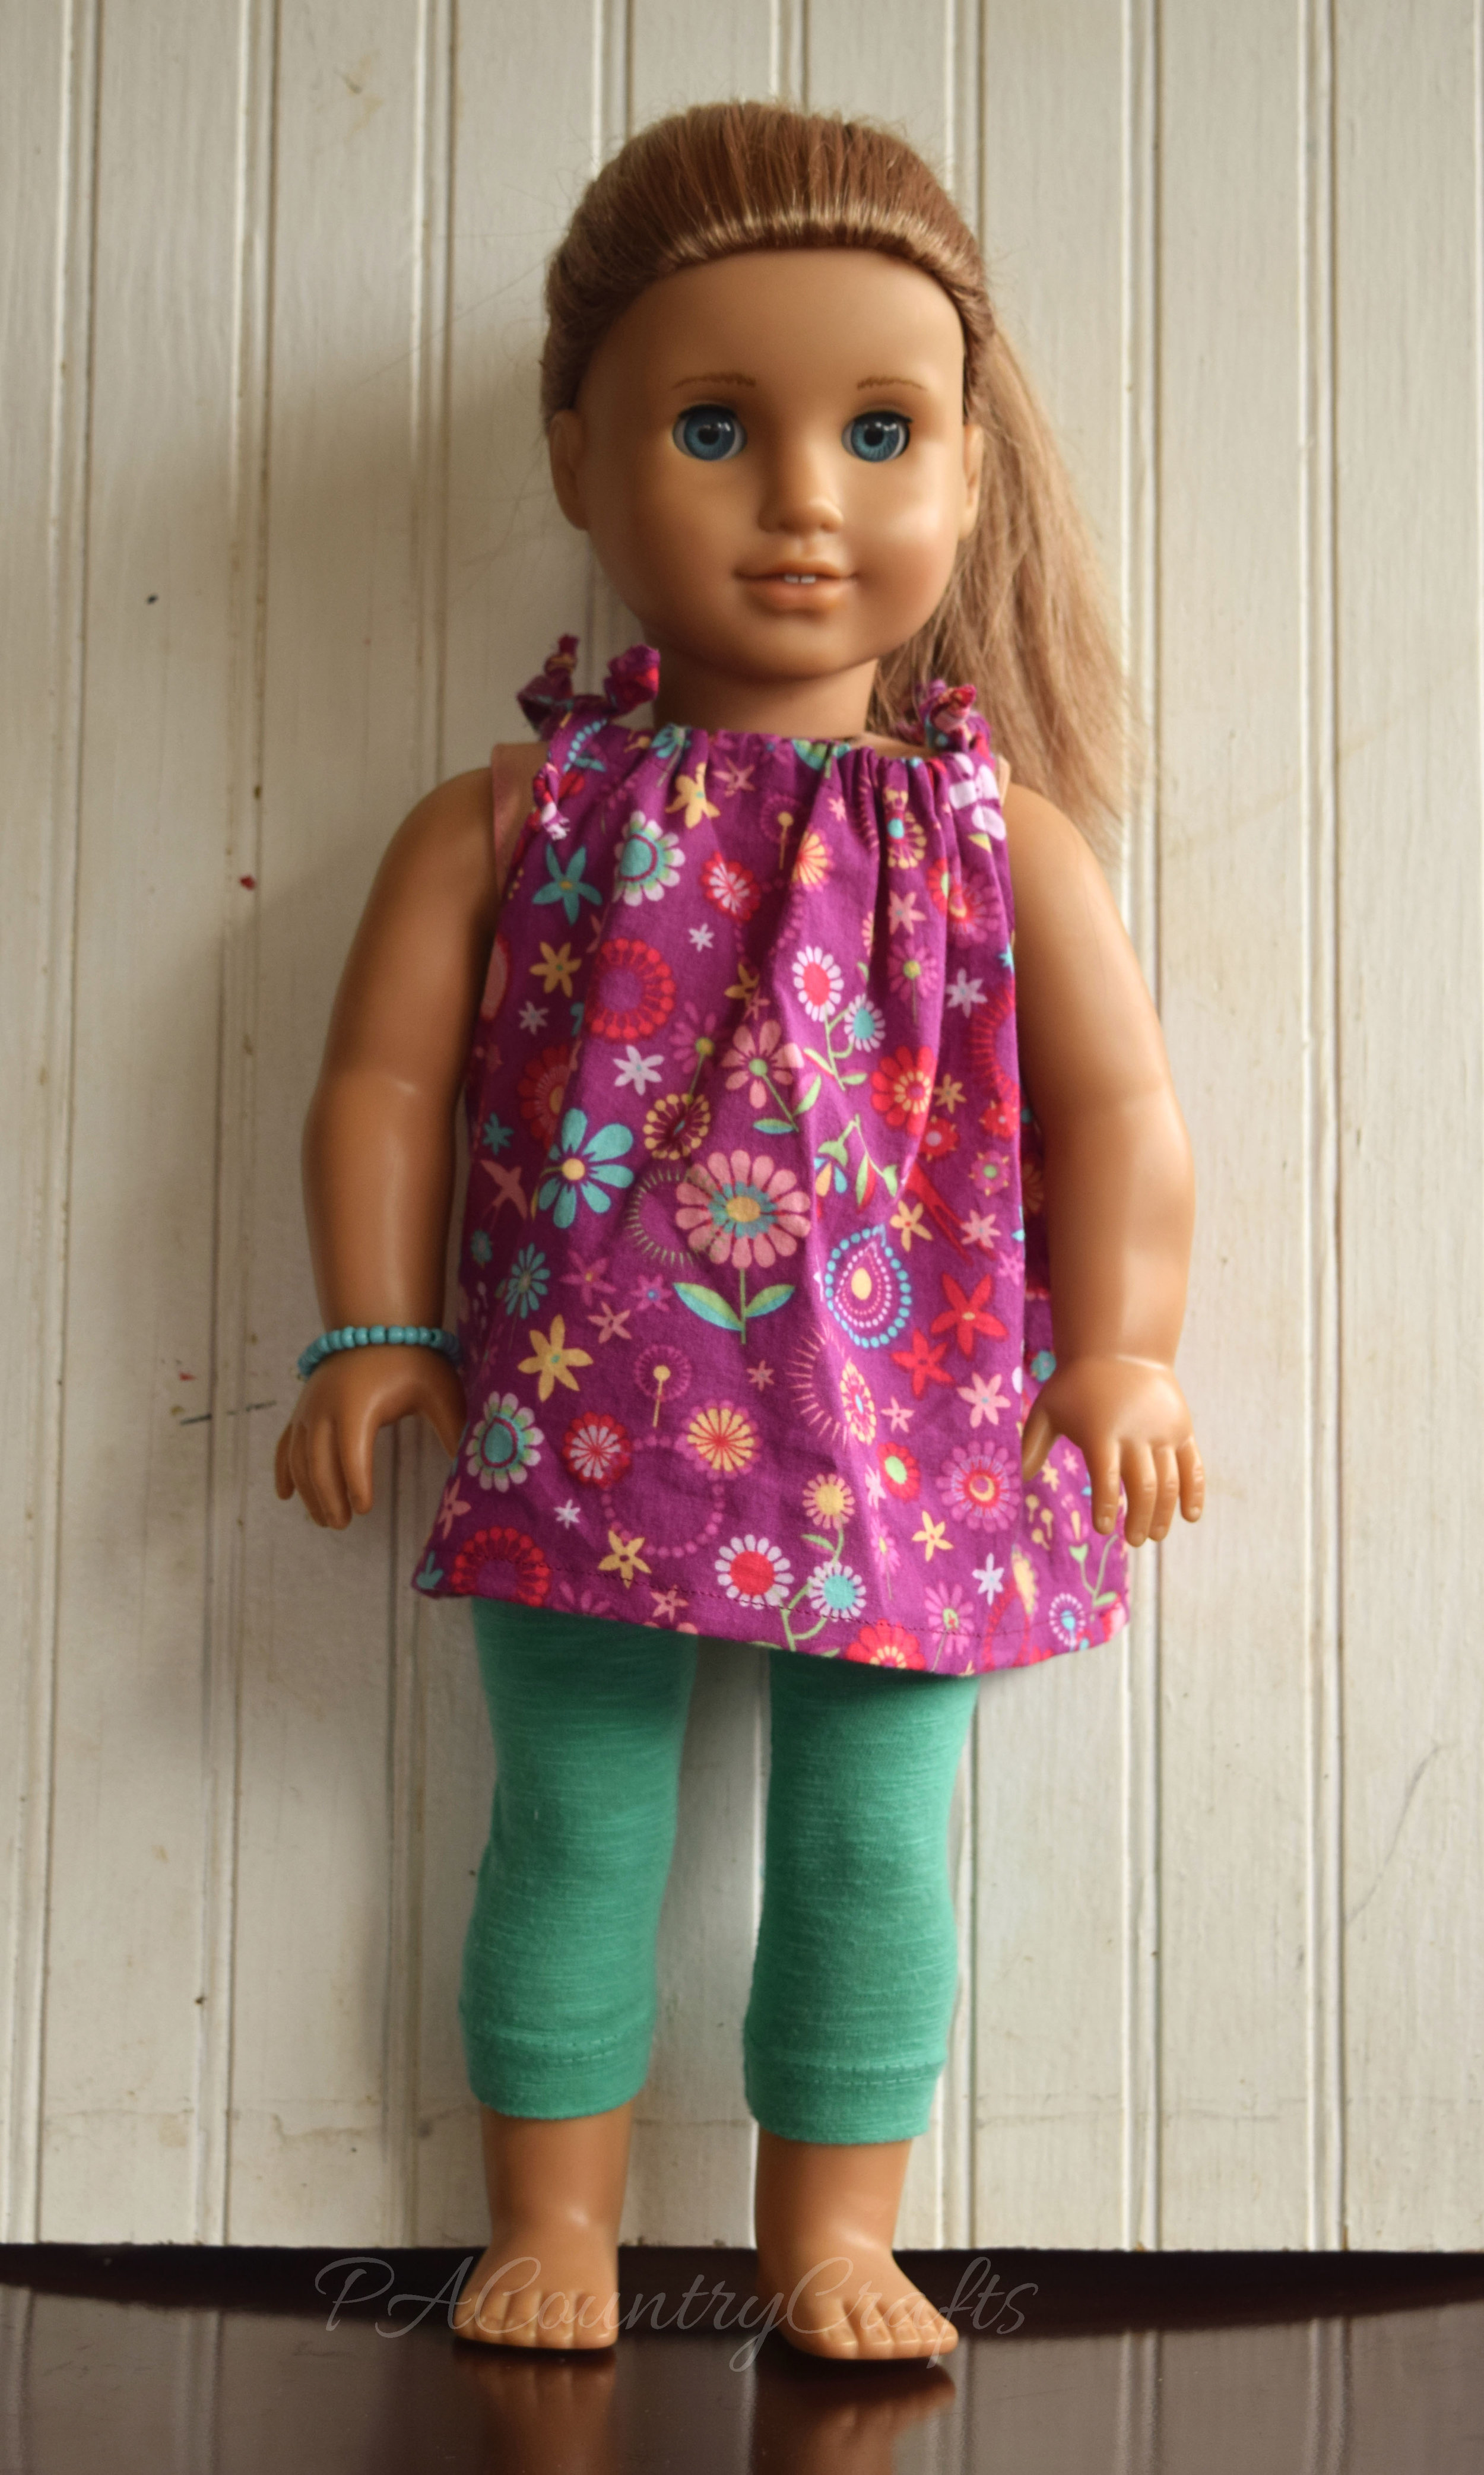
american girl doll capri leggings and drawstring tunic

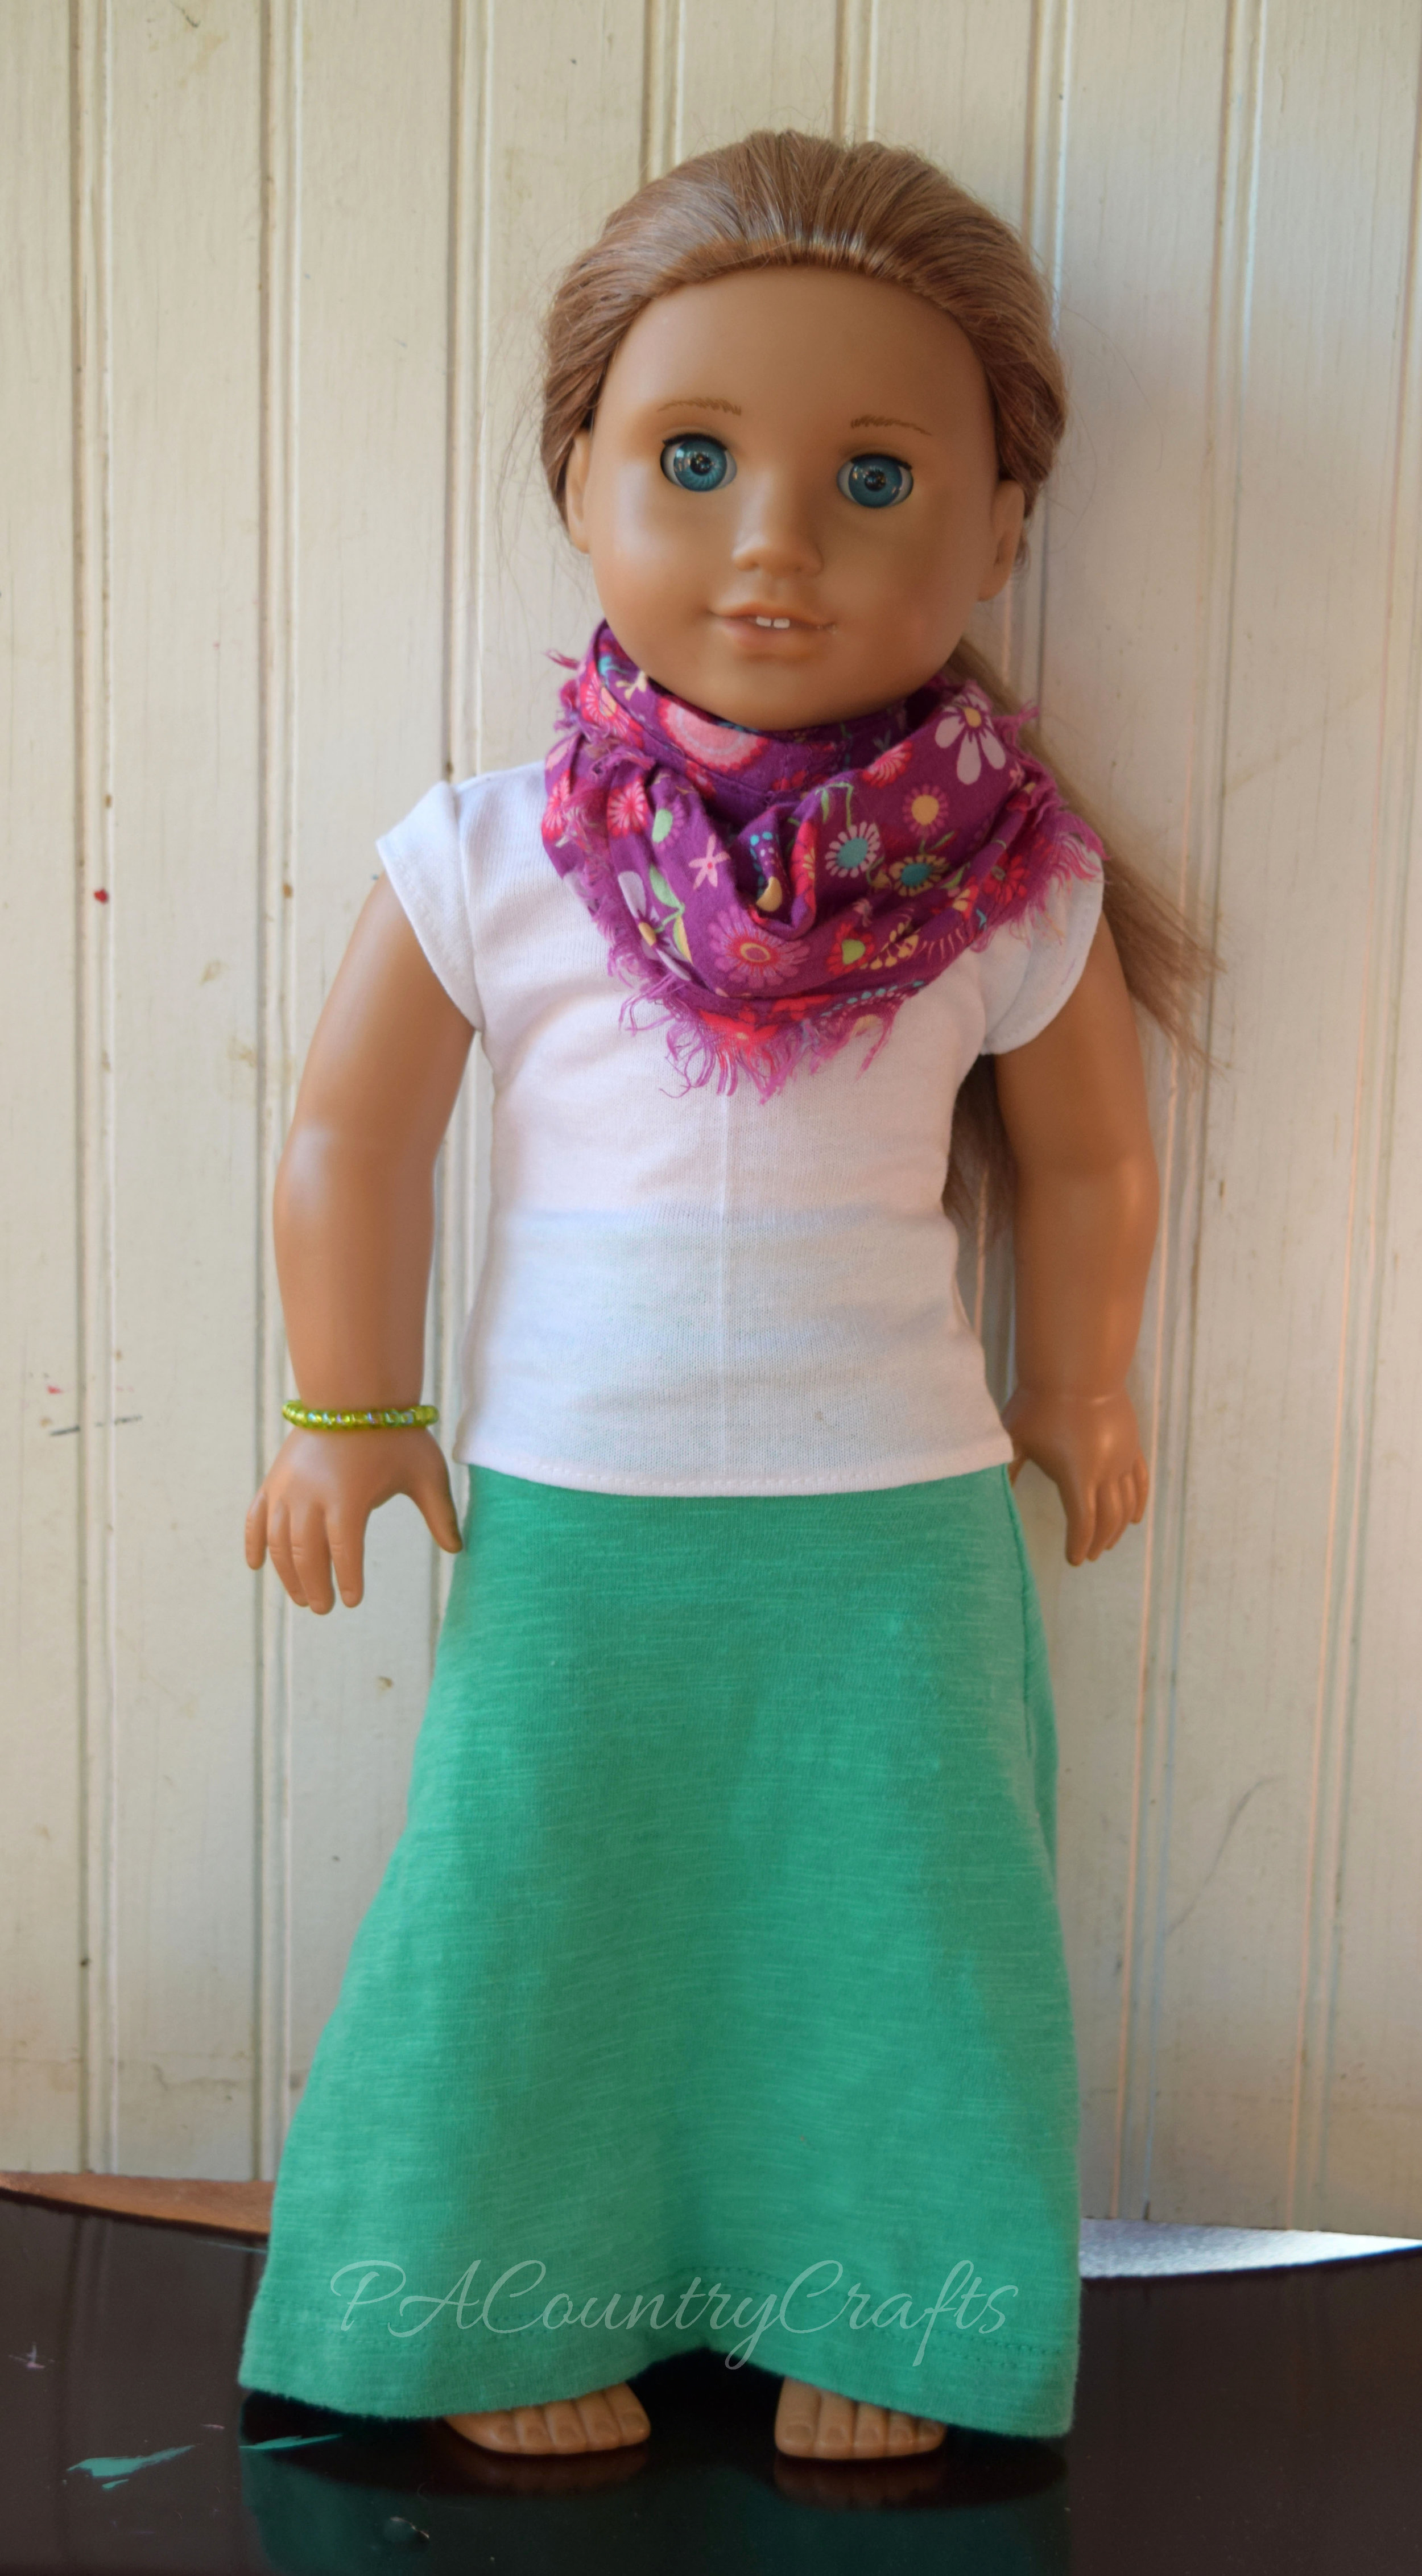
american girl doll maxi skirt, t shirt, and infinity scarf

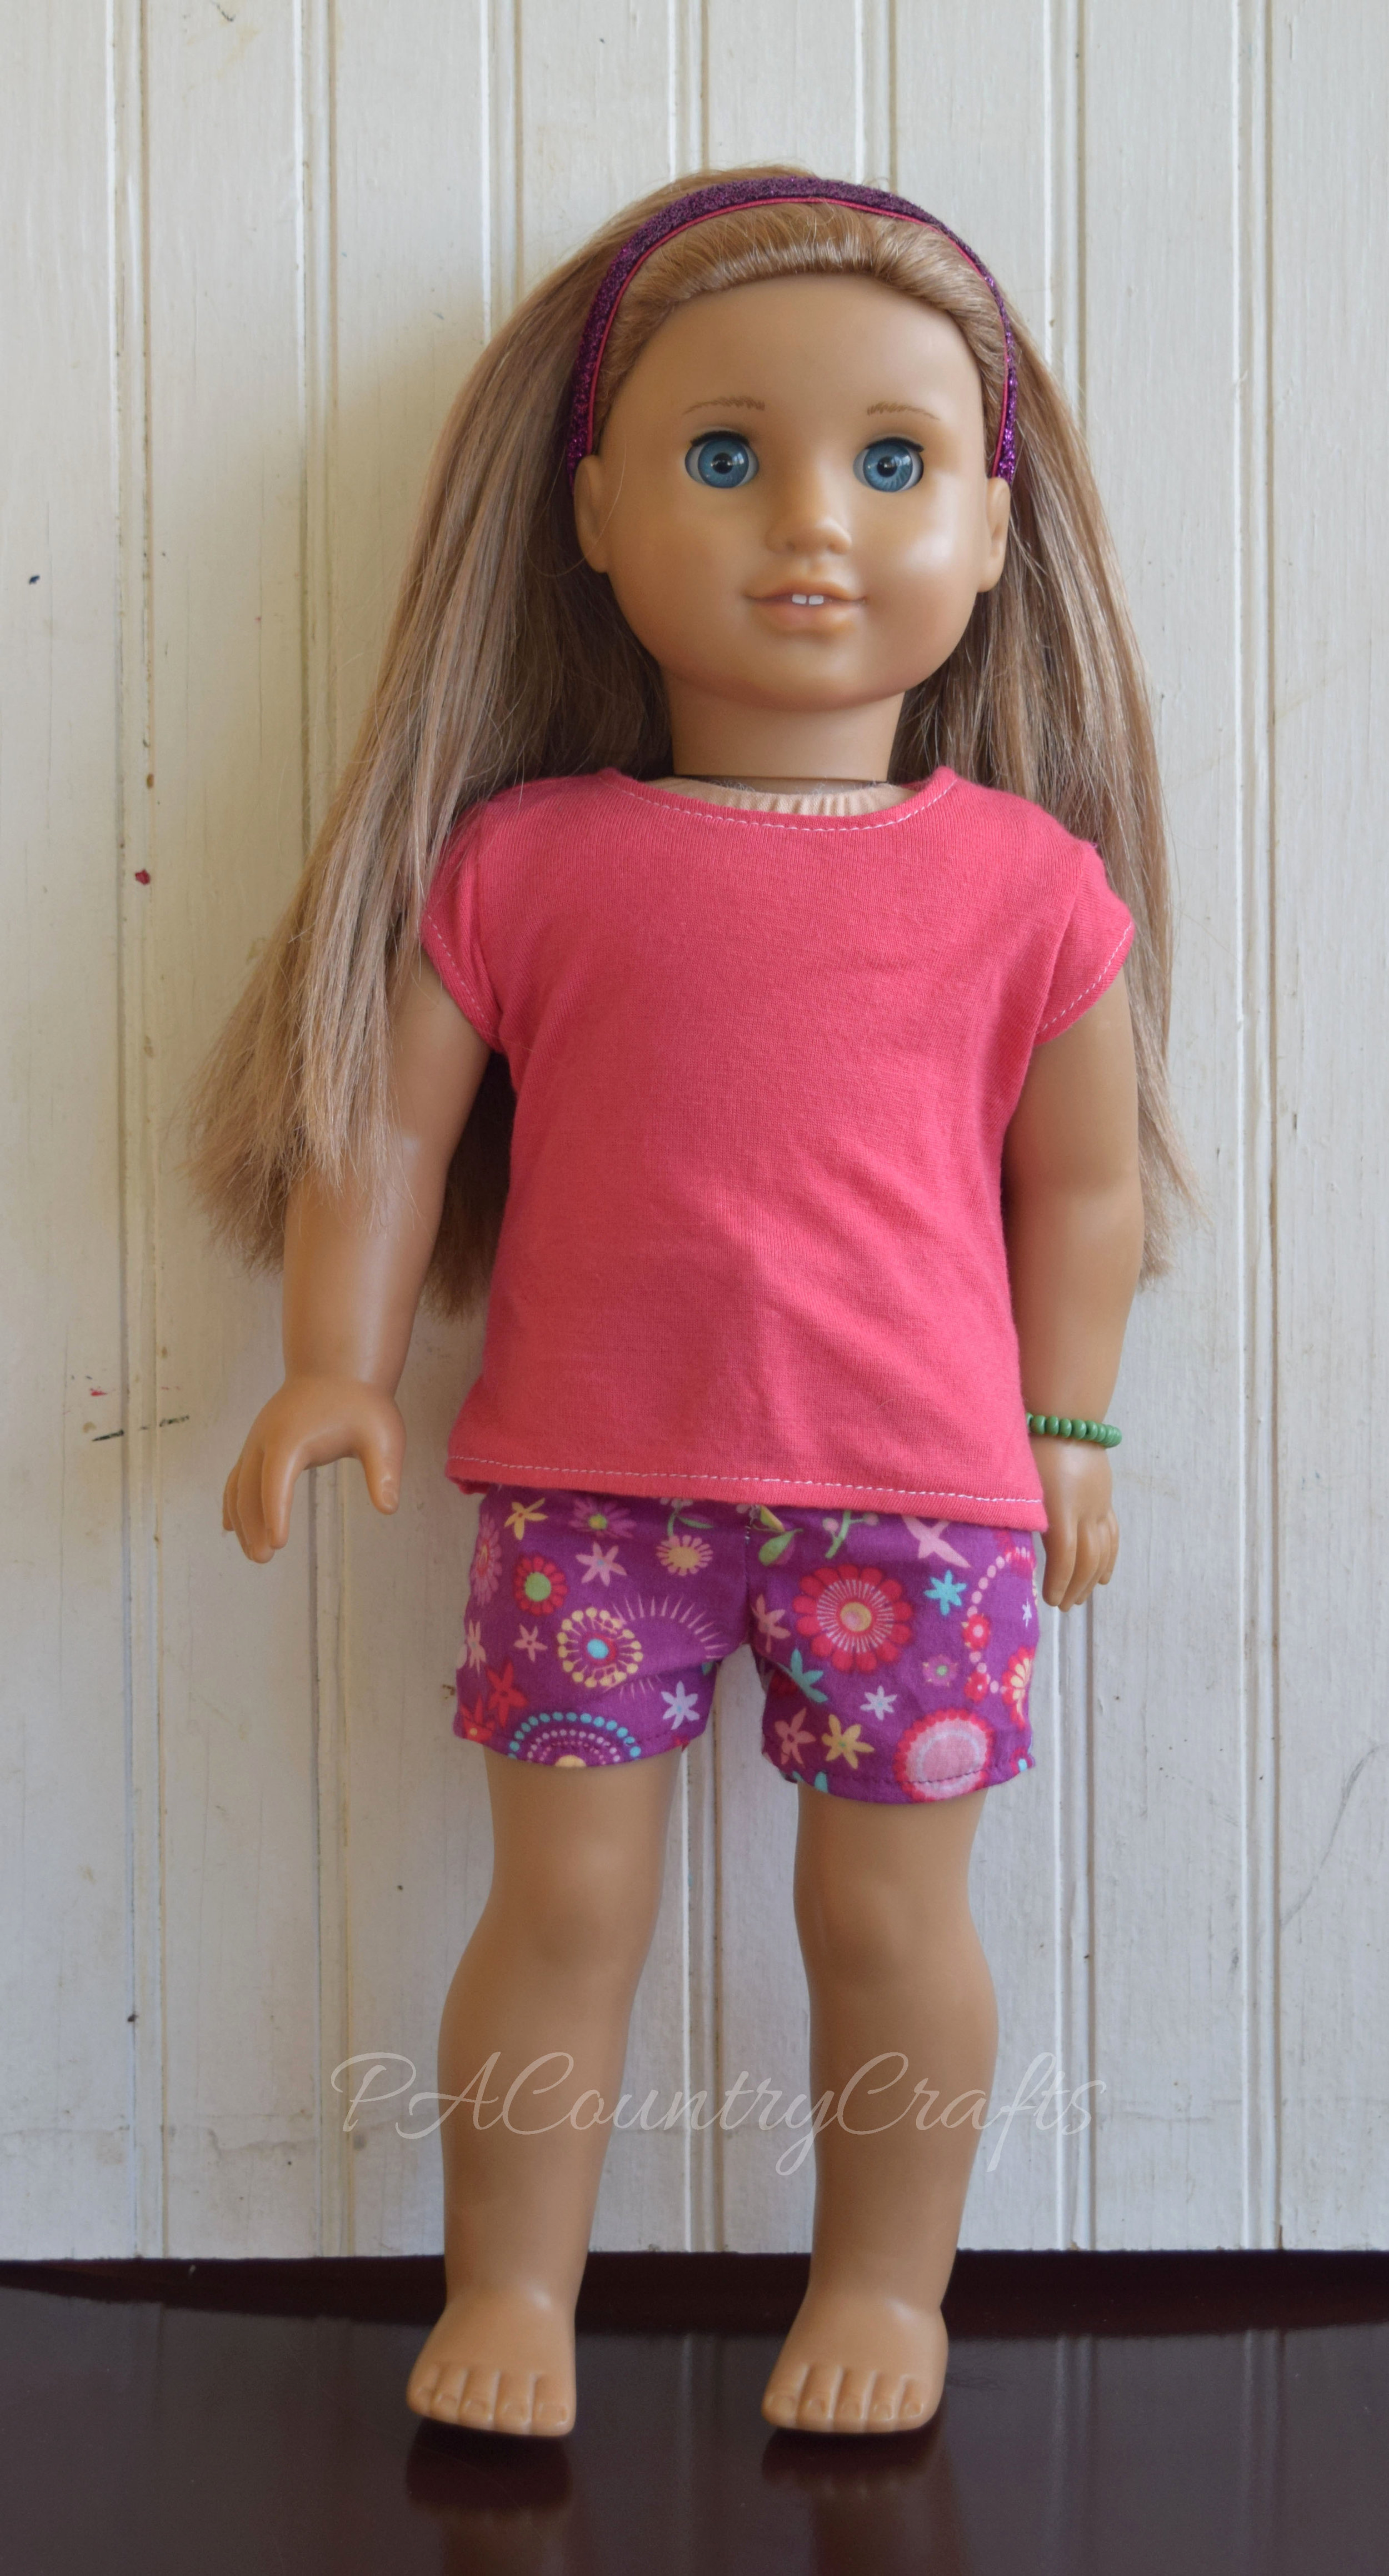
18 inch doll shorts and t shirt

She also made matching beaded bracelets to go with each outfit as her signature accent.

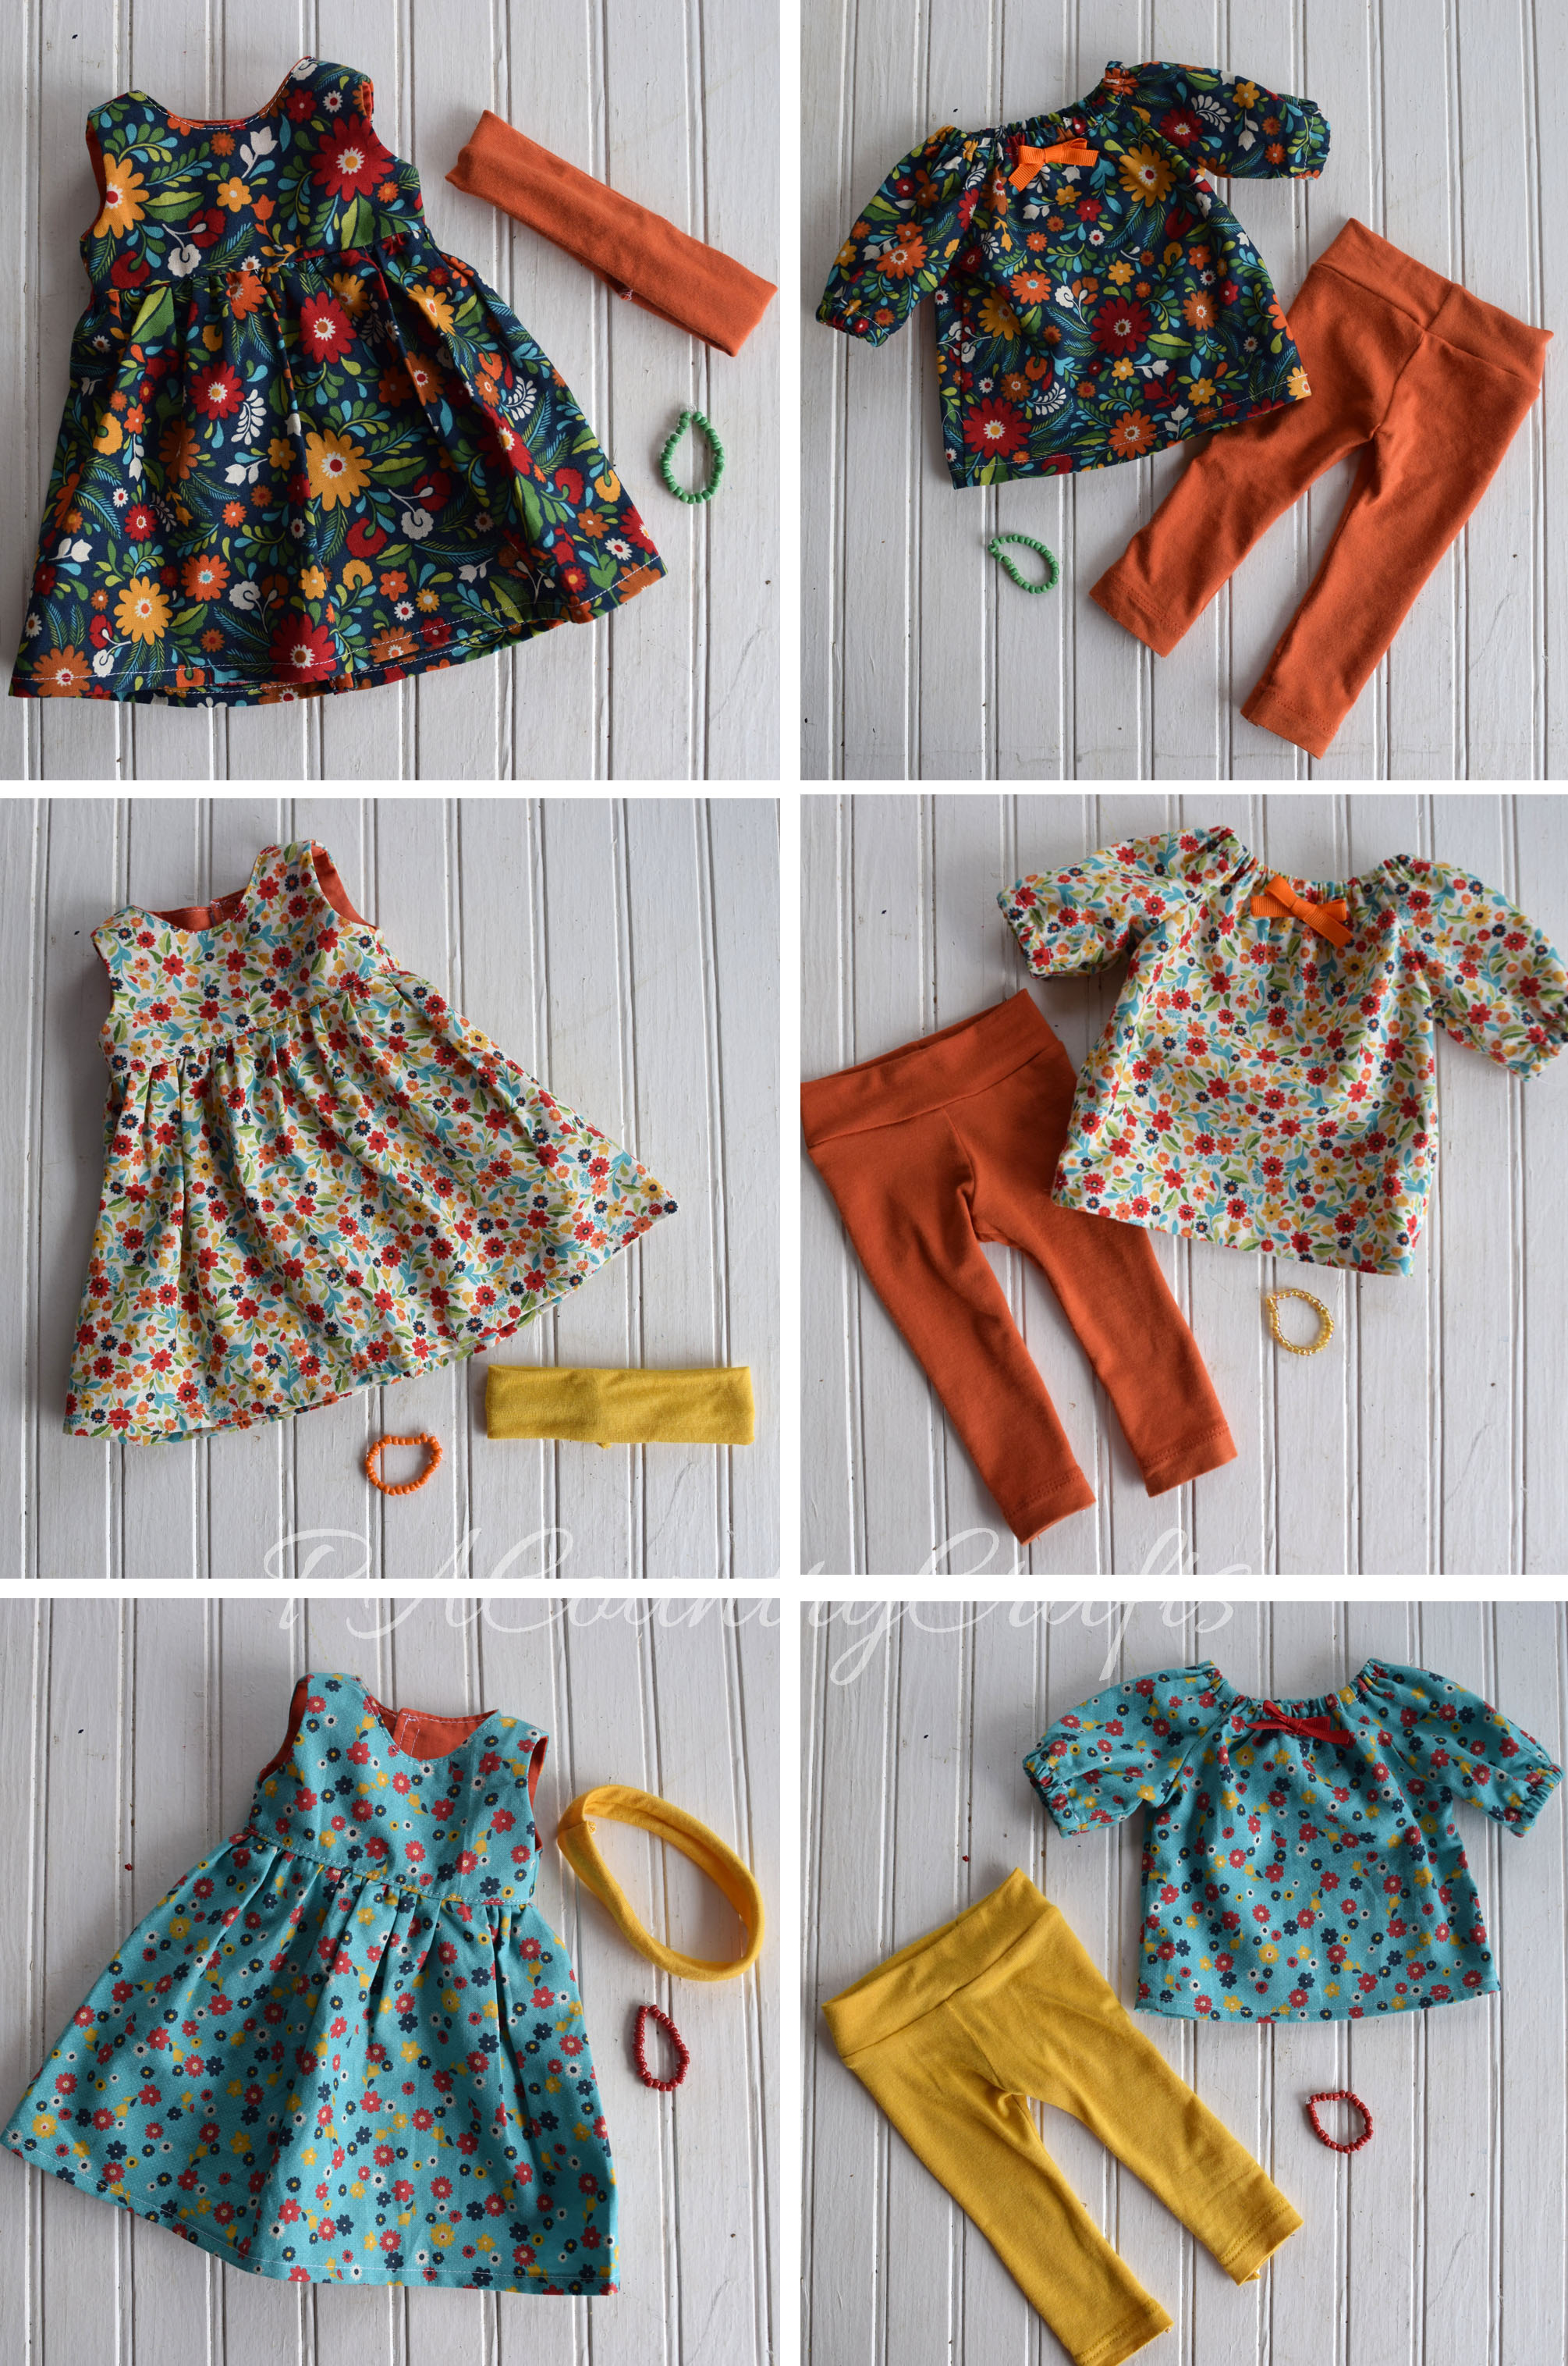
Upcycled Doll ClothesAfter the first doll clothes sold, she reinvested a small amount in fabric with plans to create a "fall collection". We came up with two simple patterns that worked well with cotton fabric- a 3/4 sleeve peasant tunic and a simple dress. She upcycled some shirts from the donation bag to make the leggings and headbands, which were soooooo soft! This time, she only needed a little bit of help with sewing some details, like velcro or topstitching. When everything was finished we did an official photo shoot.
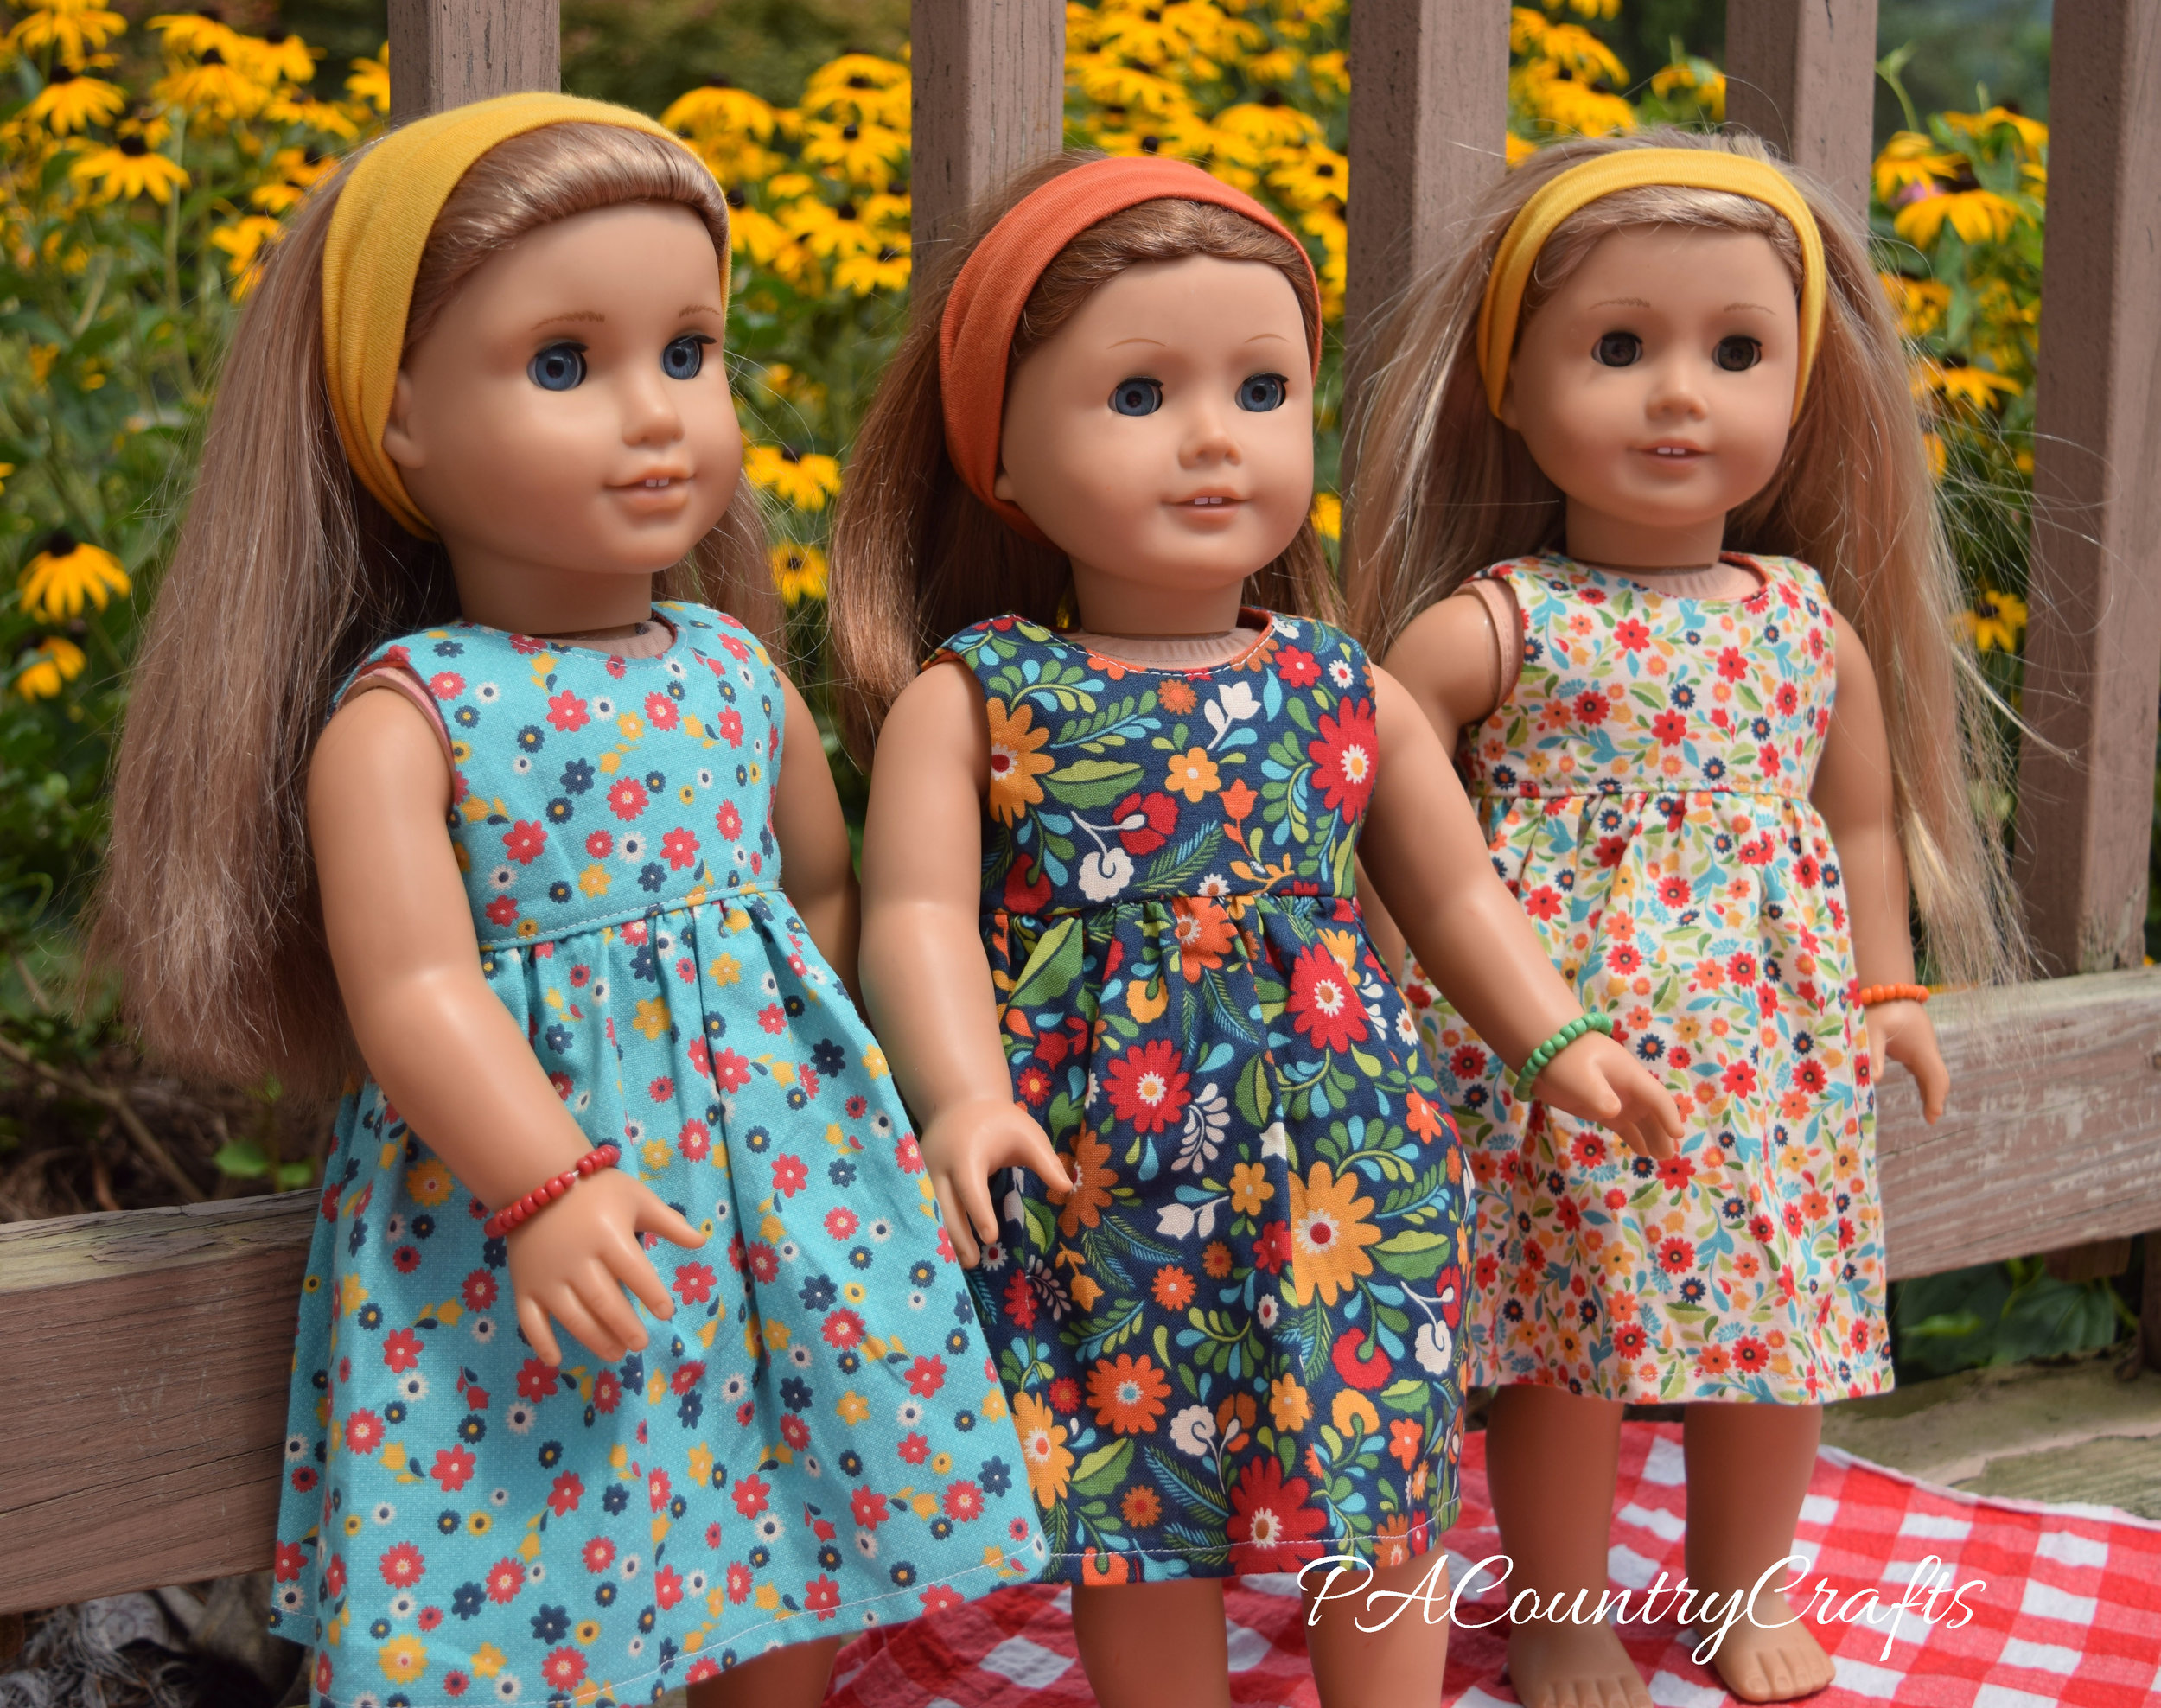
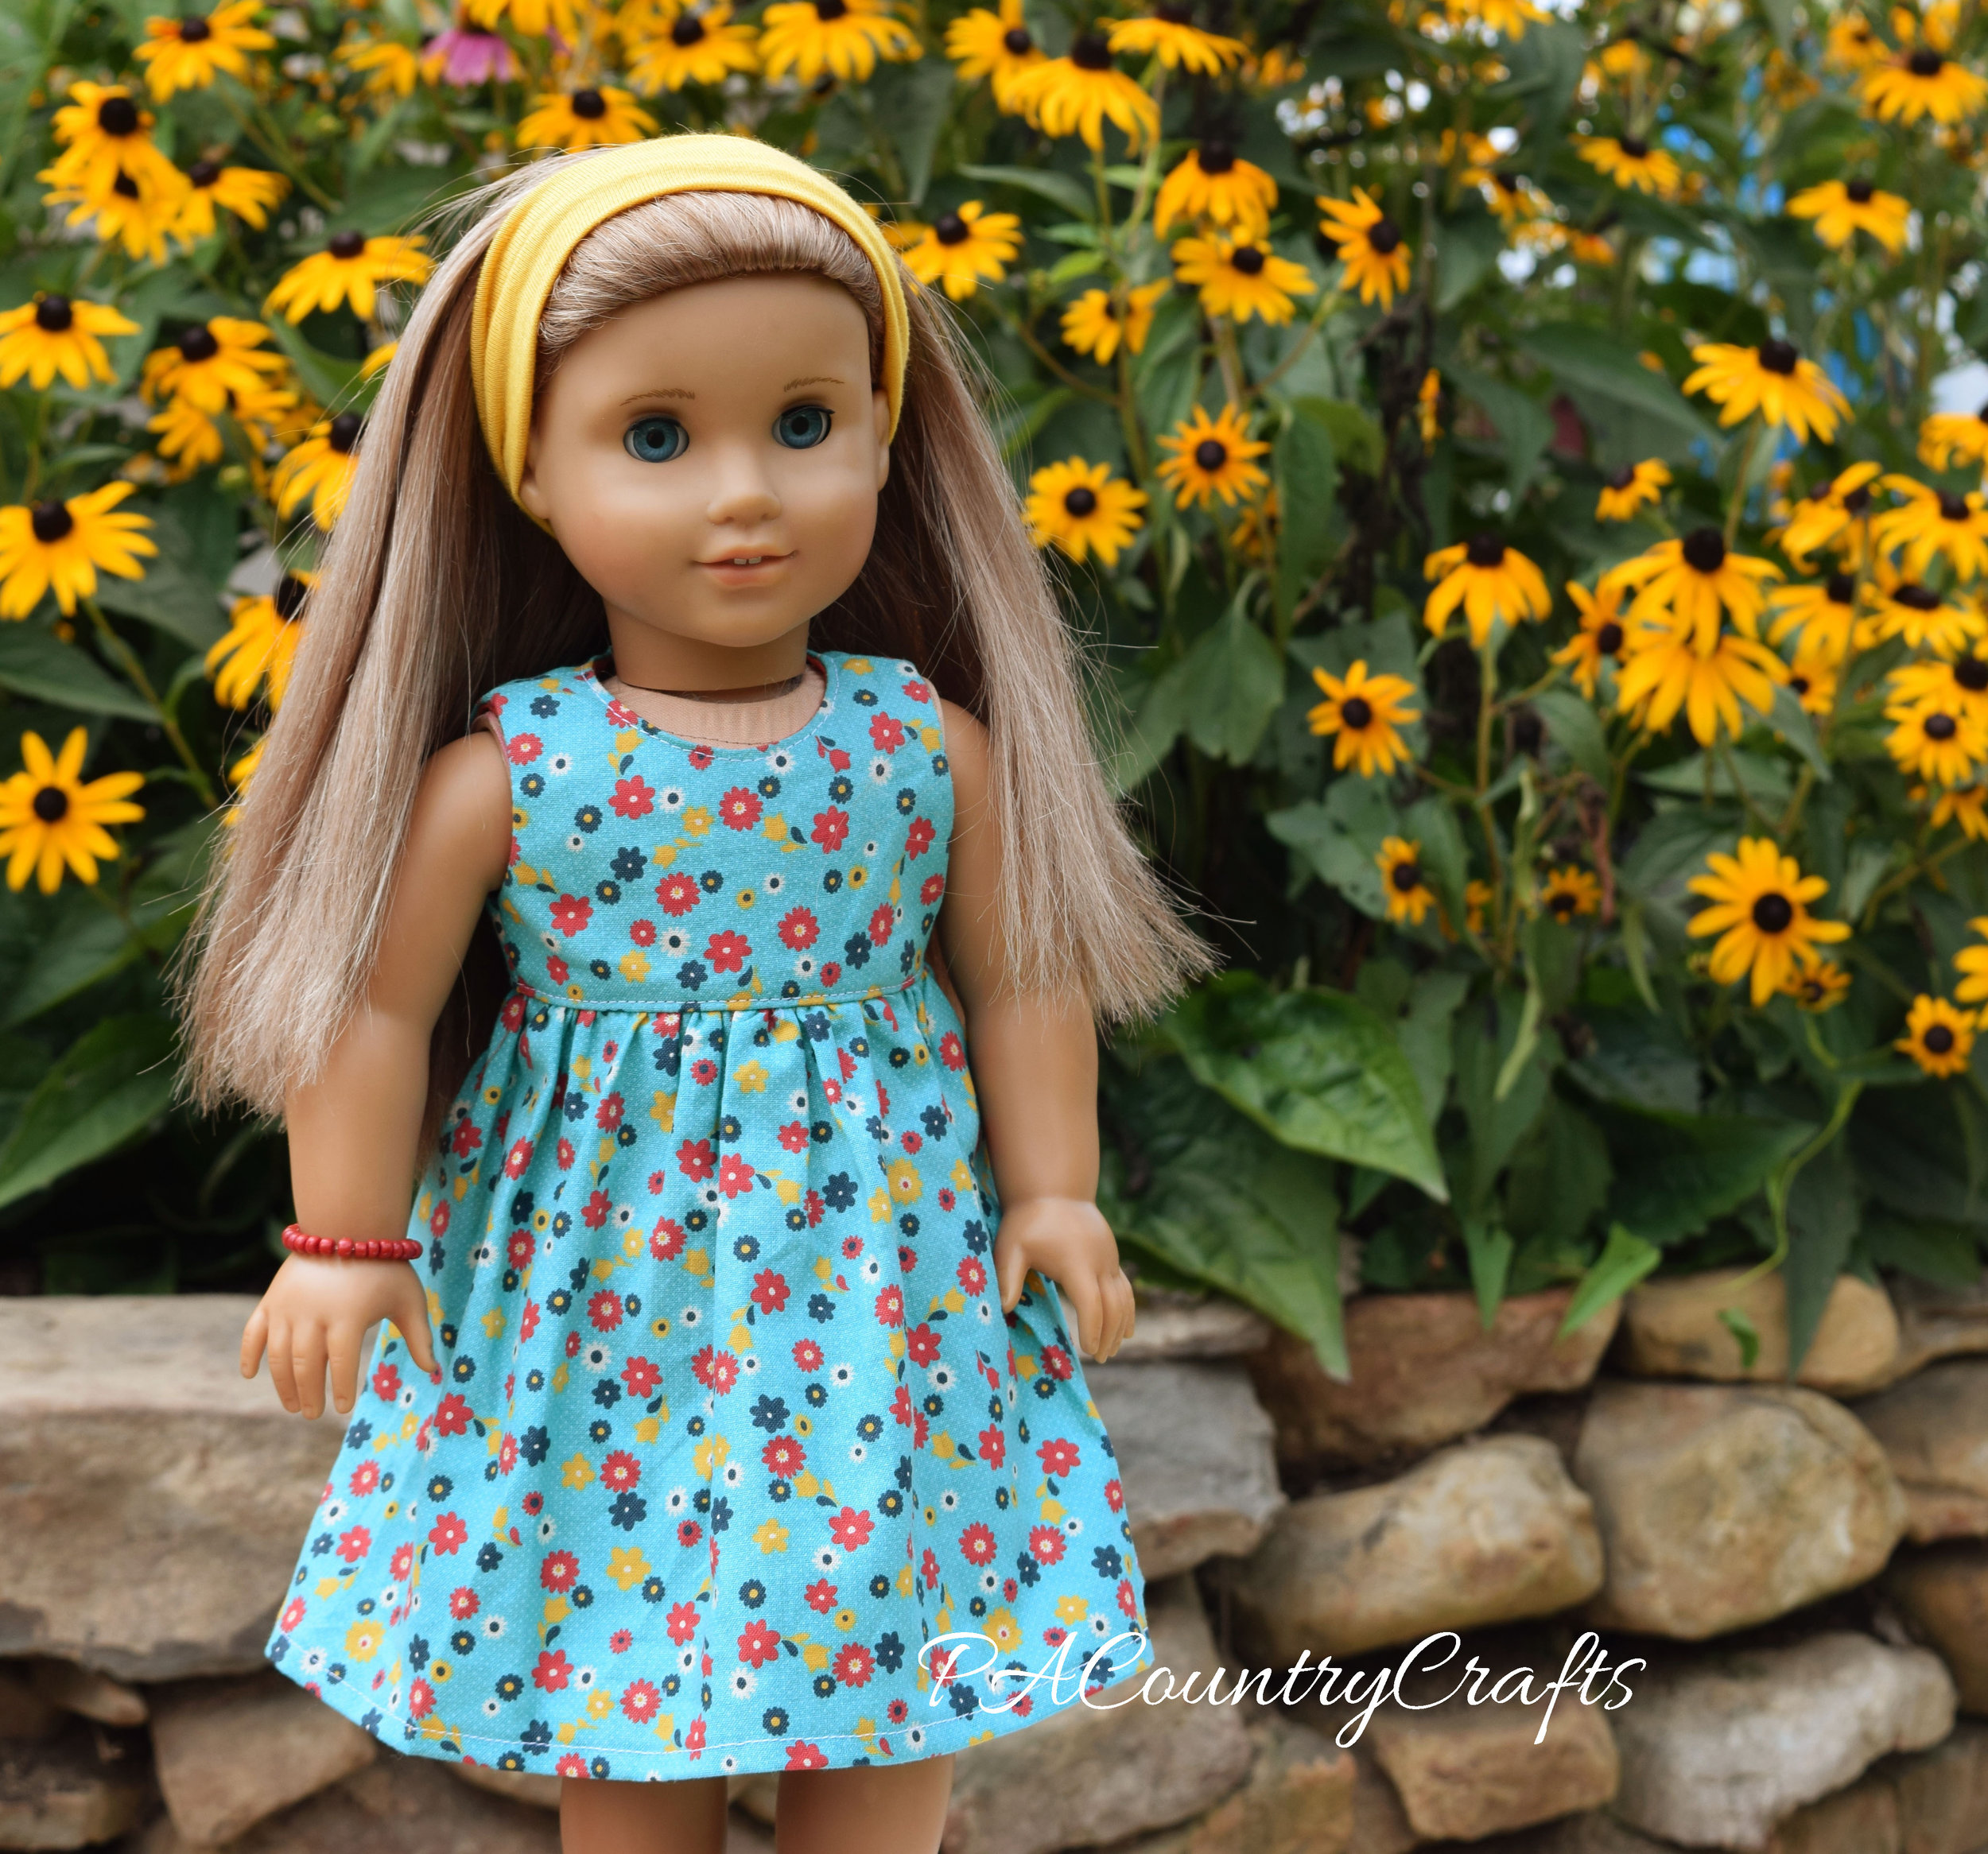
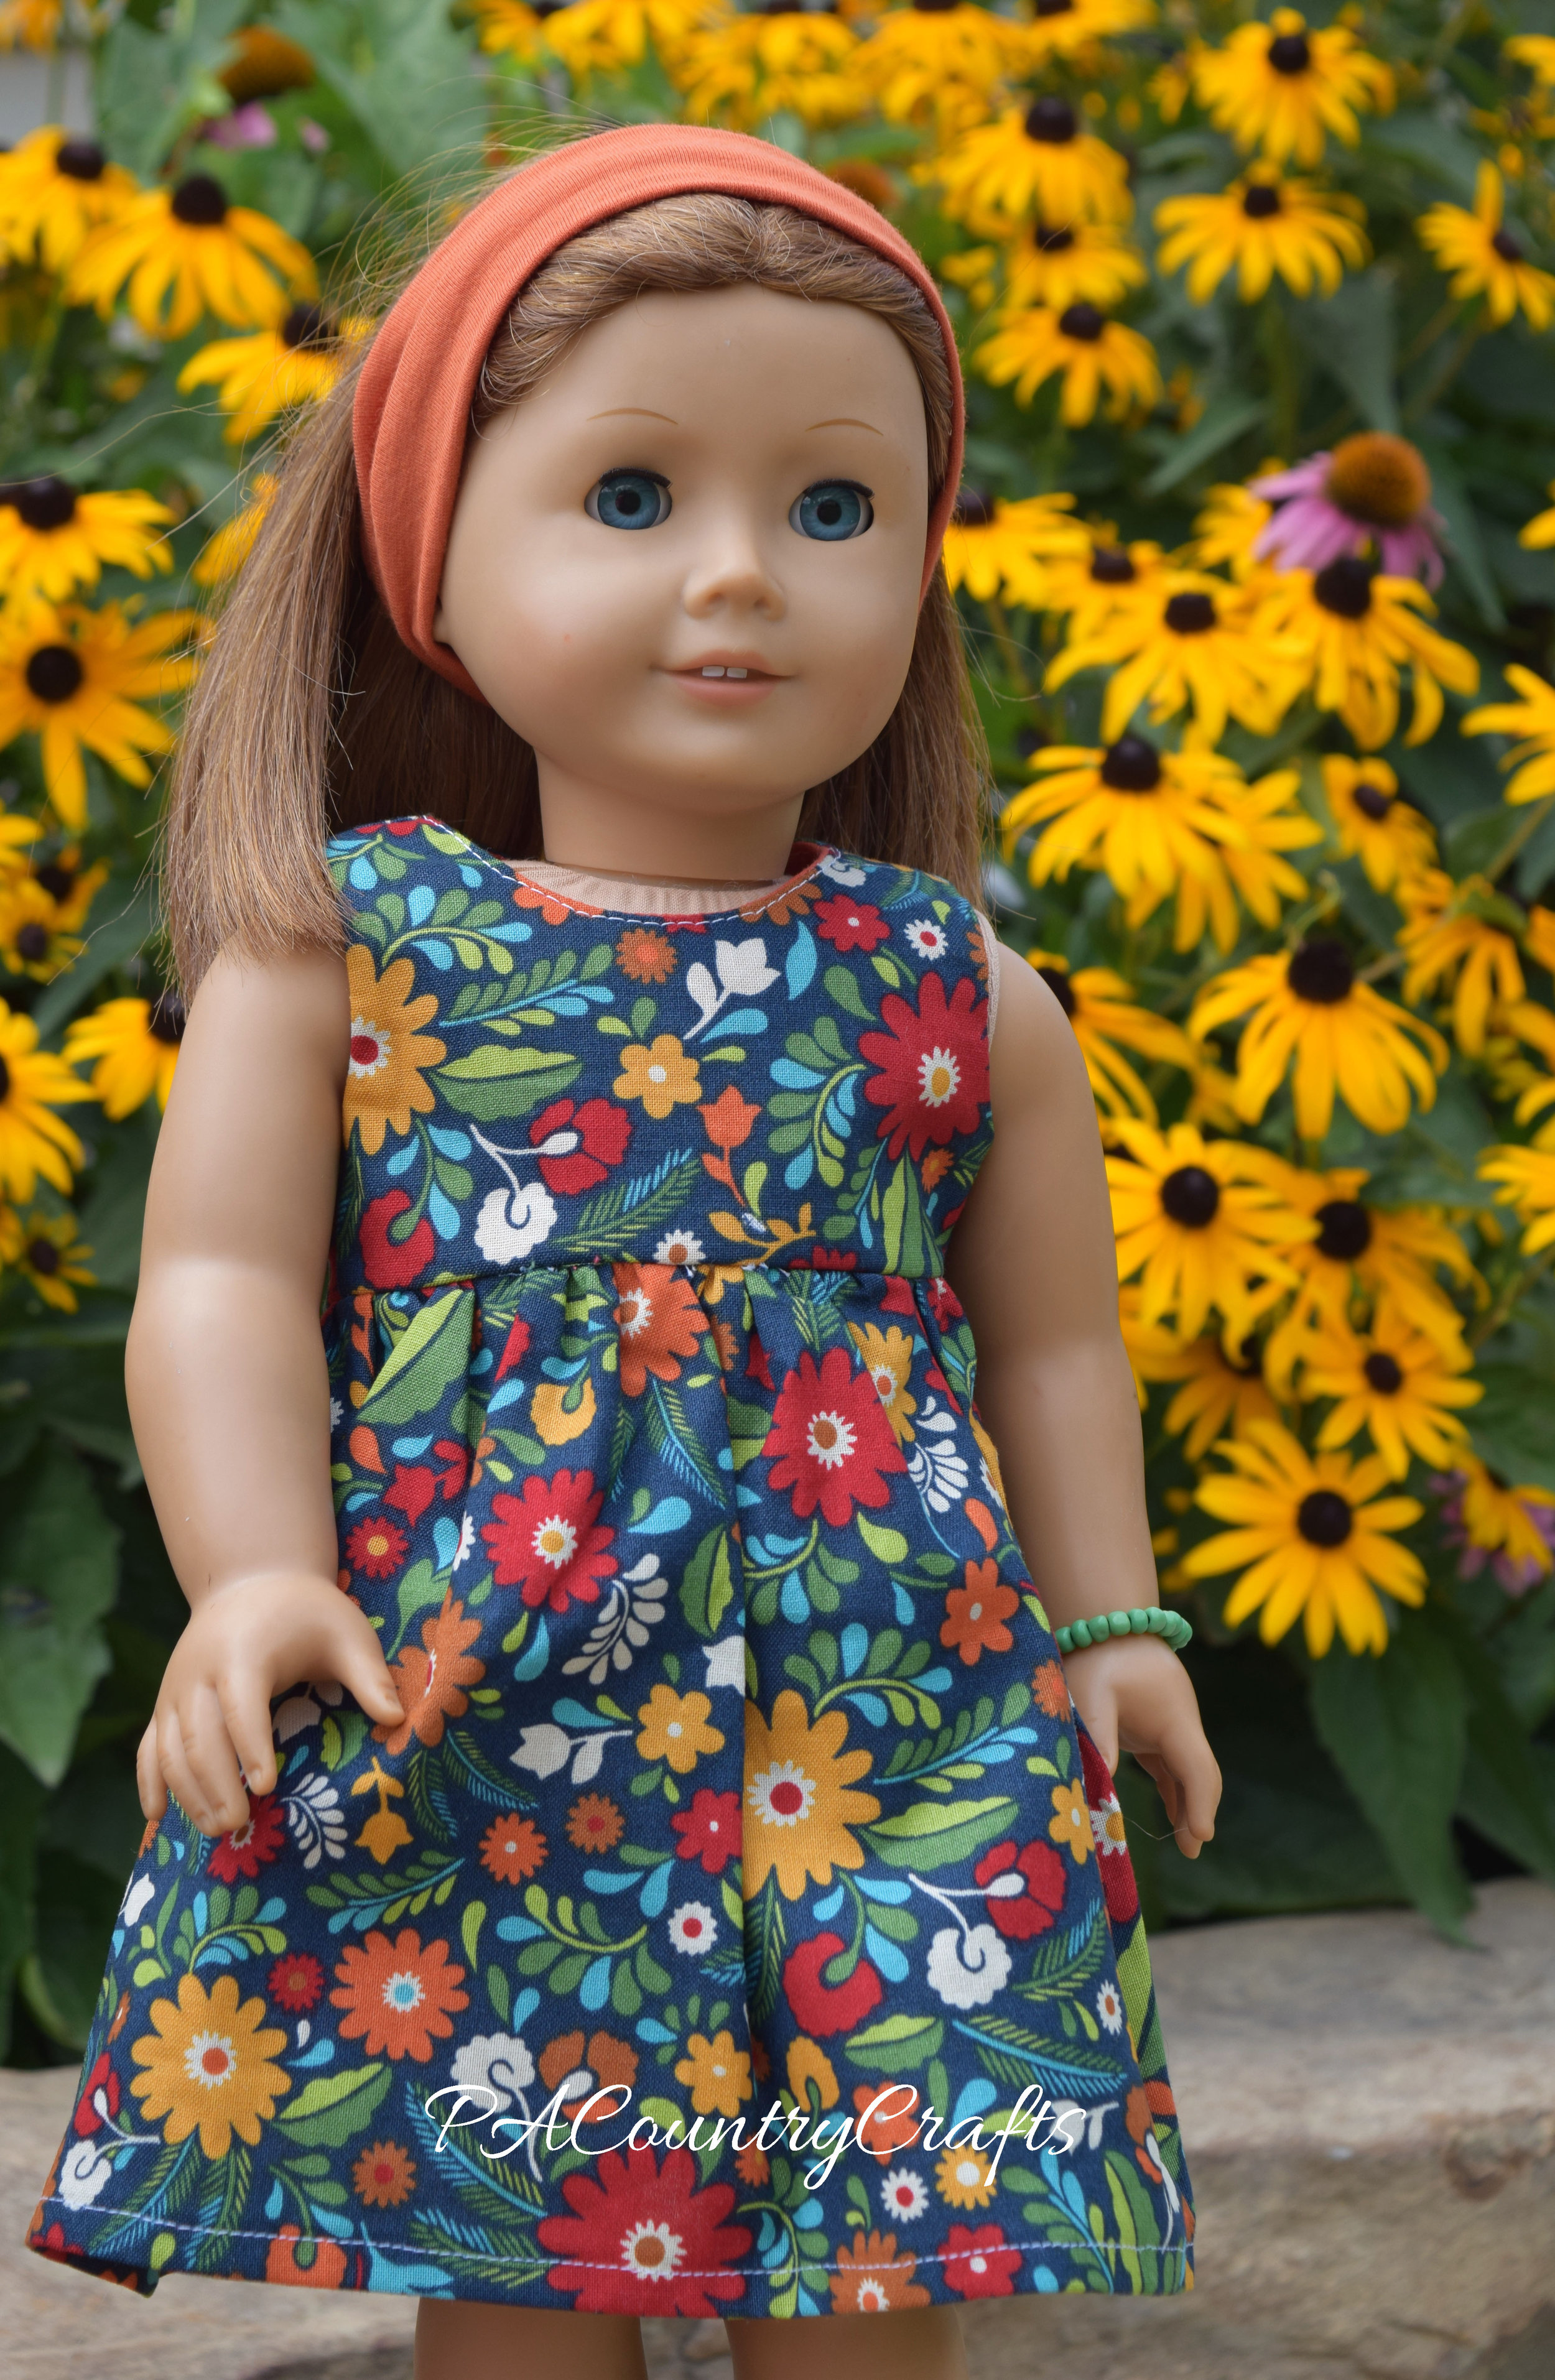
Doll Clothes Fall Collection

Fall American Girl Doll Dress

Sleeveless Doll Dress and Headband

American girl doll simple dress- made by a 12yo

American Girl Doll Peasant Dress and Leggings

Doll Peasant Top and Leggings

18 inch doll peasant top and leggings- beginner sewing project

fall doll clothes sewing

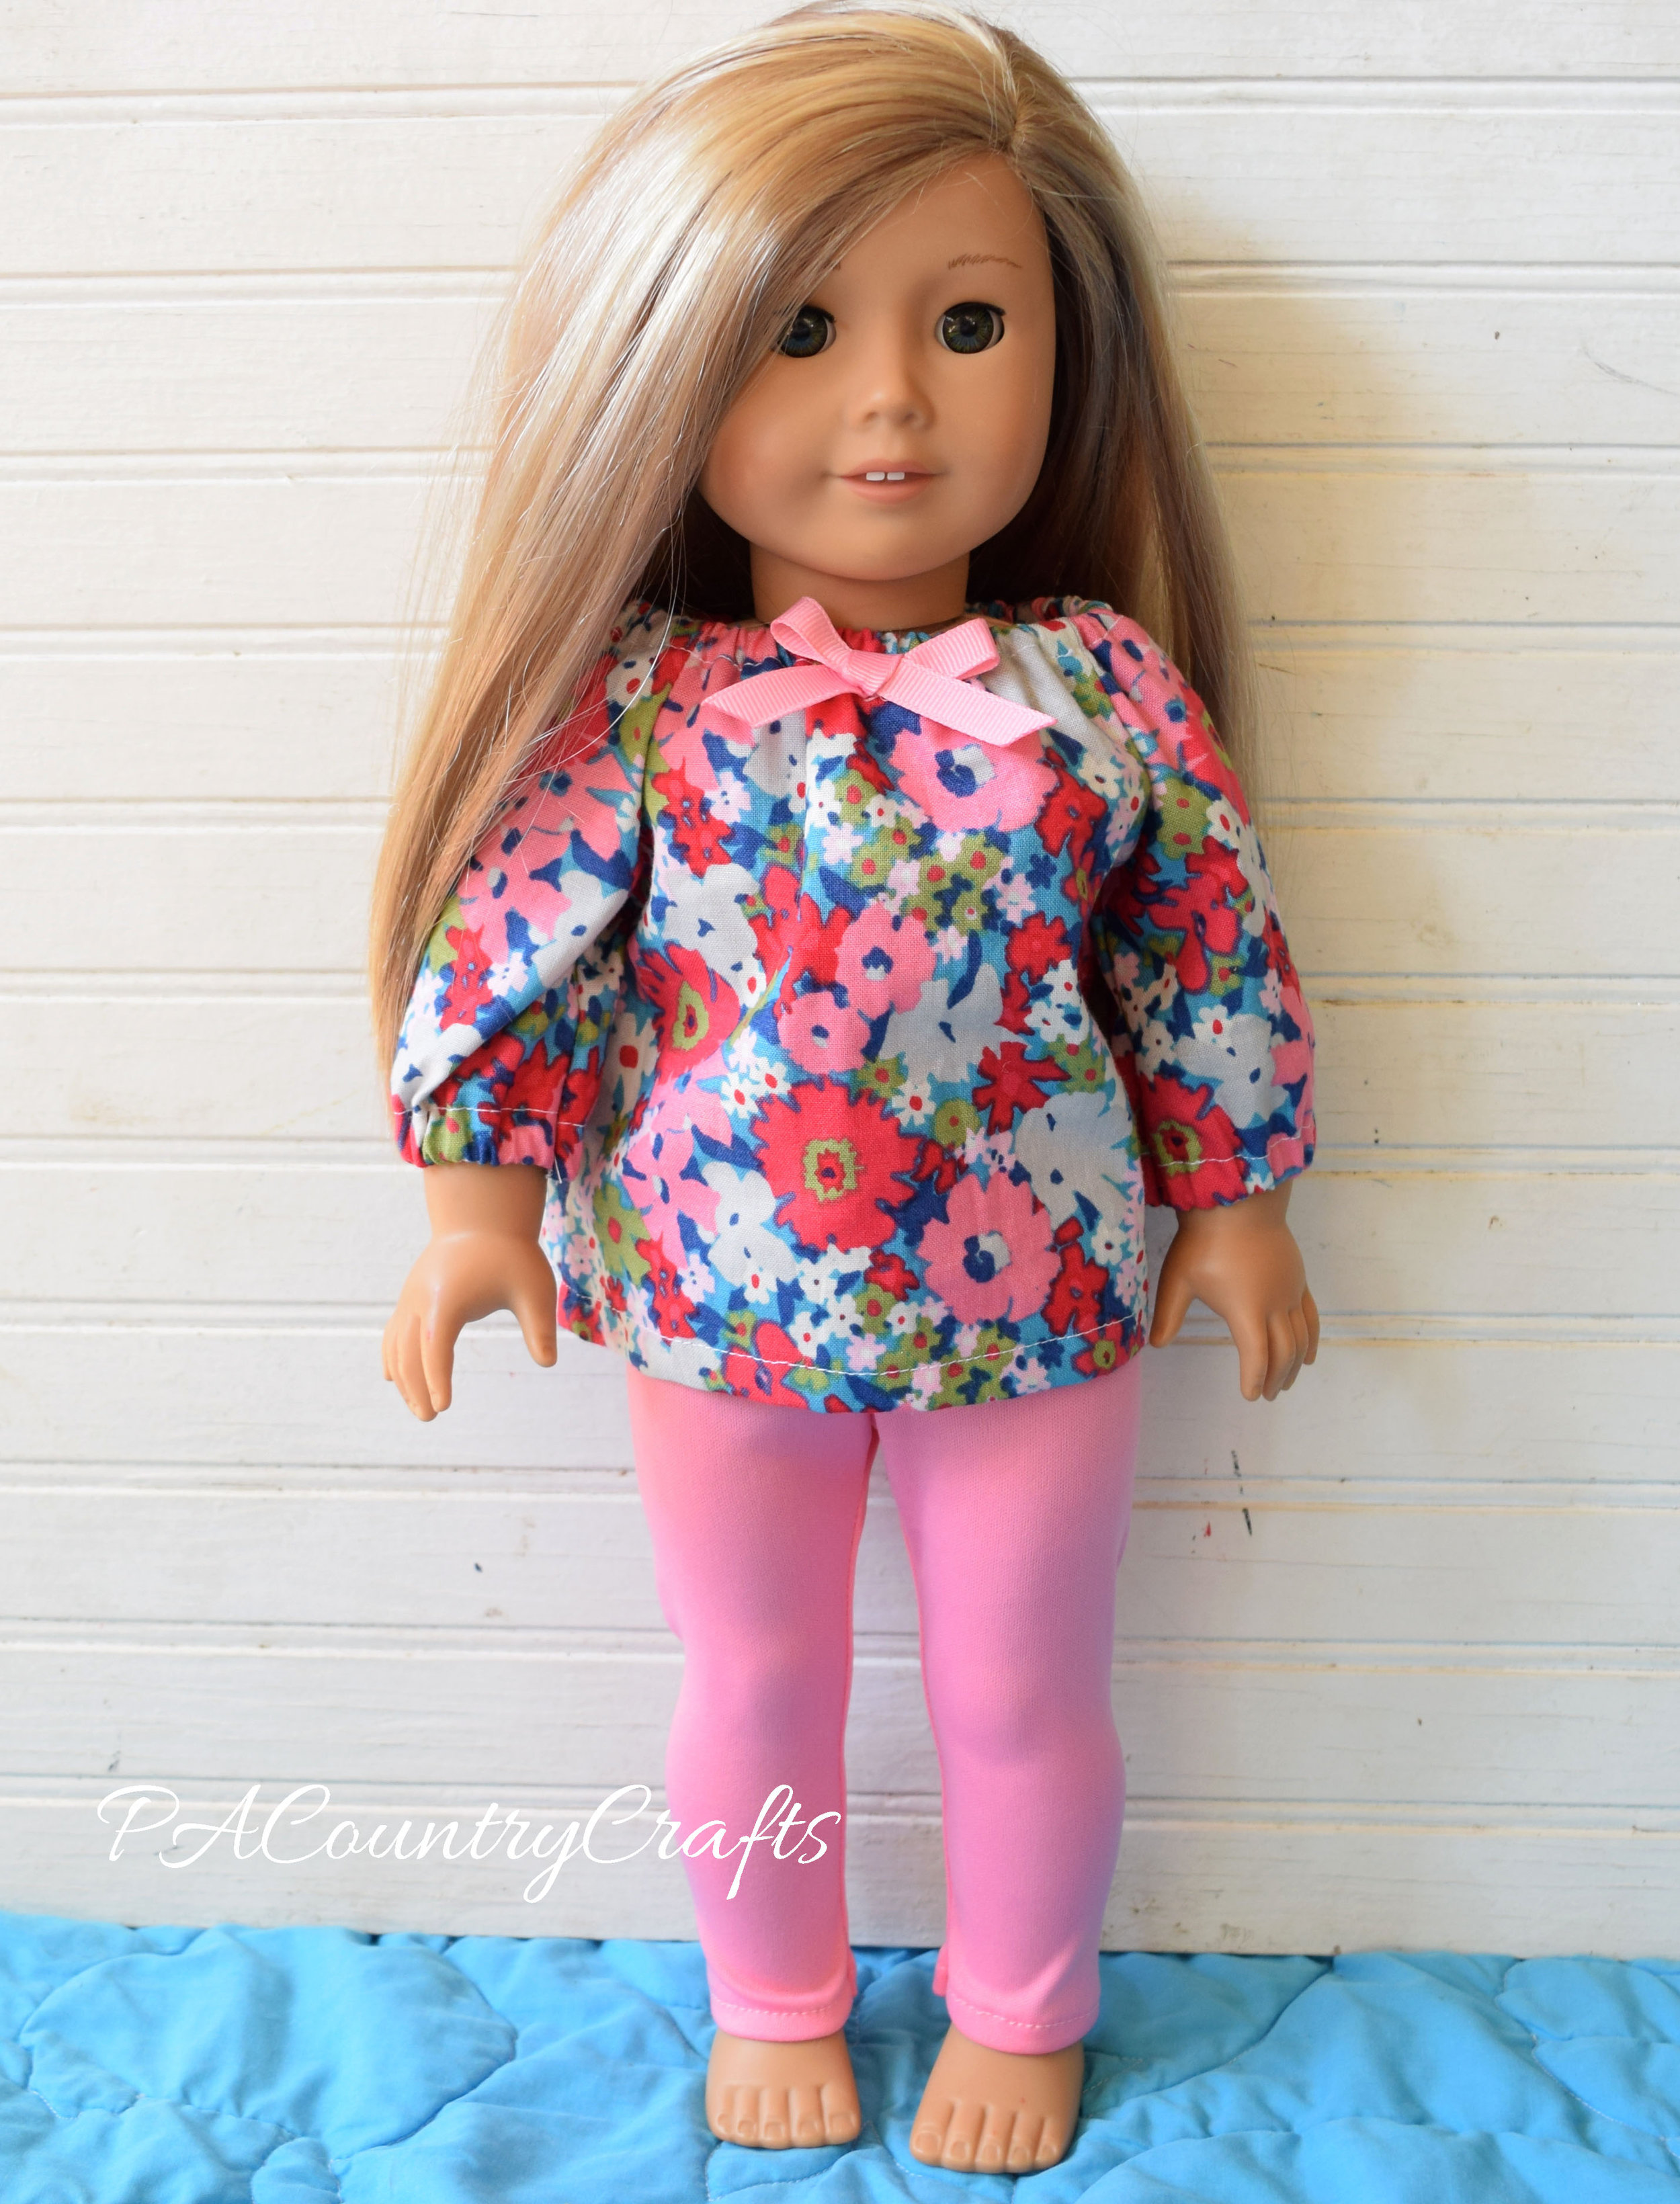
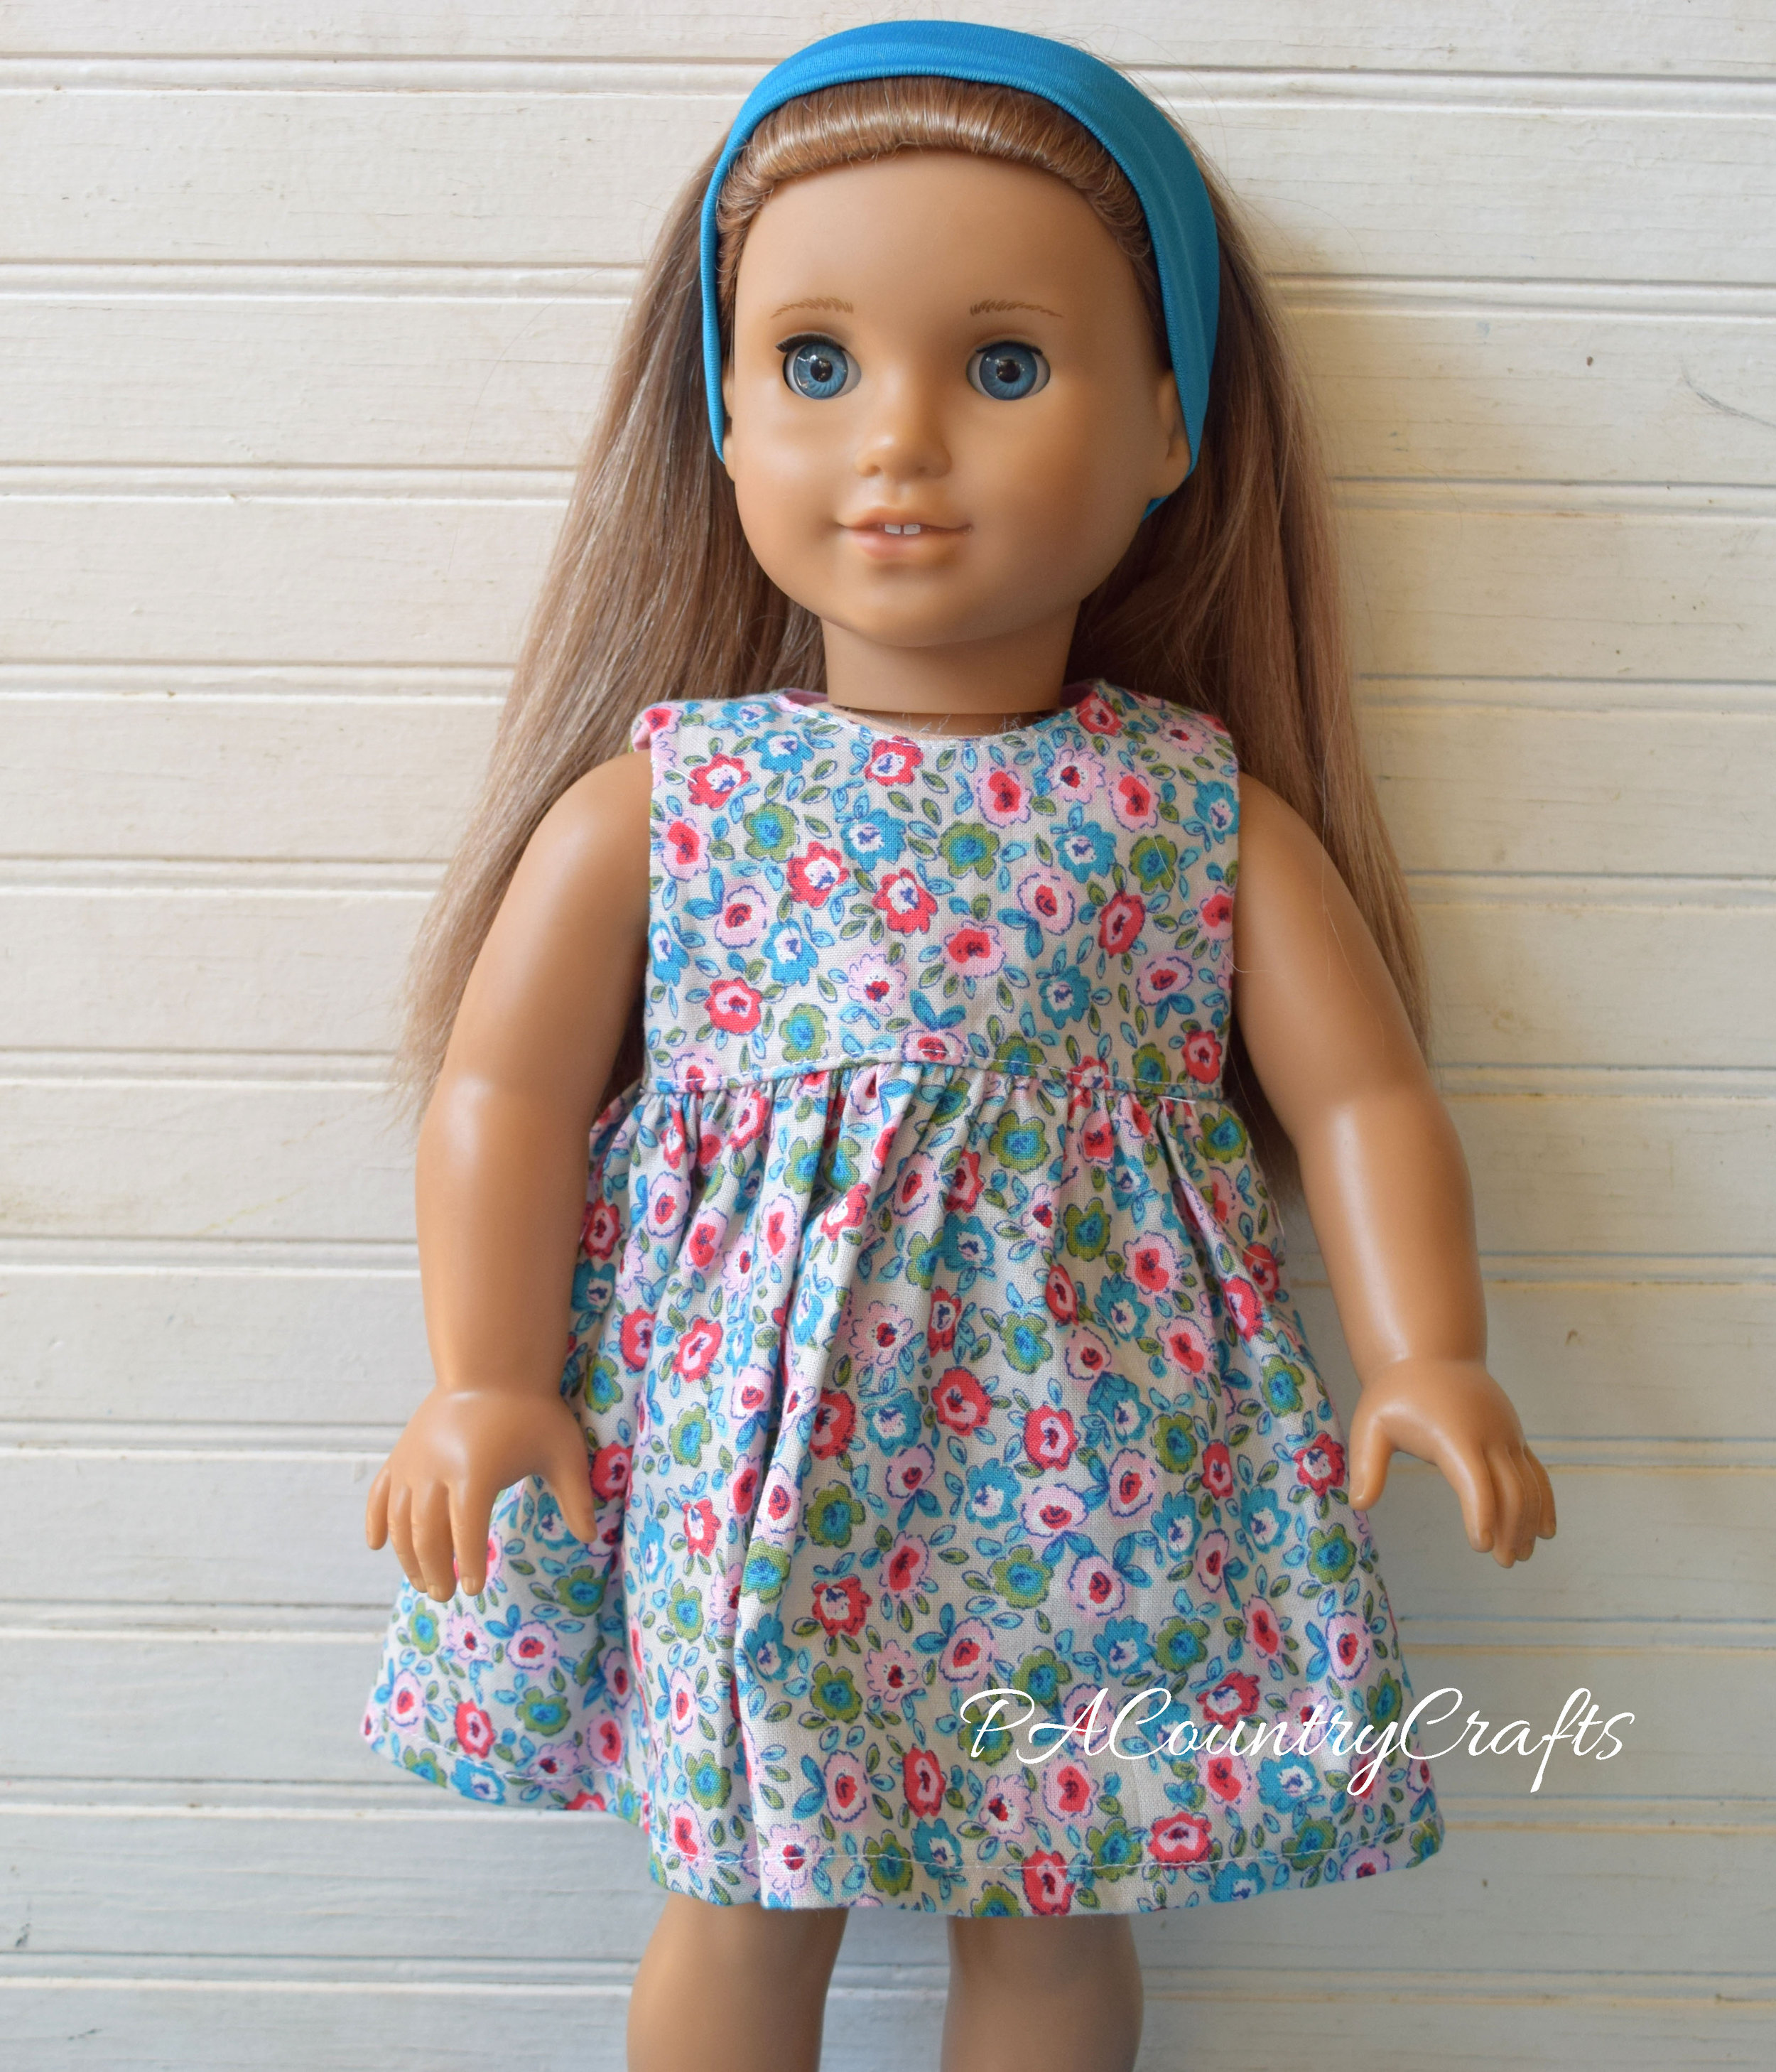
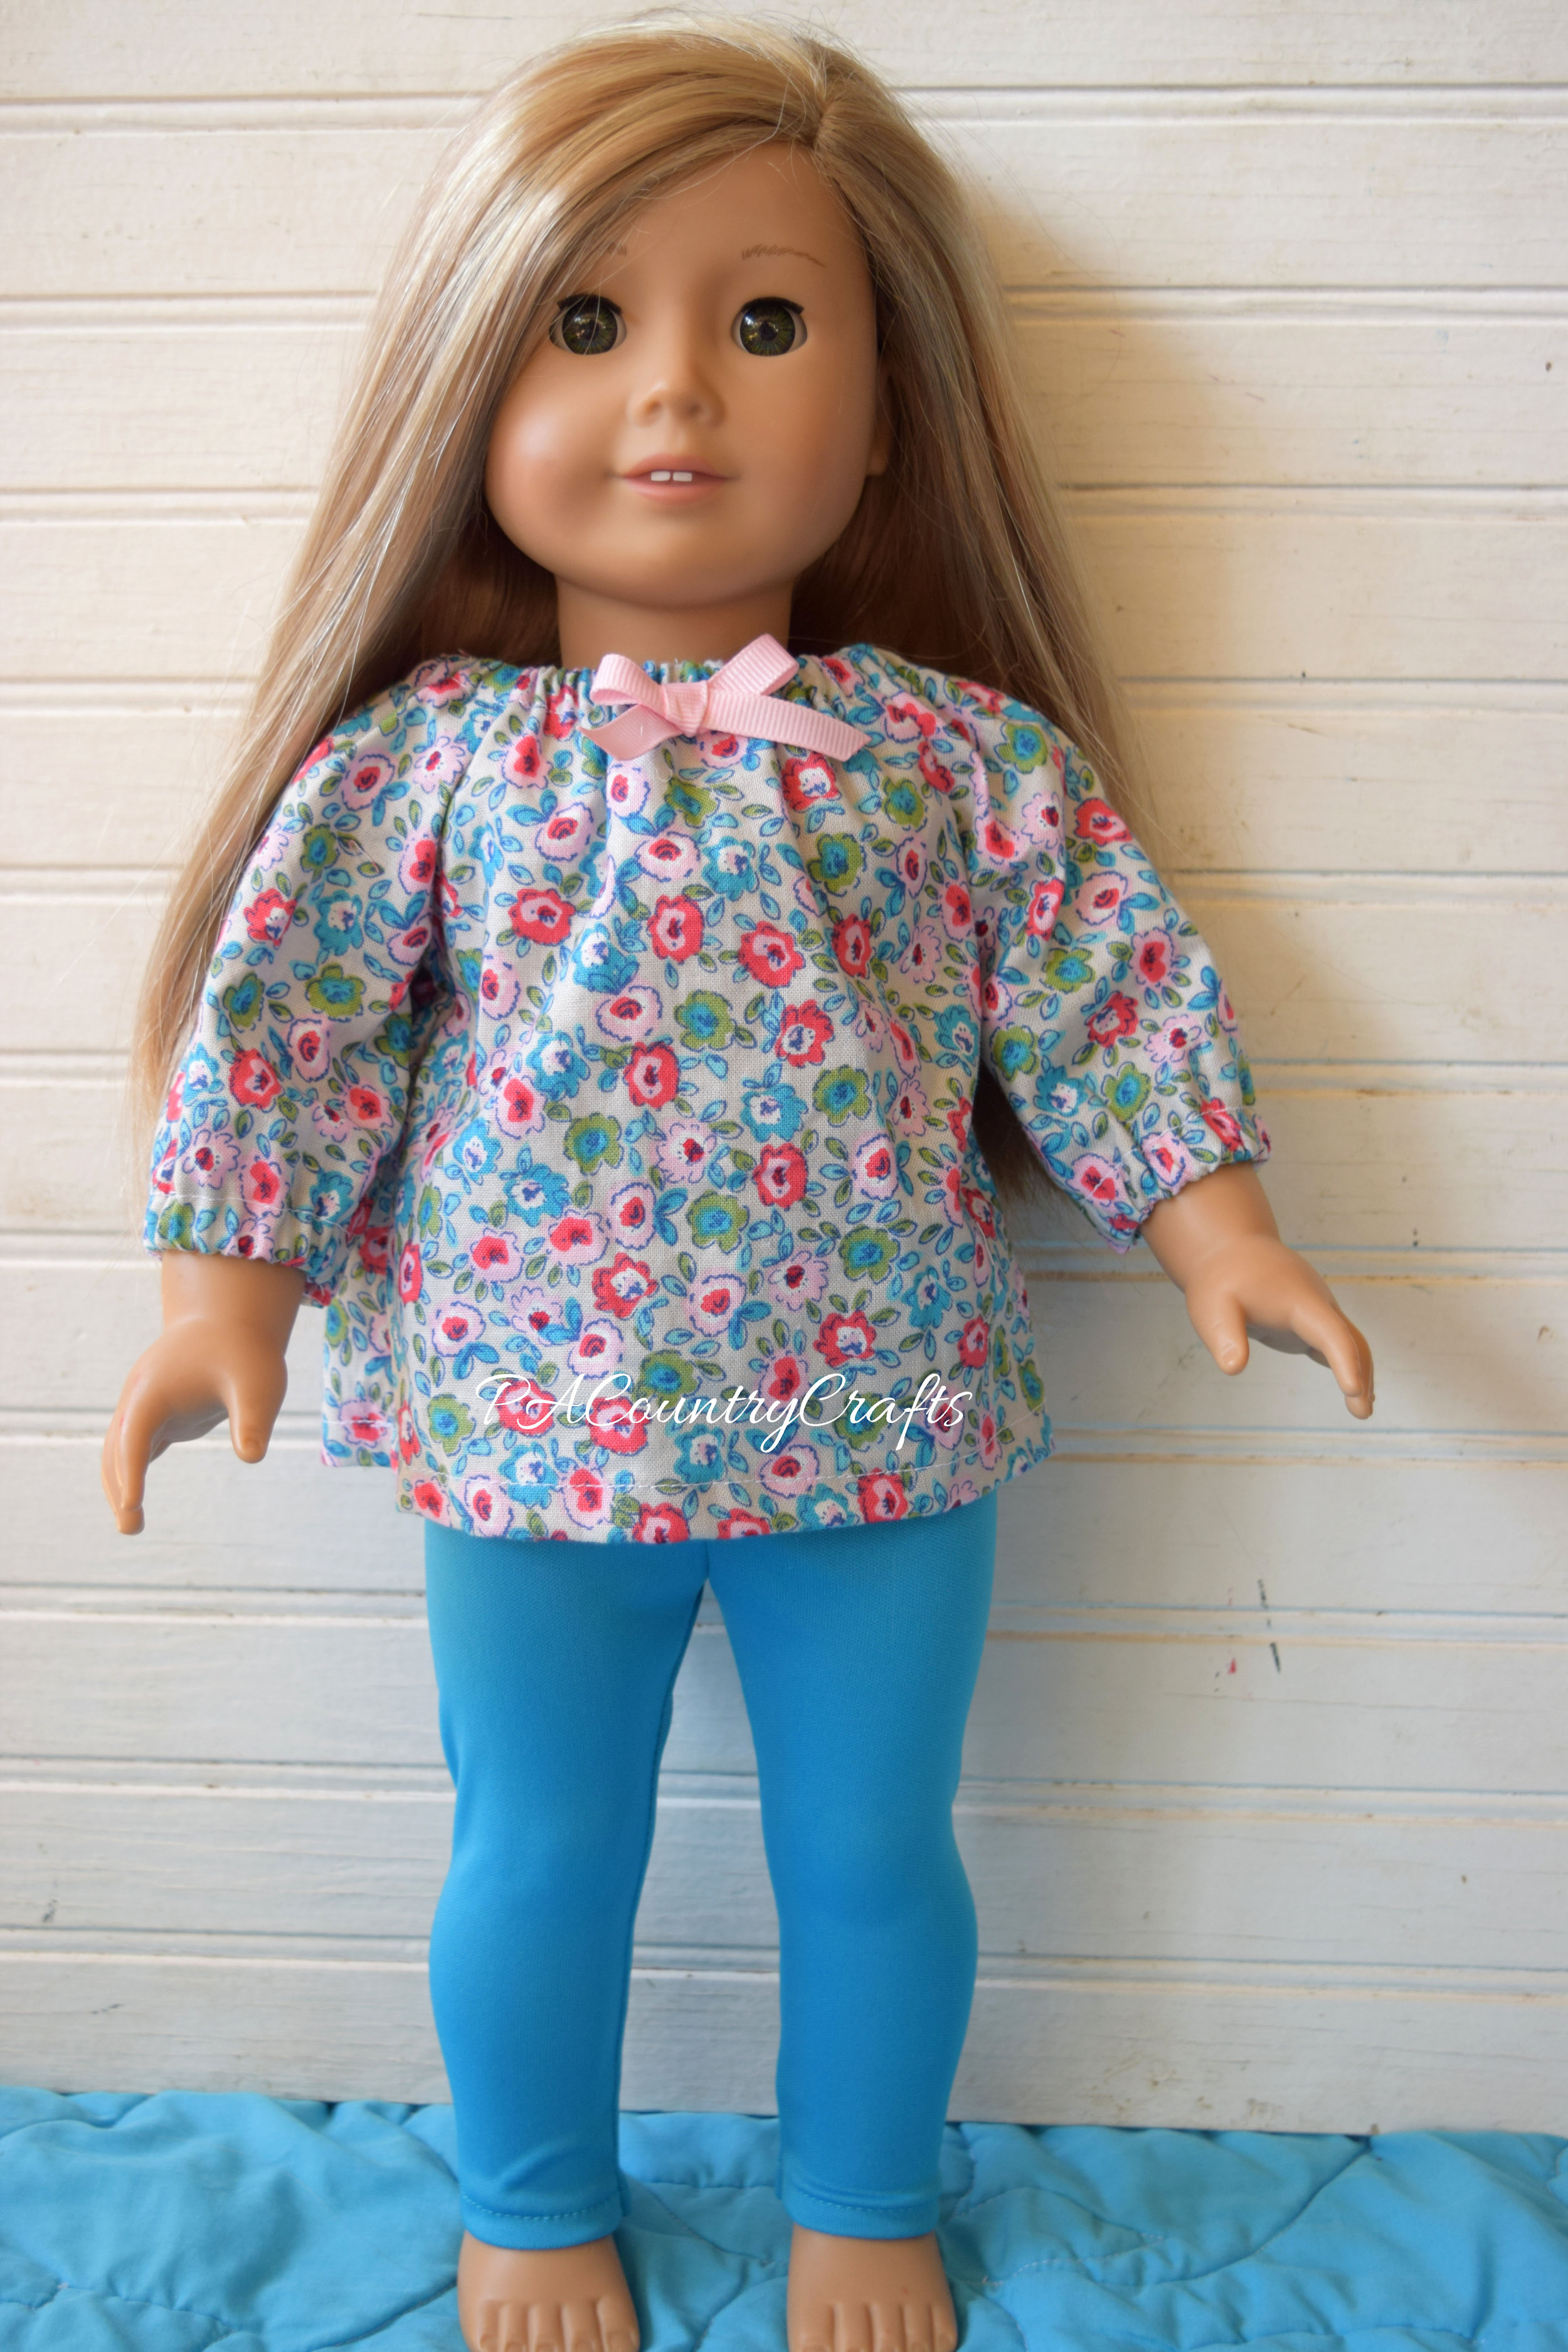
She sold out very quickly and had requests for more, so she decided to make a few more outfits. Again, she reinvested part of her income to get more fabric. This time, she also bought knit to match her fabrics, so the leggings had to be hemmed. For some reason, things didn't go as well this time. I unknowingly folded the top of a pattern piece before we cut the fabric and several pair of leggings came out too short. She had to do a lot of seam-ripping for various errors. Also, she accidentally ruined the skirt of a dress by catching it with the cutting blade on the overlock machine. She wanted to quit several times and learned an important sewing technique... walking away! After a few weeks they were finally finished.

flowered doll top and pink leggings

gray floral doll dress

gray doll top and blue leggings

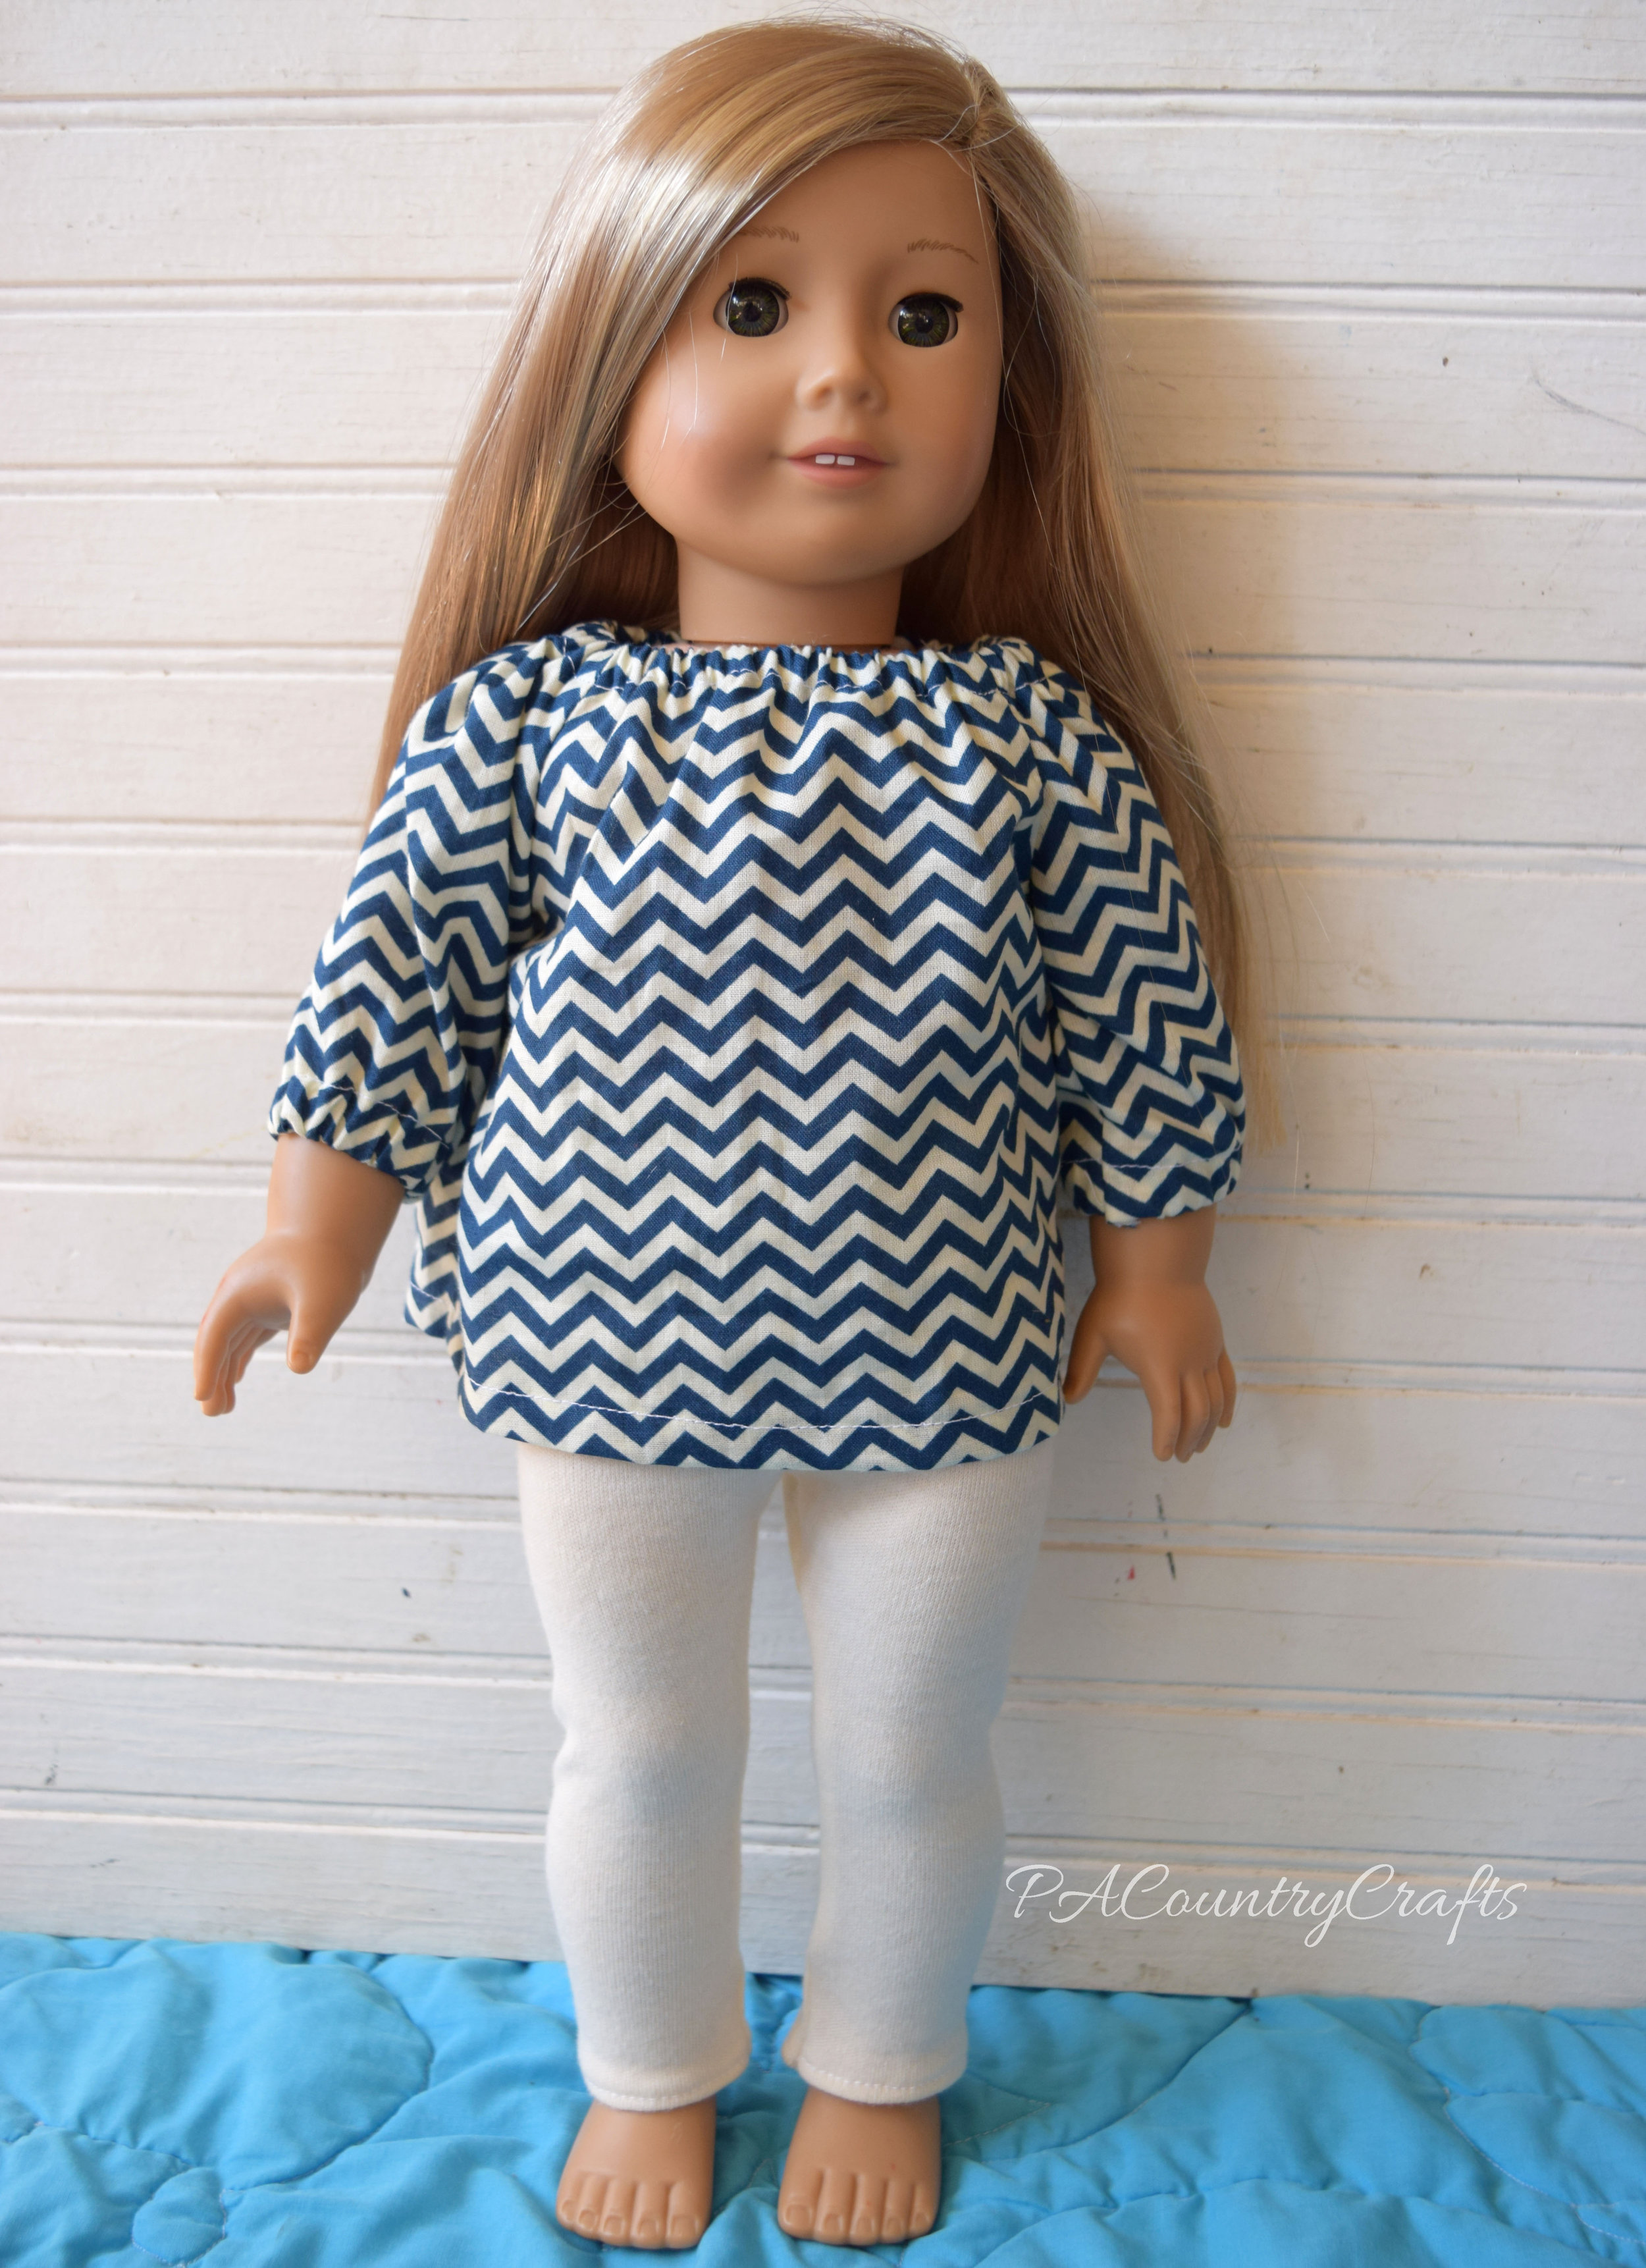
navy and white chevron doll top with cream leggings

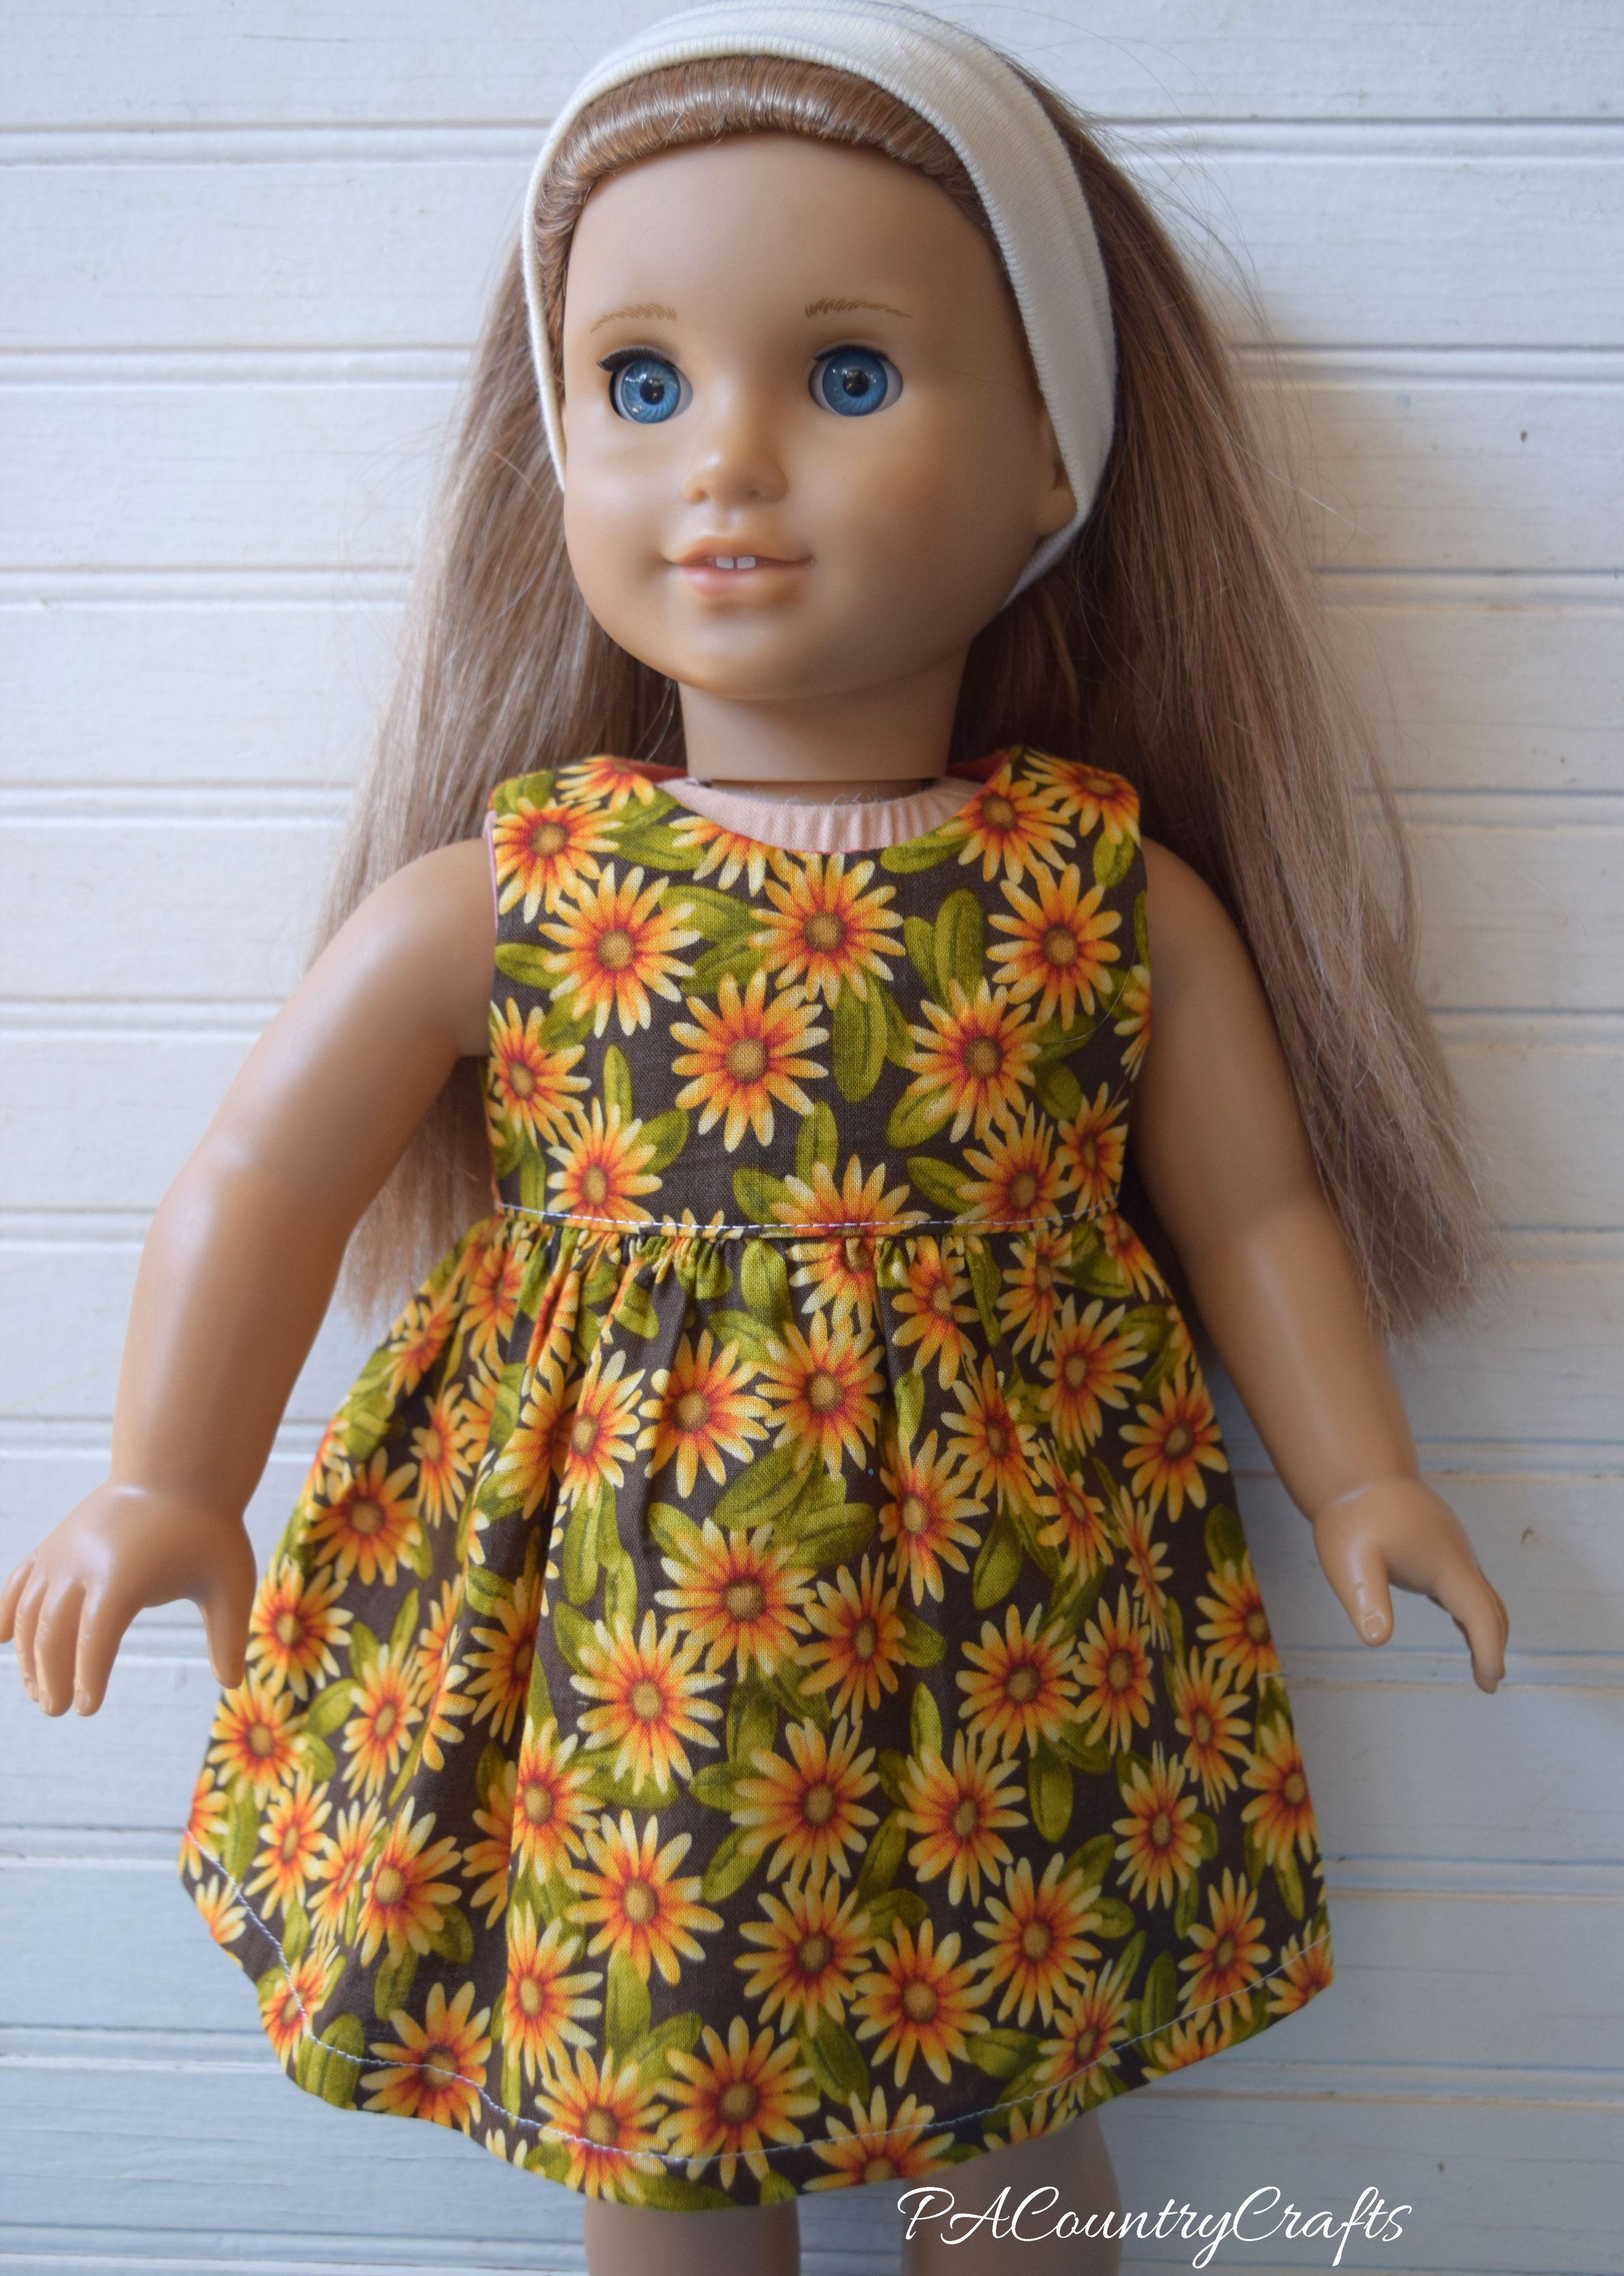
sunflower doll dress

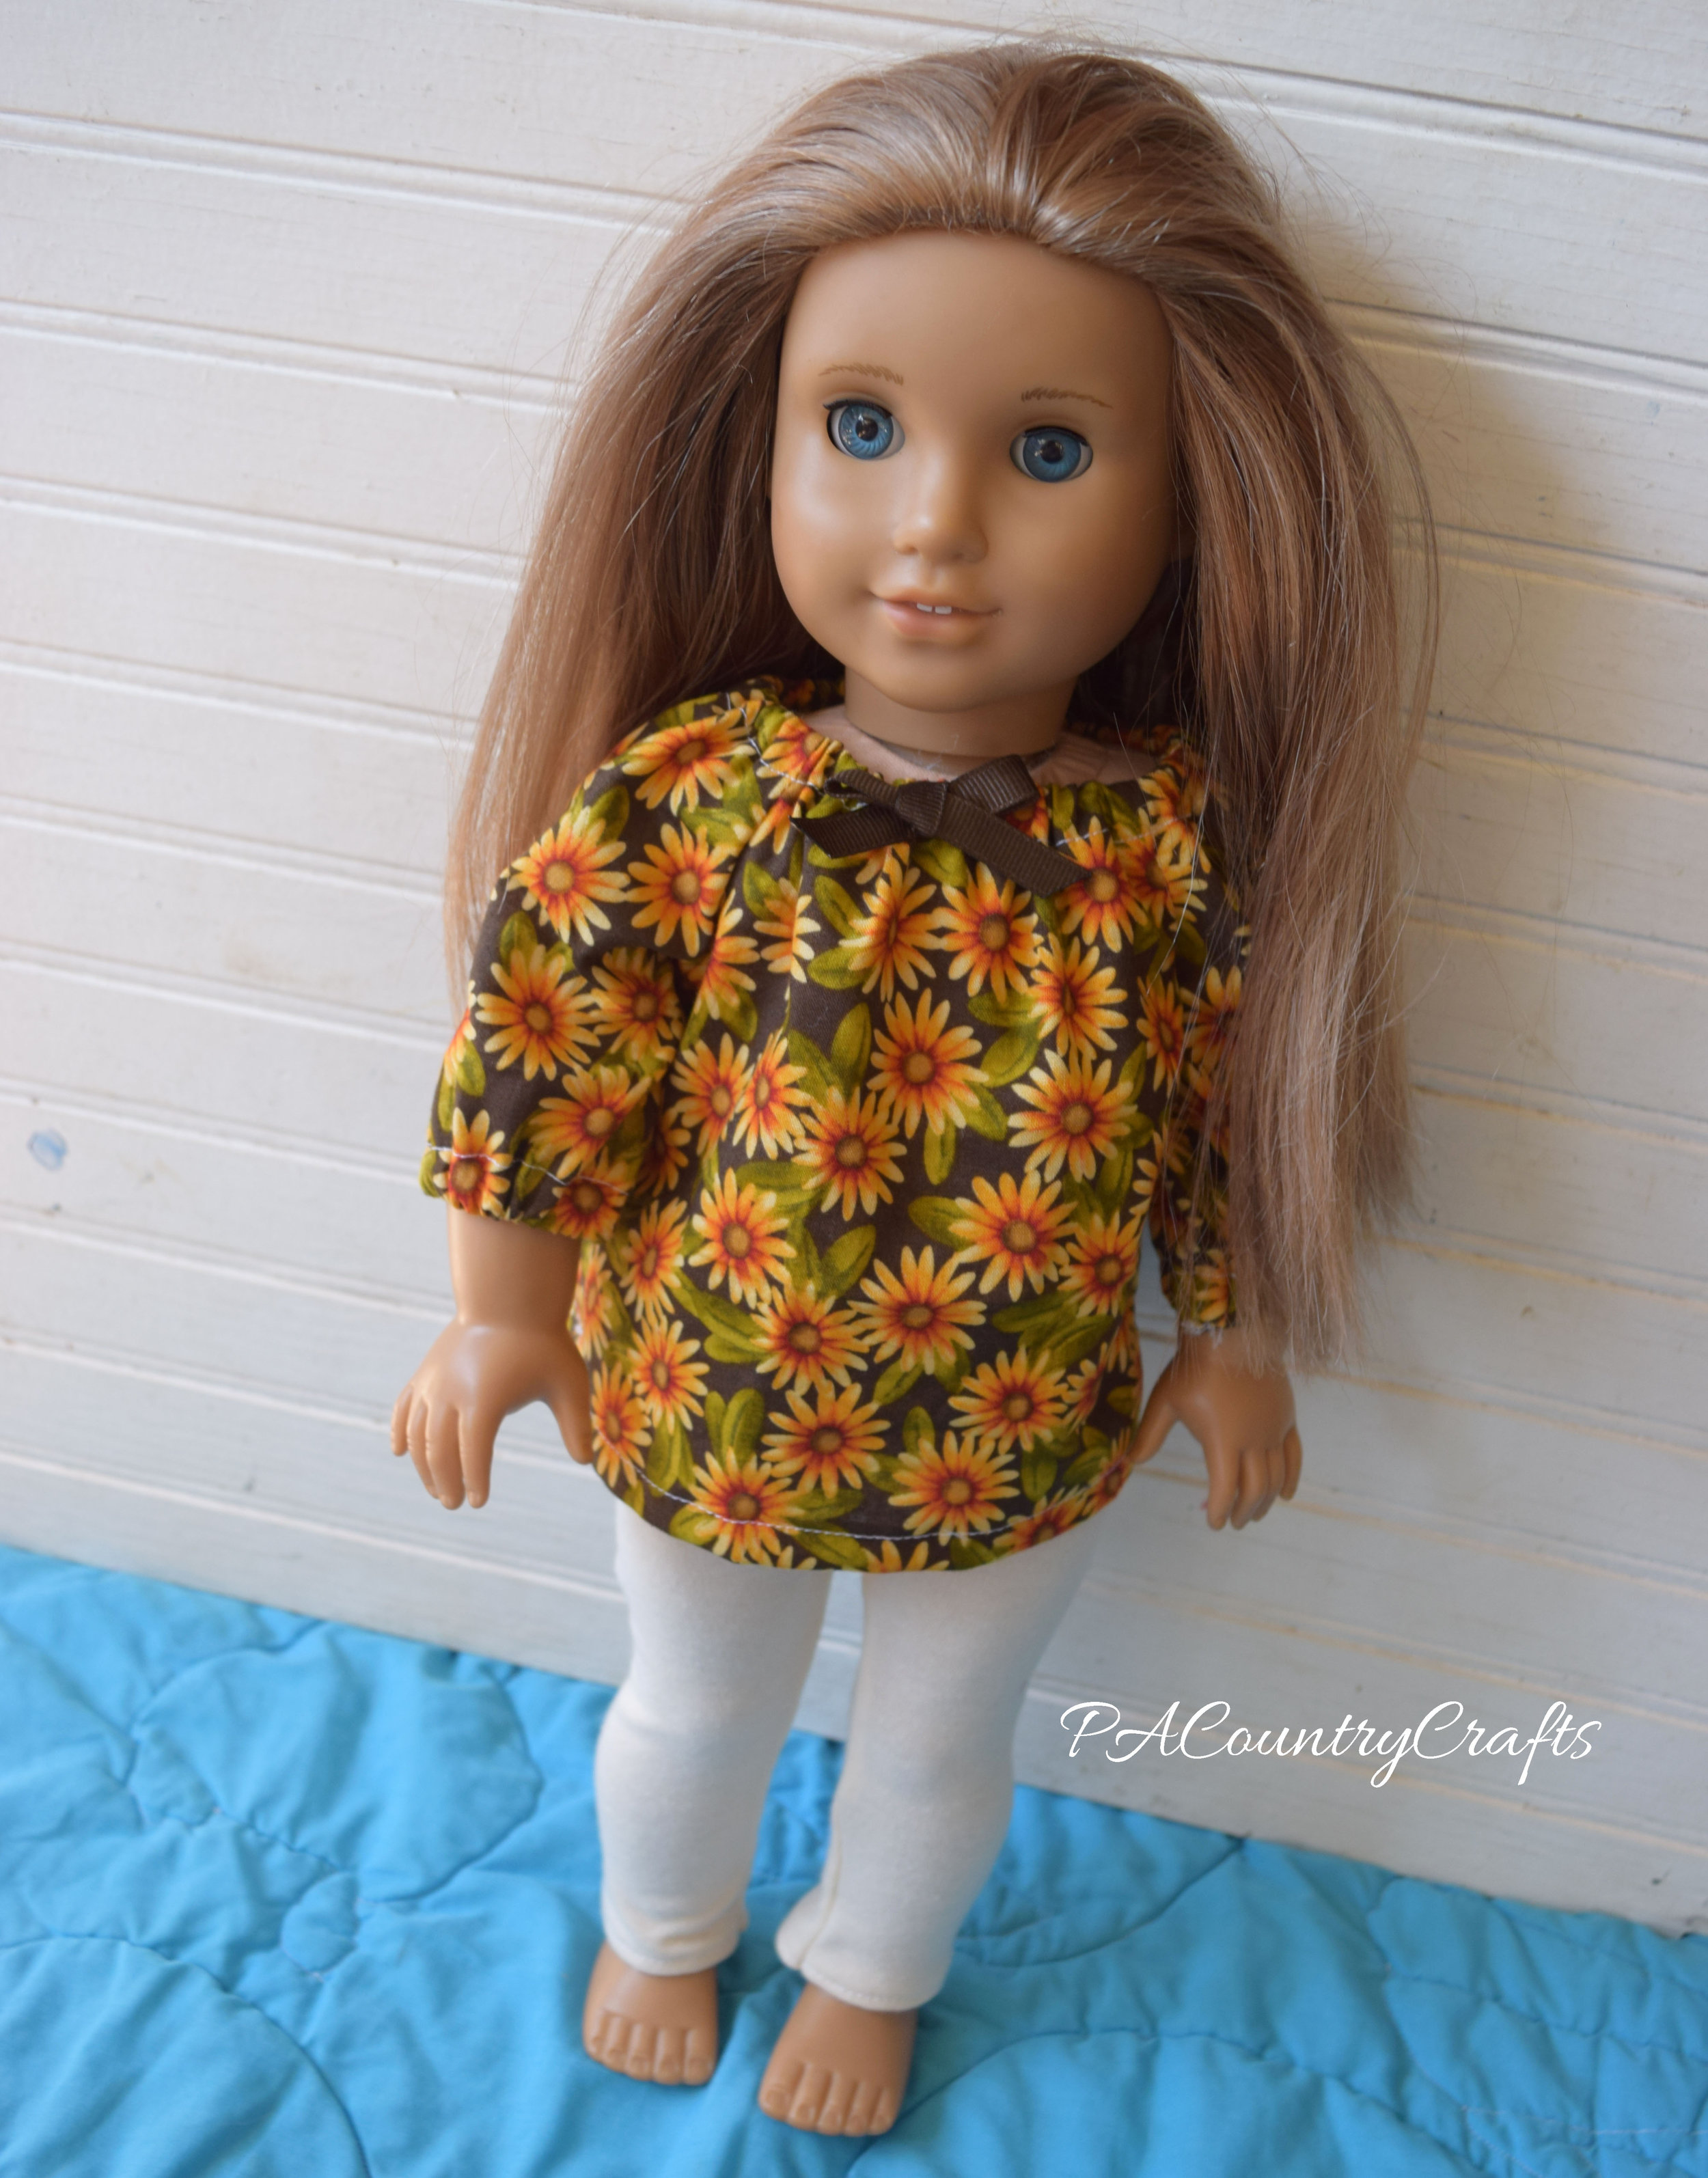
18" doll clothes- sunflower top and leggings

She wants to make more in the future, but this was a good lesson for her. She learned some sewing skills, but she also learned to persevere when things are challenging and how to work towards a goal. Sometimes, the work ethic and thought process that accompany learning something new can be the truly valuable lesson.

Furreal Friends Monkey Diapers and Pillowcase Top

monkey2Bpillowcase2Btop.jpg

My daughter got this adorable Furreal Friends monkey for Christmas. It really is super cute, even if the nose ripped in the first day or two. (She also got a dog two years ago and it broke in the first few days. If these things weren't so cute that she still loves them immensely I would stop buying them due to the poor quality). There was also another problem. The bottom holds the batteries and there is a furry flap to cover it, but there is nothing to keep that flap in place other than the cheap disposable, plastic diaper that it came with. Those tabs had ripped long ago and she kept taping it back together.

Well, just before Easter I was in a mood and didn't feel like sewing the Easter dresses. So, when all of the girls fell asleep early and the boys were out fishing on Good Friday night, I had some peace and quiet(ish) with my sewing machine. Sewing is my therapy. But I wanted to make something that was easy and could be completed in one sitting. I have too many unfinished projects.

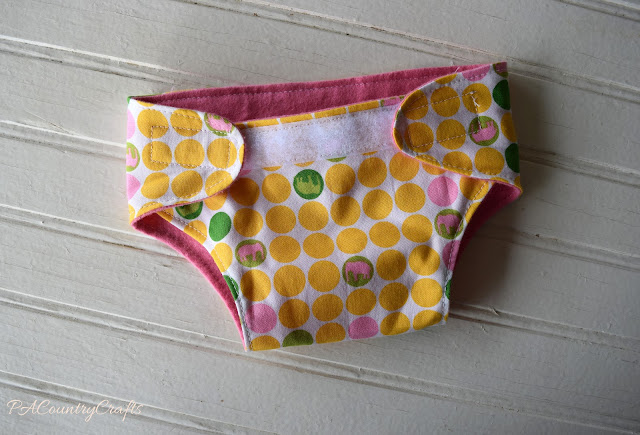
I originally had a doll diaper pattern that I thought would work, but after I had made two of them, I tried them on the monkey only to find out they were too small. So, I started over and drafted my own pattern.

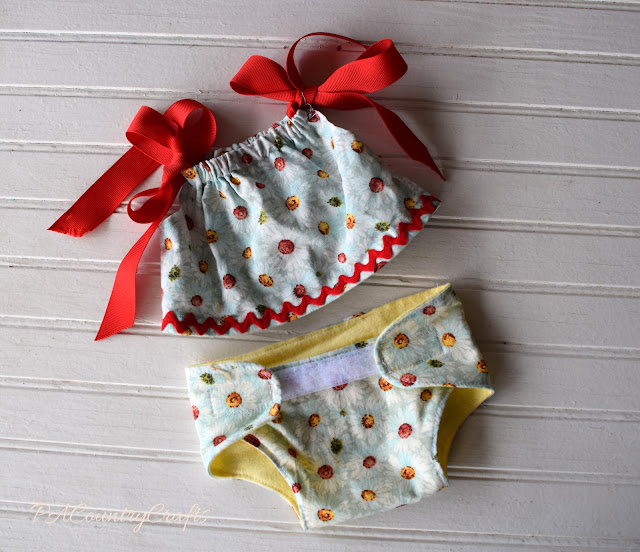
I even pulled out some of my "good" fabrics for this because I want to stop hoarding so much. The insides of the diapers are made of flannel remnants I got for super cheap at Joann's.

Then, while I was at it, I made a little pillowcase top to match one of the diapers. I didn't finish the inside seams or anything. It was just a quick project because I was just starting to get my sewing groove back.

I tucked these in her Easter basket and she loves them! Sometimes it is nice to do a quick and easy project like this. 

Sneak Peek of Doll Dresses and Some Valentine Stuff

pug2Bvalentine2Bbox.jpg

I have been doing a lot of craft projects for the kids/with the kids lately on these cold, snowy days. I made a few new things for their dolls a few weeks ago and ended up designing some new patterns. This one is a reversible doll dress.

Reversible Valentine doll dresses made with fat quarters and bias tape.
It was surprisingly easy and I hope to release a pattern to go with it soon. It only requires two fat quarters of fabric and some bias tape.

I just haven't found two coordinating fat quarters that I really like to make another one and take pictures. Doll clothes are a little trickier because you can't use large prints.

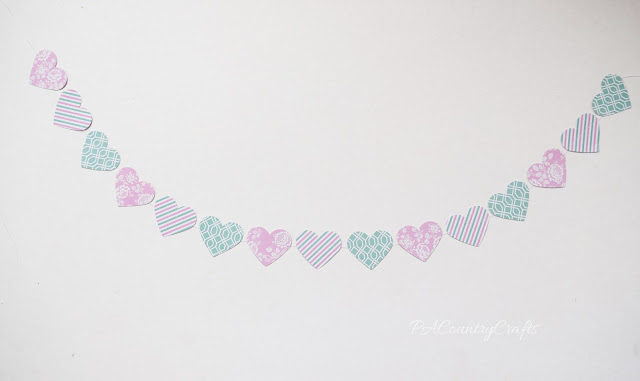
We have had oodles of delays and an early dismissal this week. Yesterday I decided to bribe the girls to clean up with the promise of a craft project. I bought a heart paper punch when I couldn't take it anymore and ran away to the craft store one day this week. We raided my scrapbook cardstock and they got to punch hearts out. Then, I took the pile and ran them through the sewing machine to make a garland.


Paper punched hearts sewn together to make a fun Valentine garland!


I just made a longer stitch and was sure to tie the ends together when I was done. These are fun and didn't take too much effort. That is my kind of project when there is a school delay.


There are some other things that aren't finished or are top secret, but I can show you this one, last Valentine project...
Pugs and Kisses Valentine box made out of a cereal box and kraft paper.
It is my daughter's Valentine box and it is made from an old Cheerios box and some brown packaging paper. I think he turned out pretty cute!
Happy Valentine's Day!