

Painted Plastic Easter Eggs Tutorial
/
Paint plastic eggs with regular acrylic paint- step by step tutorial with pictures!
Read MorePaint plastic eggs with regular acrylic paint- step by step tutorial with pictures!
Read MoreI don't believe I have ever shown off one of my quilts on my blog, but I am also a quilter! (Actually, I learned to sew quilts before anything else.) After a really tough Spring semester my sophomore year of college, I sold back all the books I could find from the first two years, went straight to Walmart, and bought the only sewing machine I could afford. That summer, I taught myself to quilt.I made baby quilts for my nieces and nephews, but the pre-quilting era kids have been skipped. So, for the girls, I have been making larger quilts for their 12th birthdays. Kelsey’s was just a bit overdue. I started it in April of 2009 and I just finished it. The piecing went really quickly! Basic nine patches in light blue and lilac, set on point with a cream background.
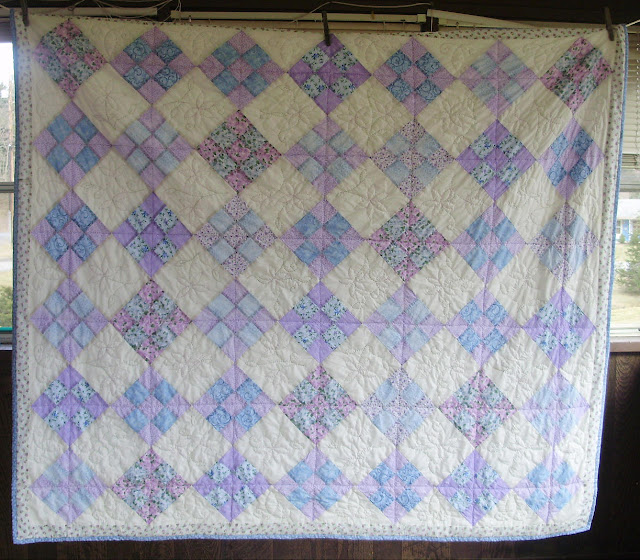
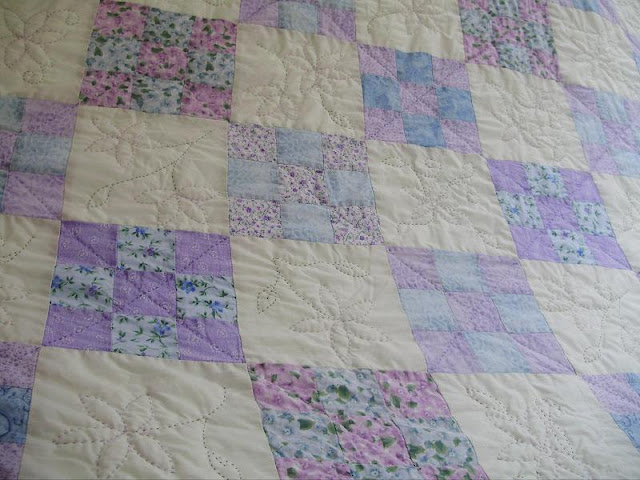
See, it took so long because I like to hand quilt motifs on the open squares. This intricate flower one was totally my own design and each block varies.
 I like how the colored thread stands out against the cream fabric.
 I put a few butterflies in there, too. I really punished myself with this one, and it would sit for months at a time with me having no ambition to work on it. However, I use washable crayola markers to draw on my quilting lines and after nearly 2 years, it didn't want to wash out! It took a lot of washing and soaking and OxiClean to get most of it out.
This is a terrible cropped in picture, but I designed a little motif to put her name in it that coordinated.

And of course I mitered the corners, too. I handstitch my bindings on around the back. (And that is some of Baby#5 under the green shirt there- makes a nice photo prop!)

I try to embroider a special message on the backs of these, and this one included Isaiah 40:8

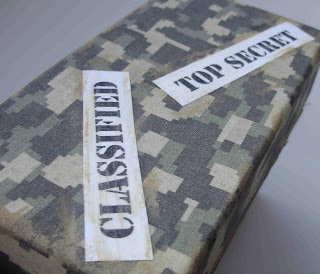
My brother is in the United States Army. He is a do-it-yourself kind of guy. He can build things, fix things, and now, probably because he is sick of fast food and microwave pizzas, he is learning to cook things. A looooooooooooooooong time ago he asked me for some recipes. Well, I just can’t do anything simply. I wanted to make him a recipe box, too. I finally got around to it and here it is:

TA DA!
I decoupaged fabric onto a cheapy $1 recipe box and touched it up with some paint. Here is how:
I measured VERY carefully and cut out a piece of fabric to wrap around the bottom, plus a little overlap, and a piece for on top with the corners cut out so it could come down over the sides.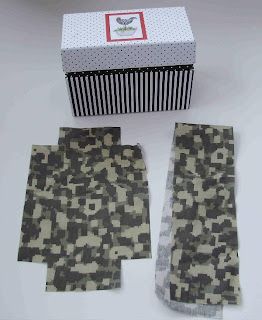
Then I used ModPodge to glue the material to the box. It didn't go as smoothly as I thought because it is very hard to watch the edges of all four sides at once and get everything straight. So, there was a little bit that didn't cover.
So, I just got out some Country Tan paint that matched pretty nice and looked like sandy dirt, and I used a sponge brush to paint the inside and smudge some here and there and all over the edges to give it a grungy effect/cover up my mistakes. In hindsight, I wish I had pained it FIRST, because some of those stripes show through (with the digital camo it is OK) and it would have been easier to cover up some of those mistakes.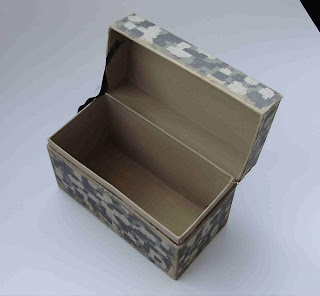
So, now I can give him all the secret family recipes I want. Except we don't really have any.
I think, though, that doing recipe boxes like this could be really nice bridal shower gifts. The fabric could match their kitchen or wedding colors. I might try it again. If you make one, I would love to see it!
.jpg)
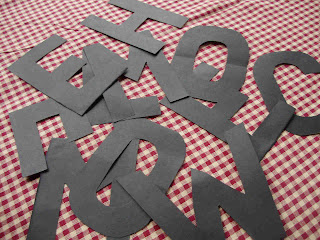.jpg) Then, since I realized they weren’t gonna show up so well against the dark pages, so I had the girls glue stick them to some pages that were mostly black type on white background.
Then, since I realized they weren’t gonna show up so well against the dark pages, so I had the girls glue stick them to some pages that were mostly black type on white background.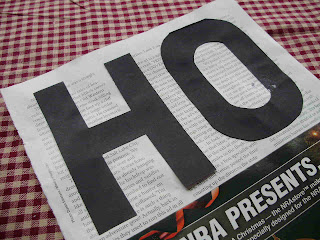.jpg)
.jpg)
.jpg)
.jpg)

As pomised yesterday, here is my new tutorial on the play pea pods I made with the girls.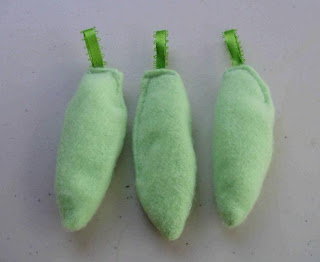.jpg)
I used some old green fleece (felt would have been better but I didn't have any green), beads from a broken, gaudy, old Avon necklace, and some green ribbon.
.jpg)
.jpg)
I clipped the curves a bit and turned right-side-out..jpg)
.jpg)
.jpg)
.jpg) And... TA DA!!! Pea pods. I may be crazy but I am considering making play food as things come in season in the garden. Big ideas... maybe I should finish something else first!
And... TA DA!!! Pea pods. I may be crazy but I am considering making play food as things come in season in the garden. Big ideas... maybe I should finish something else first! Sewing, crafts, tutorials, recipes, and a little look at our life in the country - raising half a dozen children.

Hi! Thanks so much for stopping by! My name is Lindsay and on this blog you will find sewing, crafts, decorating, recipes, and tutorials with a little bit of honesty and encouragement.


