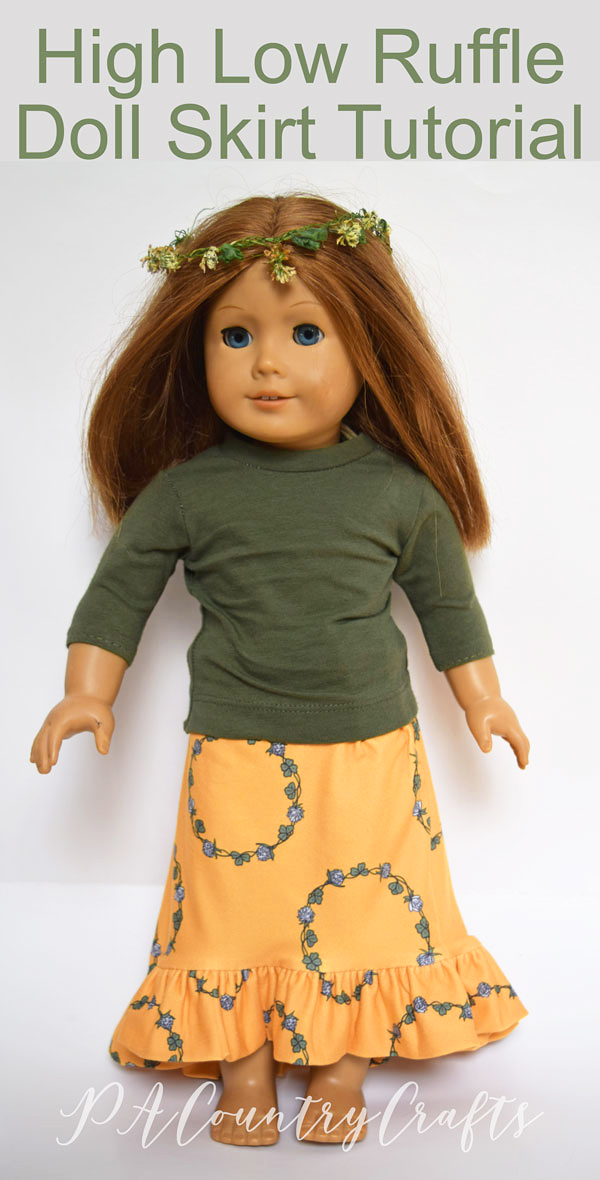
High Low Ruffle Doll Skirt Tutorial
/For the past few months I have been working with four amazingly talented designers to create Project Run and Play’s first fabric collection, Project Nature Adventure! We attempted to capture elements of outdoor adventured based on our own geographic locations. Having five girls, of course we play with wildflowers, so that is what my designs feature.
One of my fabrics is a double brushed poly (my girls’ absolute favorite!!!) in a sunshiney yellow, dotted with clover chains. The fabric is available for pre-order HERE.

I will feature more of my designs later, but today I am releasing tutorials that I designed specifically for the Project Nature Adventure lookbook (see it HERE- it is awesome!) When I made my daughter a high low ruffle skirt from my clover chains DBP, I had just enough fabric left to make a matching doll skirt.


I drafted my own pattern so I decided to throw together a little tutorial, too. This pattern will work with knit or woven fabrics (if you finish the raw edges) and is designed to fit 18” dolls like American Girl or Our Generation. Decreasing the elastic will allow them to fit 14” dolls, but the skirt will be floor length.
***Use a 3/8” seam allowance throughout!***

High Low Ruffle Doll Skirt Tutorial


1. Cut out the skirt pieces:
(2) waistbands
(1) front skirt
(1) back skirt
(2) ruffle pieces
(1) 10” piece of 3/8” elastic (not shown)

2. Sew the side seams of the skirt together. Mark the centers of the front and back.

3. Sew the short ends of the ruffle pieces together on both sides. Press the side seams open and fold the ruffle in half.

4. Sew two rows of gathering stitches along the top edge of the ruffle. Mark the centers of each piece of the ruffle.

5. Gather the ruffle and pin/clip to the bottom of the skirt, aligning the side seams and centers.

6. Sew the ruffle onto the skirt, being careful not to stretch the skirt fabric. Finish and topstitch seam if desired.

7. Sew the sides of the waistband.

8. Fold waistband in half, pressing seams to one side, both in the same direction.

9. With the raw edge together, align the side seams and sew the waistband to the skirt, leaving a 1” opening.

10. Insert elastic through the opening.

11. Overlap the ends of the elastic 1” and zig zag stitch to hold them together.

12. Sew the opening of the waistband closed to conceal the elastic. Finish seams if desired.

YAY!
It is finished!
If you want to pin it for later…
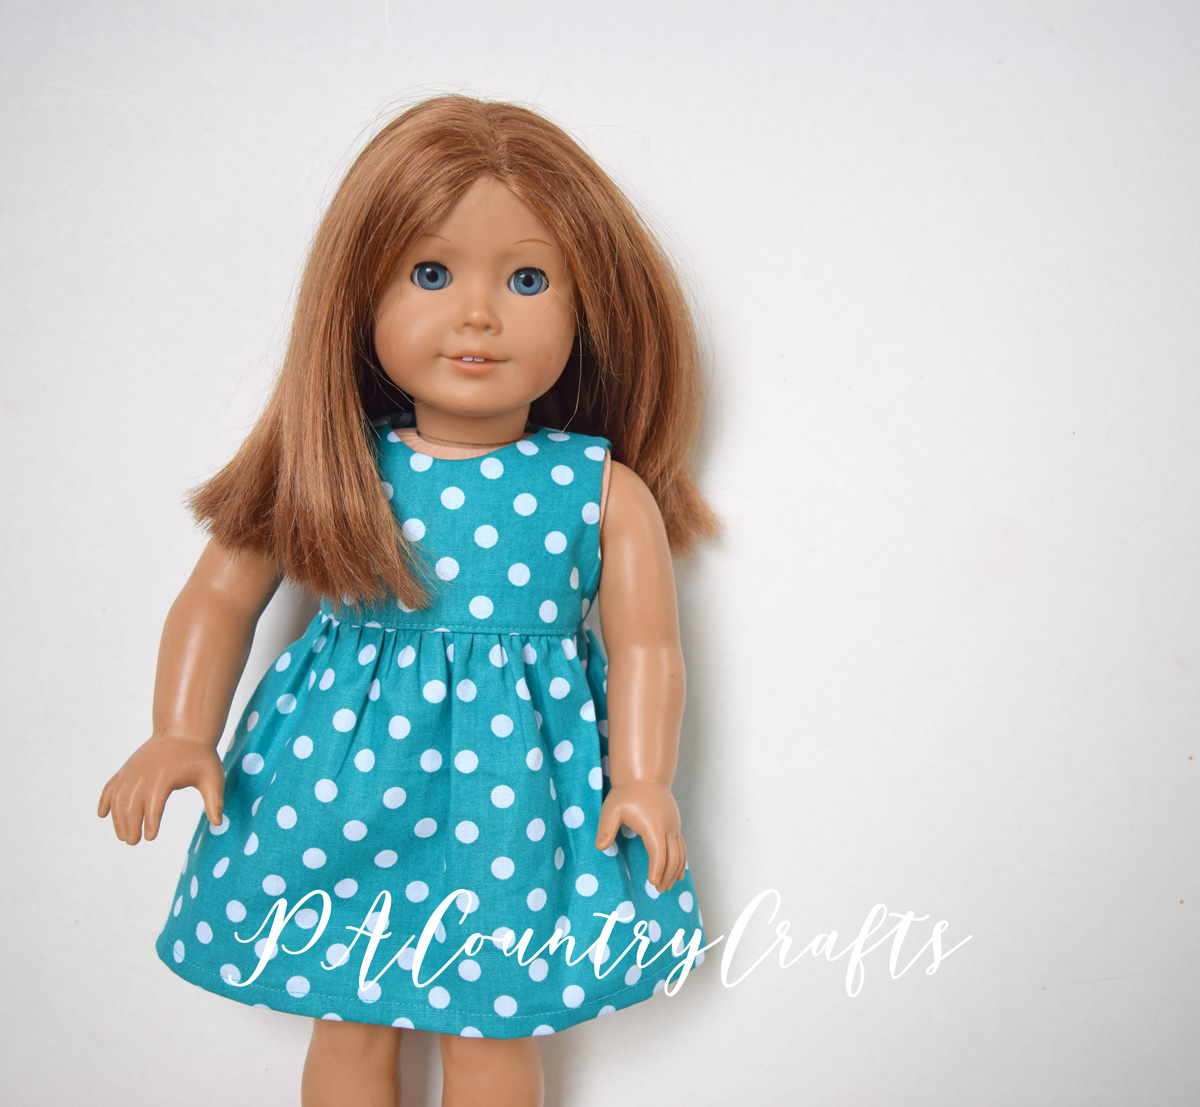
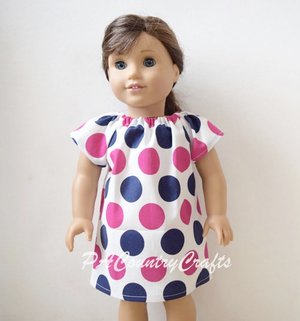
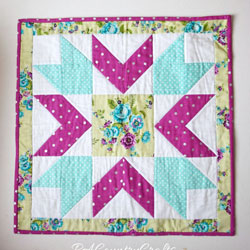
Here are some more doll sewing tutorials you might like: