Wood Bead Carrots Tutorial
/Wood beads are the latest farmhouse style trend and I have jumped on board! I have been making bead garlands for my vendor spaces (which I will blog about soon!) I prefer to dye the beads for different color accents and use different sizes and shapes. For Easter, I started making wood bead carrots and they are so simple!

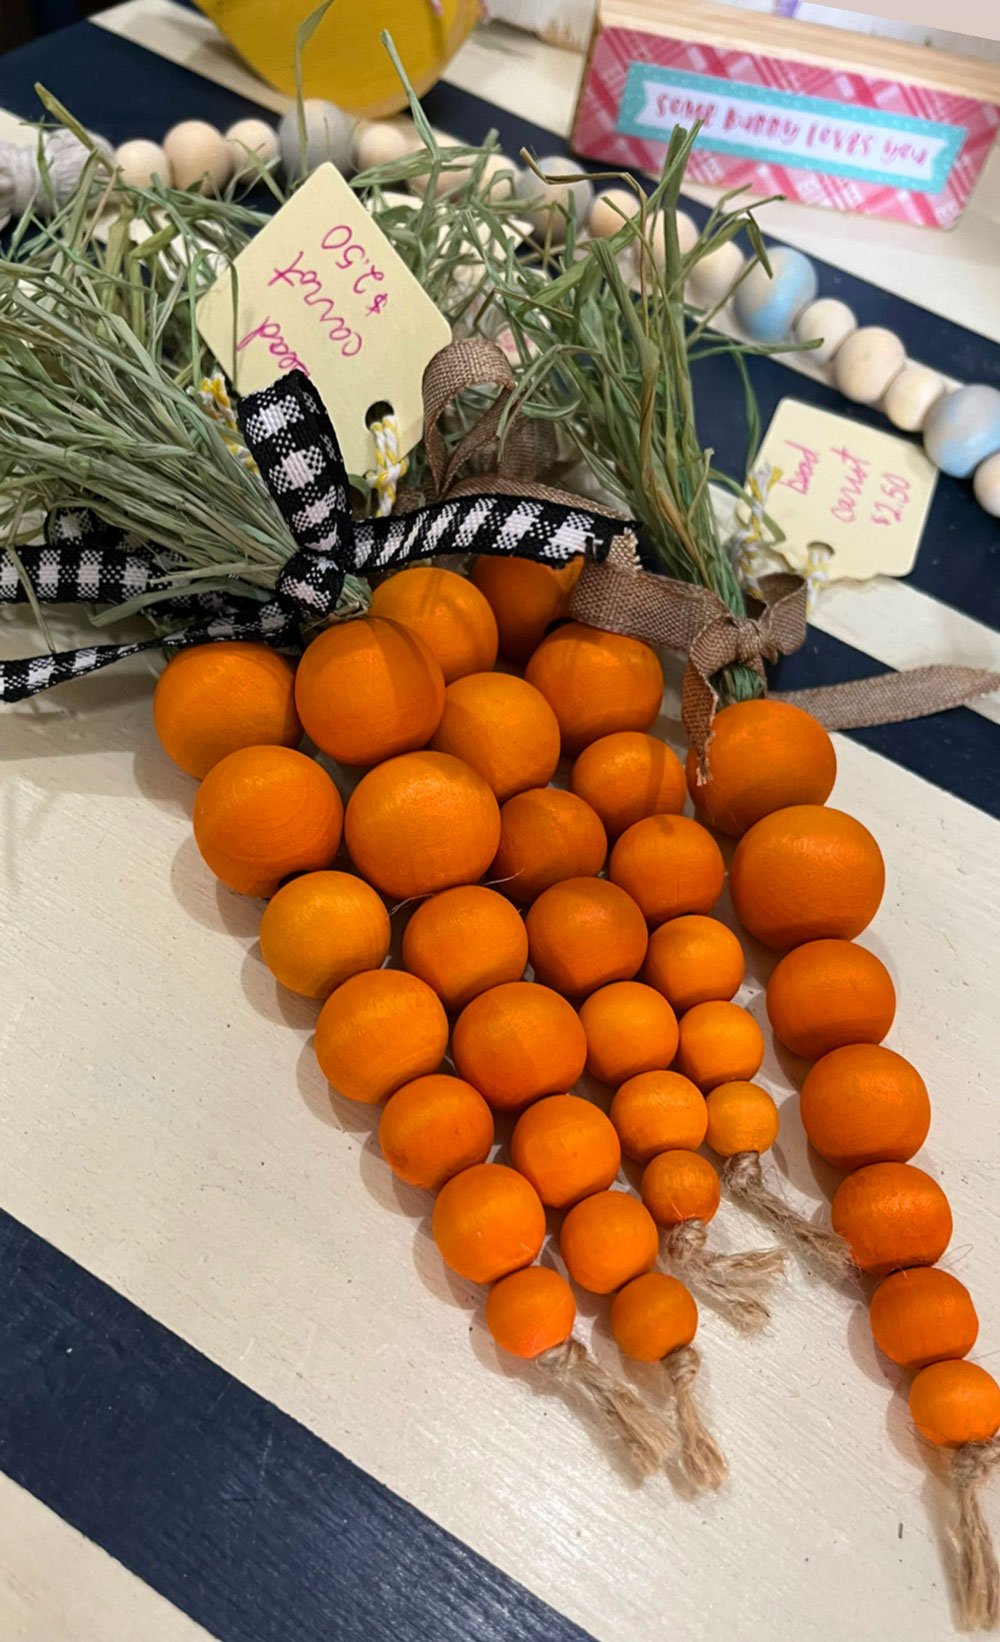
Wood Bead Carrot Tutorial
For each carrot you will need:
(2) 25mm wood beads
(2) 20mm wood beads
(1) 16mm wood bead
(1) 14mm wood bead
(1) 12 mm wood bead
a few pieces of raffia
14” jute twine
12” ribbon
darning needle
scissors
Rit dye- sunshine orange, lemon yellow, and kelly green
Start out by boiling a pot of water and dumping in a little Sunshine Orange Rit dye. (I am guestimating about 1 Tbsp. in 2 cups of water.) Soak the beads until they reach the desired hue, but keep in mind that the color will darken and become more vibrant as they dry! Also dye the raffia using a little bit of Lemon Yellow and Kelly Green Rit dye mixed together- about 1 Tbsp. of each. Everything has to dry thoroughly before assembling the carrots.
Wrap the raffia around your hand to form a loop.
Put the twine through the bottom of the loop and tie the center of the twine tightly using a square knot.
Thread both ends of the twine through the darning needle and thread the beads onto the twine from largest to smallest.
Tie the twine in a knot at the bottom of the carrot to keep the beads in place. Trim the ends.
Tie the ribbon in a bow around the raffia about 1/4” from the twine knot.
Trim the ends of the raffia and scrunch as desired.
I also put together a video tutorial on my Instagram reels. I think this might be more helpful.

If you want to pin this for later…

You may also like…