Chunky Newborn Beanie Pattern
/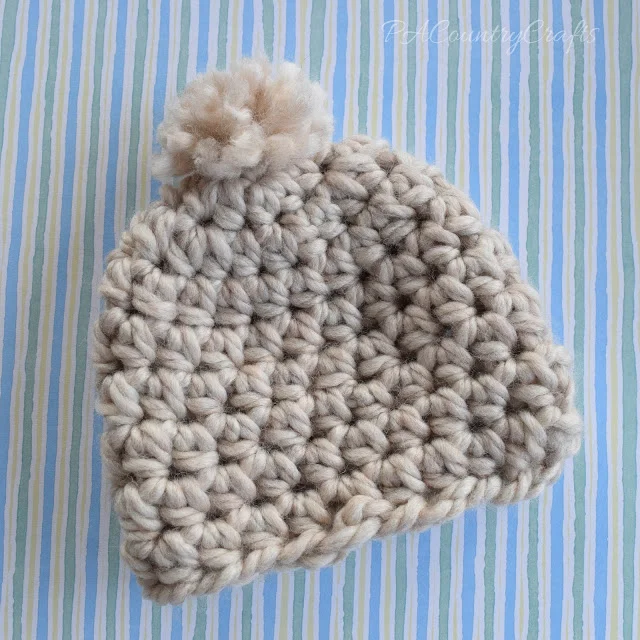
Soft and chunky newborn beanie with a fluffy ball on top! This crochet pattern works up really quickly and easily!
Read MoreSoft and chunky newborn beanie with a fluffy ball on top! This crochet pattern works up really quickly and easily!
Read More
So, it is November and I still have not finished blogging about the girls' Easter dresses. The thing about the navy and white theme this year is that they are so versatile. It just looks classy for any season.

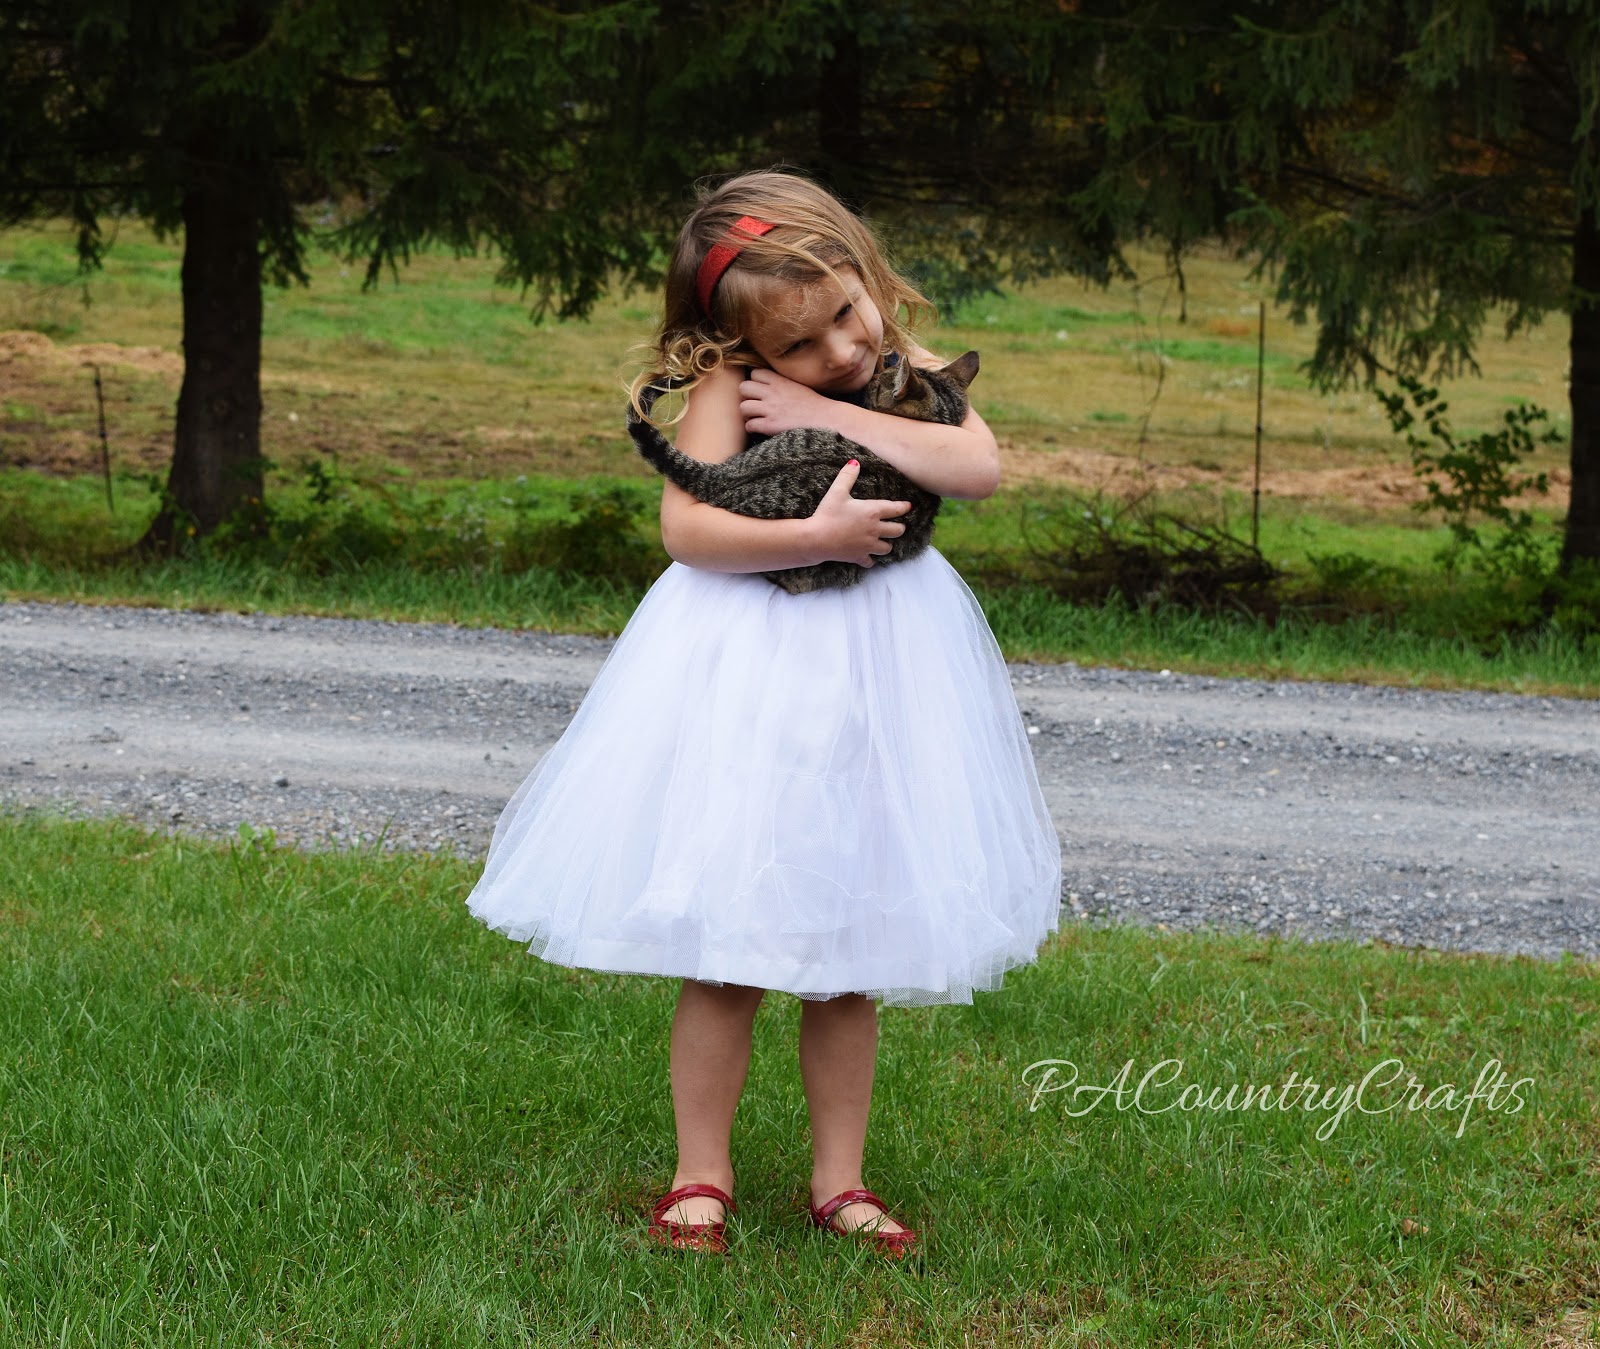
This dress turned out so beautiful and - even if the pictures don't show it by her refusal to smile - she loves it! I made a sparkly satin bodice (remnant from Joann's) using The Party Dress free pattern from Cottage Mama. I adjusted it to use buttonholes in the back, though.

The skirt is about 3 yards of shimmer tulle that was cut into strips the desired length, sewn together to make one very long piece, and gathered tightly to fit the bodice. I added a lining with a built in petticoat for a little more "poof" at the bottom. Gathering the tulle was very tedious, but definitely worth it. She calls it her "poofy dress."

The other reason I have not blogged about this dress is because within minutes of putting it on Easter morning, she went up the steps and stepped on it, ripping out a chunk of tulle from the front. I sewed it back together, but it is still visible. It just about broke my heart.


I should be getting ready for Halloween, but I am procrastinating. Instead, I am backtracking and blogging about another Easter dress.
This was one of the dresses that was completely dictated by my daughter's preferences. It also ended up costing me nothing to make! So, we both won.


A friend gave me this beautiful lace to work with- it is a heavier, stretch lace, but I didn't use the stretch factor in the design. I just drafted a basic bodice pattern and cut the lace. I left the shoulders and top of the bodice unlined for a sheer lace effect. So, I pieced the unlined and lined portions together and overlocked the inside seam. Then, I used some vintage navy bias tape around the neck and arms. Using wash-away wonder tape was key for holding that in place to sew. The back has an invisible zipper (which I already had from changing my mind last year and using buttons).


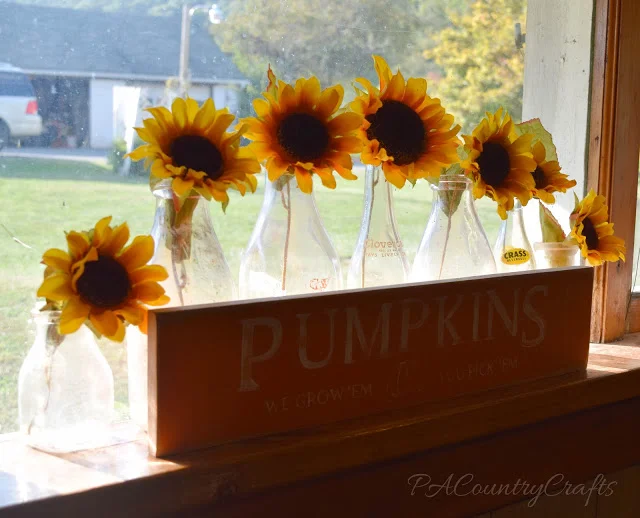
Fall crafts and decorating with kids is not always the great fun you imagine it will be. Keeping it real with some tales of crafting disasters involving smoke, glitter, and fighting…
Read MoreMake a simple fall grapevine wreath with rolled fabric flowers and seasonal picks.
Read More
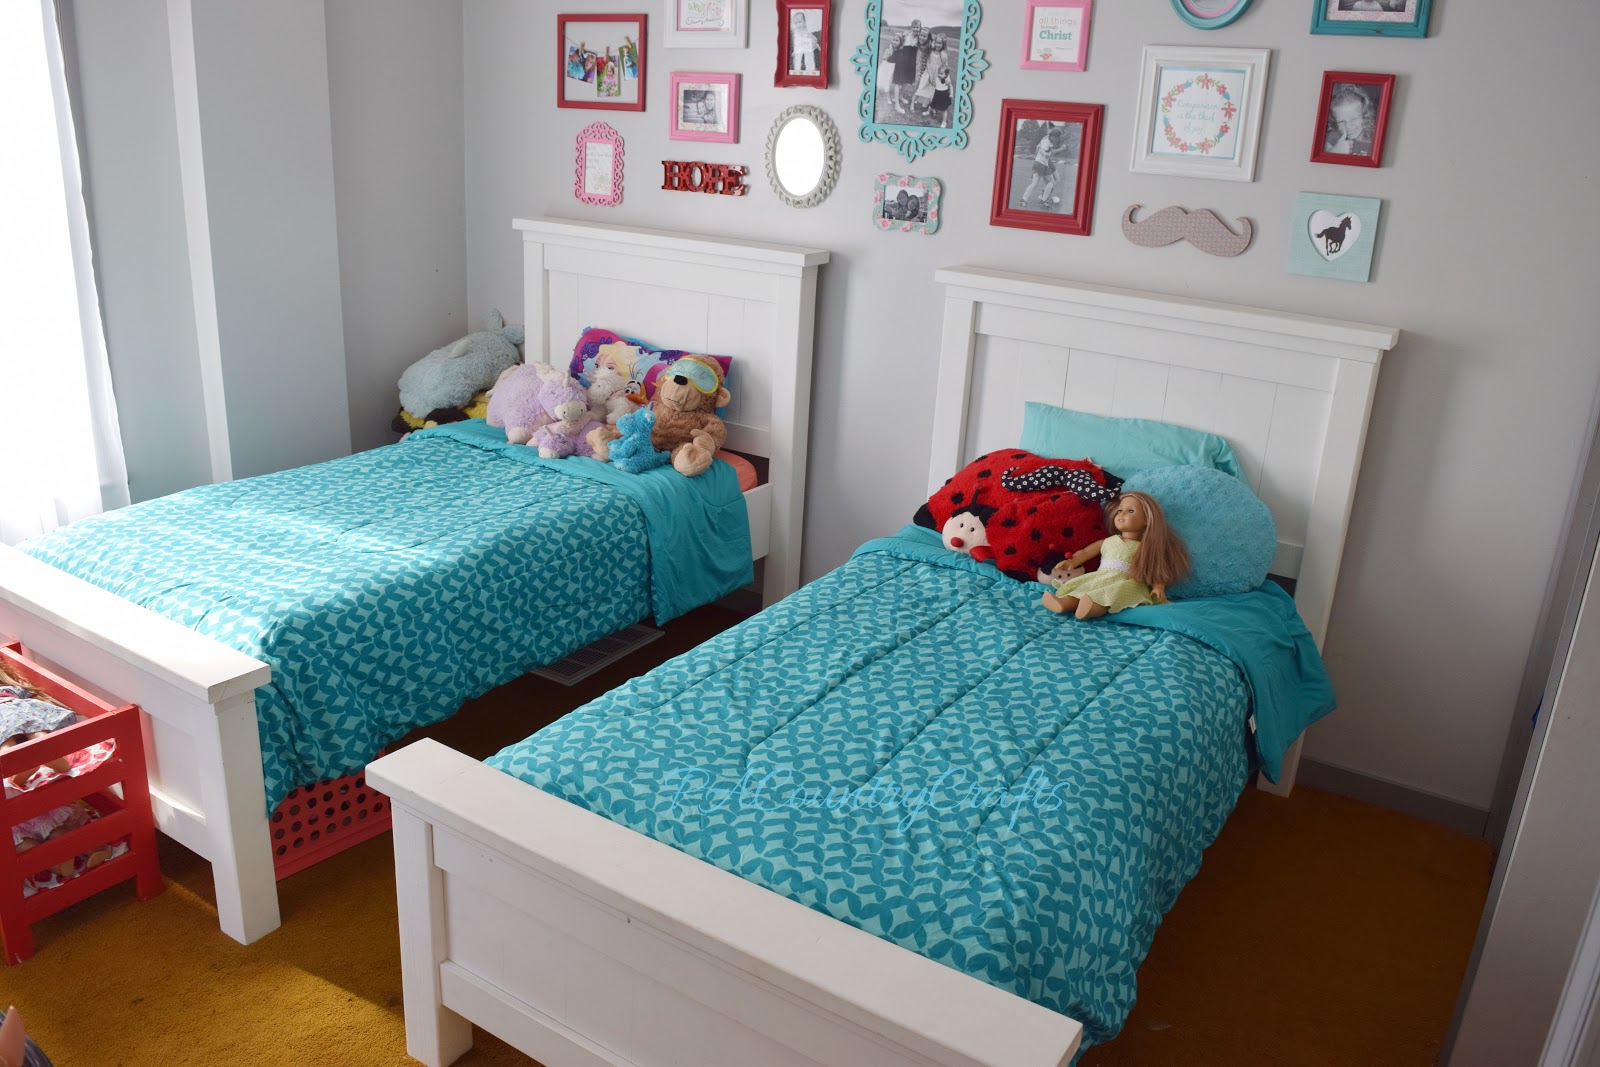
We are just about finished with the girls' new bedroom and I am so excited to show you what my husband made!!!


I really love the print on this!!!
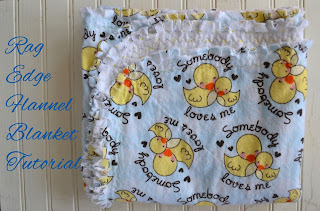
I did a decorative stitch around the edge that matched the ferns, but was too lazy to change my presser foot. I spent A LOT of time seam ripping the one full side I sewed before I realized it didn't look right. But, I like to pray for the recipient as I sew/seam-rip, so this little girl got a lot of extra prayers!
I hope that the baby girl who uses it will love it as much as I do!
If you want to make your own, just click on the picture below for the tutorial!
Sewing, crafts, tutorials, recipes, and a little look at our life in the country - raising half a dozen children.

Hi! Thanks so much for stopping by! My name is Lindsay and on this blog you will find sewing, crafts, decorating, recipes, and tutorials with a little bit of honesty and encouragement.