

Zucchini Bread
/
The zucchini continues….
I am picking over two dozen a day! It is quite ridiculous!
So, today I give you, zucchini bread. Not an original idea for zucchini, but it is devoured quickly year-round in my house! When I have zucchini coming out of my ears like I do right now, I shred the zucchini and put it in freezer bags to freeze for later use. Just thaw and drain the water off when you make it.

Zucchini Bread
2 eggs
1 cup sugar
1/2 cup vegetable oil
1 cup grated zucchini
1 tsp. vanilla
1 1/2 tsp. cinnamon
1 1/2 cups flour
1/2 tsp. baking soda
1/8 tsp. baking powder
(I don't have an 1/8 tsp. measuring spoon so I always guess or double the recipe)
Beat eggs. Beat in sugar. Stir in oil, vanilla, and zucchini. Mix well. Add dry ingredients. Pour into a greased loaf pan. Bake at 350 degrees for one hour.


.jpg)
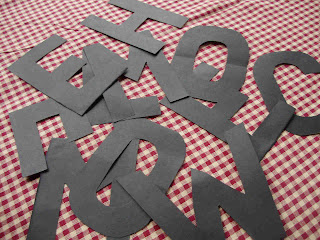.jpg) Then, since I realized they weren’t gonna show up so well against the dark pages, so I had the girls glue stick them to some pages that were mostly black type on white background.
Then, since I realized they weren’t gonna show up so well against the dark pages, so I had the girls glue stick them to some pages that were mostly black type on white background.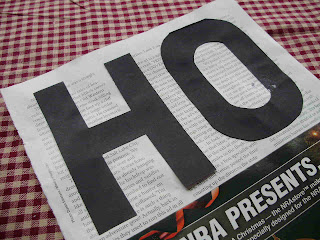.jpg)
.jpg)
.jpg)
.jpg)

.jpg)
.jpg)
.jpg)
.jpg)
.jpg)
.jpg)
.jpg)

.jpg)

.jpg)
.jpg)
.jpg)
.jpg)

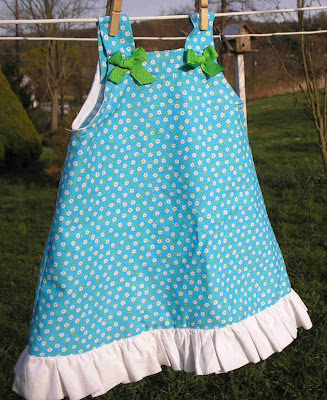.jpg) For my youngest daughter, I wanted to make a dress instead. She is little, so I had enough material.
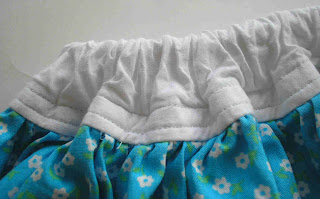
For my youngest daughter, I wanted to make a dress instead. She is little, so I had enough material..jpg) I fixed the shortness by adding a ruffle on the bottom from the white cotton. I took a 6” strip, folded it in half and ironed, then gathered it and sewed it on the bottom.
I fixed the shortness by adding a ruffle on the bottom from the white cotton. I took a 6” strip, folded it in half and ironed, then gathered it and sewed it on the bottom.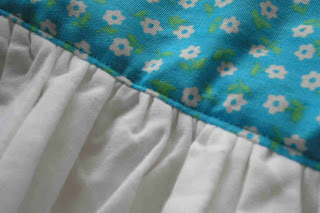.jpg) I topstitched to make it look more finished and hold the ruffle down nicely.
I topstitched to make it look more finished and hold the ruffle down nicely.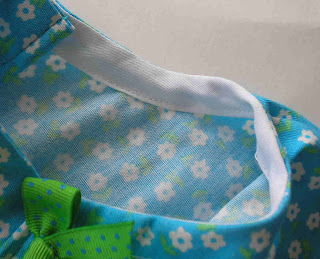.jpg) The armholes called for single fold bias tape in the original
The armholes called for single fold bias tape in the original 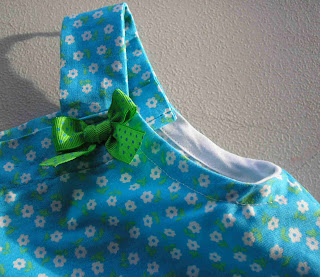.jpg) To make the dress fit better I took the front half of the bias tape off and made it cut in a little more so that the front is narrower than the back before I sewed the bias tape back on. The fit was much nicer, but I still hate bias tape.
To make the dress fit better I took the front half of the bias tape off and made it cut in a little more so that the front is narrower than the back before I sewed the bias tape back on. The fit was much nicer, but I still hate bias tape.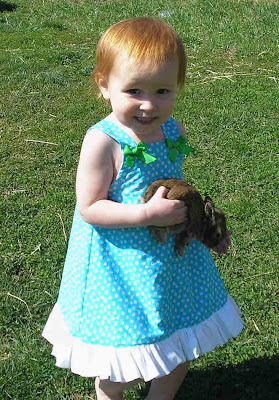.jpg) FINALLY the fit is perfect- although it is now nothing like a pillowcase dress at all! Unfortunately, it is REALLY tight going over her head, so I may have to make the straps thinner if she ever grows some hair and it gets too hard to put on.
FINALLY the fit is perfect- although it is now nothing like a pillowcase dress at all! Unfortunately, it is REALLY tight going over her head, so I may have to make the straps thinner if she ever grows some hair and it gets too hard to put on.
.jpg) For the next skirt in my Easter sewing series- I went totally without pattern! I decided I wanted to make this one a longer style with a wide white waistband along the top and a ribbon bow accent.
For the next skirt in my Easter sewing series- I went totally without pattern! I decided I wanted to make this one a longer style with a wide white waistband along the top and a ribbon bow accent. 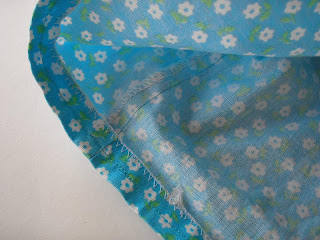
.jpg)
.jpg)


.jpg)