Wave Fabric T Shirt Dress

navy-chiffon-rosette.jpg

When I was making Easter dresses this year, I started to run out of ambition. I ended up making a cheater dress for the youngest. She can't voice her opinion yet and my best friend reminded me that there are no others to pass it down to later, so it would get less wear than the other dresses. I liked that logic.

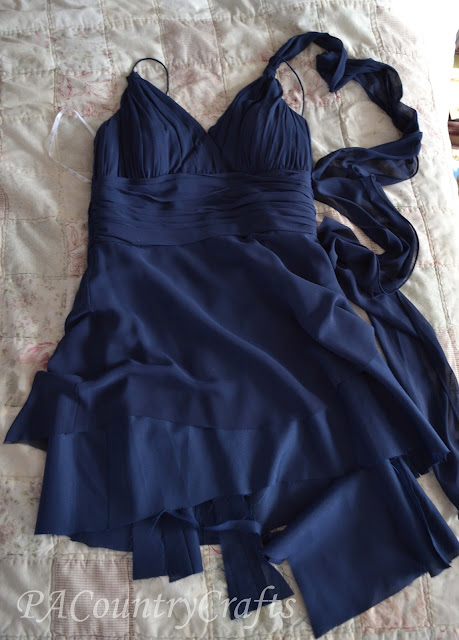
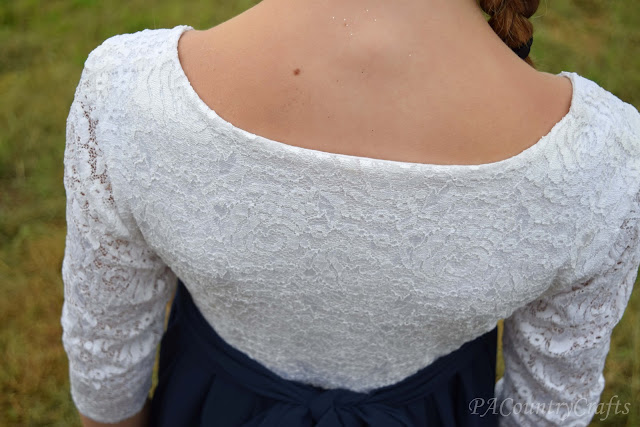
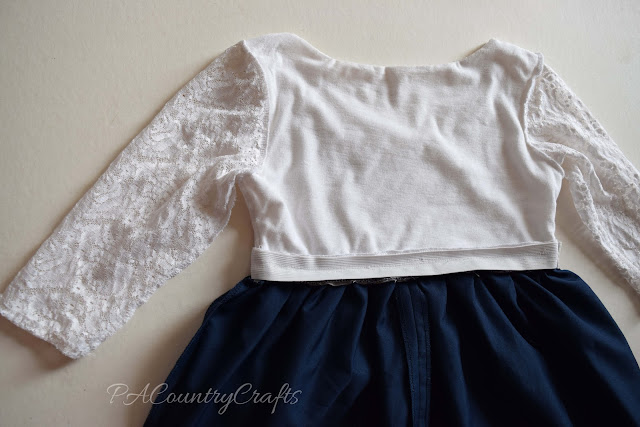
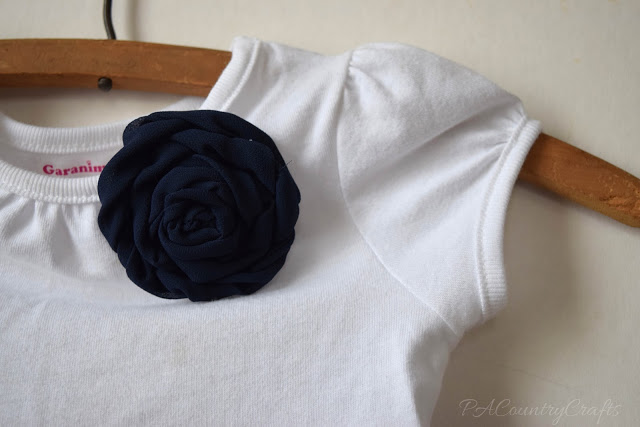
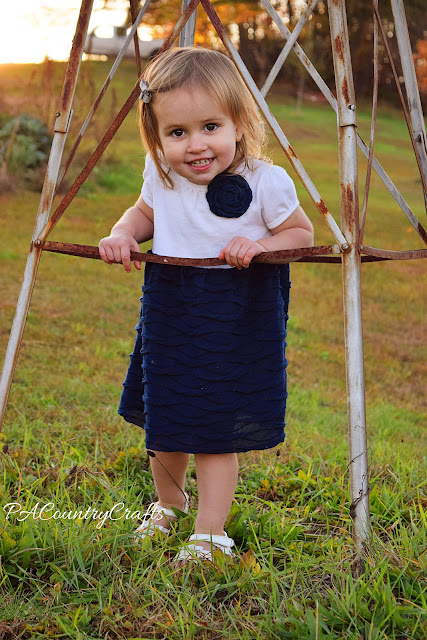
It is just a simple T shirt dress. I got a basic Garanimals shirt at Walmart for the top. I found this navy wave texture fabric in the remnant bin at Joanns for the skirt.

I chopped a few inches off the bottom of the shirt, sewed the skirt in a tube, and then attached them with my serger. It was ridiculously easy.

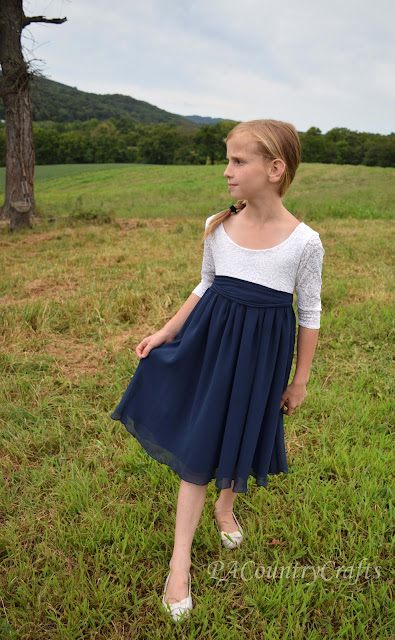
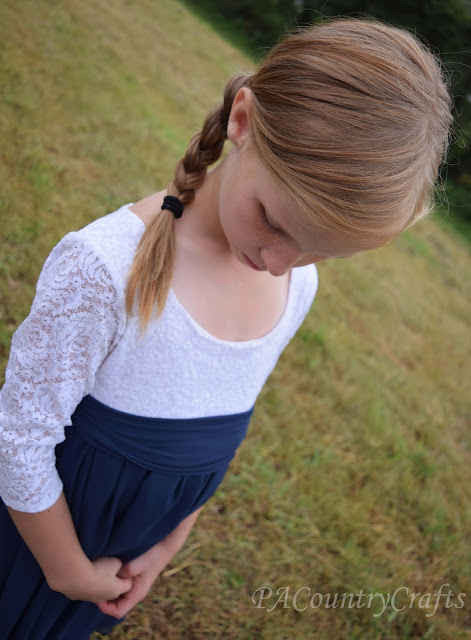
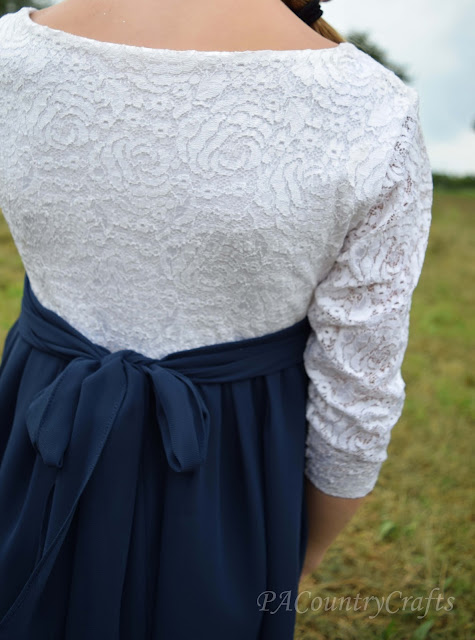
To add a little something to the top I made a navy, chiffon flower out of some scraps from the

bridesmaid dress

and sewed it on.

Even with my minimal effort, it is still a cute dress and it is a little more practical for a toddler, too.

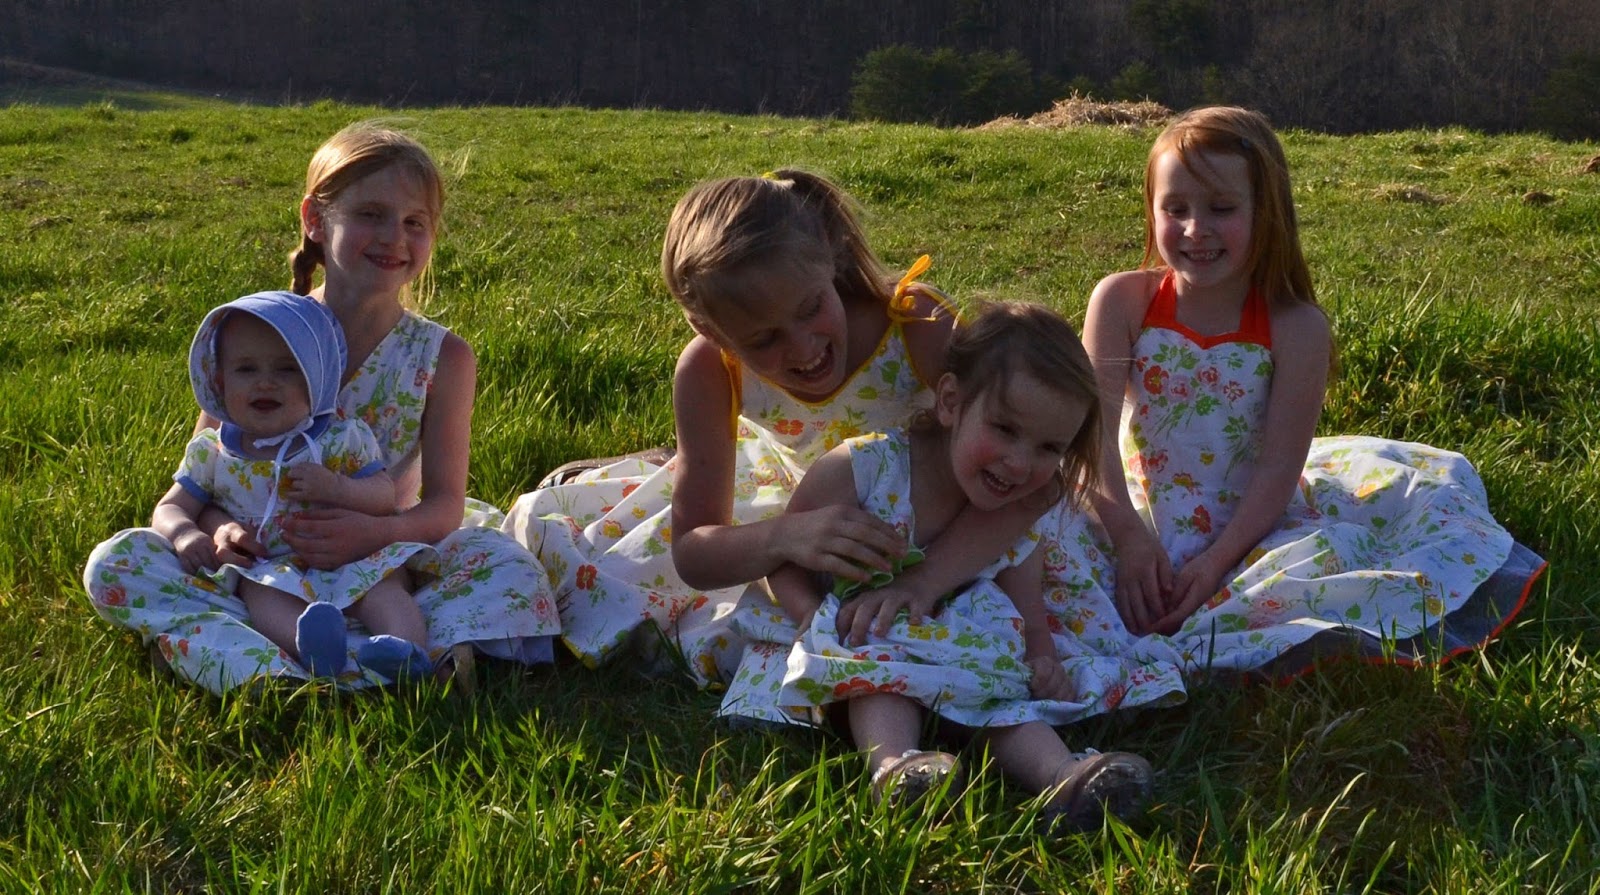
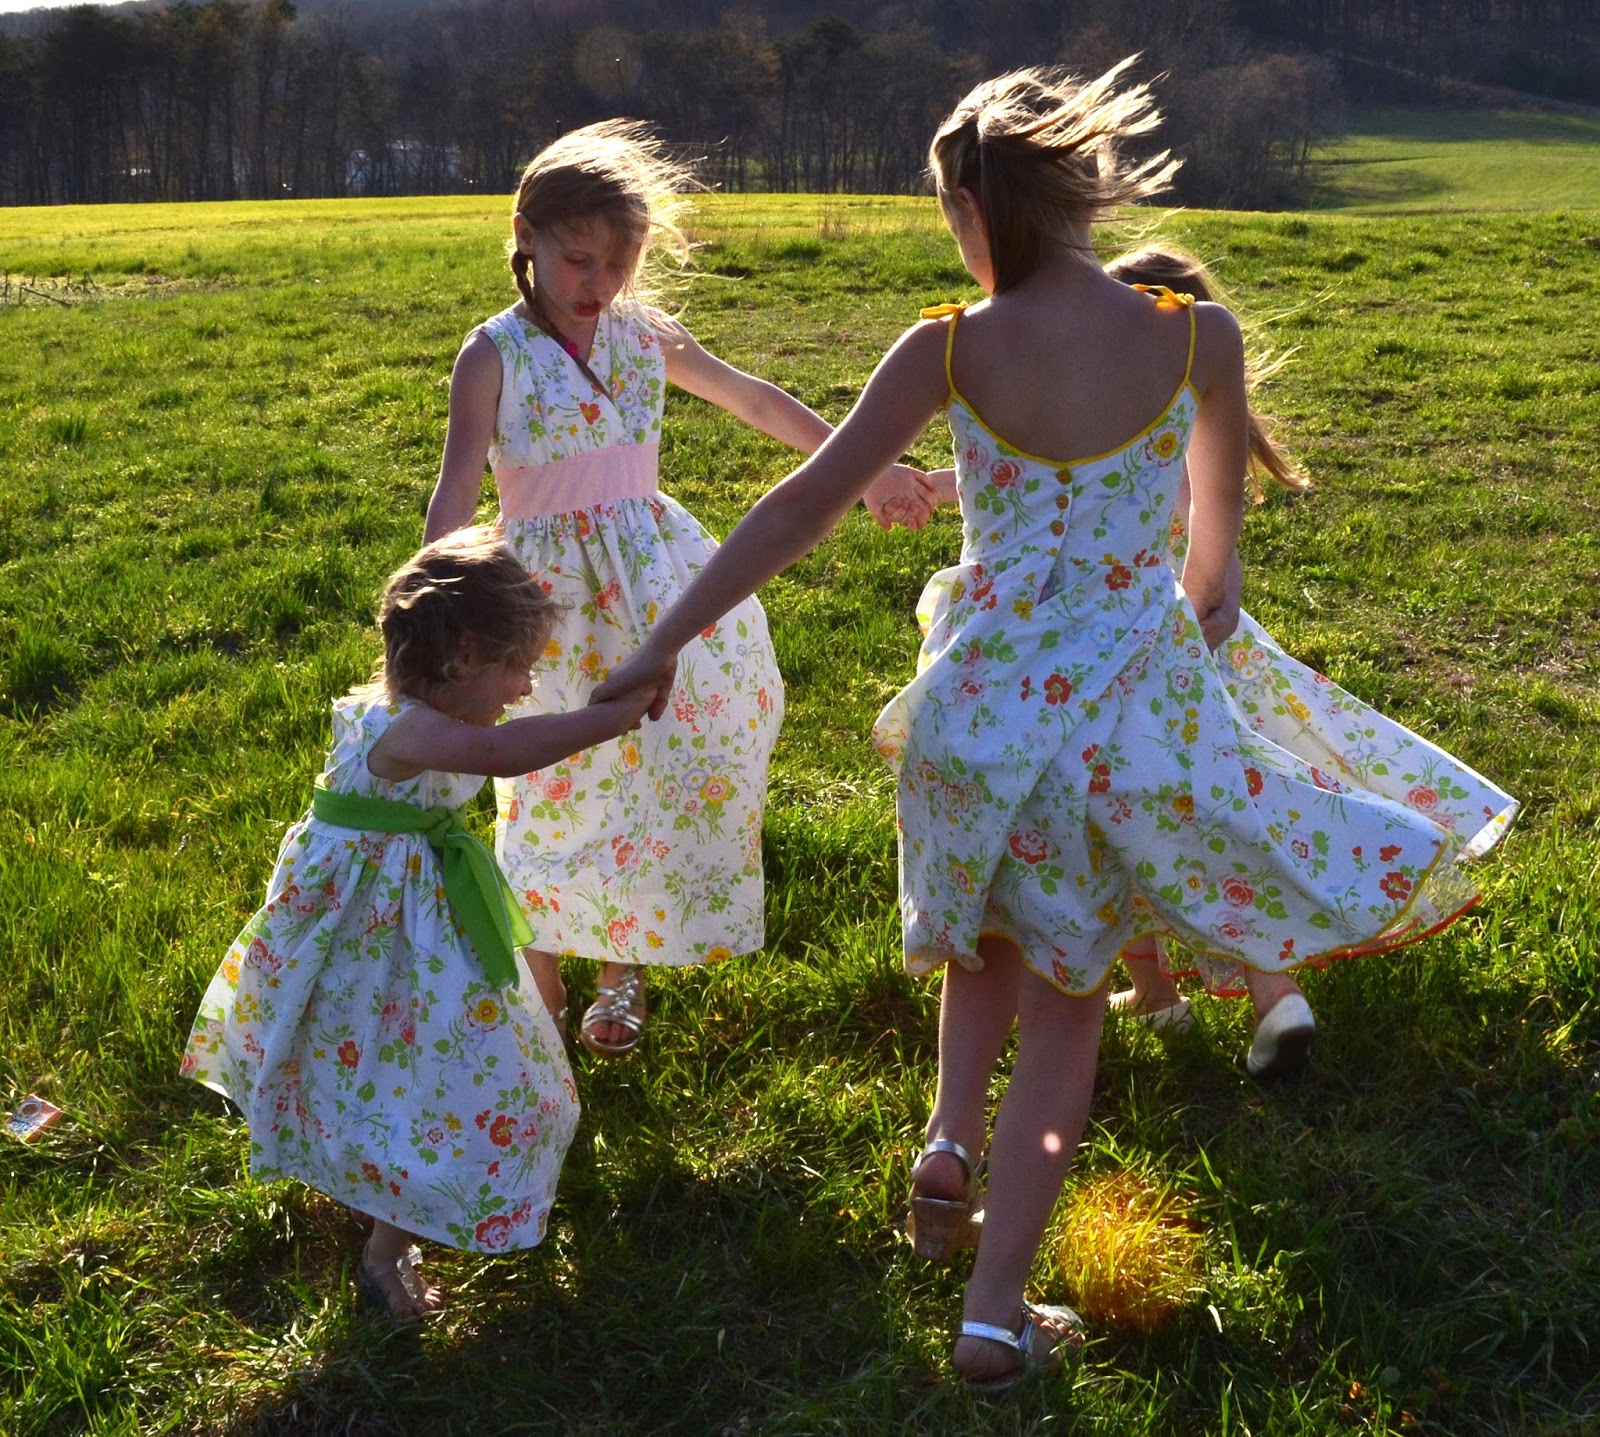
So, that is it! These are all of the Easter dresses I made this year. I love the navy and white, which I have mentioned a few times already. You can see the other dresses by clicking on the pictures below.

Lace Overlay High Low Dress

navy2Band2Bwhite2Blace2Bgirls2Bdress.jpg

I should be getting ready for Halloween, but I am procrastinating. Instead, I am backtracking and blogging about another Easter dress.

This was one of the dresses that was completely dictated by my daughter's preferences. It also ended up costing me nothing to make! So, we both won.

The navy lining, made from another layer of my old bridesmaid dress, stops above her knees and the high-low lace overlay is much longer. It is a basic, gathered skirt, but I cut the hem in a curve.

A friend gave me this beautiful lace to work with- it is a heavier, stretch lace, but I didn't use the stretch factor in the design. I just drafted a basic bodice pattern and cut the lace. I left the shoulders and top of the bodice unlined for a sheer lace effect. So, I pieced the unlined and lined portions together and overlocked the inside seam. Then, I used some vintage navy bias tape around the neck and arms. Using wash-away wonder tape was key for holding that in place to sew. The back has an invisible zipper (which I already had from changing my mind last year and using buttons).

One thing I loved about these navy and white dresses is how fun they are to pair with contrasting accessories. The box dress has a yellow tie, the lace and chiffon dress was paired with an aqua statement necklace when she wore it on Easter, and this dress is fun with pink contrasting shoes. It looked a little better back at Easter vs. the fall when I did the photo shoot, but I had put all of her white shoes away (as per the Labor Day rule) and told her to put these on. It is still fun.
Two more dresses to go, but first, I need to finish an Elsa cape. Happy Halloween!

Link Parties where I sometimes hang out...

Upcycled Bridesmaid Dress ~ An Uptown/Downtown Dress Pattern Hack

walking2Bgirls.jpg

The next Easter dress I made cost me absolutely NOTHING to make! Sweet!

Does anyone else save old bridesmaid dresses? I am pretty sure I am not the only one. I mean, you spend a ridiculous amount of money on them so it seems a shame to throw them in the donation bin. Even if you HATED the dress! (Sorry, Sis!) It wasn't an UGLY dress. It just wasn't flattering on me. (I have wide ribs.) Then, they ordered the wrong size and my other sister and I got in a big fight when she made a joke about mine not fitting. I really just hated everything about this dress. So, naturally, I hung it in my closet for 6+ years where I could see it every day.

Well, now it is not in my closet. Now, it looks like this:

The rest of it has been transformed to create several of this years' Easter dresses including this one.

The bottom of the dress is made from the top two layers of the bottom of the bridesmaid dress. The sash is made using the strap from one side. The hardest part of making this dress was cutting the slippery, chiffon fabric to make it straight. The full skirt with lightweight fabrics makes for lovely twirling, though. The twirl factor is always appreciated by the girls.

Isabelle drew me a picture of the dress she wanted. The sleeves were such an issue of contention between us. I didn't want to make long, 3/4 length sleeves from sheer lace. I really don't like to do sleeves. I ended up making the top out of some stretch lace from a friend and an old white T shirt. 

I used the

Uptown Downtown dress pattern

 to create the bodice.

It was actually very easy!

 The pattern is on sale right now. I know, I usually talk about how I hate patterns, but

this one

has so many variations and it is so versatile that it is worth it. I am not being compensated in any way for this endorsement.

Directions were included for a lace overlay version, which is mostly what I used. I just altered it to let the sleeves unlined. I hemmed the sleeves by hand sewing them. 

There was no hemming required around the neckline because of the lining.

The trick to this dress was attaching the bodice to the skirt. I wanted to maintain the stretch of the fabrics so that it would easily slip over her head. So, I got some 1" elastic from my stash, sewed it in a loop and made Isabelle try the loop on to be sure the elastic would stretch enough to get the dress on. Then, I sewed each piece -top and bottom- to the elastic. Here is what the inside of the dress looks like.

One of the shoulder straps from the bridesmaid dress was converted to a sash to tie around the waist. 

Now I have one less bridesmaid dress in my closet and my daughter has a lovely dress! Win win! 

I used more of the bridesmaid dress on the next Easter dress I made, but we haven't had a "real" photo shoot yet. Right now I am super busy canning tomatoes and chasing the last bit of summer. So, when I get around to it I will show you that one, too. :)

Vintage Easter Dresses

therosy.jpg

Oooh- the word "vintage" has become oh, so trendy.

Yes, I am jumping on the bandwagon.

It started out with this...

...two flat vintage sheets that my nana bought maybe in the 1970s and vintage trims, notions, and buttons given to me by some friends. The colors matched perfectly. There are 5 colors in the sheets (other than white) and I have 5 girls, so they each got their own accent color.

So, after 6 days of wild sewing, early Easter morning my girls were wearing new dresses from the vintage sheets that belonged to their great-great-grandmother.

I am so blessed to be able to do something special like this for my girls.

Tutorials coming soon(ish)...

***UPDATE*** Here are the tutorials and full posts for each dress!

vintage-sheet-easter-dresses

vintage-sheet-easter-dresses

Turtleneck to Maxi Skirt Tutorial

maxionswing1.jpg

This one has been a long time coming! I finally got some cute pics of my daughter in her maxi skirt so that I could finish up this post!  Last spring, when I was on my maxi skirt sewing kick, my 5yo had requested a RED one. Well, I thought I would just pick some fabric up at a nearby Walmart, but they no longer carry ANY knit at that store! :( So, I wandered over towards the clothing and found a Women's XL red turtleneck on clearance for $1!

This was a super cheap and easy project. I even had enough left over to make her a headband (which we forgot about when taking these pictures- that is what happens when you wait all summer!) and a matching skirt and headband for her doll (see THIS post if you care.)
I am not sure what she is doing with her hands here...
This skirt is so comfy (not that I actually wore it, but, you know, she did) and it doesn't slow her down and keep her from playing hard- which is a must for kids' clothing. Are those enough selling points for you? Well, they should be. If you make one, pretty please show me some pics! OK?  Good.  Here is your free tutorial...
I thought the neck looked like it would fit her waist so I had her try it on. It was a perfect fit! (My kids might think I am crazy. You know, "Here, honey. Put this turtleneck on, but put the neck around your waist. OK?") If it is too big, you can just take it in after you cut it off. You want it to fit snugly, so it has to be a little smaller than the actual waist measurement. (I guess I could have just measured instead.)
Anyway... cut the neck off, then fold the shirt in half. Measure the height needed from waist to ankles.  Starting that distance from the bottom, draw a line that is one quarter of the total measurement of the neck/waist/whatever. Then, draw an a-line to the bottom of the shirt. You are keeping the original hem of the shirt (SWEET!) I hope this step is not too confusing.  Just follow the picture...

Sew the side seams of the skirt, right sides together.  You can use a zig-zag or stretch stitch or a serger. I used a stretch stitch and then overlocked the edges for extra durability.

Pin the neckband to the inside of skirt.
Sew it together. This is what it looks like, inside out.

Flip it around and press.

TADA!  It really only took about 15 minutes to make.  Definitely a hit!

As always, this tutorial is for personal, non-commercial use only. No copycats. Got it? Thanks!

Regular to Maternity T-Shirt Refashion Tutorial

aquamaternitytshirt.jpg
Please excuse the photographer's finger in the top corner there. :)
Usually I do not sew many things for myself and I am not usually all that picky when it comes to clothing. BUT, I saw these T-shirts on sale at Target in CUTE colors and I just really, really wanted them! So I splurged. On myself.  That almost NEVER happens!  Here is how I mentally justified it: Maternity T-shirts are way more expensive (I got this shirt for $5 on sale in the Women's section, but I saw similar maternity ones online at Target.com for $15).  The maternity T-shirts I already have are in dark colors (plus everything is getting too short for my belly these days). I figured I could buy XL and XXL shirts for the length and alter them.  Ready to see how I did that? Let's go!
Start out with an XL or XXL shirt. For some reason, I didn't even take the tags or sticker off until I was done. It wasn't like I was going to return it.
You need to carefully trim off the side seams from the armpit down.
Fold the shirt in half.  Using a shirt that fits well as a pattern, mark where the arm scythe should be and cut off the sleeves and down the sides gently on an angle as shown. You can see that my arm scythe is higher and narrower in the shoulders vs the original shirt.
Trim up the sleeves to fit the arm scythe, plus a little seam allowance at the bottom. This pic shows the before and after so you can get an idea...
Now, here is the part I thought was so clever... Take the back of the shirt only (the front side is pushed away at the top there) and trim the sides to make them straight. (The shirt naturally flared out quite a bit towards the bottom, which I need in the front, but I didn't want a whole lot of extra bunching in the back.)

This is what you should have so far. These are all of the pieces and the back is actually on top so that you can see the difference between the front and back.
Sew up the side seams with a serger or using a stretch stitch on your sewing machine.  If you use a serger, make sure to tuck those tails of thread in when you are finished.  Sew the bottoms of the sleeves together, too.

Just pin the sleeve to the arm and reattach using a serger or stretch stitch. I suppose, if you wanted to, you could sew the sleeve on first and then sew all the way down the side from the edge of the sleeve to the bottom of the shirt.  This is just how I did it. Whatever works.

You can leave the shirt like this if you want (see all of the extra roominess in the front), but it was still too long in the back for my liking. I need the length for the front, though, so I decided to add ruching in the sides.

Decide how high you want the ruching to go, measure from there to the bottom of the shirt, then cut a piece of 1/4" elastic half of that length.  Pin the ends in place on the side seam allowance.

Just pull the elastic tight as you sew.  The elastic should be sewn to the side seam allowance only, so you won't see the stitching on the outside of the shirt when it is finished.

TADA! That is it!!  It really didn't take me long at all- maybe a half hour, and it theoretically saved me $10. Plus, it is a custom-fit shirt that actually covers my belly! Woohoo!
Here is the other shirt I altered. I didn't add the ruching because it was already on the short side, but I might go back and add some in later. We'll see. If I feel like it.
You can't tell by the super sunny pic my 5yo took for me, but this shirt is an awesome minty aqua color. Oh, and in case you are wondering, I am 29 weeks here. Yeah. 2 1/2 months to go. Yes, there is just one baby in there.  Feel free to laugh. I am used to it. 

 So, there you go! If you could snag some great thrift or clearance deals, this would be a great money-saver! It was easy and if I don't stain them up this summer (forget putting your napkin on your lap- my belly catches everything!) I will probably cut the sides open to take them in again post-baby. It would only take, like, 10 minutes. Maybe 15 if I hem the bottom to make it shorter. Yes, I am still justifying my splurging impulse buy here. :)

Linking up to:
Craftastic Monday, Motivate Me Monday, Made By You Monday, Take a Look Tuesday, Tasteful Tuesdays, Carolyn's Homework, The Winthrop Chronicles, Handmade TuesdaysInspiration Exchange, Sugar and Spice, Whatever Goes WednesdayMake Bake Create Party, We Did It Wednesday, What I Wore, Read, And Made, Show Me What Ya Got, Lil' Luna, Adorned From Above, Off the Hook, Your Whims Wednesday, Show Off Your Stuff Party, You Inspired, The 36th Party, Hookin Up with HoH, Link Love Thursday, Blog Stalking Thursday, The Homemaking Party, Creative Inspiration Party, Create It Thursday, Shine On Friday, Friday Favorites, Friday Favs Party, Think Pink Sundays, and ThreadingYourWay