Strawberry Shortcake Doll Dress
/


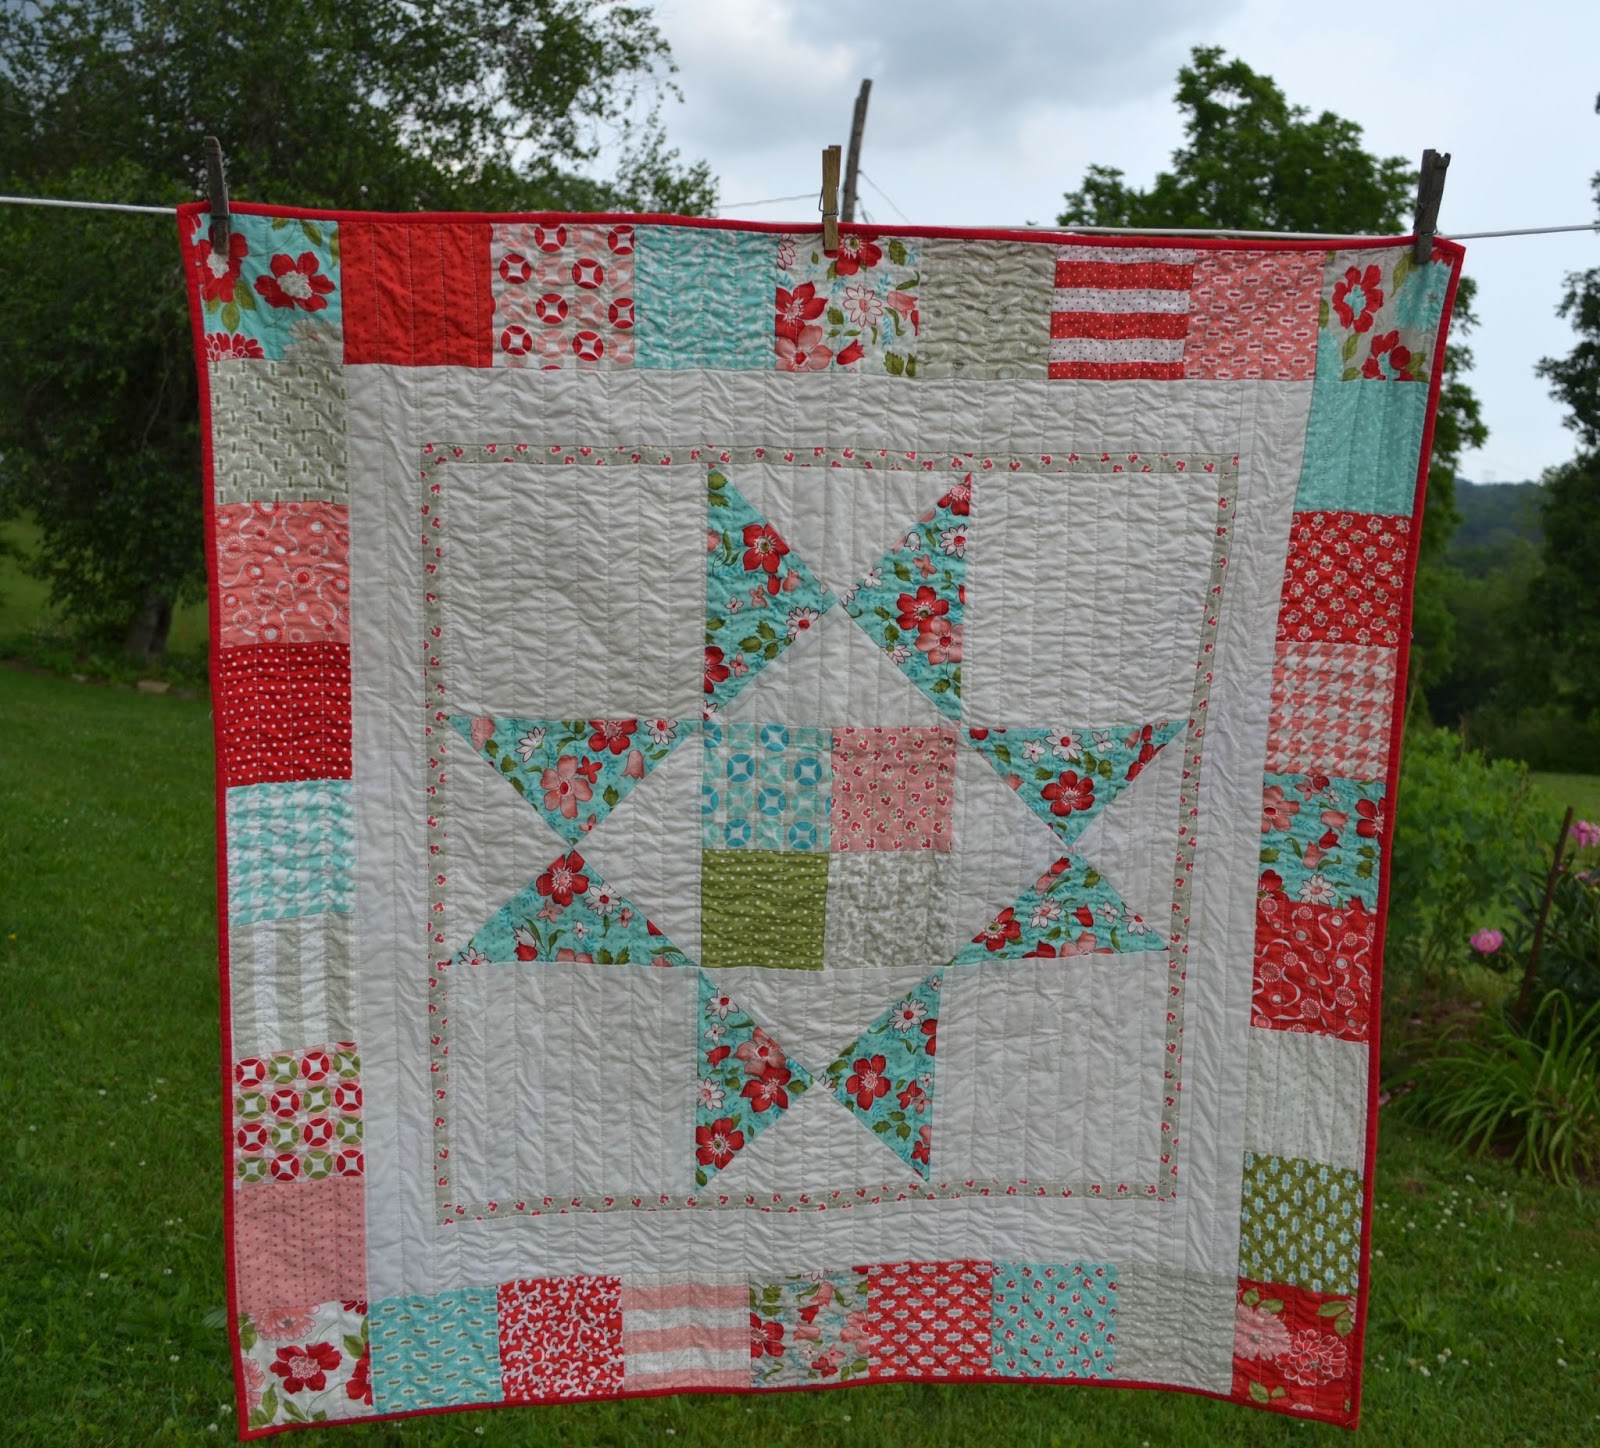
These pics are a little dark since a storm was rolling in... I am gonna' call it dramatic.
I used the Storybook Stars pattern from Moda Bake Shop HERE.
I did straight line quilting on my sewing machine. It is OK. I like wavy lines like I did HERE better.

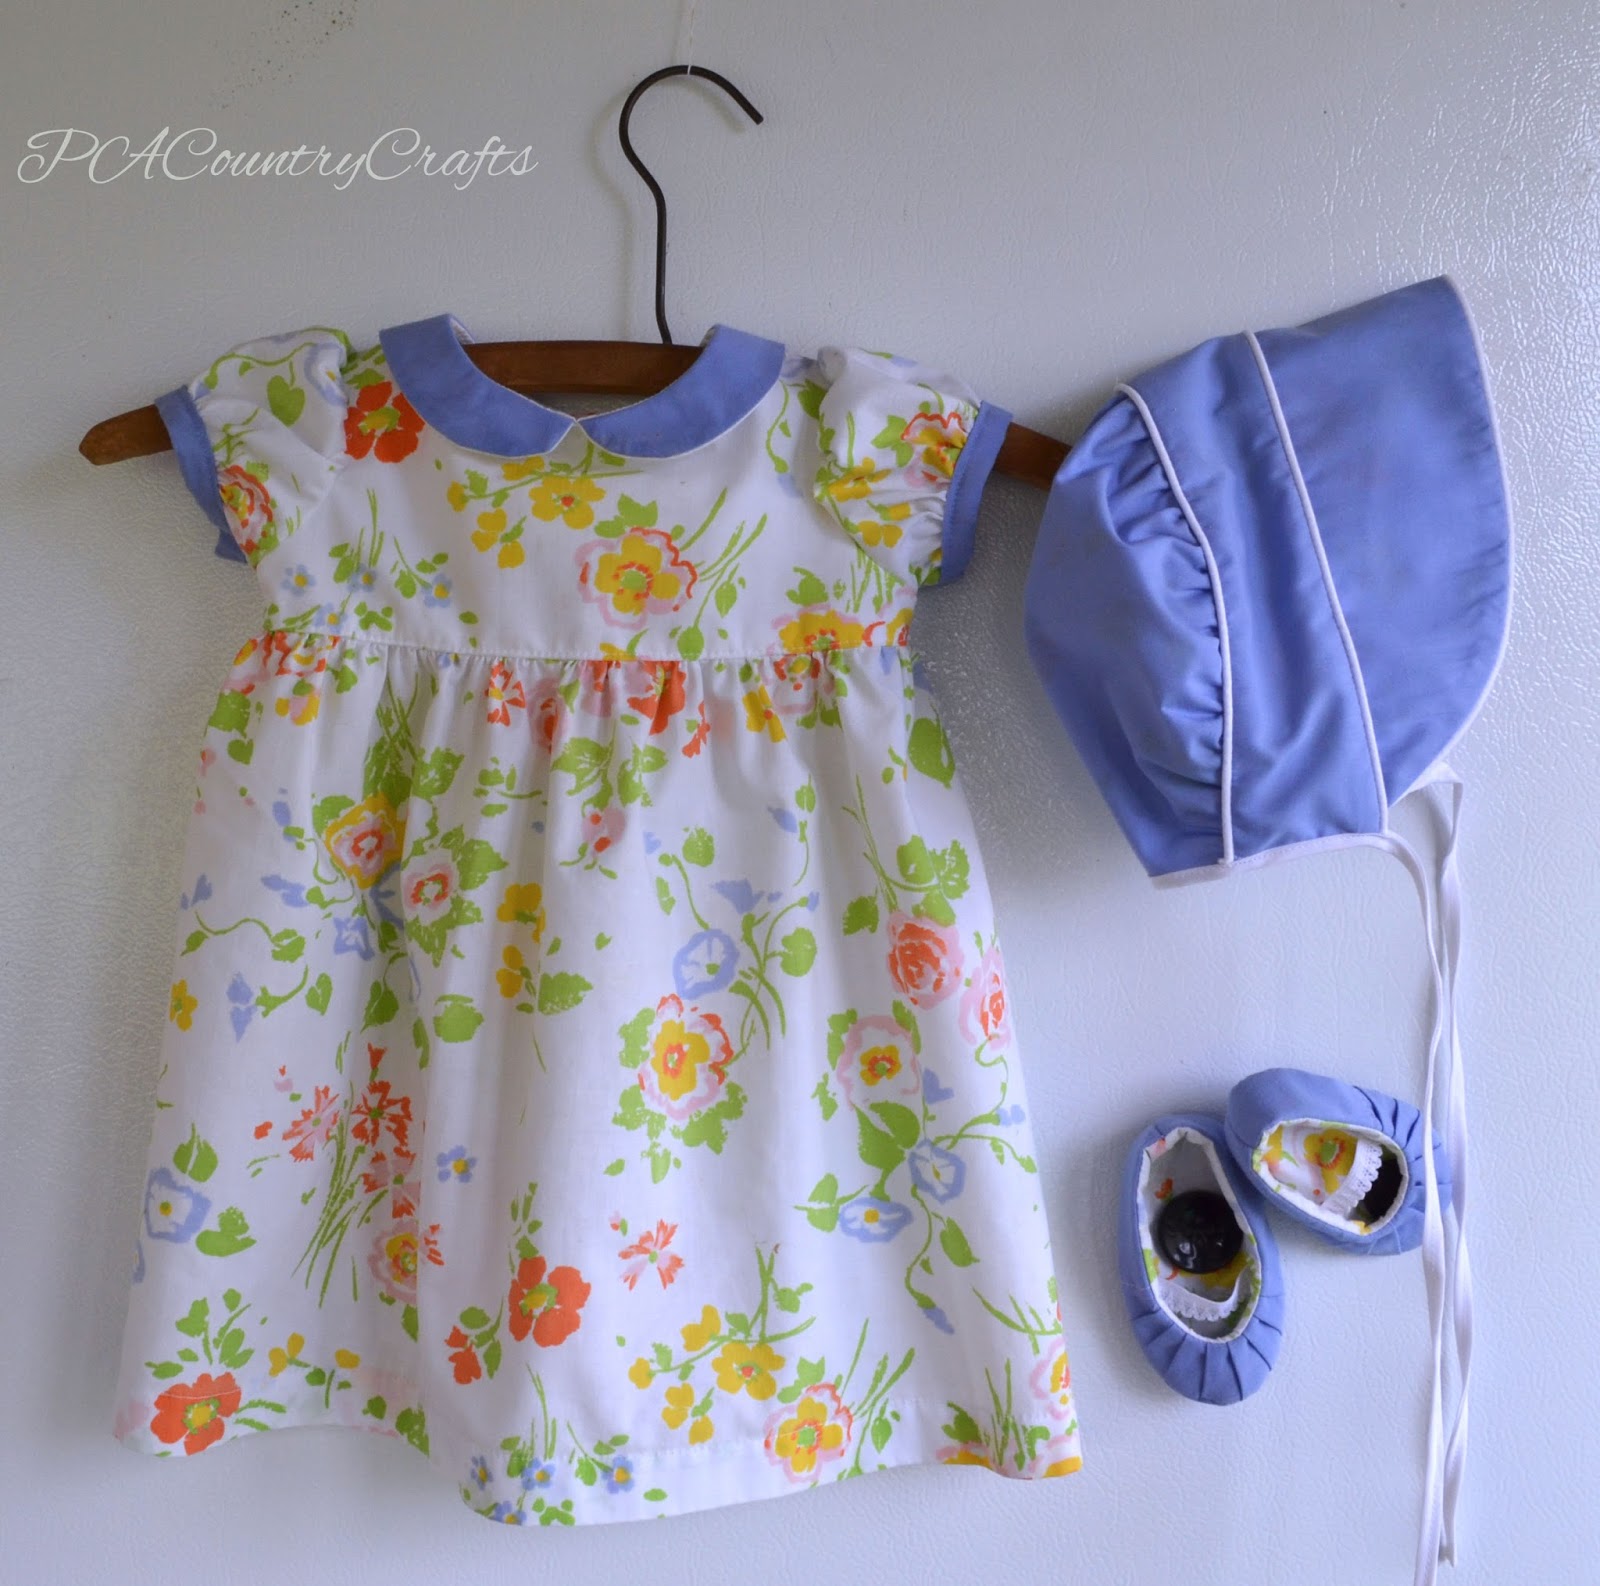
Here it is! The last Easter dress for this year!
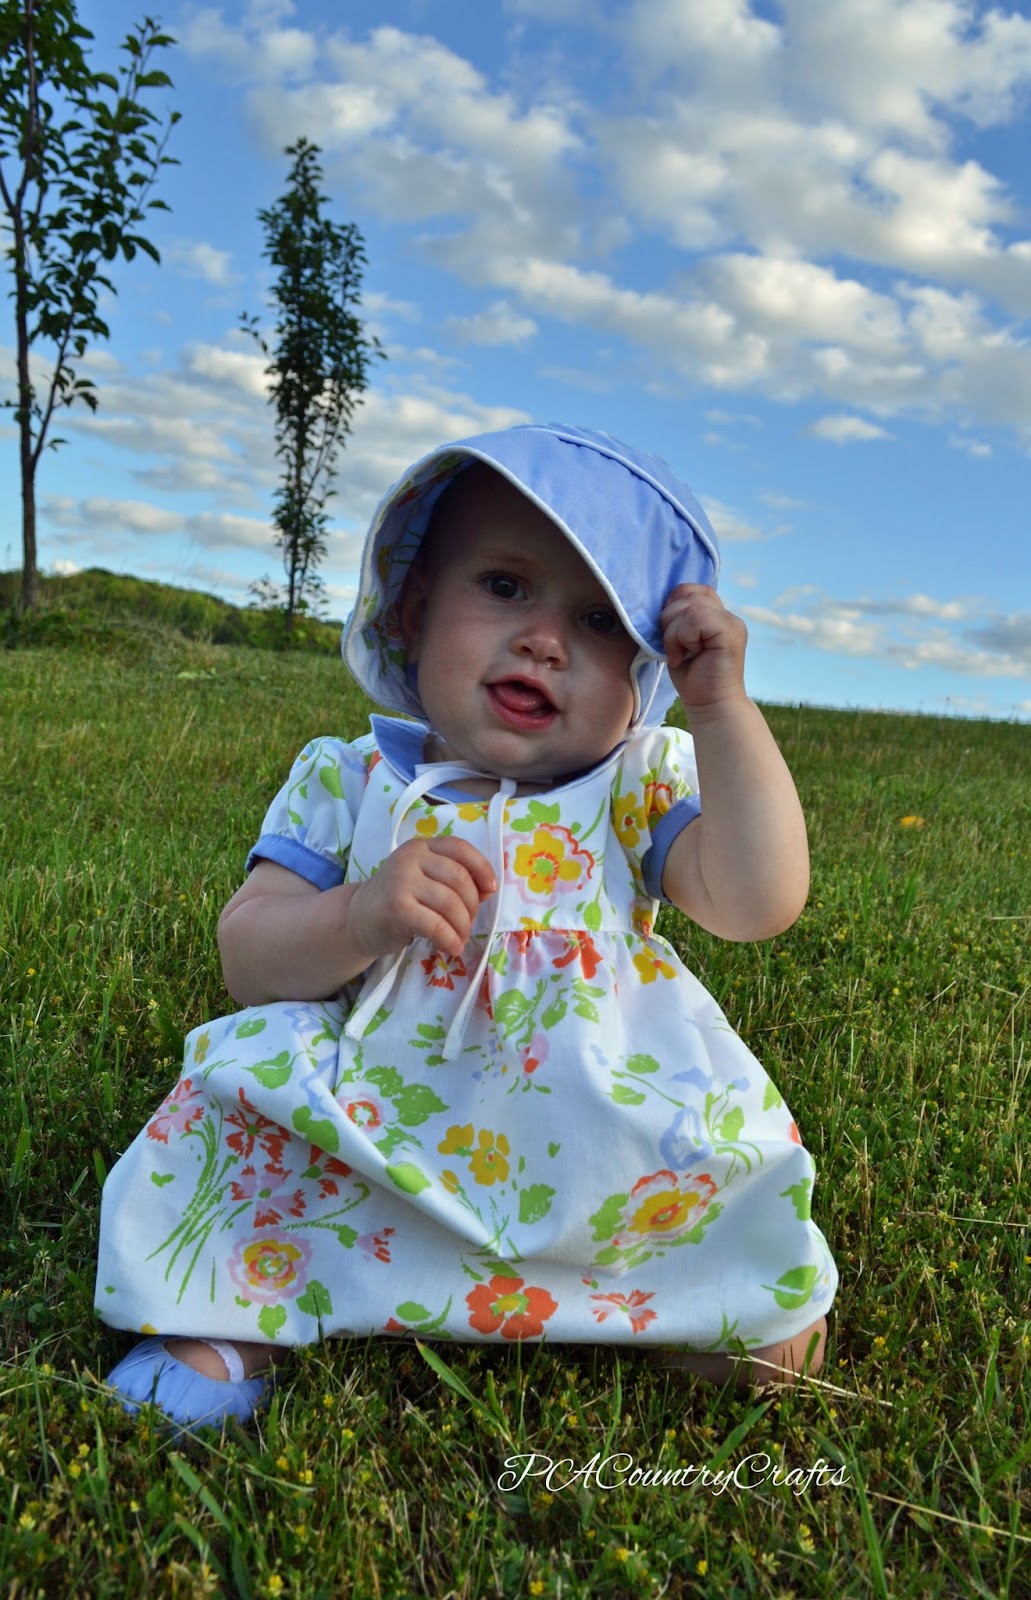
I let the other girls have a little say (or a lot) in their dress designs. Hannah doesn't care. It is fantastic!
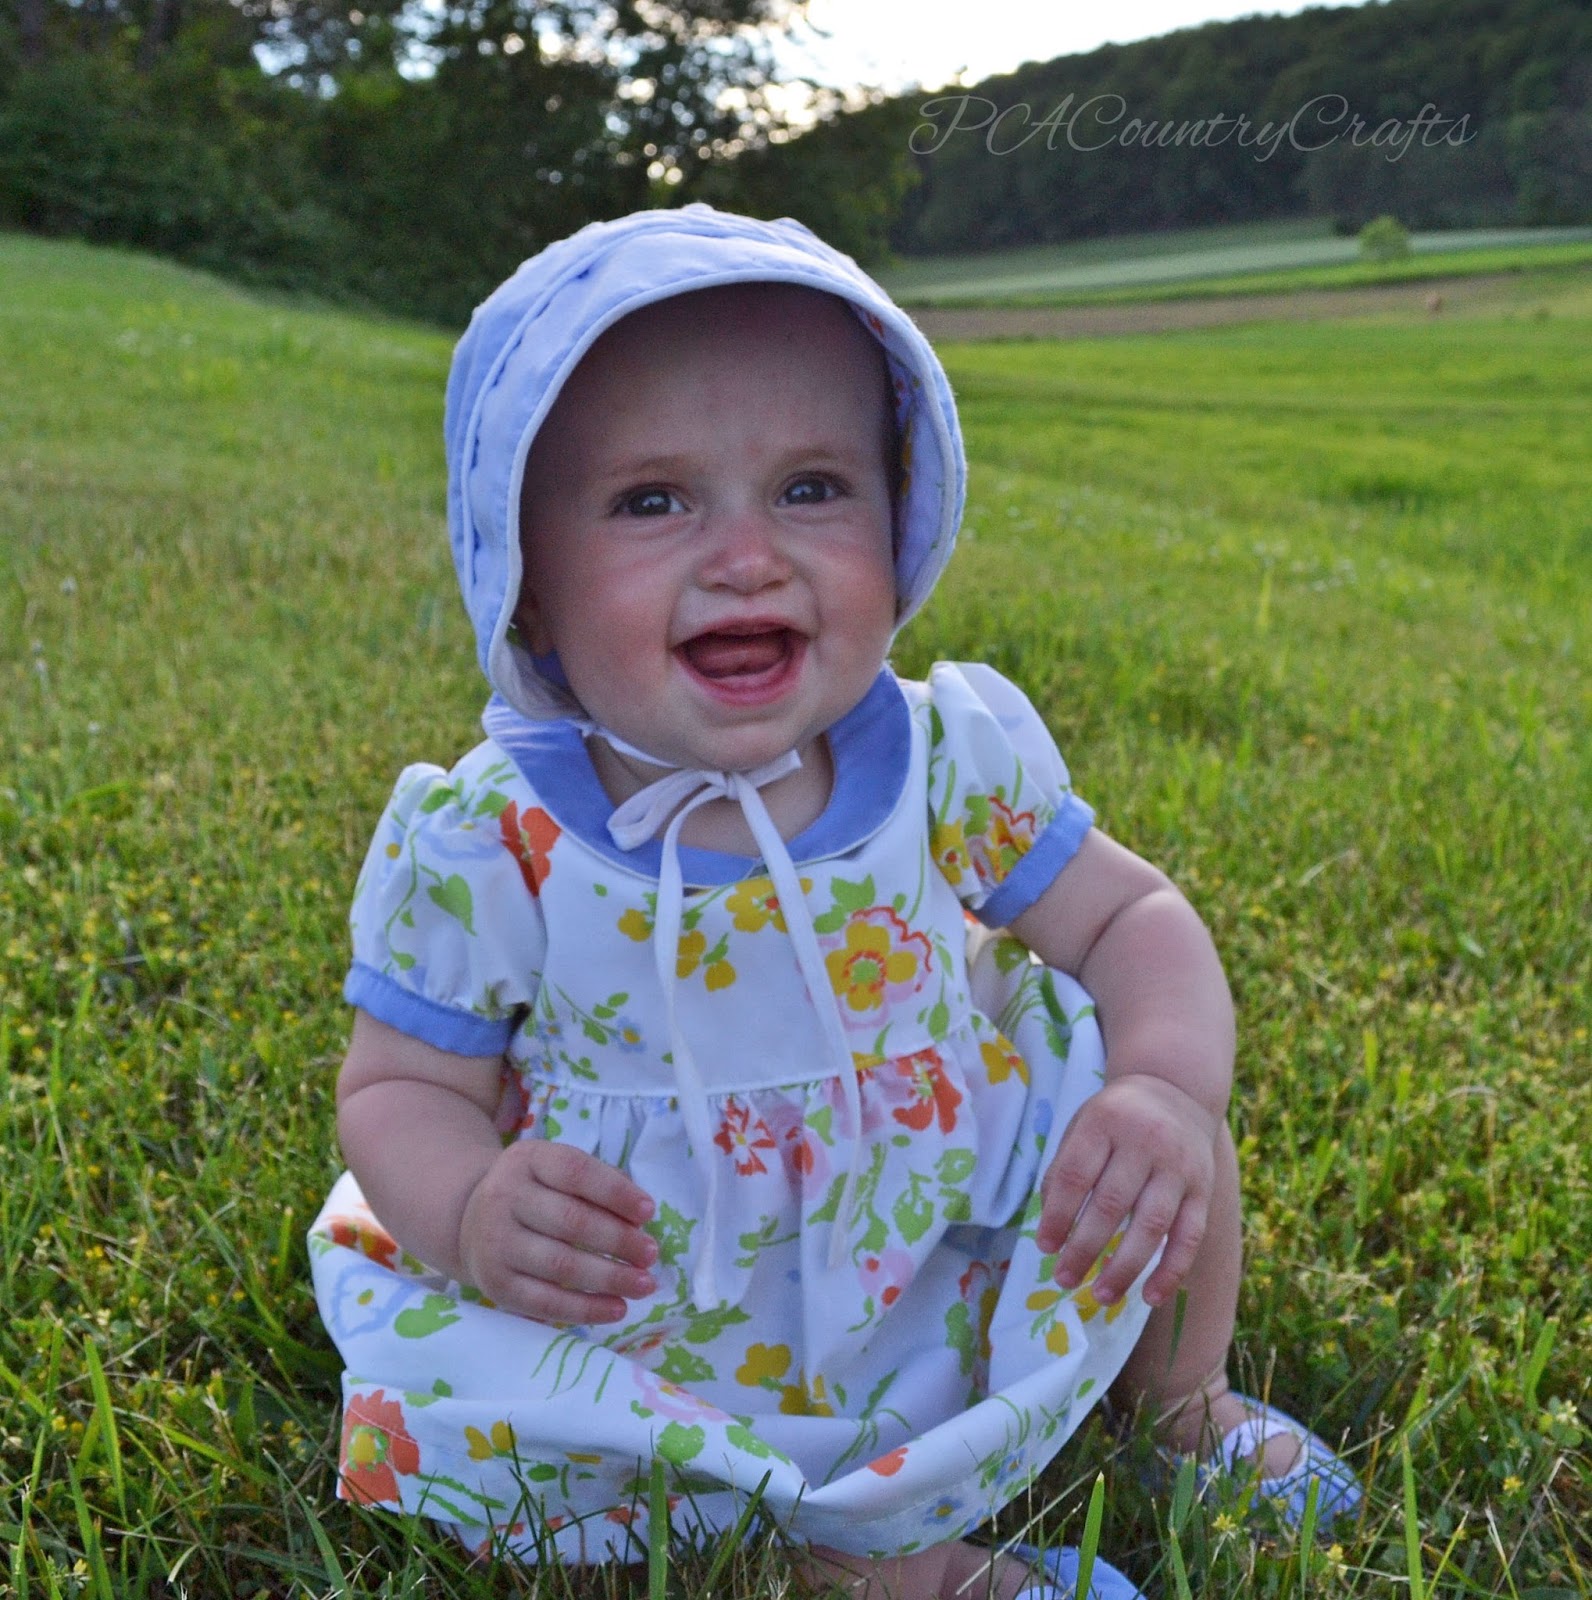
I wanted it to be simple. So unlike me, I know! I wanted little hints of blue and a sweet, vintage baby look.
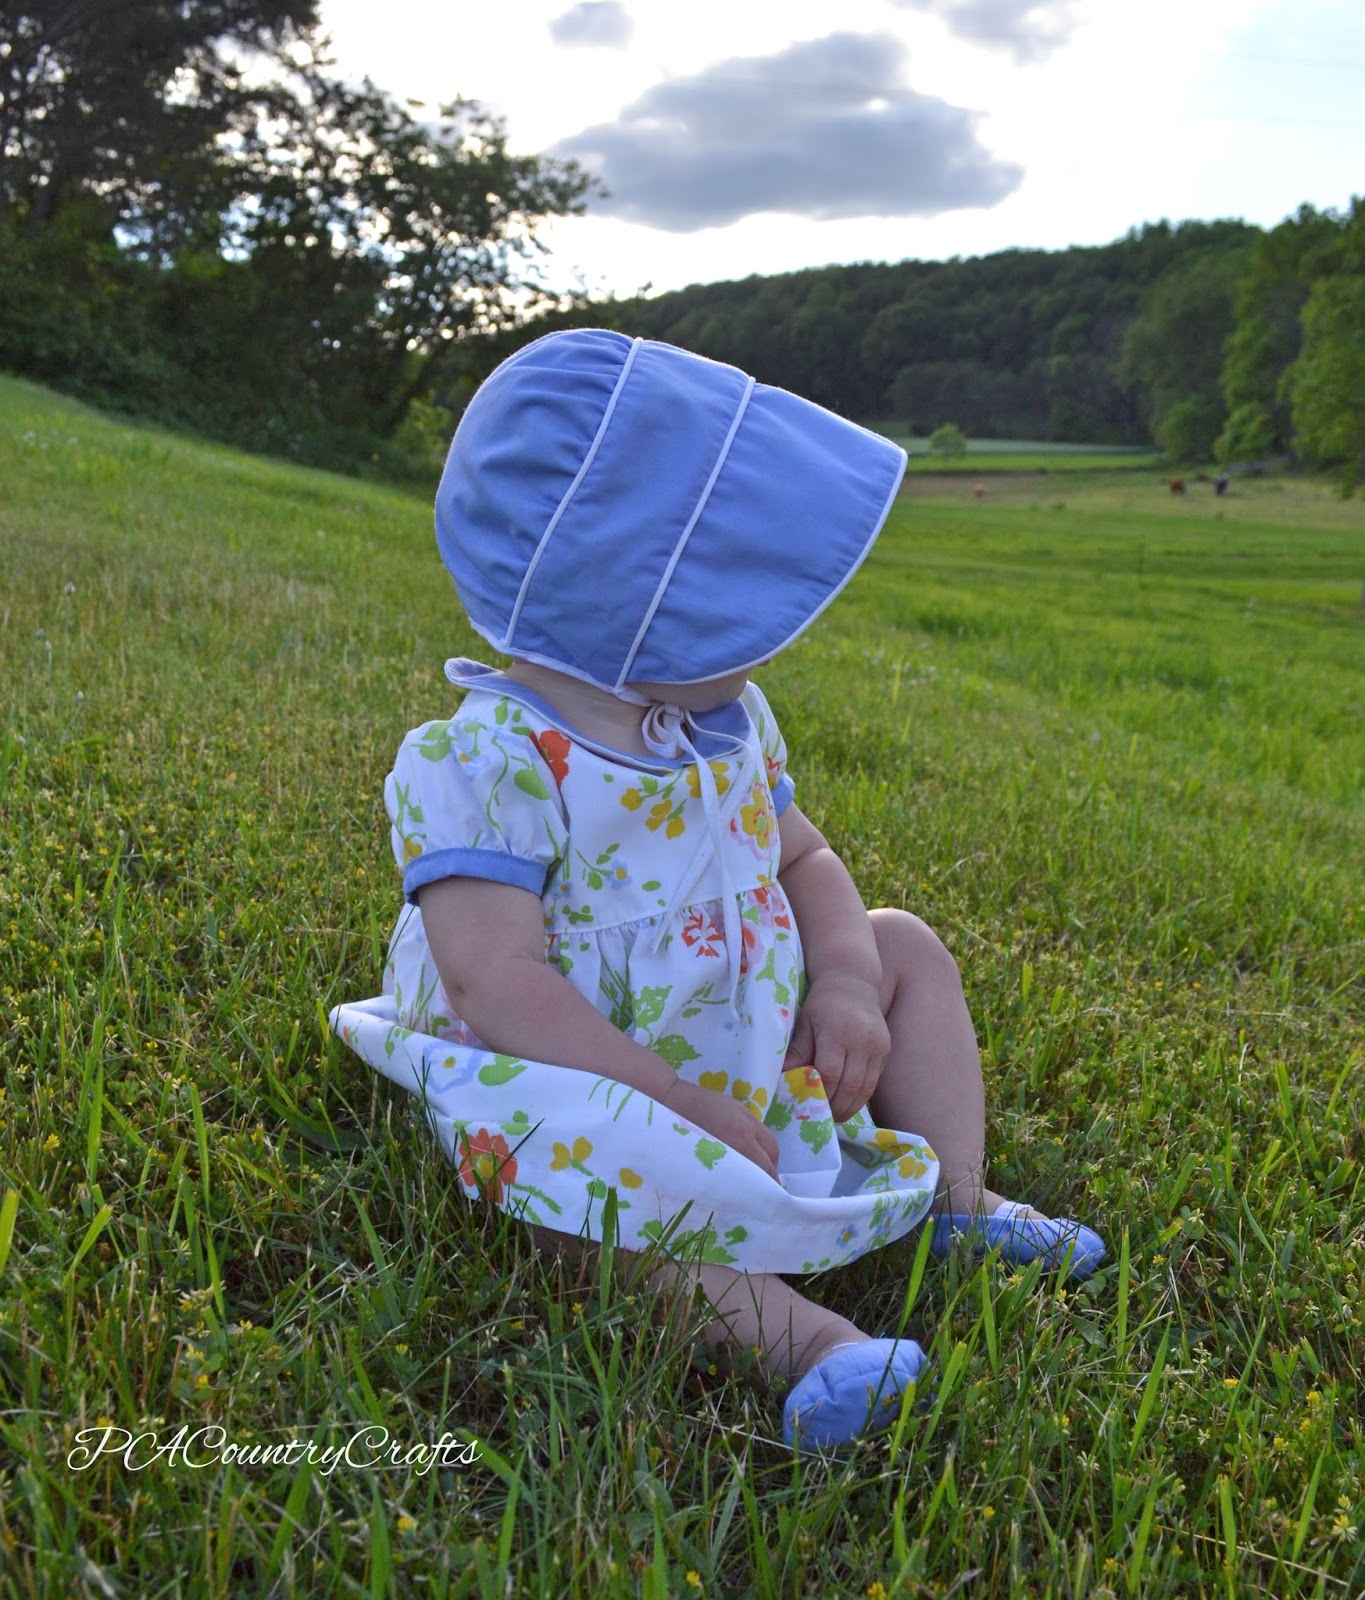
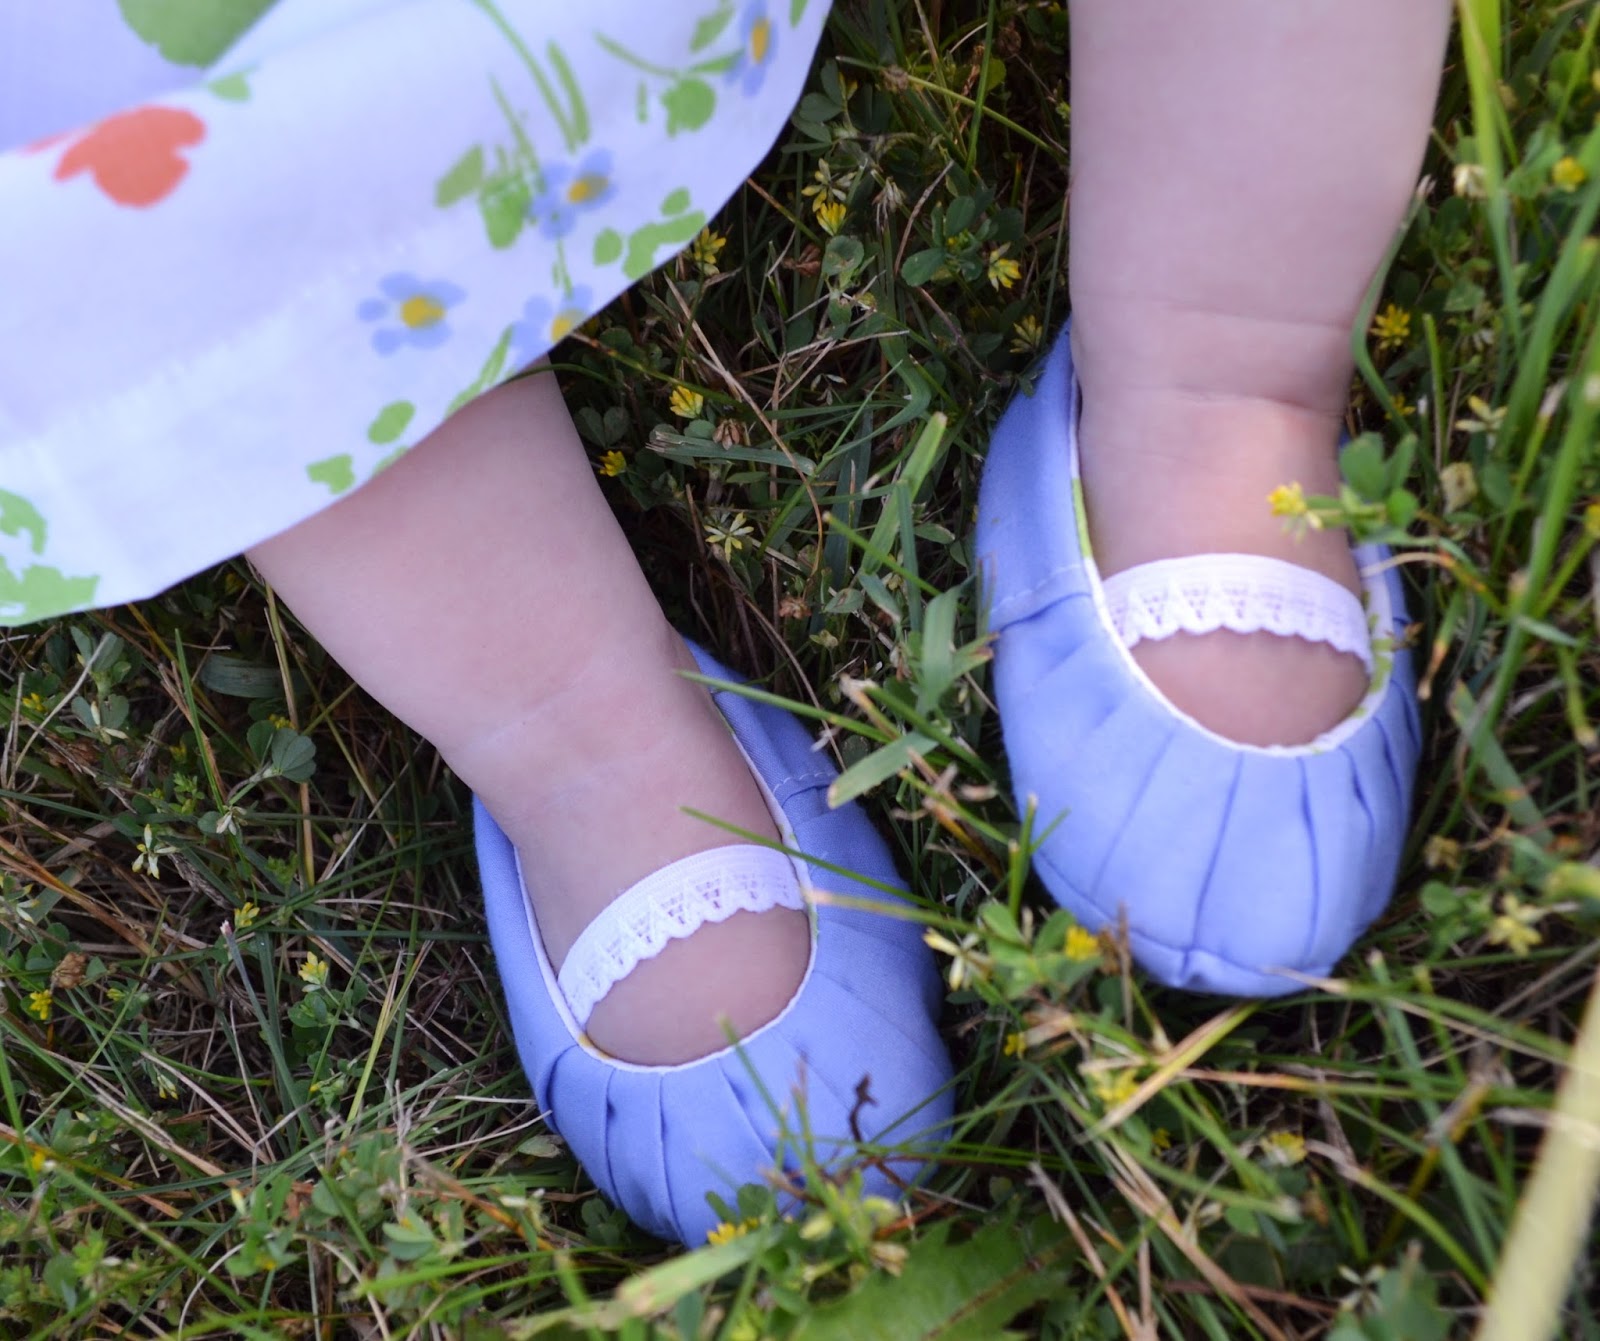
Then, because I can't really let things be simple, I went over the top (after Easter) with a bonnet, shoes, and a diaper cover. Well, I didn't finish the diaper cover quite yet. I'm procrastinating...
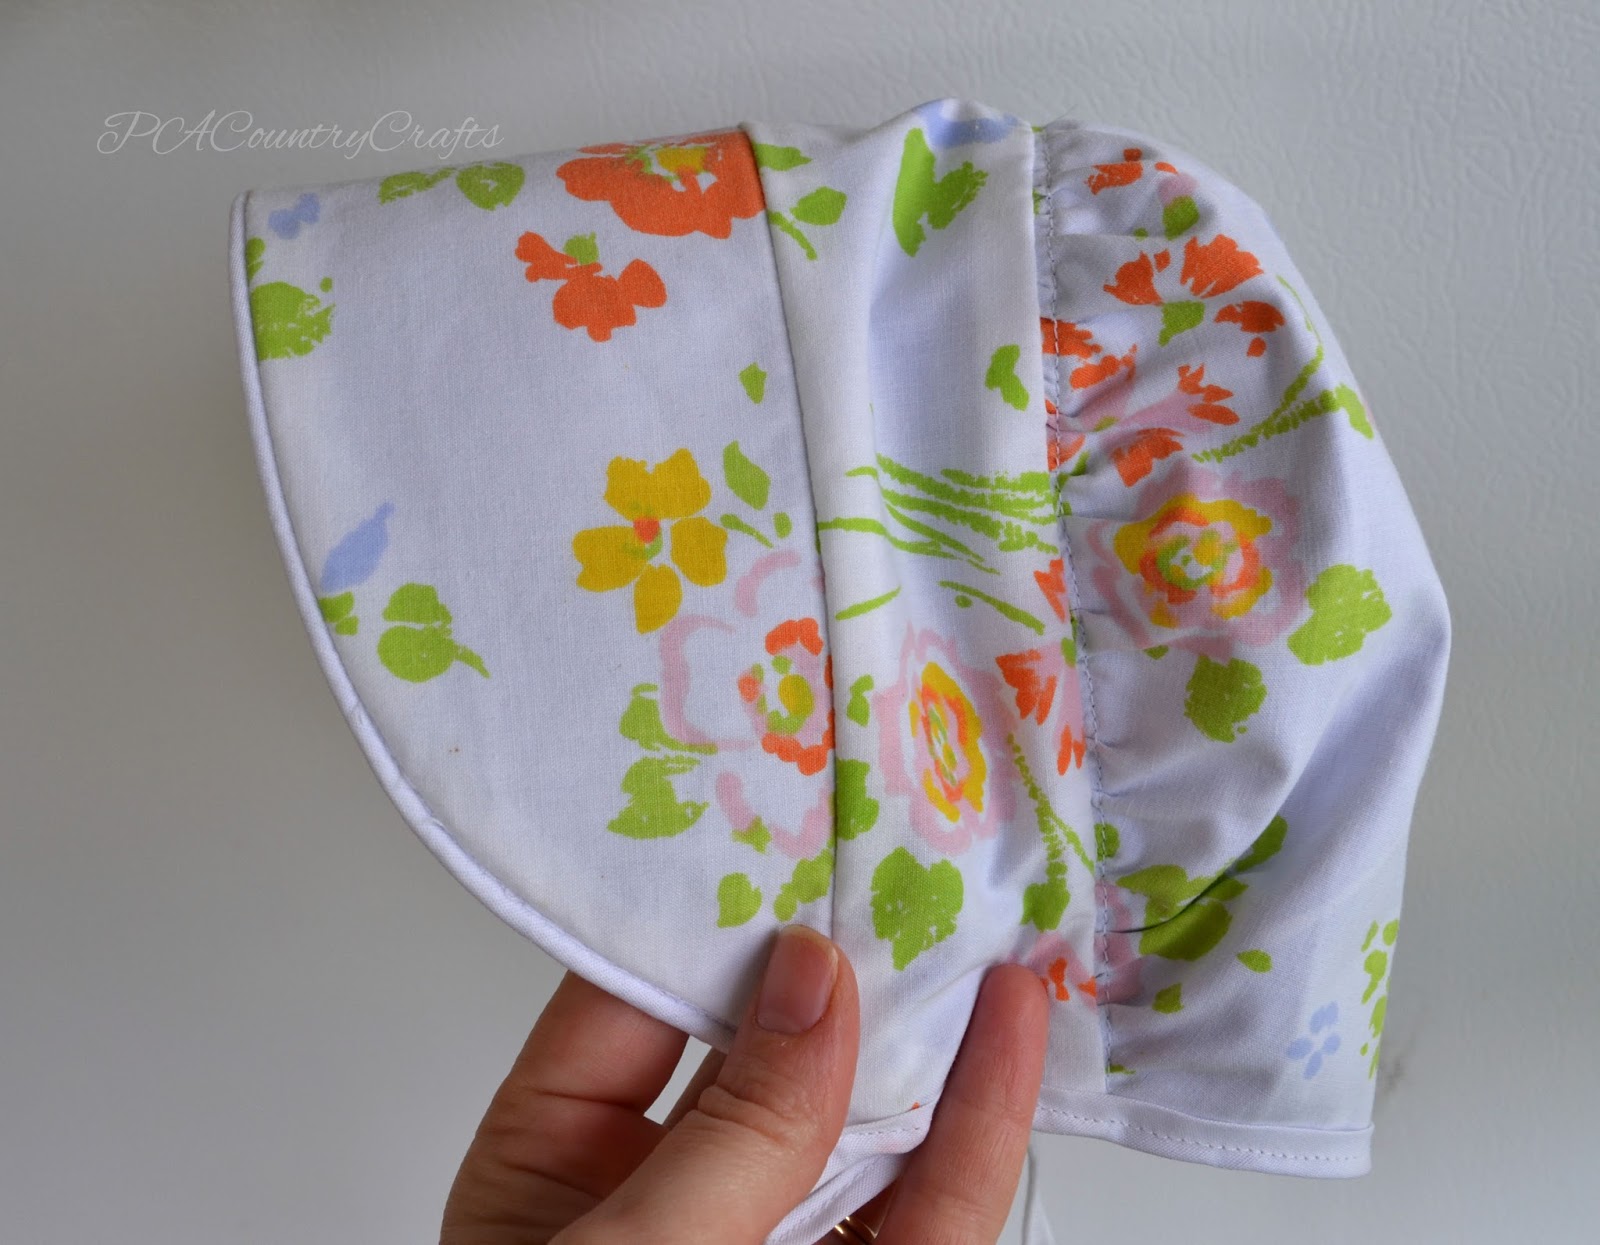
As you can see by these before and after pictures, she prefers not to wear the bonnet.


But, it keeps her safe from the sun, so too bad!
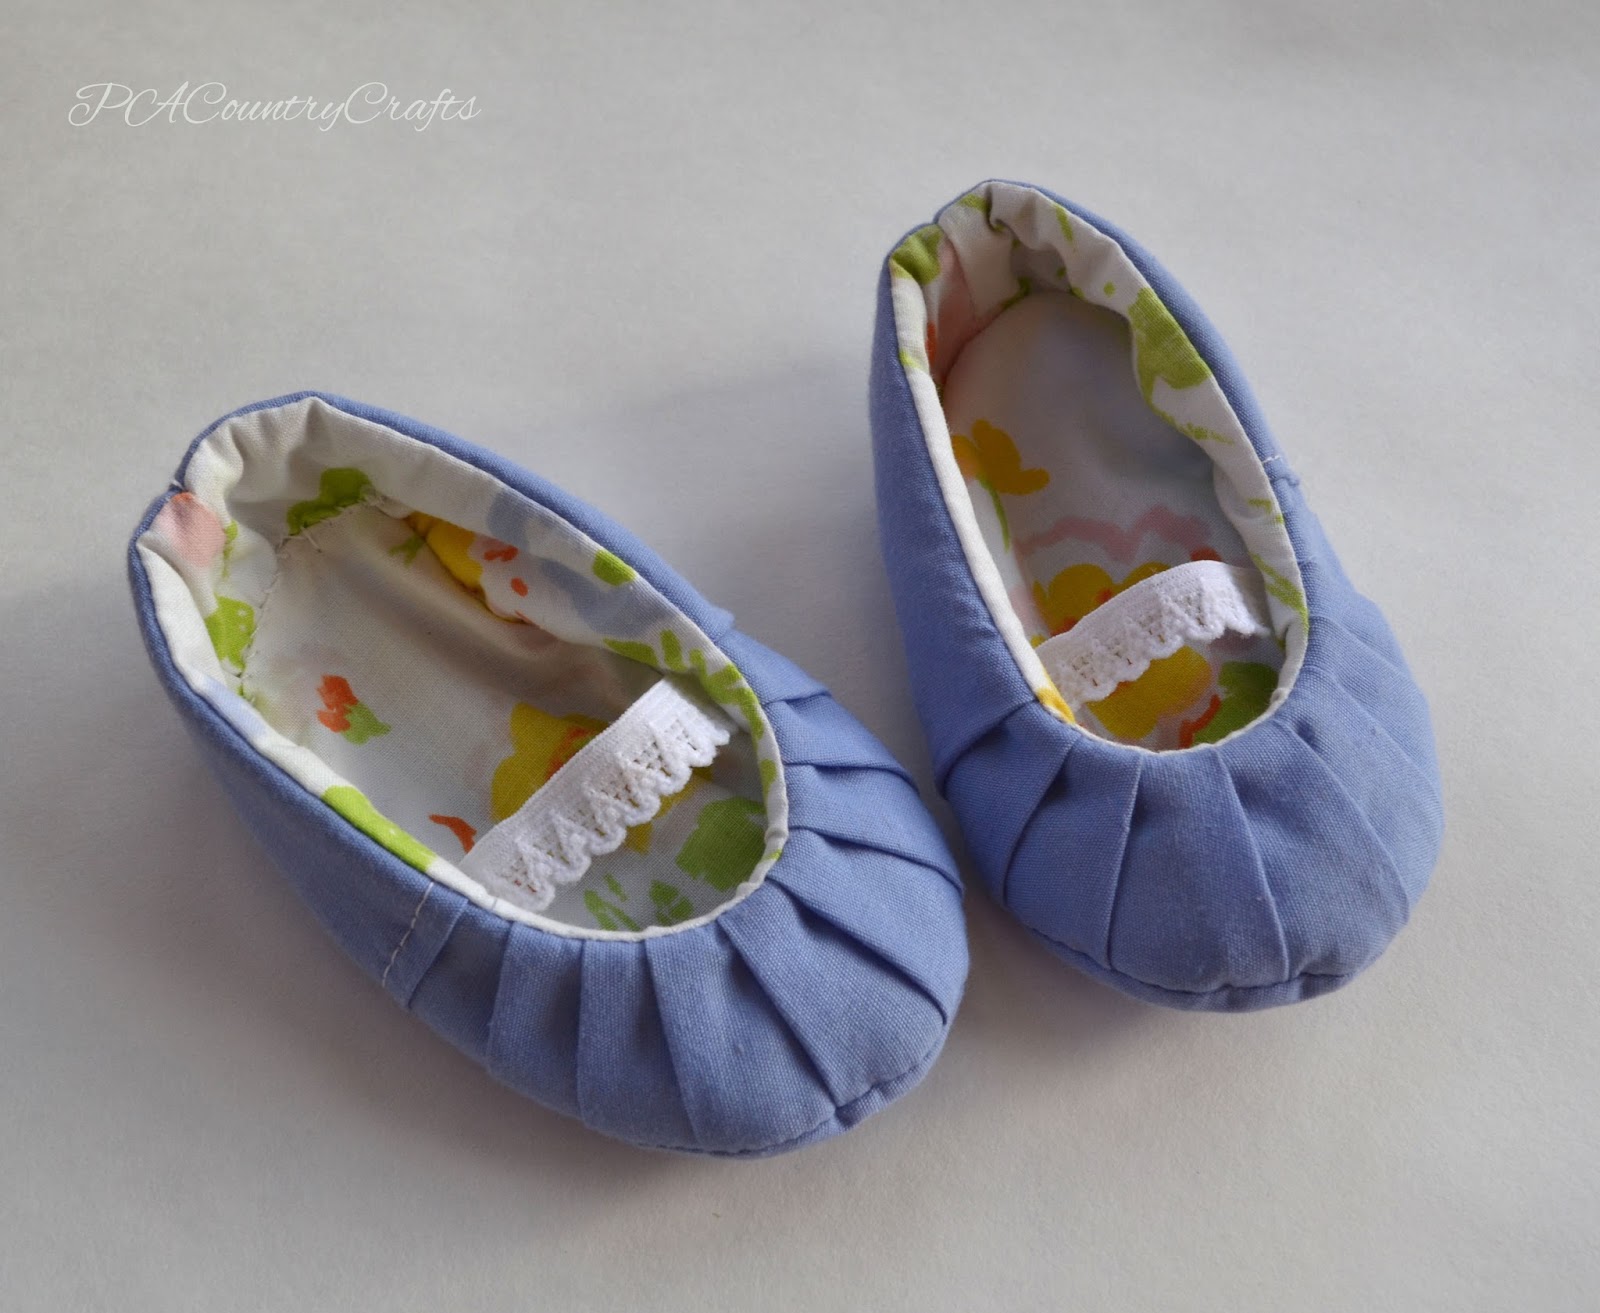
The shoes were made with
pattern. They went together pretty well, but this is the second time I have made baby shoes and the little buggers do not want to stay on. I guess all baby shoes are like that, but they look cute anyway. :)
So, back to the dress...
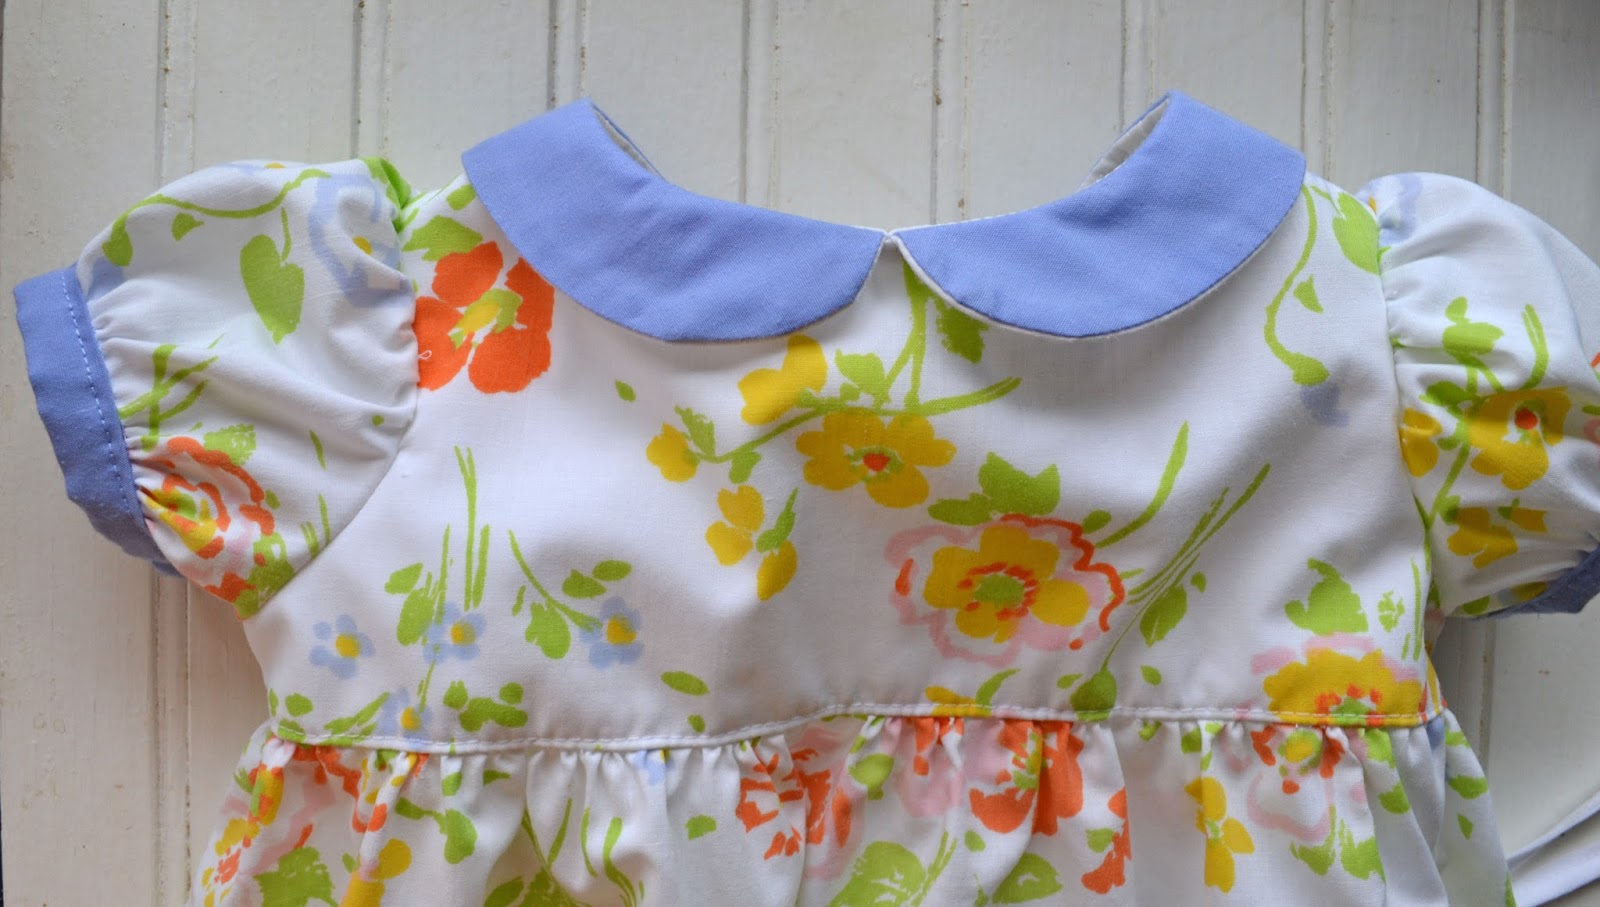
It is just a basic dress with puffy sleeves, a collar, and buttons in the back. I was a little intimidated by the collar, but it isn't hard after all.
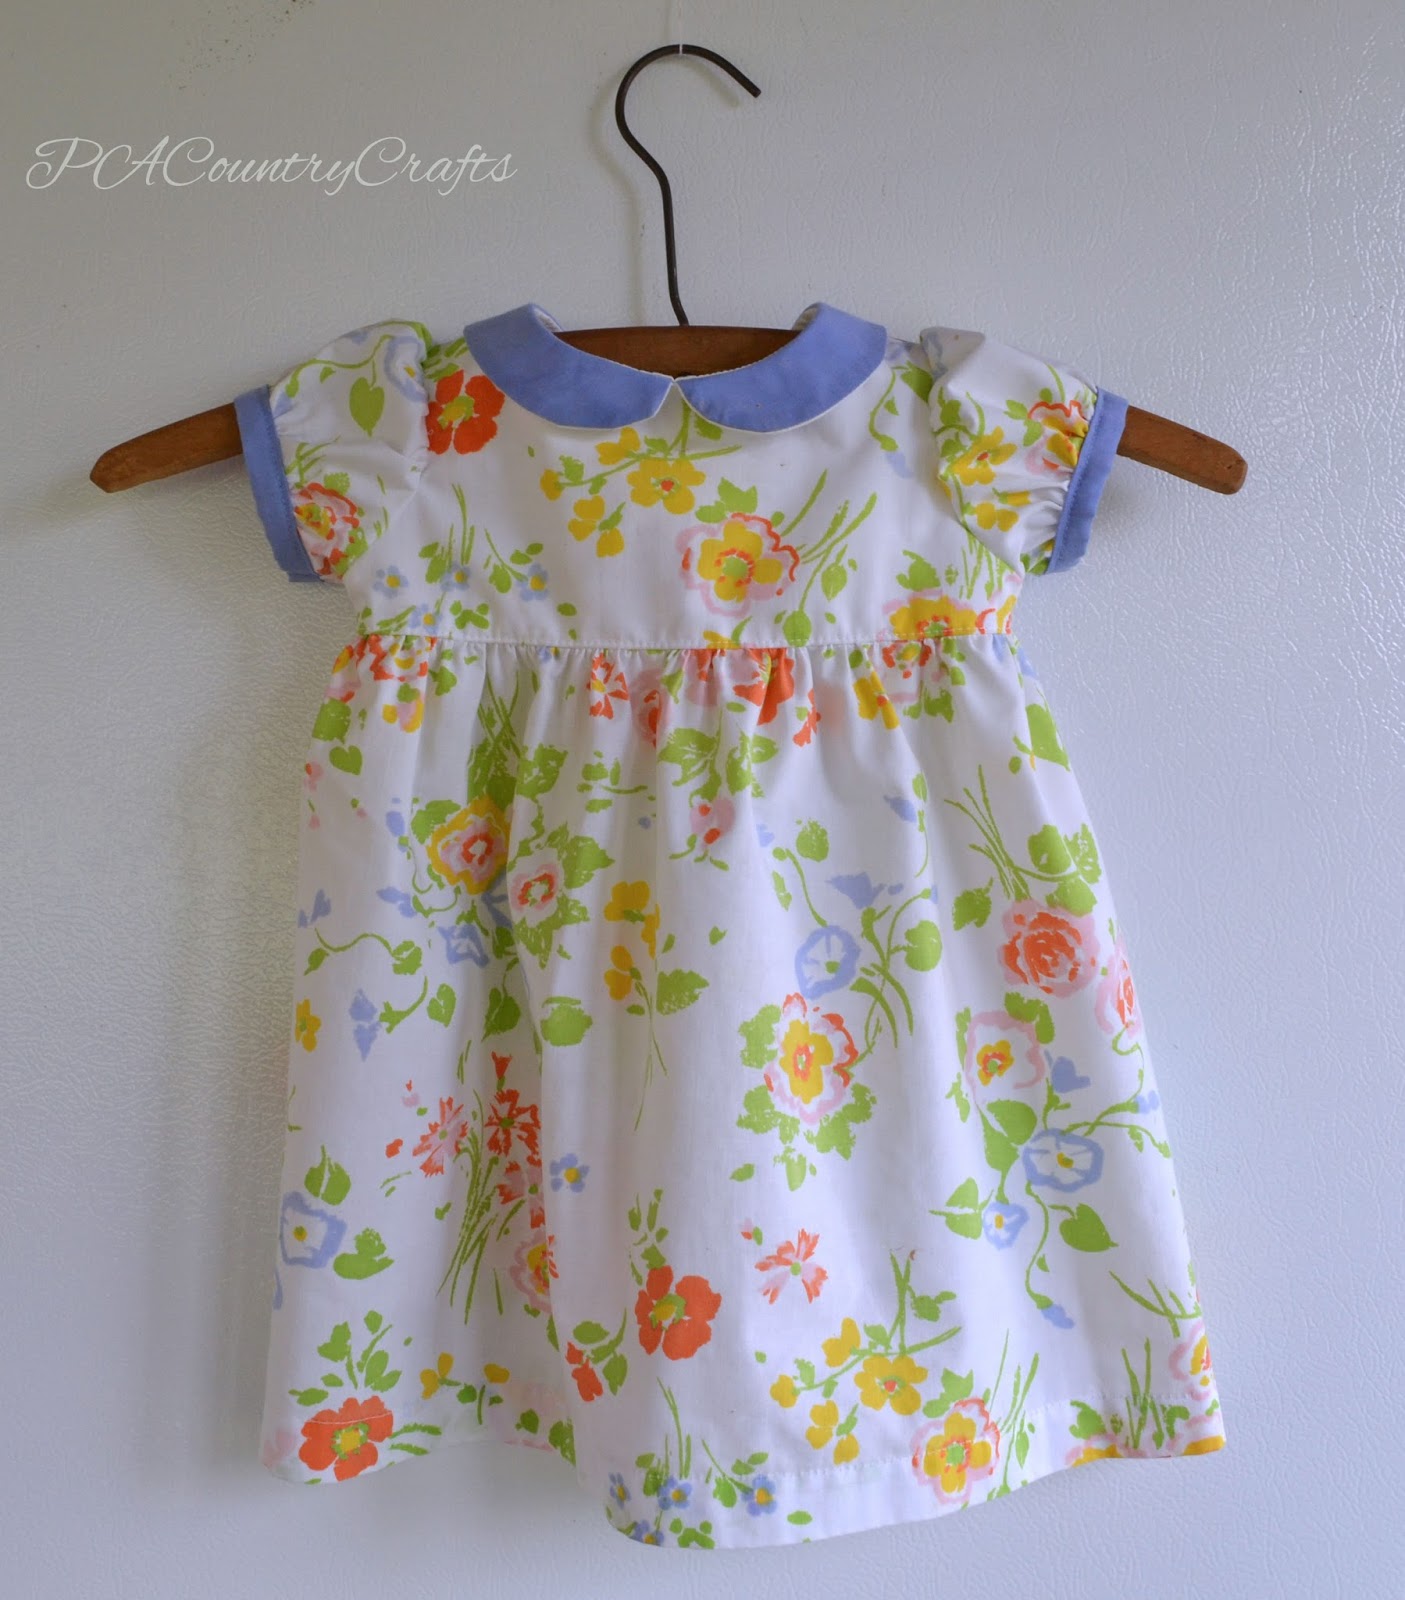
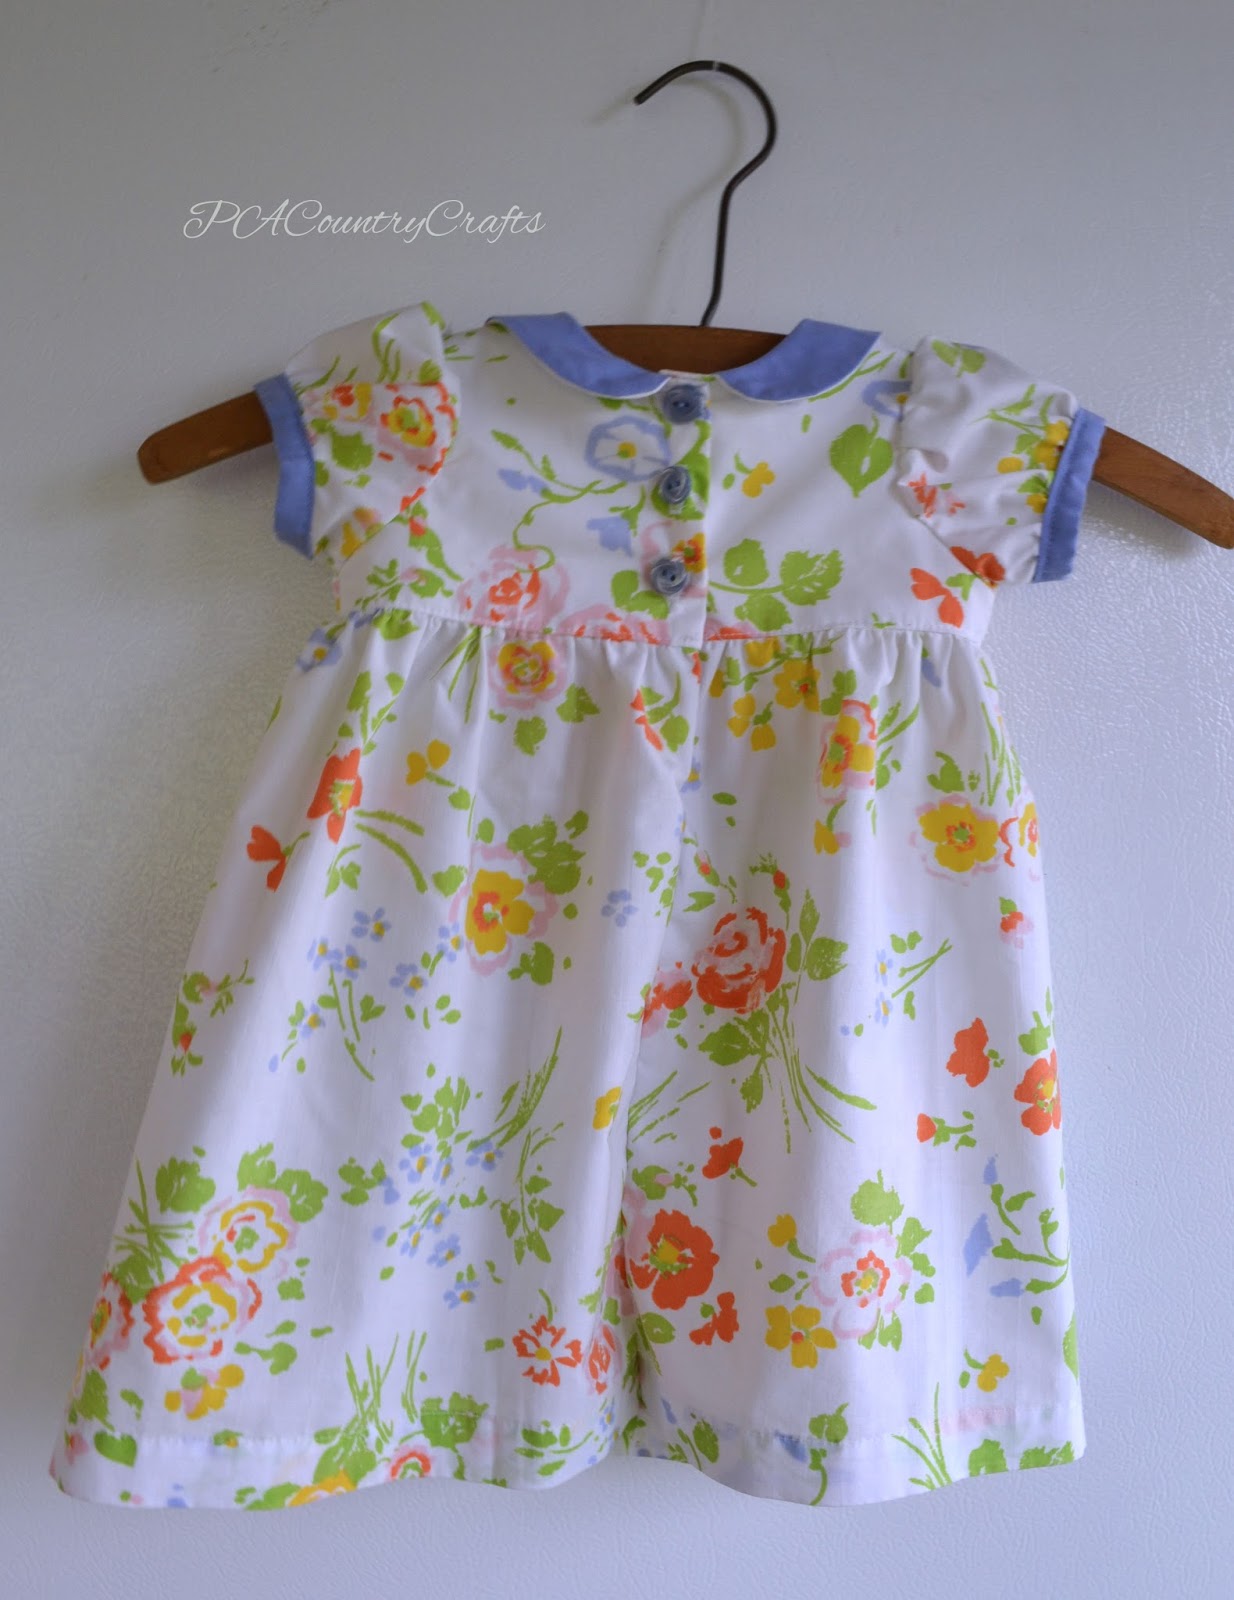
I didn't take too many pictures as I was sewing (and it really isn't anything wildly original anyway), but I did get enough to show you how I did the collar.

So, get your dress pieces all cut out and ready to go...
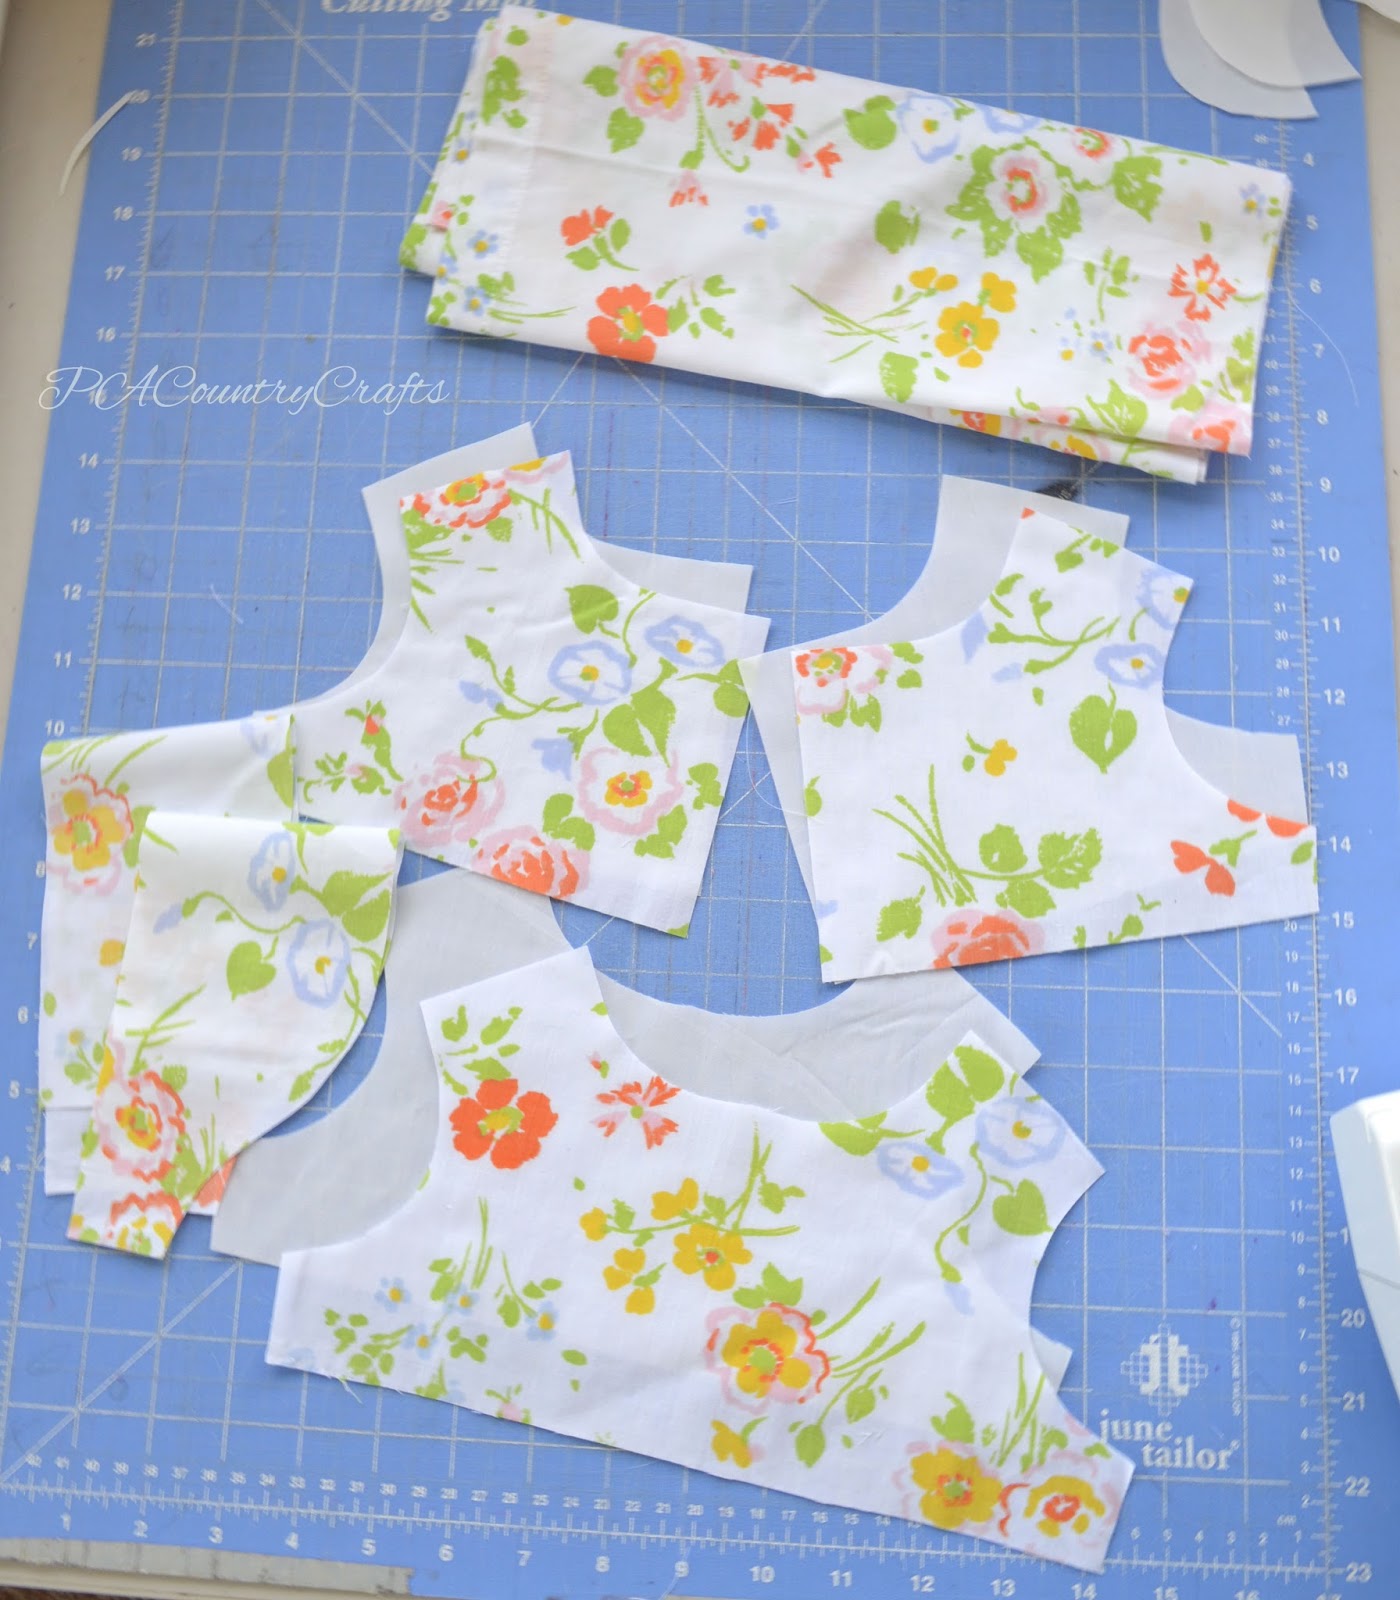
Sew the shoulders seams of the front and back bodice pieces of the main fabric and lining.
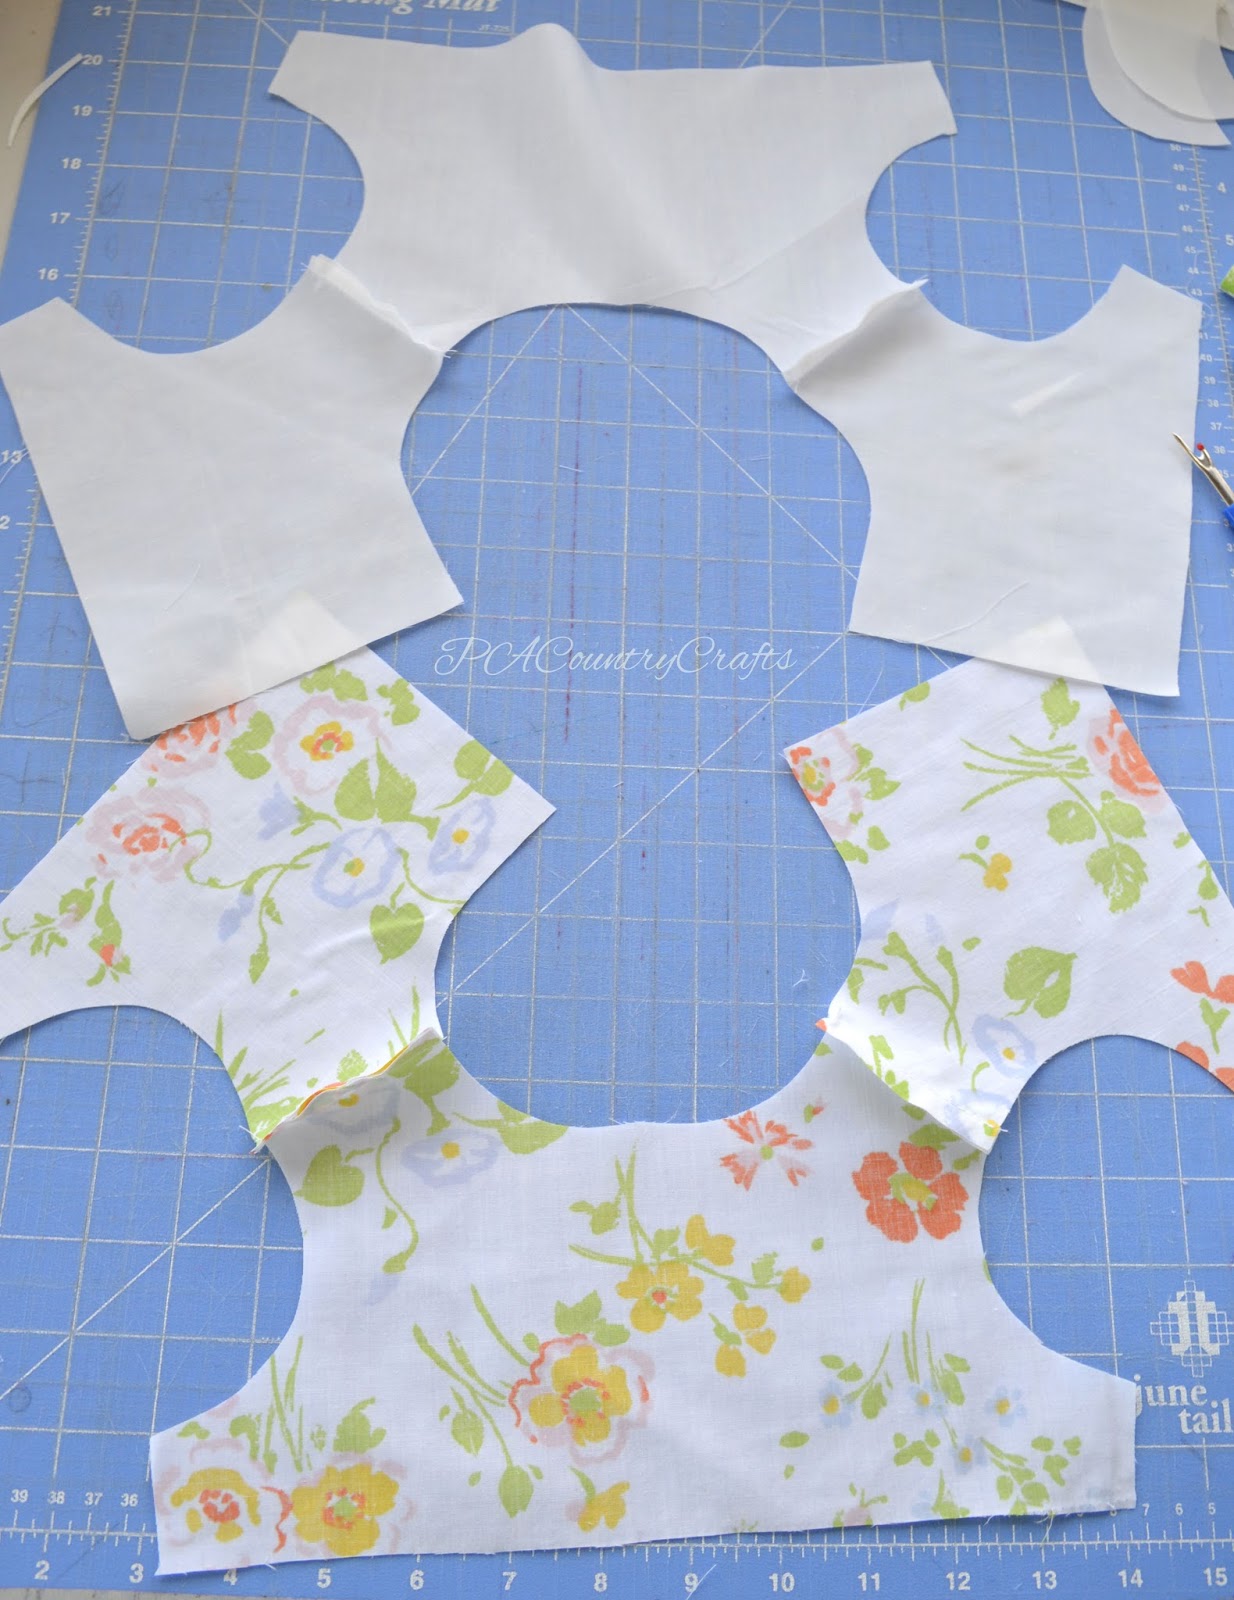
Use the sewn bodice, folded in half, to draft a collar pattern. It needs to extend
out
1/4" in the center for seam allowances and shift
in
3/4" at the back for the button closure.
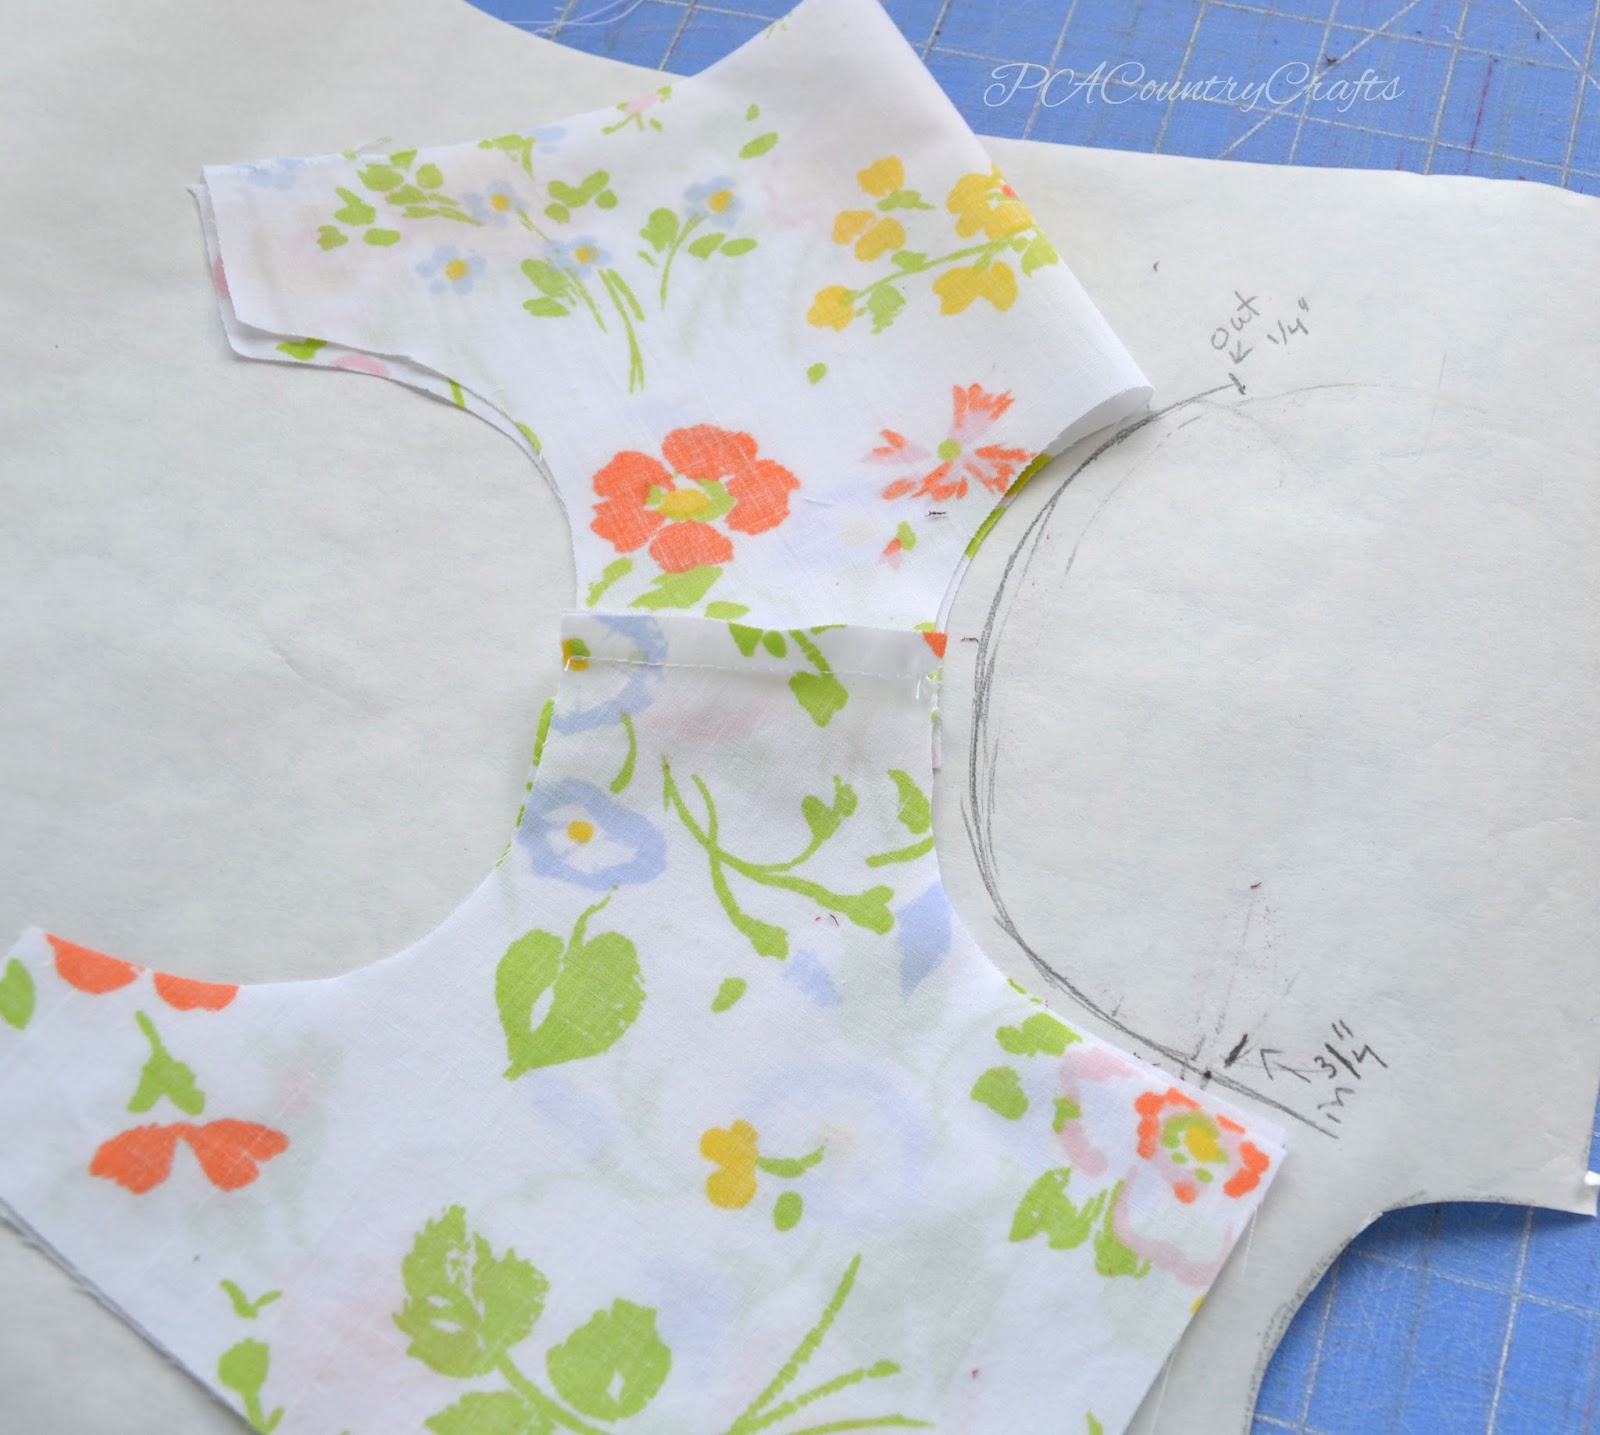
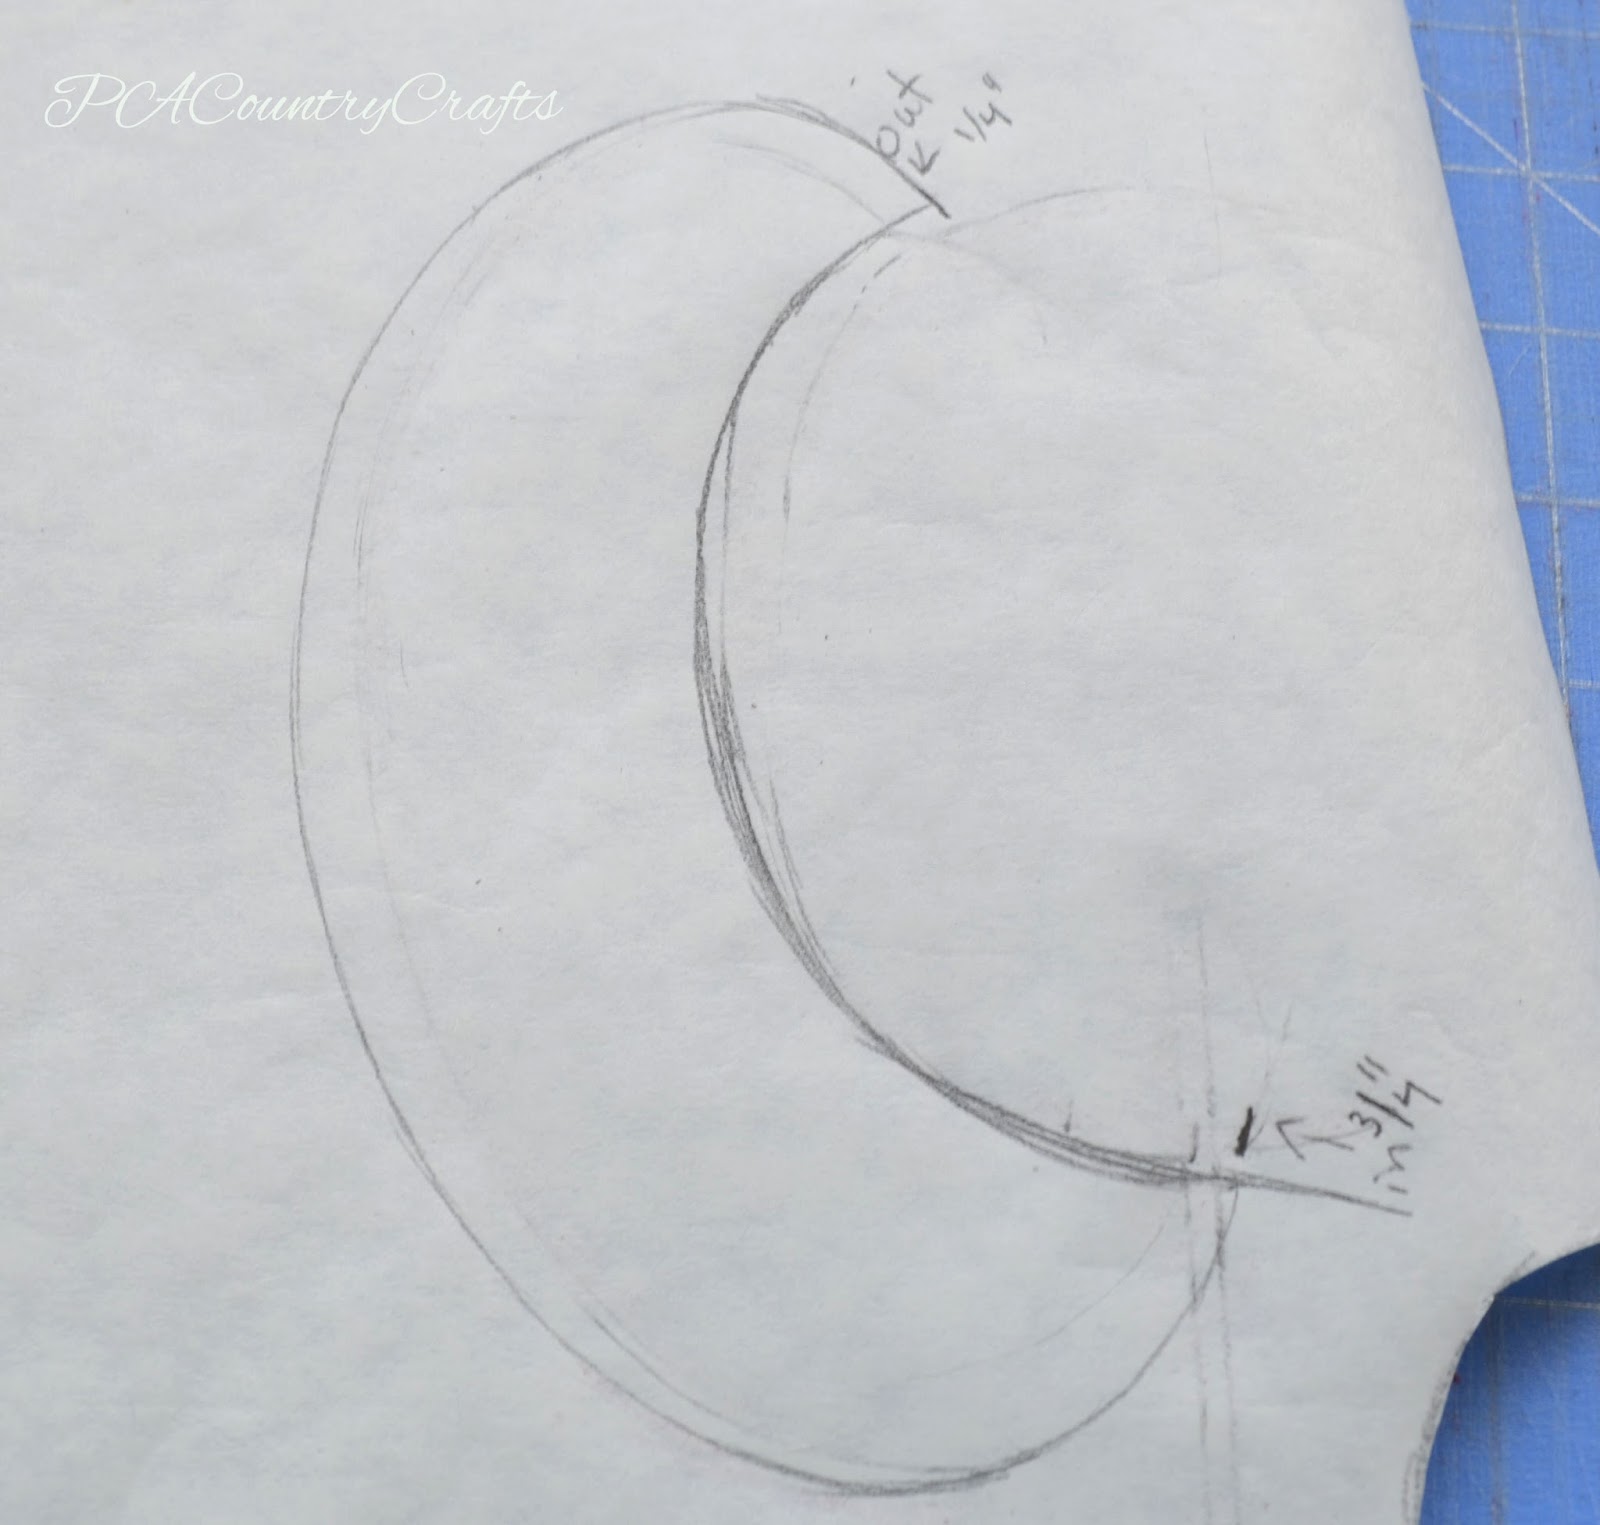
Cut two contrasting collars and two linings (they can be the same fabric, but I was making do.) Interface one side of each collar- I used a midweight interfacing.
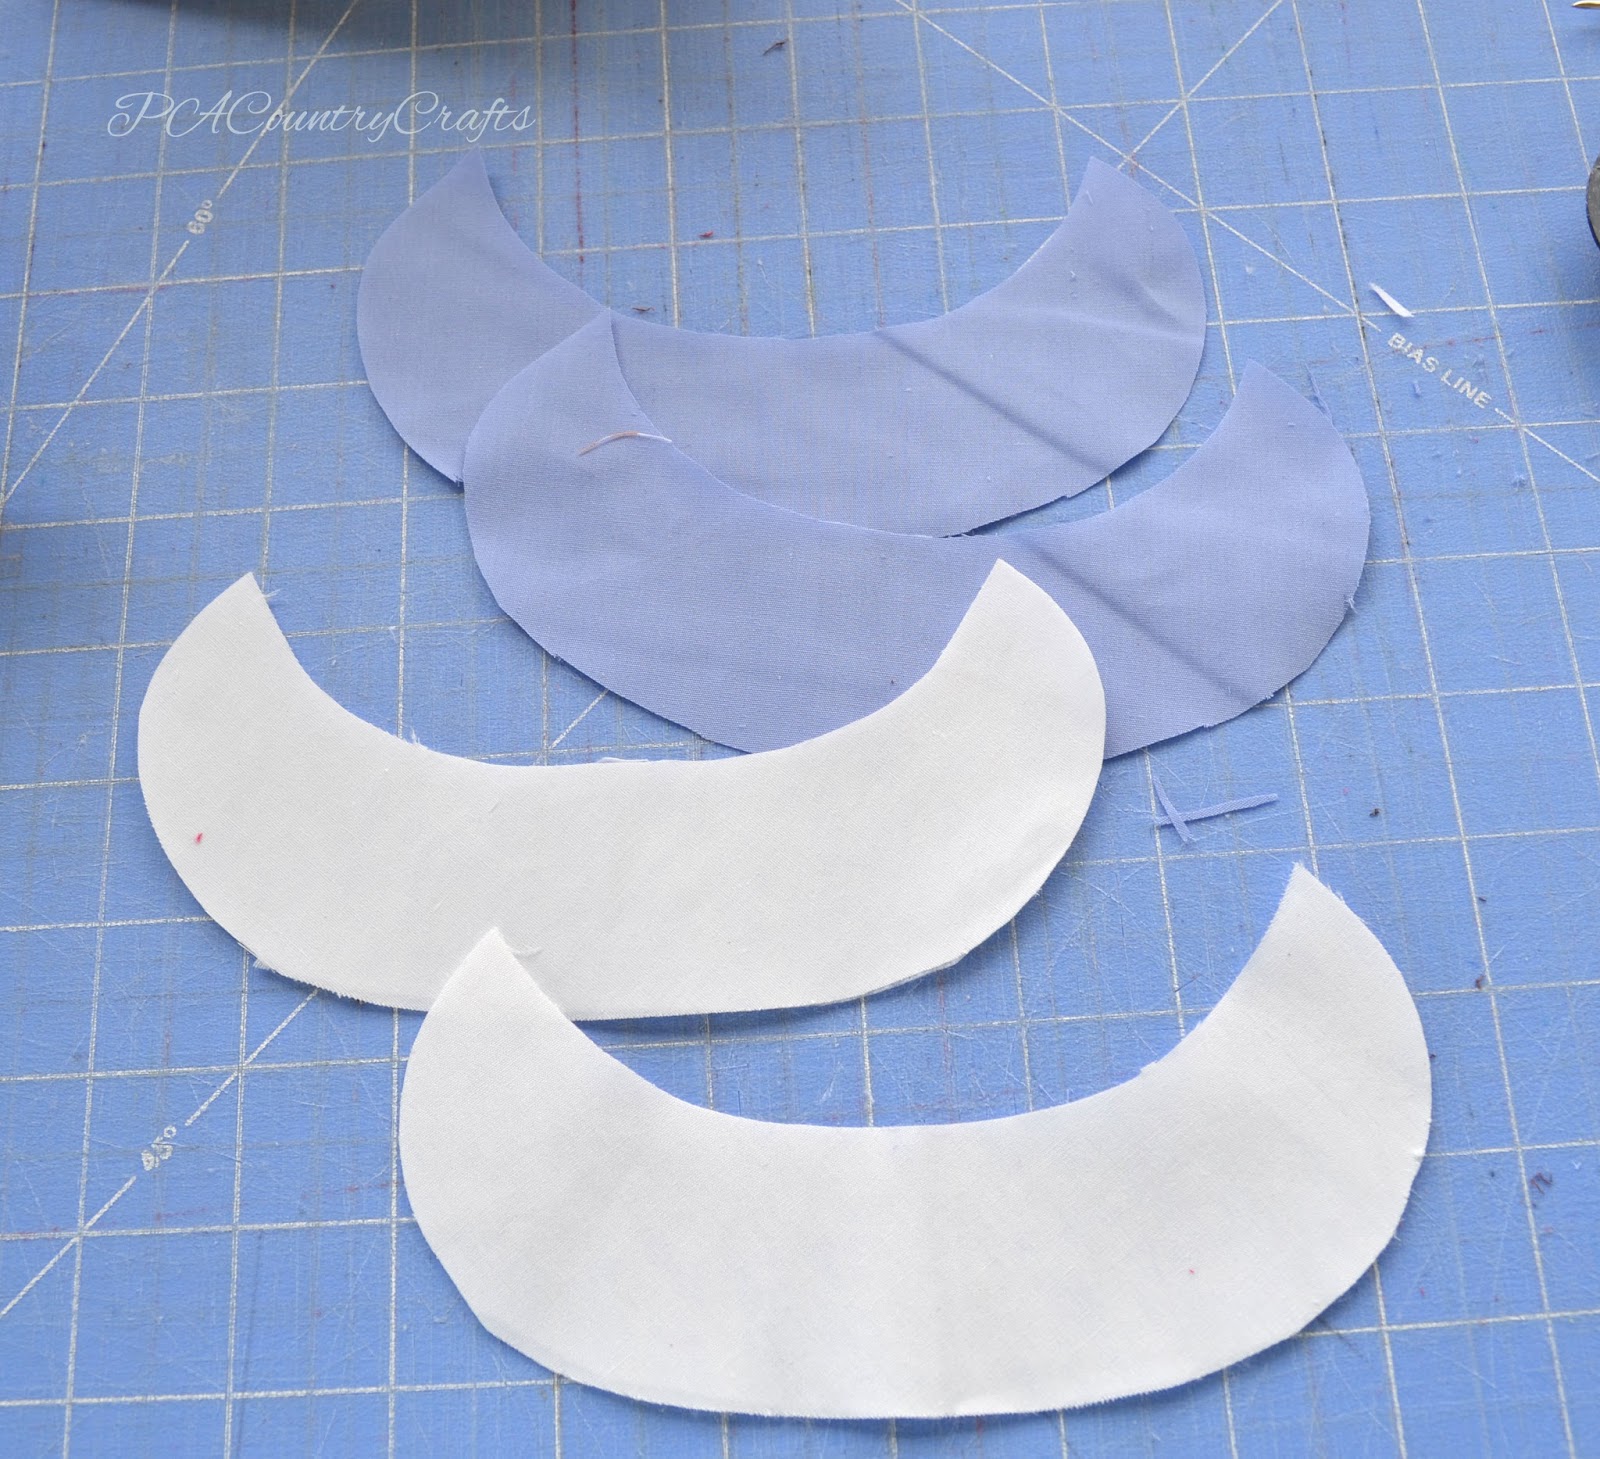
Sew the right sides together using 1/4" seam allowance and clip the curves.
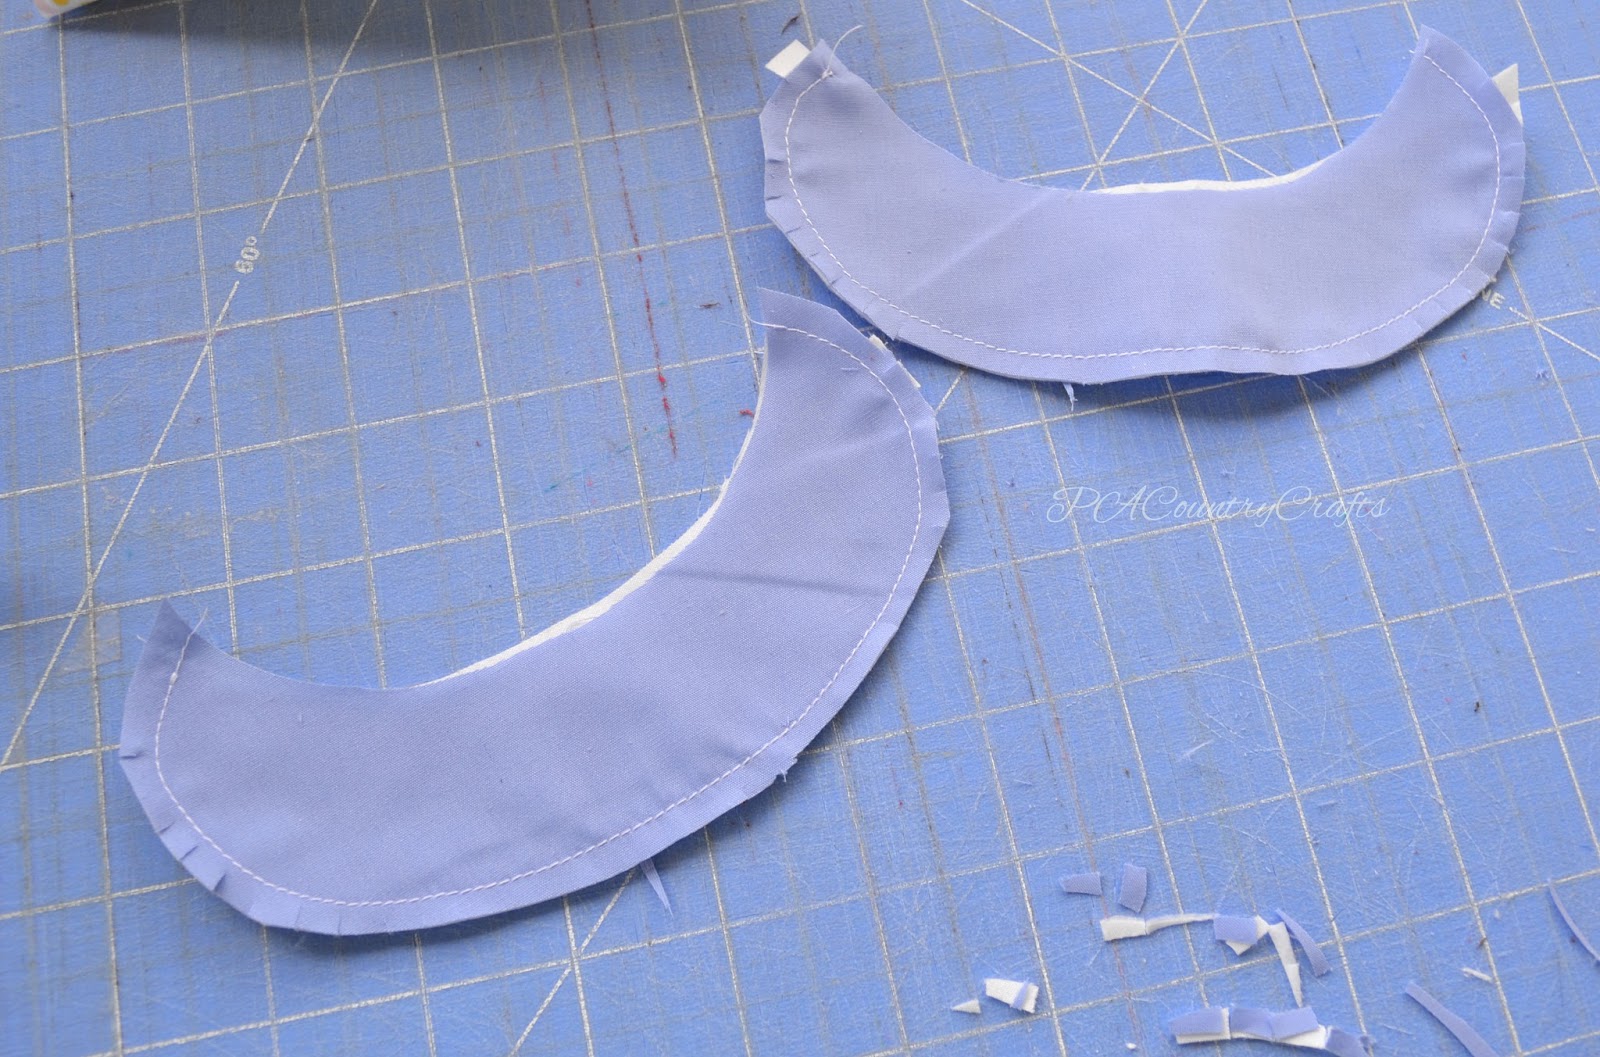
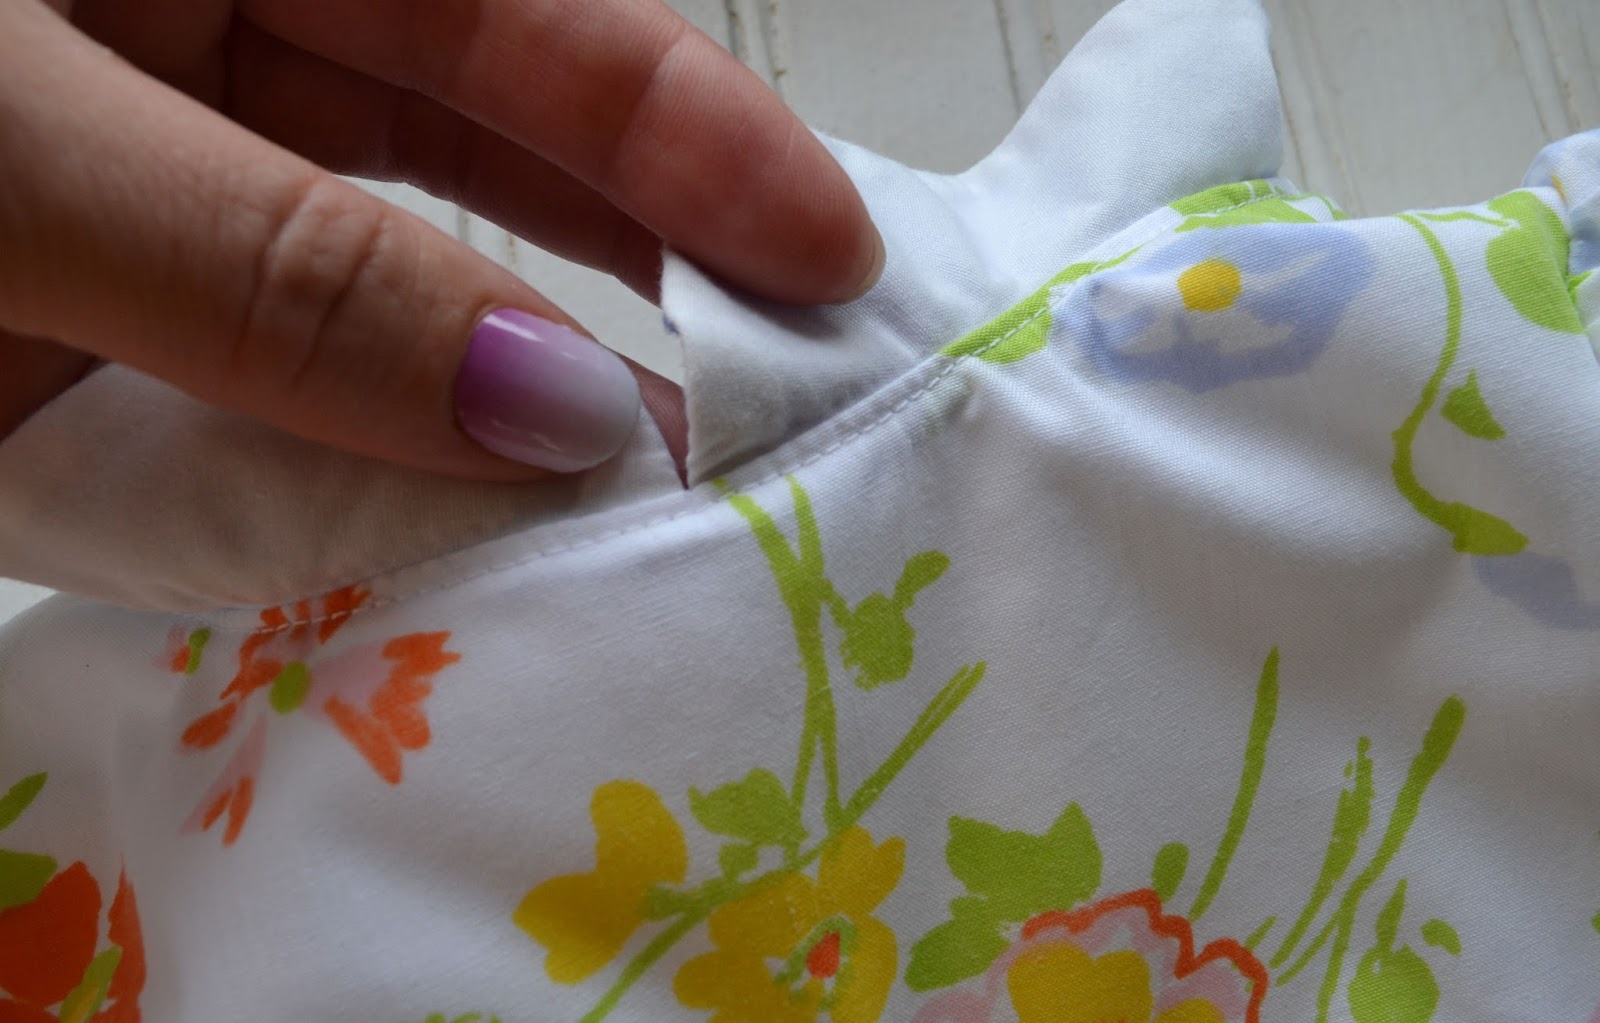
Flip and press really well, then sandwich the collars between the main fabric and lining. To hold the collar in place nicely, topstitch the edge of the bodice underneath the collars. This will hold the seam allowance in place and keep the collar from flipping up.
Here are the rest of the dresses in case you missed them...

Until next year...
OK. Not really. I have a few more tutorials and fun projects in the works here. If you don't want to miss out on that you can follow my blog with GFC,
,
' or subscribe by email over there on the sidebar. I am also on
and
!
Link Parties where I sometimes hang out...
,
,
,
,
,
,
,
,
,
,
,
,
,
,
,
,
, and
.
Vintage inspired dress tutorial for self-drafted girls’ dress. It has a square neckline and full, gathered skirt. This version was made from a vintage sheet.
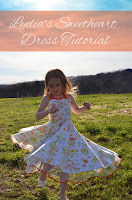
Read More1950s style girls’ dress tutorial with a sweetheart neckline halter and twirly circle skirt. There is even a built in petticoat trimmed in coordinating bias tape!
Read MoreTutorial for a 1950s vintage style dress with a boatneck, scoop back, and twirly hi low skirt. It was made from a vintage sheet and trims.
Read MoreSewing, crafts, tutorials, recipes, and a little look at our life in the country - raising half a dozen children.

Hi! Thanks so much for stopping by! My name is Lindsay and on this blog you will find sewing, crafts, decorating, recipes, and tutorials with a little bit of honesty and encouragement.