Vintage Easter Dresses

therosy.jpg

Oooh- the word "vintage" has become oh, so trendy.

Yes, I am jumping on the bandwagon.

It started out with this...

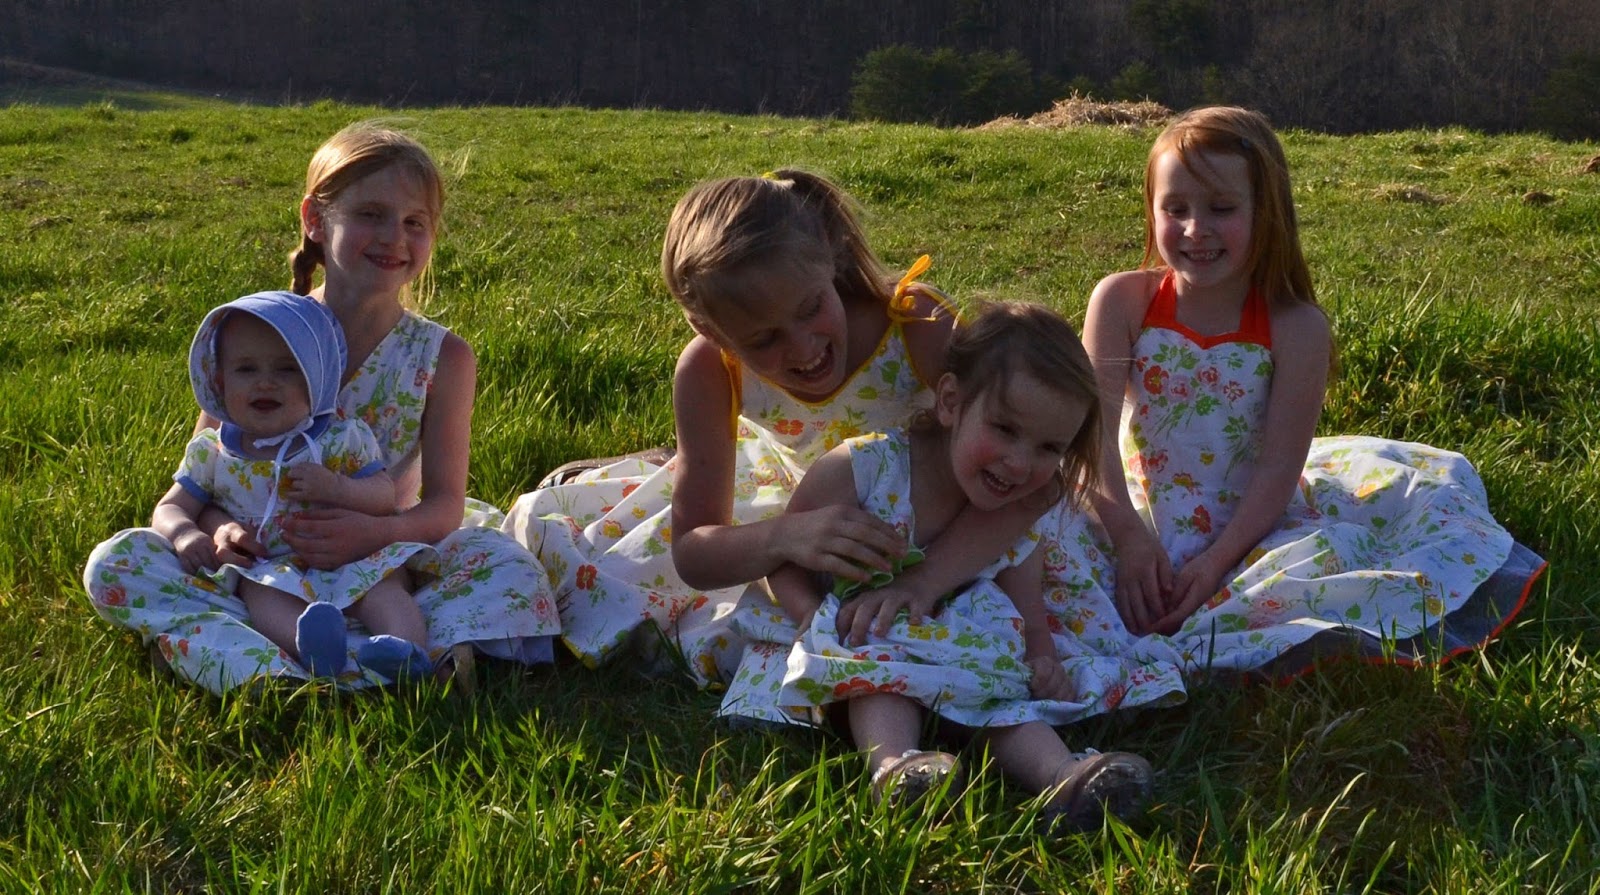
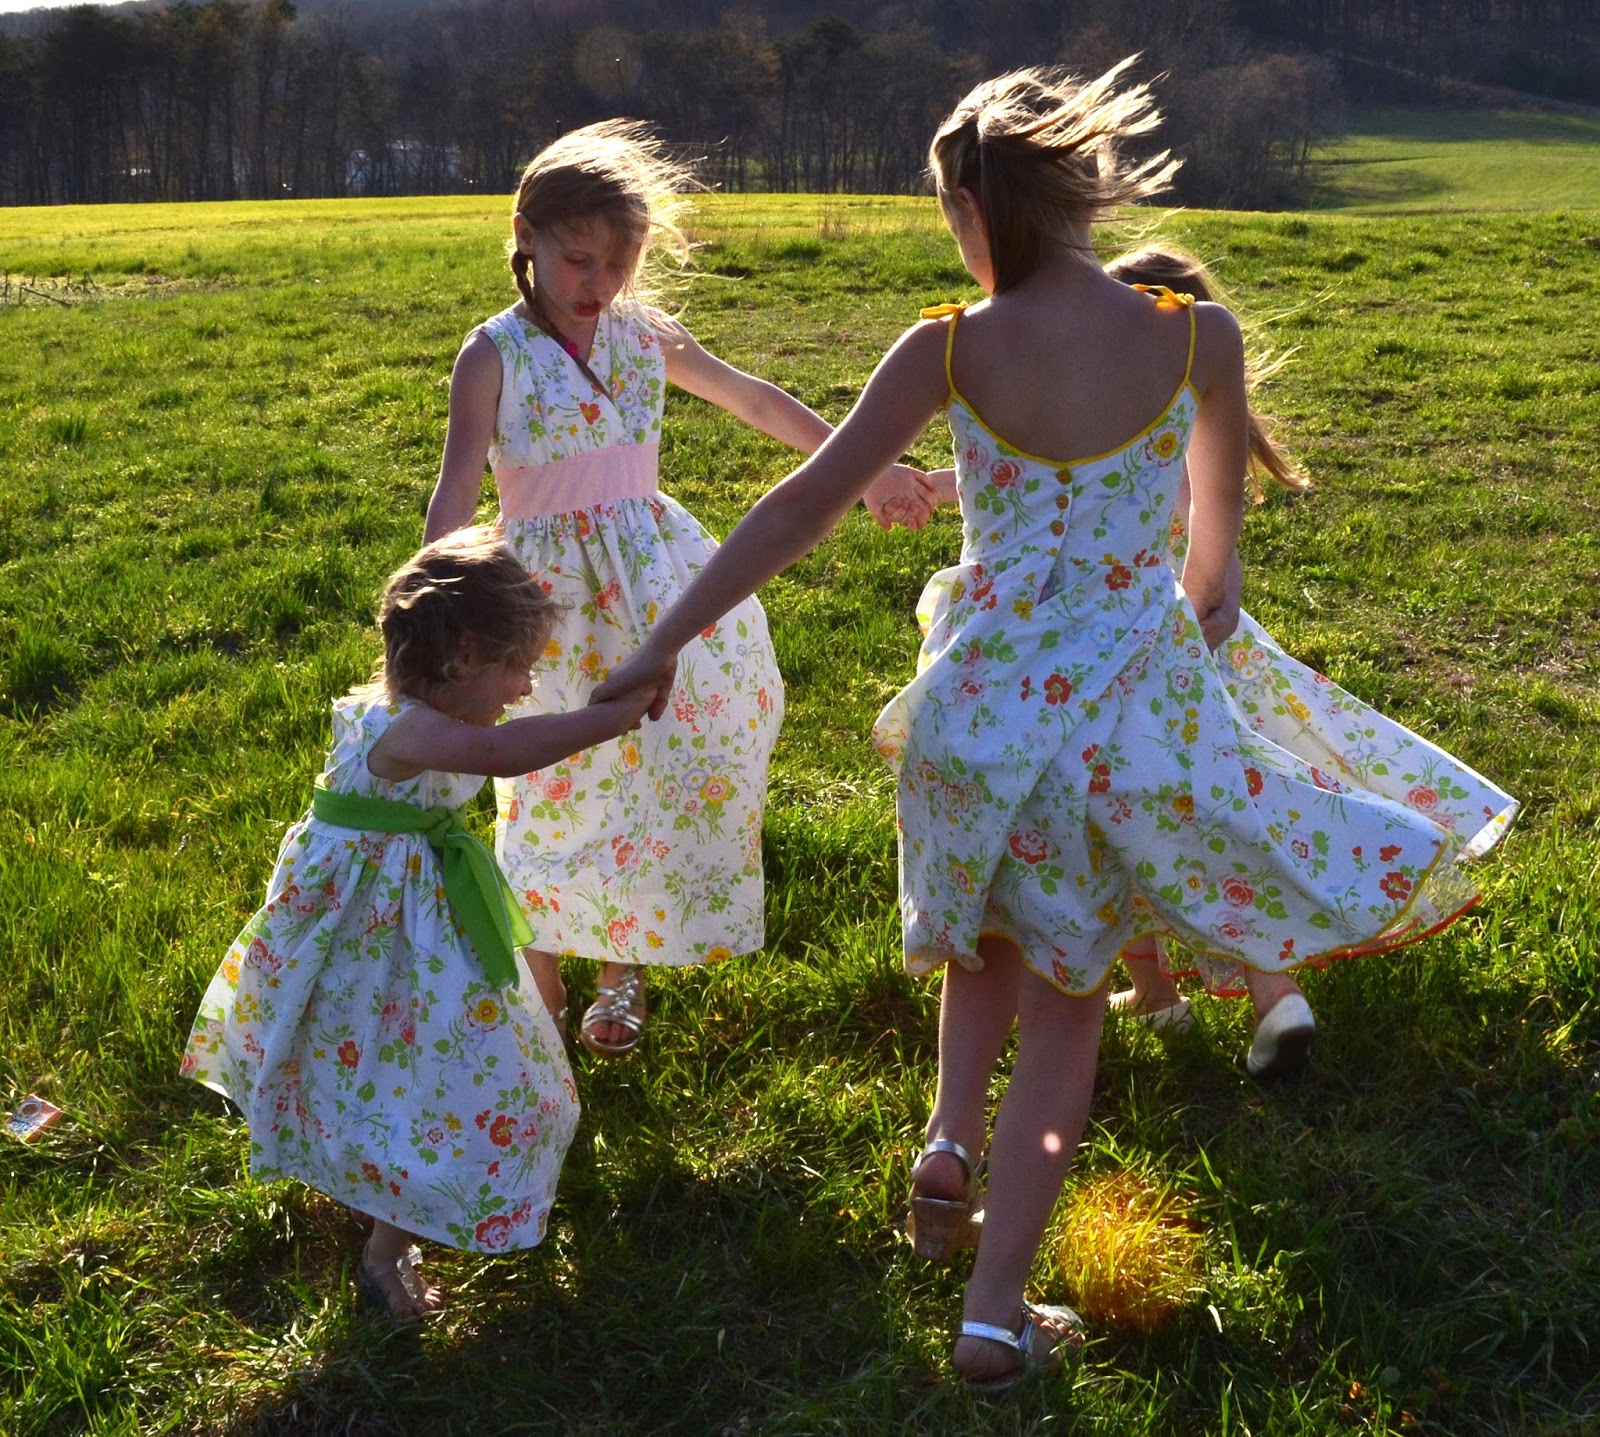
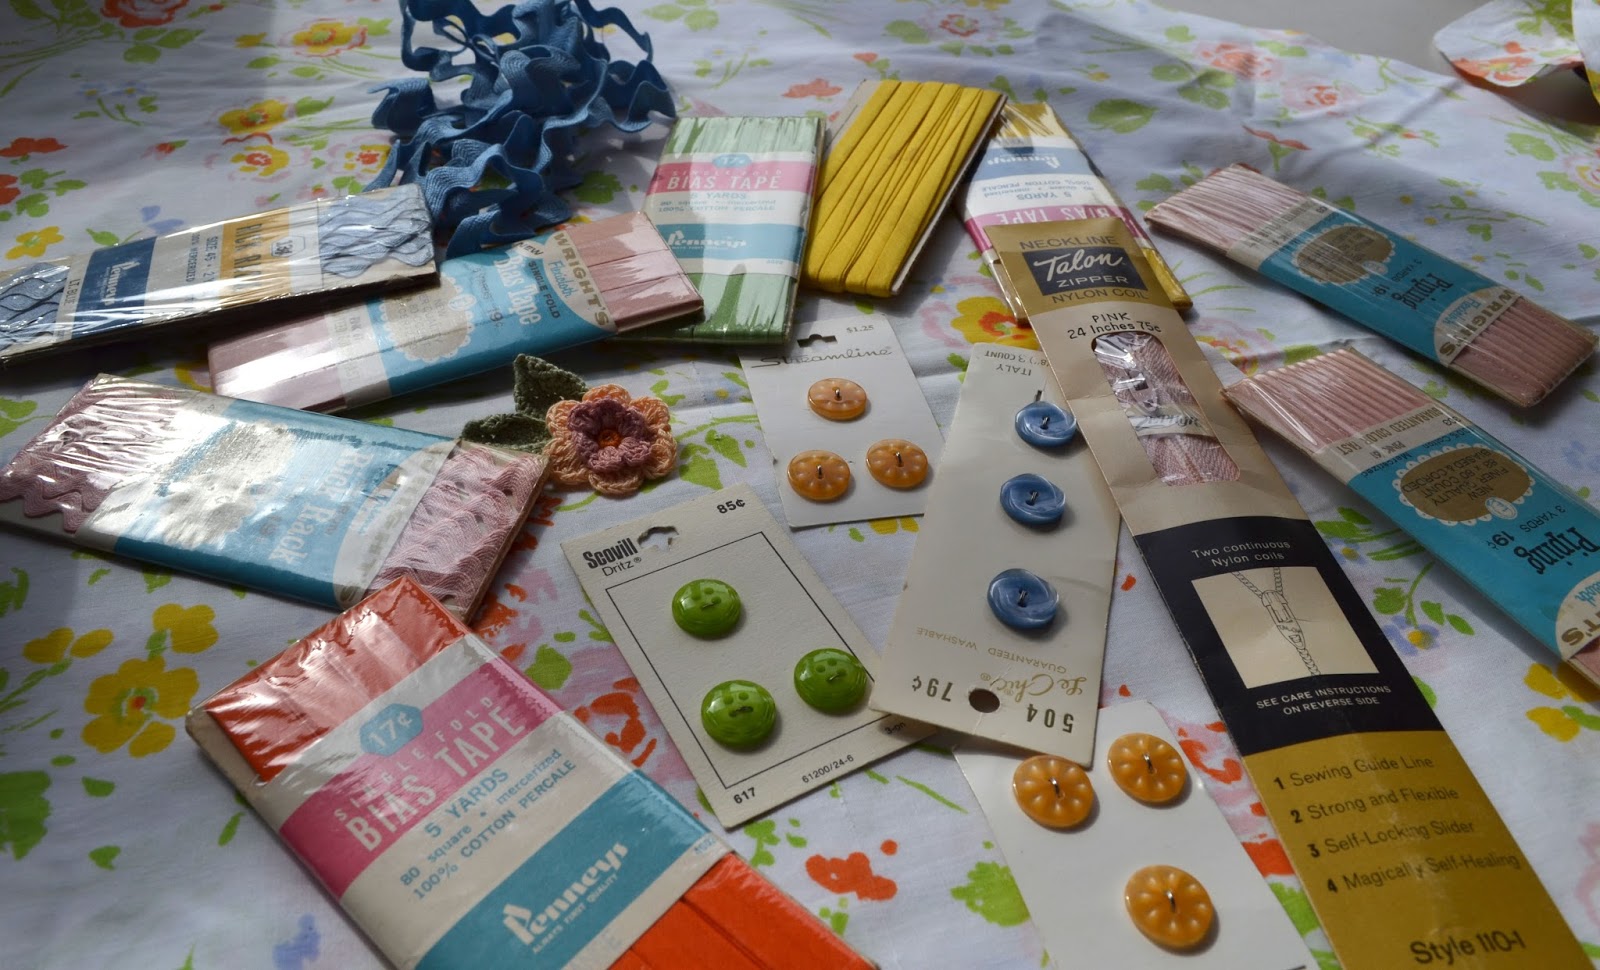
...two flat vintage sheets that my nana bought maybe in the 1970s and vintage trims, notions, and buttons given to me by some friends. The colors matched perfectly. There are 5 colors in the sheets (other than white) and I have 5 girls, so they each got their own accent color.

So, after 6 days of wild sewing, early Easter morning my girls were wearing new dresses from the vintage sheets that belonged to their great-great-grandmother.

I am so blessed to be able to do something special like this for my girls.

Tutorials coming soon(ish)...

***UPDATE*** Here are the tutorials and full posts for each dress!

vintage-sheet-easter-dresses

vintage-sheet-easter-dresses

Turtleneck to Maxi Skirt Tutorial

maxionswing1.jpg

This one has been a long time coming! I finally got some cute pics of my daughter in her maxi skirt so that I could finish up this post!  Last spring, when I was on my maxi skirt sewing kick, my 5yo had requested a RED one. Well, I thought I would just pick some fabric up at a nearby Walmart, but they no longer carry ANY knit at that store! :( So, I wandered over towards the clothing and found a Women's XL red turtleneck on clearance for $1!

This was a super cheap and easy project. I even had enough left over to make her a headband (which we forgot about when taking these pictures- that is what happens when you wait all summer!) and a matching skirt and headband for her doll (see THIS post if you care.)
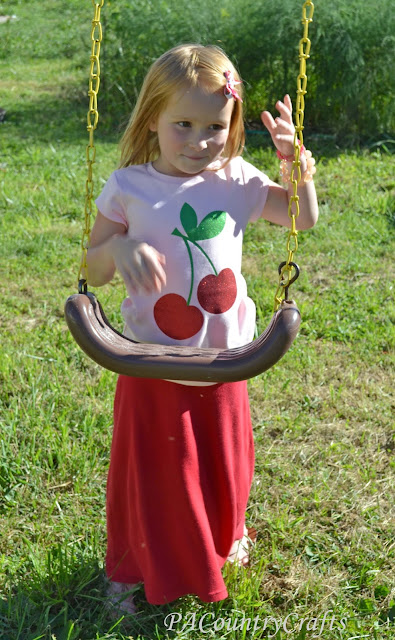
I am not sure what she is doing with her hands here...
This skirt is so comfy (not that I actually wore it, but, you know, she did) and it doesn't slow her down and keep her from playing hard- which is a must for kids' clothing. Are those enough selling points for you? Well, they should be. If you make one, pretty please show me some pics! OK?  Good.  Here is your free tutorial...
I thought the neck looked like it would fit her waist so I had her try it on. It was a perfect fit! (My kids might think I am crazy. You know, "Here, honey. Put this turtleneck on, but put the neck around your waist. OK?") If it is too big, you can just take it in after you cut it off. You want it to fit snugly, so it has to be a little smaller than the actual waist measurement. (I guess I could have just measured instead.)
Anyway... cut the neck off, then fold the shirt in half. Measure the height needed from waist to ankles.  Starting that distance from the bottom, draw a line that is one quarter of the total measurement of the neck/waist/whatever. Then, draw an a-line to the bottom of the shirt. You are keeping the original hem of the shirt (SWEET!) I hope this step is not too confusing.  Just follow the picture...

Sew the side seams of the skirt, right sides together.  You can use a zig-zag or stretch stitch or a serger. I used a stretch stitch and then overlocked the edges for extra durability.

Pin the neckband to the inside of skirt.
Sew it together. This is what it looks like, inside out.

Flip it around and press.

TADA!  It really only took about 15 minutes to make.  Definitely a hit!

As always, this tutorial is for personal, non-commercial use only. No copycats. Got it? Thanks!
I LOVE Baby Girl Sewing!

bearhatcreampink.jpg
I absolutely LOVE sewing cute baby things! Especially baby girl things! :D
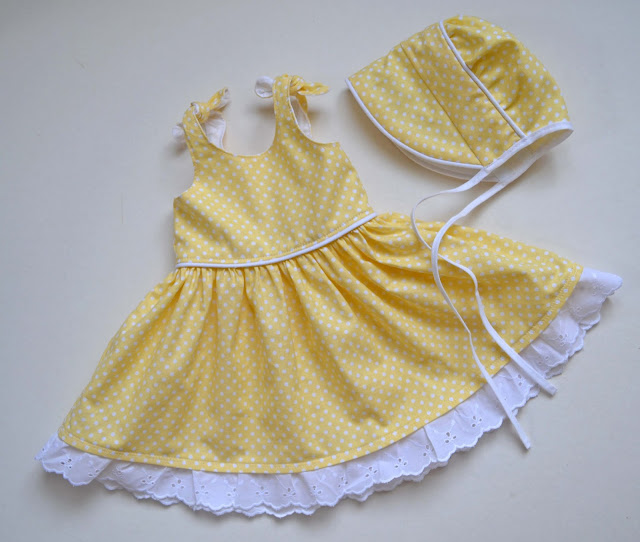
So, do you remember the Easter dresses I made this year? (If you don't they are shown at the end of THIS post.) I also made a matching tie for my son later this summer (shown in THIS post) but he didn't want the "girly" yellow I picked out so I used grey instead.  That meant I had a half yard of coordinating yellow polka dot fabric just waiting for Hannah to be born. I guess it was meant to be. ;)
So, I whipped up an Itty Bitty Baby dress (free pattern available HERE) and then went overboard with a Peekaboo Bonnet (pattern for sale HERE). 
I know, I almost never ever buy patterns, but I have always wanted to make a bonnet and this was my last chance! Oh, it is sooooo cute, too!  I am super pleased with how these turned out. I love piping and eyelet lace trim. (And tiny little baby feet, too!) LOVE!
I also love the sunshiney yellow color, and it matched the dress I wore for a pic taken 12 days before she was born when I was ginormous, so we did a little "after" pic to go with the "before" one.
Before...
...After.
Actually, first I made another dress for my niece so that they could match. The cousins were born two days apart and we all got to hang out at the hospital together. How cool is that? Of course, my niece was a big girl, so I made her dress in the 0-3 month size instead. Since this was my sister-in-law's first girl, I knew a little pink was in order, too. :)
I ran out of piping to do another bonnet, but I also made her a crocheted bear hat (using my free pattern HERE) that should fit her this fall and increased the size on that one as well.

I know I used the word "LOVE" an awful lot in this post, but making things for baby girls, especially girls this cute, really does that to me!

Maxi Skirts Galore!

maxiskirts4.jpg
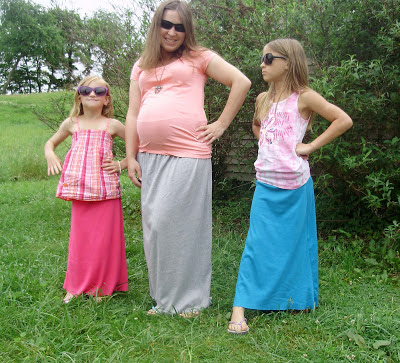
A few weeks ago I was on a maxi skirt sewing frenzy...

Please excuse my modeling skills in the following pictures. :)

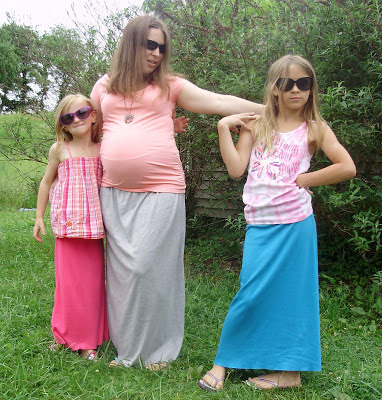
As you can see, one of my daughters, however, thinks she is QUITE the little model. Sometimes she overdoes it, though.
For the girls' pink and blue skirts I used THIS tutorial, but the waist needs to be an inch or so smaller than the actual measurement (these are little girls without womanly hips after all).  I also made one in the pink for myself, but, unfortunately, I DO have womanly, child-bearing hips and it looks pretty awful on me right now as I was trying to make do with some fabric I had on hand. Maybe maxi skirts will still be in style next summer.
I also need to hem the girls' skirts, but the girls won't part with them long enough. I mean to swipe them straight out of the clean laundry basket, but they are faster than my folding, sometimes ripping them right off of the wash line.


My gray skirt was made using THIS tutorial like the skirt I made HERE, but I extended it to maxi length. So comfy and I can wear the waistband over the large belly or folded down. I think the girls' skirts look better, though.

Since my girls now also request matching clothes for their dolls every time I make something for them, I made maxi skirts for their dolls, too.  It was easy peasy and I have a tutorial coming up for that one as soon as I take pictures of the dolls wearing them (they are better models anyway!) 
These are all really easy skirts! I made two skirts for the girls, two for me, and two for the dolls in one morning. Mass production at its finest. Go ahead and give it a try! 

Strawberry Shortcake Dress

ssdresstop.jpg

Just a quick little show-off here...

I made another Strawberry Shortcake dress (original HERE) for my niece's 3rd birthday. It turned out super cute and she immediately wanted to put it on, so she must have liked it. :)

Same as before, it is a semi-circle skirt (left over from my screw-up two years ago) sewn to an embellished Garanimals T-shirt from Walmart.  This time I improved and did two things differently:

1. Garanimals shirts are extra long, so I chopped a few inches off the bottom to avoid that 80s drop-waist look.

2. I did freezer paper stenciling instead of applique for the top. I love it! It turned out so crisp and professional-looking! :)

Now my 5yo wants another one. We'll see. Maybe I can use that as an incentive around here. :)