Ruffle Tank Easter Dress
/
- use things I already had, if possible
- skip the commercial pattern thing
- let the girls have a say in what style they wanted
I had one yard pieces of cotton quilting fabric in pretty calicos that I made work for the younger girls, but I had to buy some for the oldest one. All these addicting blogs gave me the confidence to "wing it" with the patternless approach, too. But for my youngest, who is not yet 3, she would have asked for something ridiculous given the option.

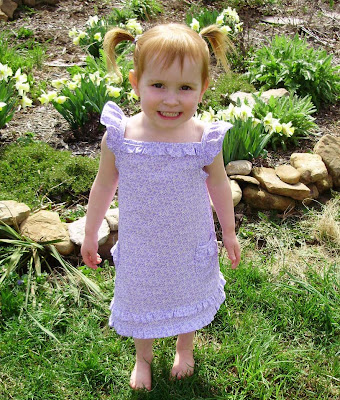
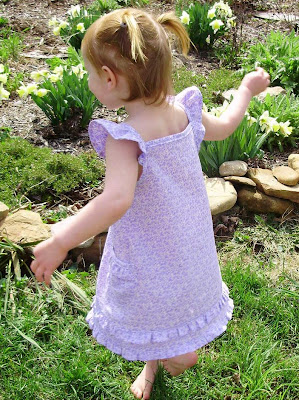
I love the cute little flutter sleeves on this. When I sewed the top ruffle on, most of the front gathering came out, so I just let it go cause I was lazy.

She loved the pockets on her Leah tunic so much that I put pockets on the dress, too. And I added ruffles at the top.

It was very easy to sew up, so I may make another one and post a tutorial and pattern for it, too!


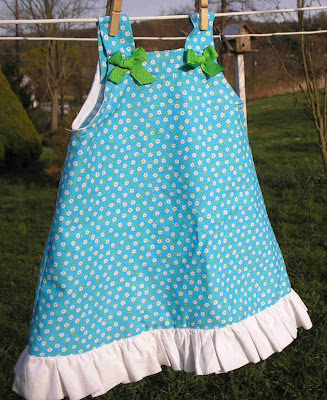.jpg) For my youngest daughter, I wanted to make a dress instead. She is little, so I had enough material.
For my youngest daughter, I wanted to make a dress instead. She is little, so I had enough material..jpg) I fixed the shortness by adding a ruffle on the bottom from the white cotton. I took a 6” strip, folded it in half and ironed, then gathered it and sewed it on the bottom.
I fixed the shortness by adding a ruffle on the bottom from the white cotton. I took a 6” strip, folded it in half and ironed, then gathered it and sewed it on the bottom.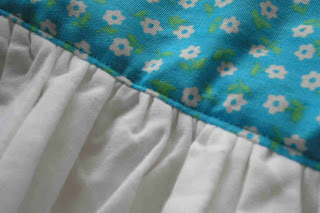.jpg) I topstitched to make it look more finished and hold the ruffle down nicely.
I topstitched to make it look more finished and hold the ruffle down nicely.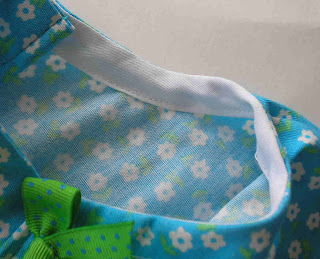.jpg) The armholes called for single fold bias tape in the original
The armholes called for single fold bias tape in the original 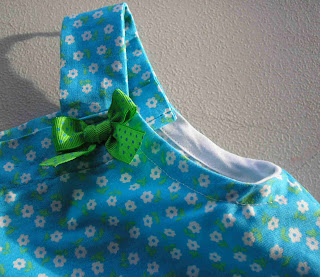.jpg) To make the dress fit better I took the front half of the bias tape off and made it cut in a little more so that the front is narrower than the back before I sewed the bias tape back on. The fit was much nicer, but I still hate bias tape.
To make the dress fit better I took the front half of the bias tape off and made it cut in a little more so that the front is narrower than the back before I sewed the bias tape back on. The fit was much nicer, but I still hate bias tape.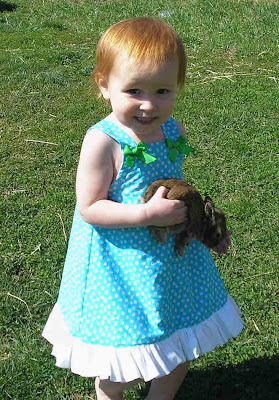.jpg) FINALLY the fit is perfect- although it is now nothing like a pillowcase dress at all! Unfortunately, it is REALLY tight going over her head, so I may have to make the straps thinner if she ever grows some hair and it gets too hard to put on.
FINALLY the fit is perfect- although it is now nothing like a pillowcase dress at all! Unfortunately, it is REALLY tight going over her head, so I may have to make the straps thinner if she ever grows some hair and it gets too hard to put on.
.jpg) For the next skirt in my Easter sewing series- I went totally without pattern! I decided I wanted to make this one a longer style with a wide white waistband along the top and a ribbon bow accent.
For the next skirt in my Easter sewing series- I went totally without pattern! I decided I wanted to make this one a longer style with a wide white waistband along the top and a ribbon bow accent. 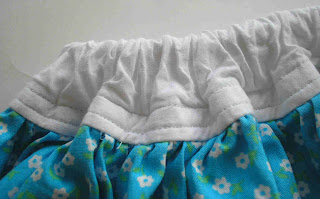.jpg)
.jpg)
.jpg) I am going to start my Easter sewing series with the easiest of the skirts I made. First, however, I need to brag about my thriftiness! I found this heavy cotton material - it is a little stiffer than regular cotton- for $2.00 a yard for 60” width at Walmart. I also bought a yard of plain white cotton and some notions like elastic, ribbon, bias tape, and a zipper. Sadly, the fabric was the cheapest part!
I am going to start my Easter sewing series with the easiest of the skirts I made. First, however, I need to brag about my thriftiness! I found this heavy cotton material - it is a little stiffer than regular cotton- for $2.00 a yard for 60” width at Walmart. I also bought a yard of plain white cotton and some notions like elastic, ribbon, bias tape, and a zipper. Sadly, the fabric was the cheapest part!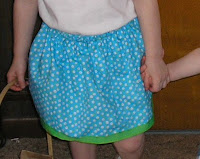.jpg)
.jpg)
.jpg)


