

Easter Sewing Part 2
/
.jpg) For the next skirt in my Easter sewing series- I went totally without pattern! I decided I wanted to make this one a longer style with a wide white waistband along the top and a ribbon bow accent.
For the next skirt in my Easter sewing series- I went totally without pattern! I decided I wanted to make this one a longer style with a wide white waistband along the top and a ribbon bow accent.
I made another rectangle measuring 18” by the fabric width- 60”and sewed it into a tube. Again, I overlocked the edges and hemmed the bottom. 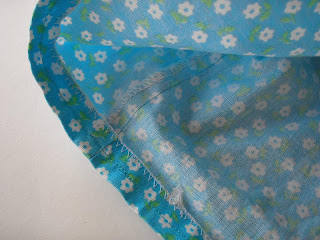
Then I made a wide, white waistband by taking a 30” by 5” piece, sewing the short ends together, and pressing it folded in half with the seam to the inside. The measurement of this piece is wide enough to go over her hips. I sewed a casing for the elastic and put it in, although I could not find elastic as wide as I wanted to it still twists a bit when she wears it.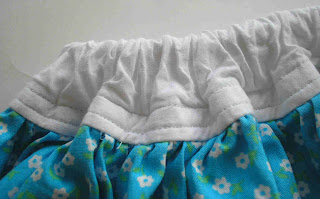.jpg)
I gathered the skirt part with a wide basting stitch and attached it to the waistband. I topstitched it- not very close to the edge, but it looked better on the wide waistband..jpg)
To put the bow on, I used two small seams to attach the middle of the ribbon to the waistband off to one side. And... TA DA! The perfect length for a not-so-modest 6yo!

Tomorrow's dress was the hardest but by far the CUTEST!!! Stay tuned!
.jpg) I am going to start my Easter sewing series with the easiest of the skirts I made. First, however, I need to brag about my thriftiness! I found this heavy cotton material - it is a little stiffer than regular cotton- for $2.00 a yard for 60” width at Walmart. I also bought a yard of plain white cotton and some notions like elastic, ribbon, bias tape, and a zipper. Sadly, the fabric was the cheapest part!
I am going to start my Easter sewing series with the easiest of the skirts I made. First, however, I need to brag about my thriftiness! I found this heavy cotton material - it is a little stiffer than regular cotton- for $2.00 a yard for 60” width at Walmart. I also bought a yard of plain white cotton and some notions like elastic, ribbon, bias tape, and a zipper. Sadly, the fabric was the cheapest part!.jpg)
.jpg)
.jpg)


