Lydia's Sweetheart Doll Dress Pattern and Tutorial
/
This post has been a long time coming!!!
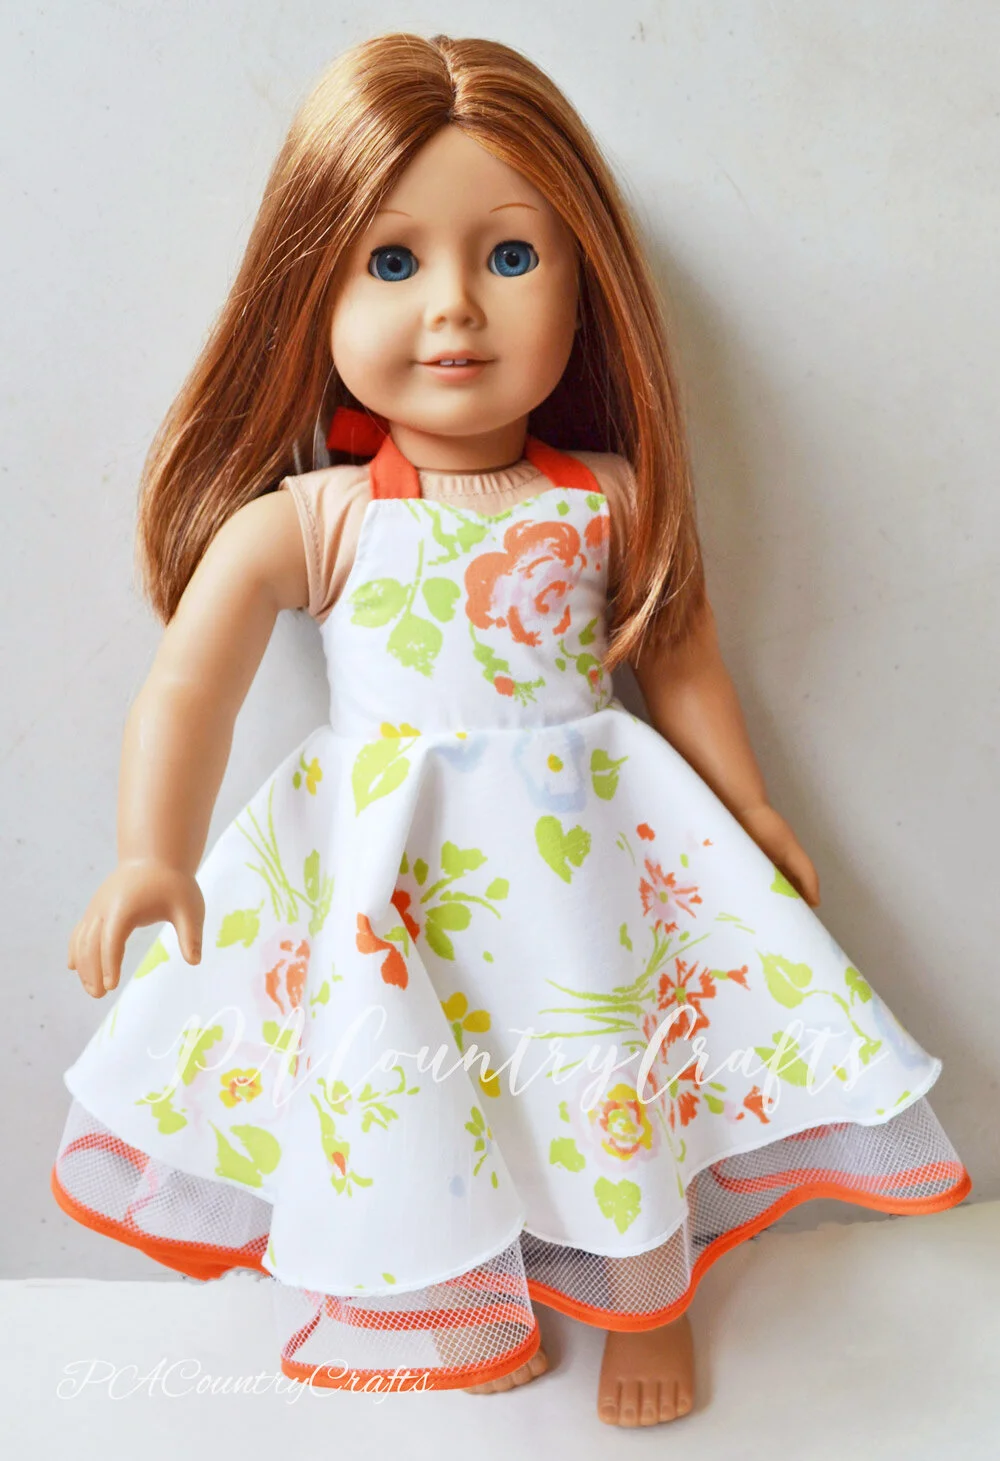
My all-time favorite Easter dresses were the ones I made almost five years ago using my Nana’s vintage sheets. (You can see them all HERE.) That year I drafted five different vintage-style dresses. One of those we named Lydia’s sweetheart dress (tutorial available HERE). Sometime the following summer I also made her a matching doll version of the dress, but I never got around to blogging about it.
I actually decided to go ahead and draft another free doll dress pattern to share on the blog. It has taken a few years, though. I wanted the pattern to be simplified, so I removed the pettiskirt layer from the skirt. (I will teach that as an add-on later.) I also tested this pattern out many, many, many times to ensure a good fit. This dress doesn’t have elastic or any other adjustable features so it had to be precise. This means that accurate cutting and a 1/4” seam allowance are very important! It will fit 18” dolls including American Girl and Our Generation. I don’t have any others here to test sizing. It is a bit more snug on the OG doll!
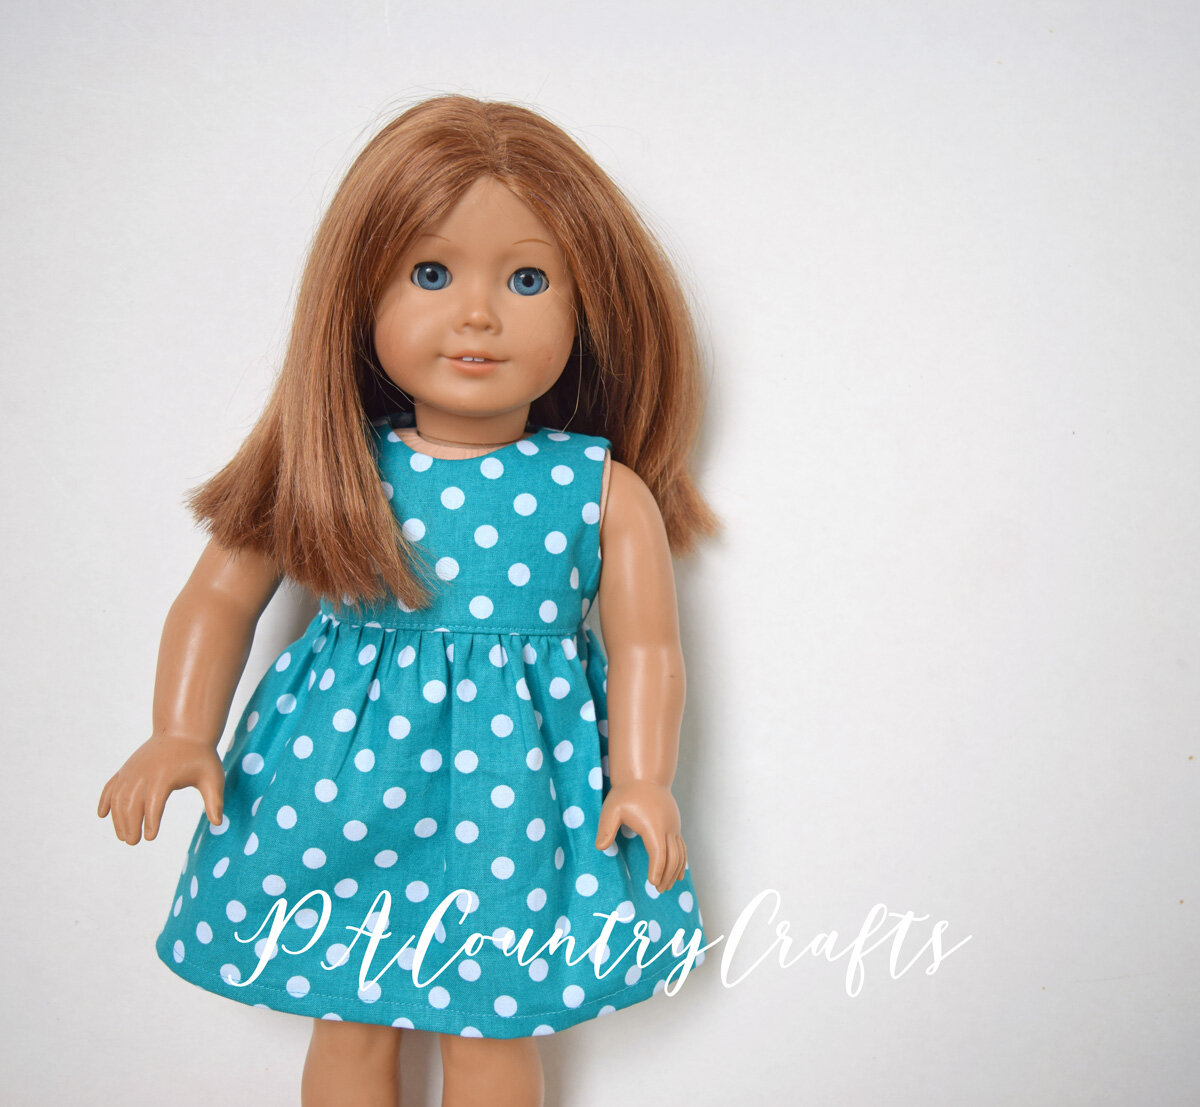
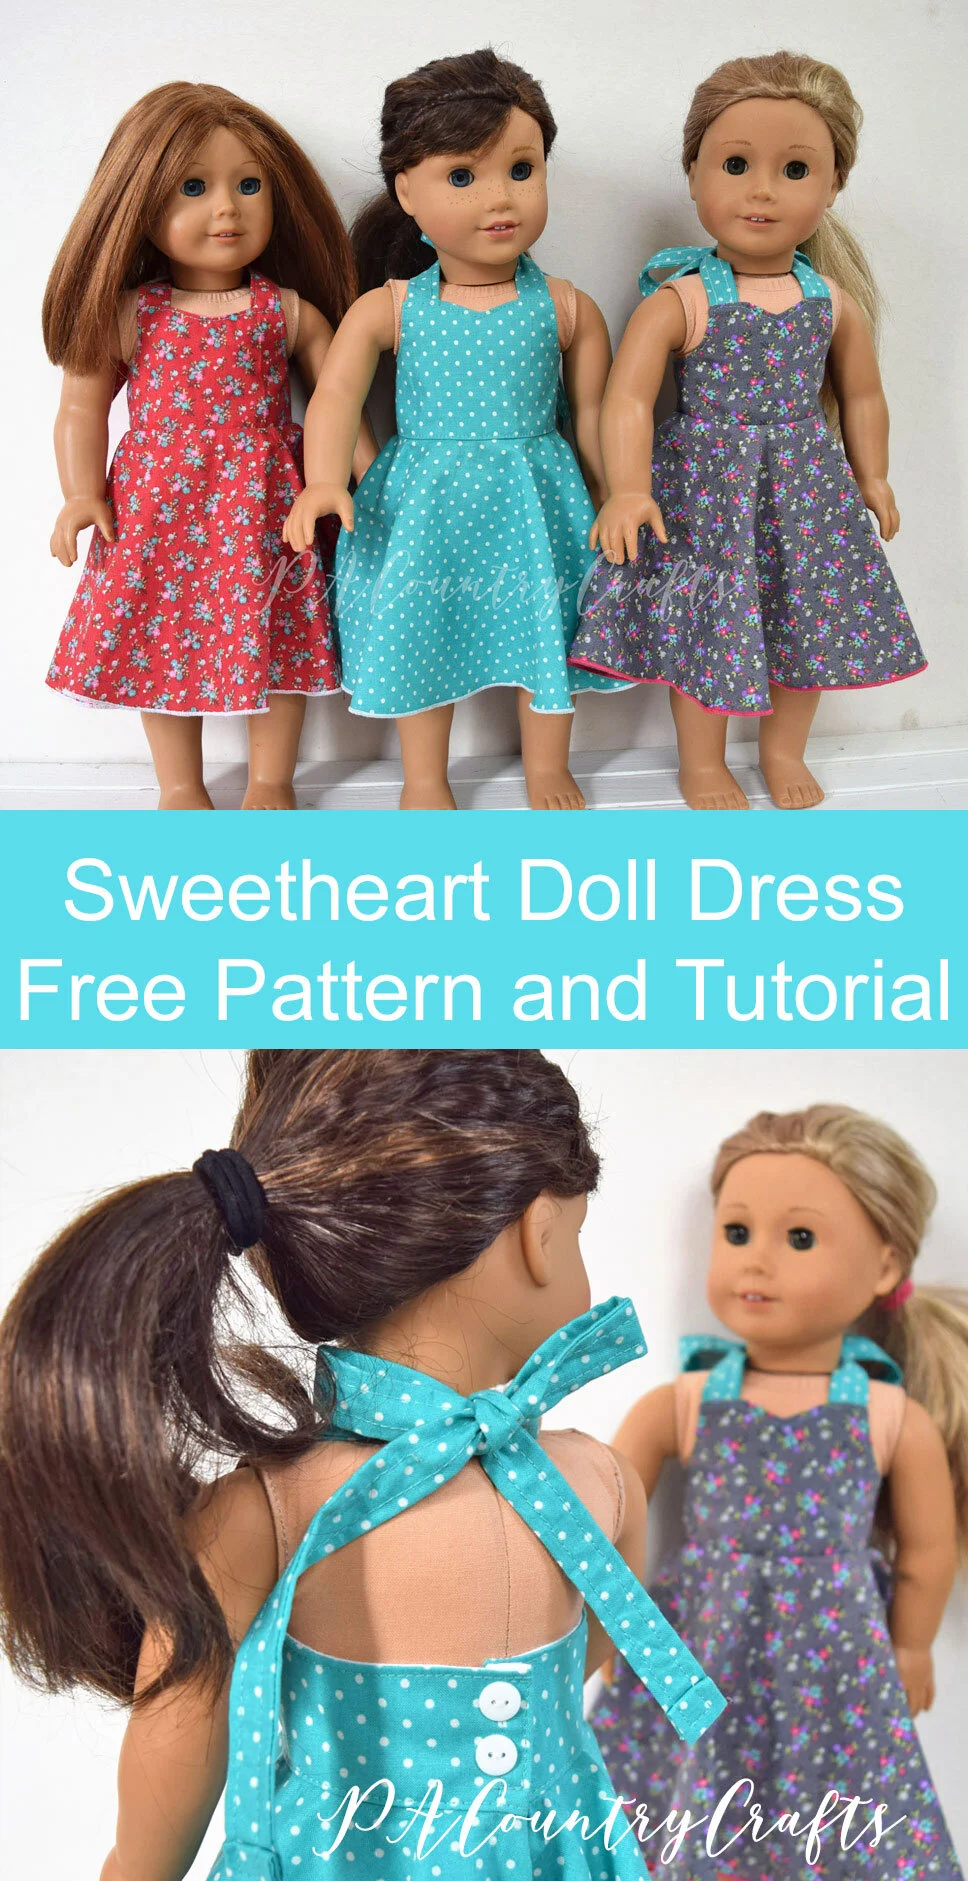
This is my favorite doll dress pattern so far. It is a retro, 1950s style which I love, but can never wear because it looks terrible on me. It features a sweetheart neckline that ties into a halter top and a full circle skirt. The pattern is relatively quick and easy to make. There are also a lot of options to change up the style of the dress. I have made quite a few of these as I perfected the pattern.


Lydia’s Sweetheart Dress- 18” Doll Pattern and Tutorial
You will need:
1/2 yard of fabric
2 inches of 3/8” sew on velcro (I cut 3/4” velcro in half lengthwise)
thread
Lydia's Sweetheart Dress- 18" Doll Pattern

***USE A 1/4” SEAM ALLOWANCE!***
Cut out all of your dress pieces. For the skirt, fold the fabric in half and in half again and cut with the straight sides on the folded edges. See my tutorial HERE for a better explanation of how to cut a circle skirt. Be really precise on the waist. You also need a top, top lining, 2 straps, and a placket.

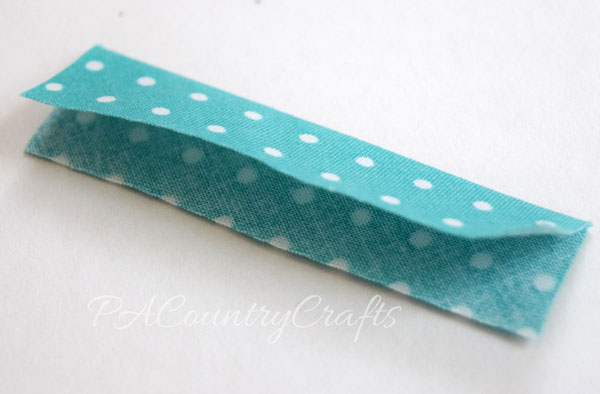
Start by making the straps. Fold it lengthwise, right sides together, press, and stitch 1/4" from the raw edge.
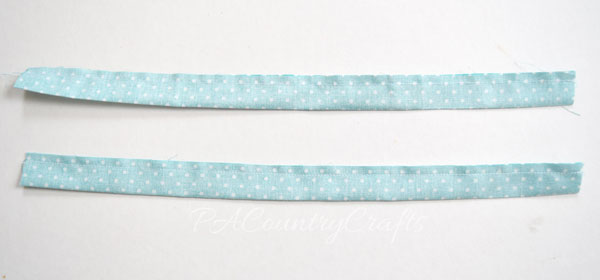
Flip them right side out, press really well, and top stitch 1/8 - 3/16" from the edge all the way around, turning the ends under twice to conceal the raw edges.

Place the top and top lining right sides together, but sandwich the straps between them 1/4" from the corner. If you prefer, you can baste the straps in place to keep them from shifting before pinning the bodice to the lining.

Sew around the top leaving only the bottom edge open with a 1/4" seam allowance. The seam allowance is IMPORTANT! If you think I am yelling at you with those capital letters it is because I am! I also like to stitch back and forth over the straps a few times to make it more secure. Be careful not to catch the edge of the strap when sewing the sides!

Clip the edges with pinking shears, or snip the curves and corners with the scissors, being careful not to cut the stitching.

Flip the top right side out and press. (Don't skip the ironing- it is important and makes your project look nice!) Top stitch all the way around the top 1/8" from the edge. It holds the straps in place more securely and makes it look better.

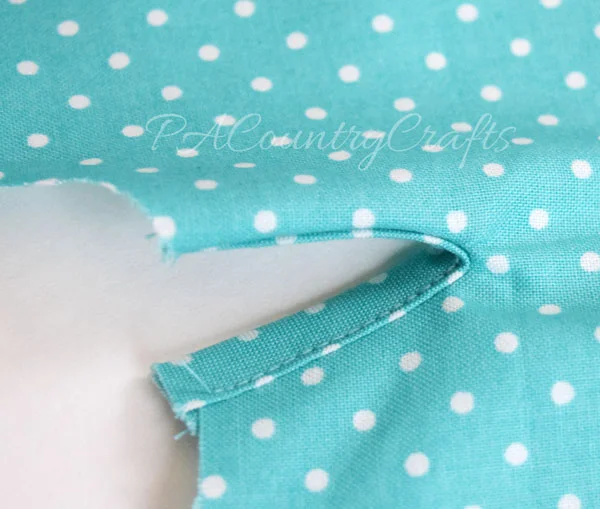
Next, cut a 1 1/4" slit in the back of skirt.

Make the placket to cover this slit up by folding it in half...
...and fold the edges in toward the center. Press well but watch your fingers because these tiny pieces are tough!

Open the slit up and pin or clip the placket over it.

Stitch the placket to the skirt very carefully 1/8" from the folded edge. You need to make sure the slit is encased in the placket, but you don't want to catch extra fabric in it and make a pucker.

Then, you fold the placket in half to make a nice, neat, overlapping opening. If there is extra along the top, trim it off.
Sew the bodice to the skirt with the right sides together. The placket should be opened up, not folded. Everything should line up if you were careful. If the skirt is too big you can lightly gather it to match. If it is too small, you can cut it bigger. Hopefully, you don't need to do that. :)

Finish the raw edges with a zig zag or overlock stitch. Alternatively, you can make the waist seams enclosed as I showed in THIS tutorial. I am missing a picture because it was blurry but I used my overlock machine.
Press the waistline towards the top and topstitch it down on the top 1/8" from the waistline. You can skip this, but it gives it a nicer finish.

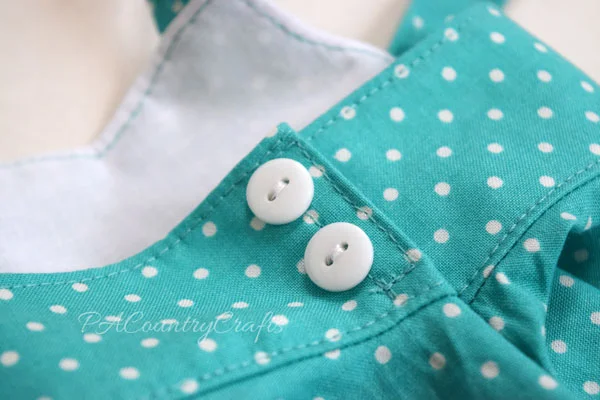
Finally, sew velcro to the back opening One edge should stay flat and the other should fold under with the placket. Be really neat and use the loopy side on the inside because it is harder to sew.

If you want, you can add little buttons. I think they are cute! Plus, they help camouflage where the velcro was sewn on.
Finally, hem the bottom of the skirt. I like to use the rolled hem on my overlock machine. I hate hemming curves with the sewing machine. Also, the rolled hem edge can add a fun contrast!
I did this one with black thread and added black buttons to the back. Cute!

As always, this pattern is for personal, non-commercial use. If you make one, I would love to see a picture! If you have problems with the pattern, send me an e-mail. I am happy to help.
If you want to pin it for later…
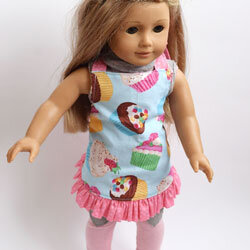
Here are some more patterns that you might like…