Easy Doll Maxi Skirt Tutorial
/Well, this tutorial has been a long time coming! I made these when I went on the crazy, maxi skirt sewing marathon session a few months ago.
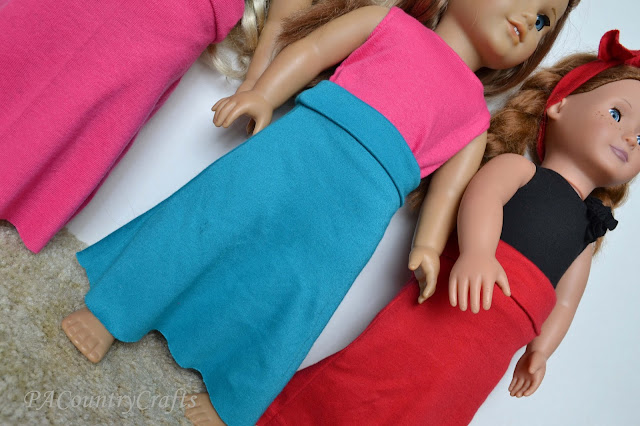
I tell you what- since I am conquering this whole "fear of knit" thing, these were just the easiest things to sew. The hard part... sewing shirts to match, finding a spray bottle and the "official" sparkly hair pick (at the same time), and untangling that awful curly hair so that I could take pictures.
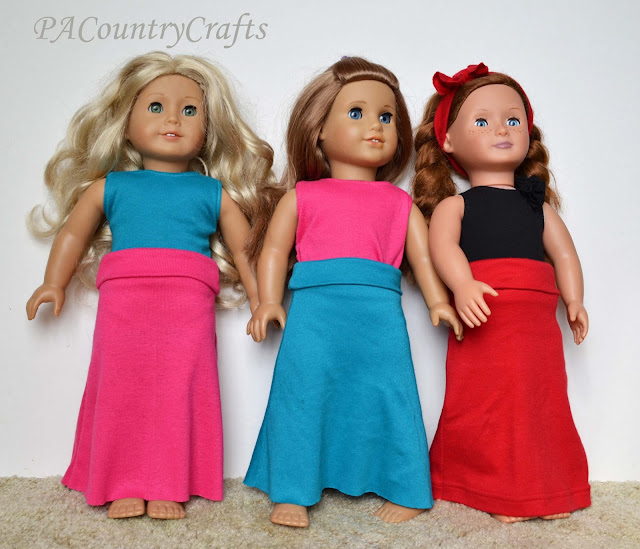
(Please, if you are looking into one of these dolls, DO NOT get one with curly hair if it will actually be played with or ever have its clothing changed.) Anyway, I finally got everything together to take some pics, so here you go...

I would have made a pattern for you, but this is so easy you can just do it yourself. Cut two waistband pieces measuring 5 1/2" wide by 6" high. The skirt pieces are cut in an a-line shape that measures 5 1/2" wide at the top, 12" wide at the bottom, and 9" high. Here they are folded in half cause that is how I cut them with my rotary cutter. Easy.

Sew up the sides of the waistband and skirt pieces using a stretch stitch and walking foot.
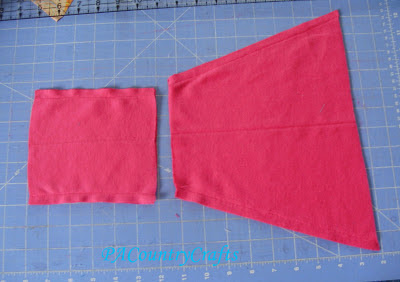
Now, here is a little trick I have learned that most maxi skirt tutorials don't do.
If you don't trim the bottom into a curve it will be longer on the sides than in the middle. So, I measured 9" from the waist along the long, diagonal side and just trimmed it up a little bit. I did this on my girls' skirts, too. On bigger skirts it is much more pronounced, too. Trust me.

Fold the waistband in half with the seams to the inside.

Match up the side seams and pin the waistband to the skirt. You will want to have the skirt wrong side out and put the waistband inside.
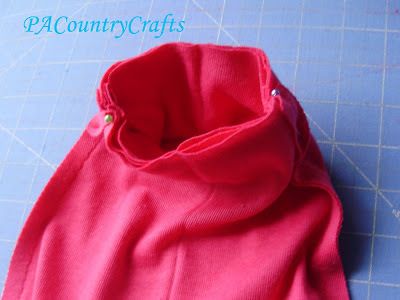
Sew around the waist using the stretch stitch again.

Then, flip it out and fold the waistband down. That is it!

Now, if you want to go all fancy you can cut the skirt a little longer and hem it, but this is only for a doll. Knit doesn't fray and I doubt she is going to step on her hem and ruin it. You can also serge the seams for added durability, but again, it is just a doll. I don't think it will be worn too hard. I was going for a quick project that made my girls super happy.
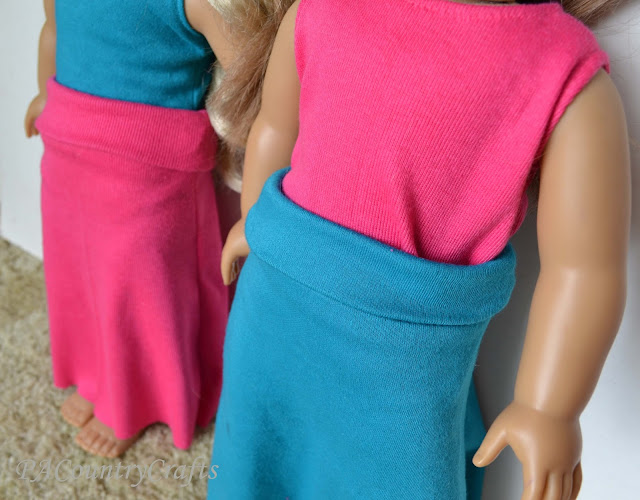
The other thing I might change in the future is to forego the fold-down waistband since it is a little bulky on a doll and just make a regular waistband half of the height.
These skirts are super easy, though. You could easily make 10 of them in the time it takes to untangle that horrible curly doll hair.
Now, the red one is part of an upcycle project, so it is a tiny bit different and I will post more on that later (again, I need some more pics).
As always, this tutorial and pattern is for personal use only. If you do make one (or ten) I would love to see it, so send me an e-mail, link in the comments, or post it on my facebook page! Thanks!


