Drop Cloth Farmhouse Pillows Tutorial
/
Follow this simple tutorial for making farmhouse style pillows from drop cloth, paint, and stencils from Stencil Revolution!
Read MoreFollow this simple tutorial for making farmhouse style pillows from drop cloth, paint, and stencils from Stencil Revolution!
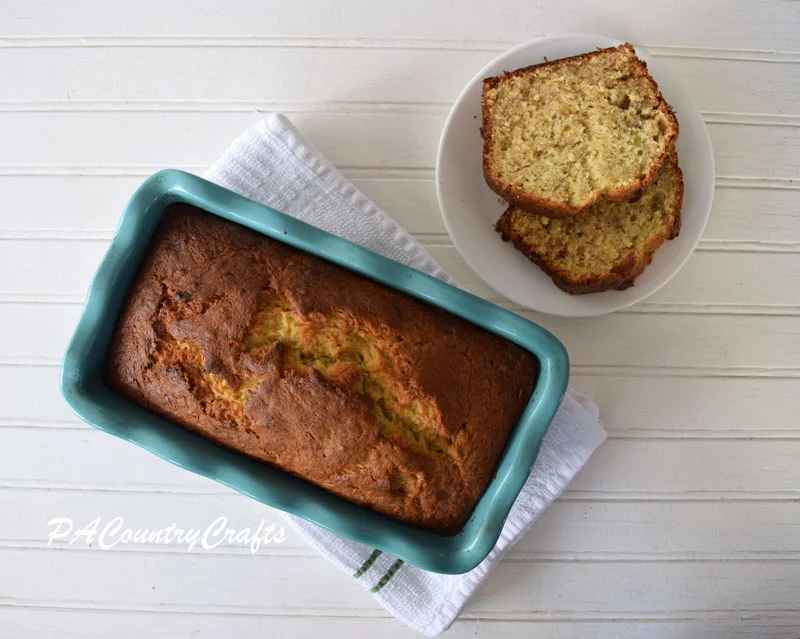
Read MoreThis banana bread recipe is so easy! Just put everything in one bowl, mix, and bake!
Read MoreSummer vacation is rough!!! I (laughably) thought it might be easier this year because I actually downsized from being with 20 kids all day to just 5. Hahahahaha! Dealing with 5 of my own kids is entirely different. They aren't used to being with each other all day so they need to reestablish the pecking order. It is taking longer than usual with the hormones raging in this house these days (oh, just a sample of what is to come, I know!) Now we have a heat wave and my car is in the garage. It has been quite the week! So, if you are wondering where I have been, I am probably hiding- locked in my bedroom and curled up in the fetal position with a bag of chocolate chips.
OK. Not really.
I have ice cream.
Every now and then I get ambitious/drink extra coffee and try do something fun. Last week we went on our planned shopping excursion, but it took until 2pm or so to get them to clean their rooms so we could leave. Our first stop was the thrift store for a very specific purpose- bunny ears. The kids are waking up right now so I am going to let my 9yo do a little guest posting and tell you about it!
~~~~~~~~~~~~~~~~~~~~~~~~~~~~~~~~~~~~~~~~~~~~~~~~~~~~~~~~~~~~
I have a stuffed bunny named Twinkle Toes. It is a Beanie Boo that has the same birthday as me. My aunts' dog chewed off my bunnies' ears. They don't make these bunnies anymore so we couldn't get a new one. My mom and I decided to go to the thrift store to find new ears. I found the perfect bunny. It's ears were backwards! We all went home and mom washed the bunny. A few days later, my mom seam ripped what was left of the ears on Twinkle Toes. She also cut the ears off of the 2nd bunny. She sewed the ears on Twinkle Toes. We even added a pink flower! AGAIN, MOM SAVES THE DAY!!!!!!!!!
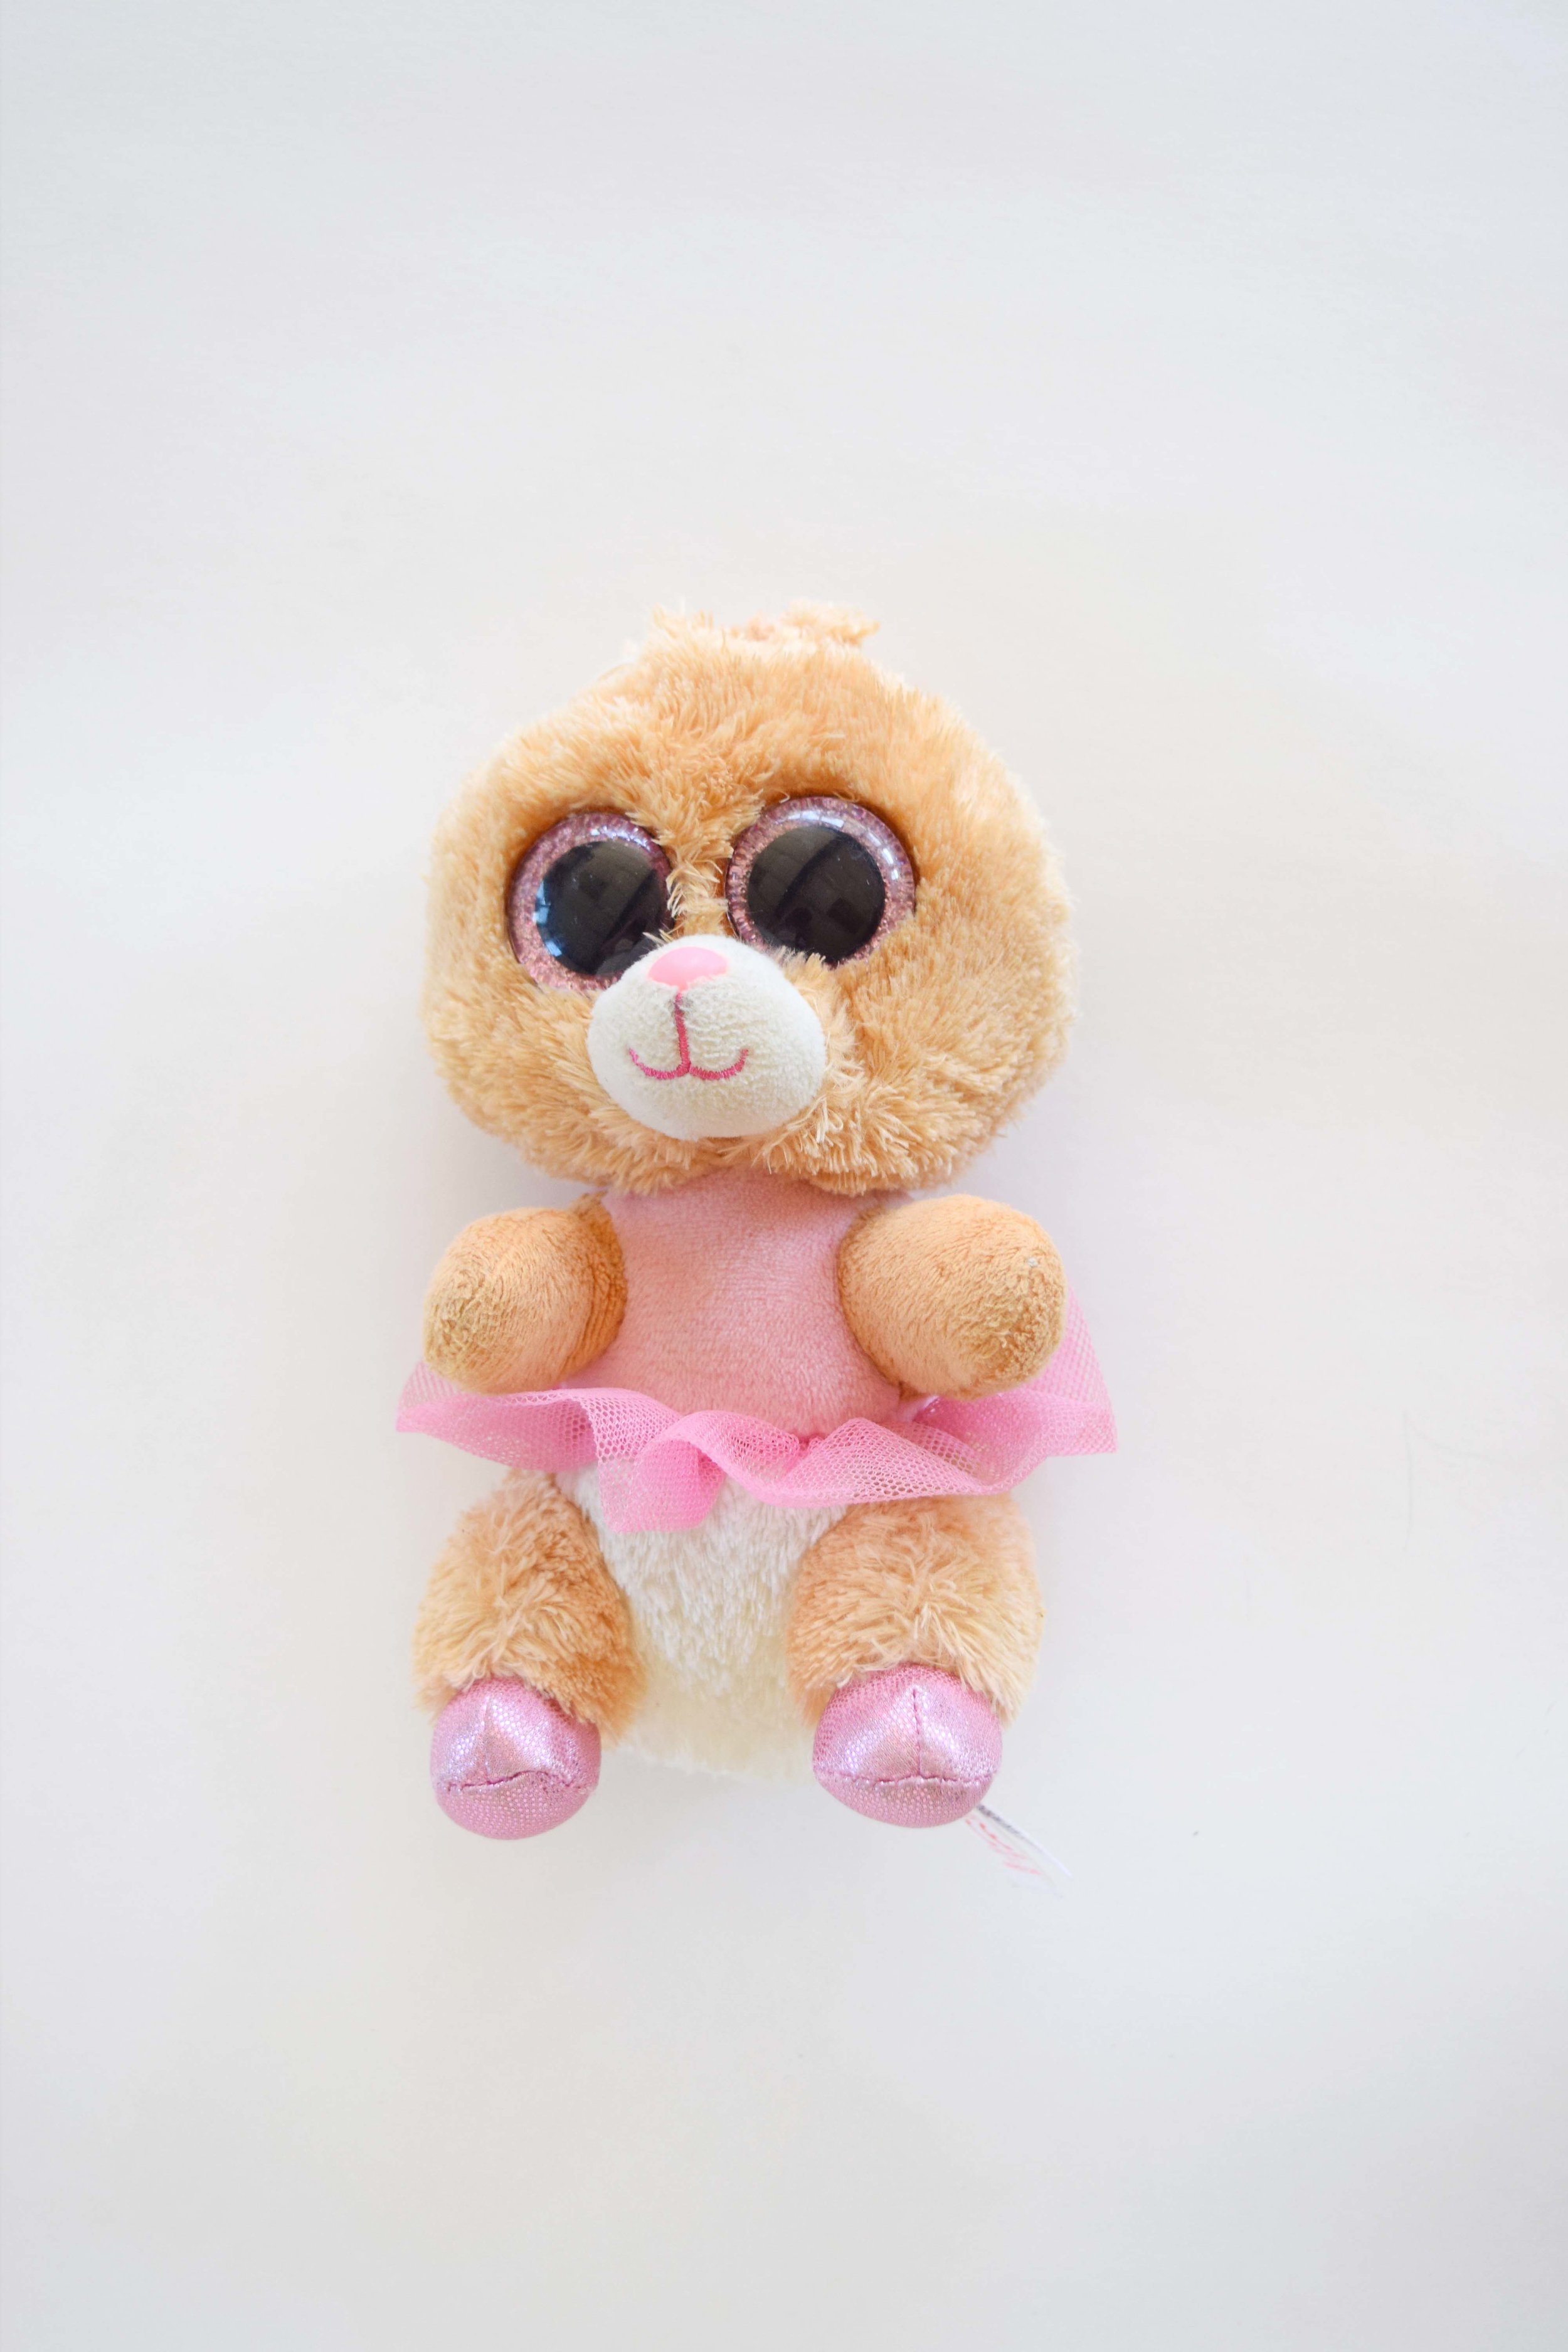
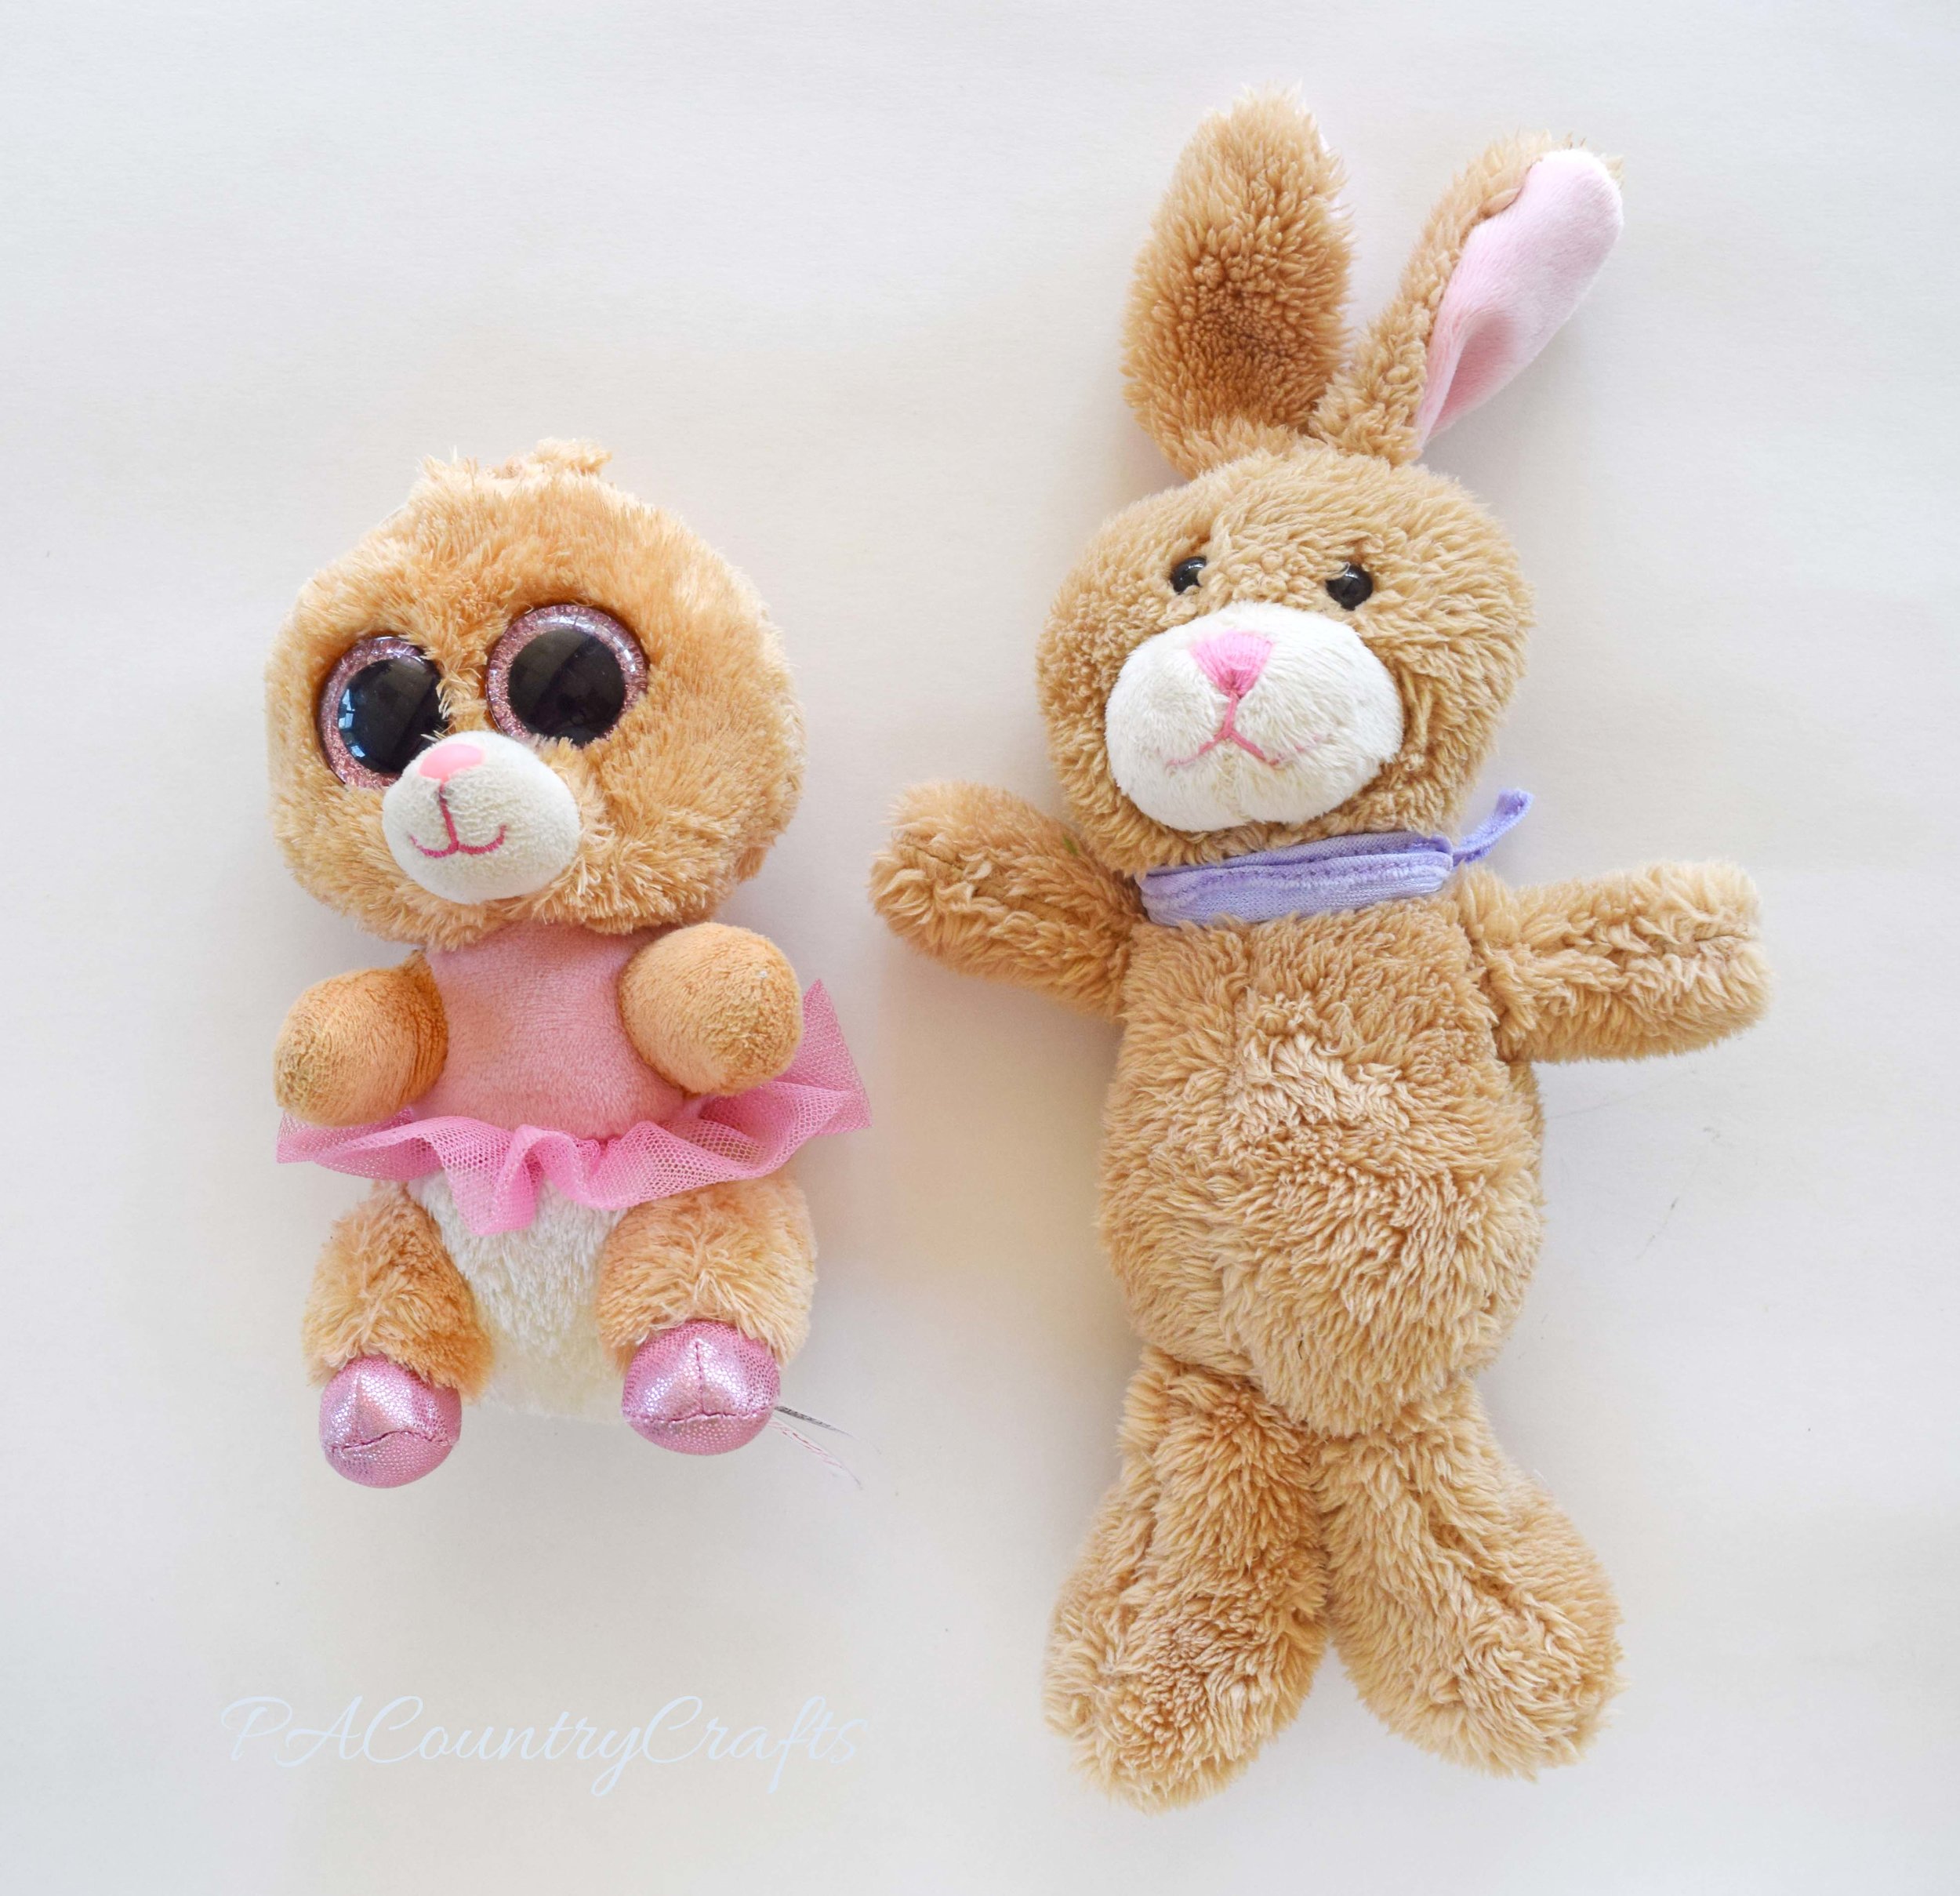
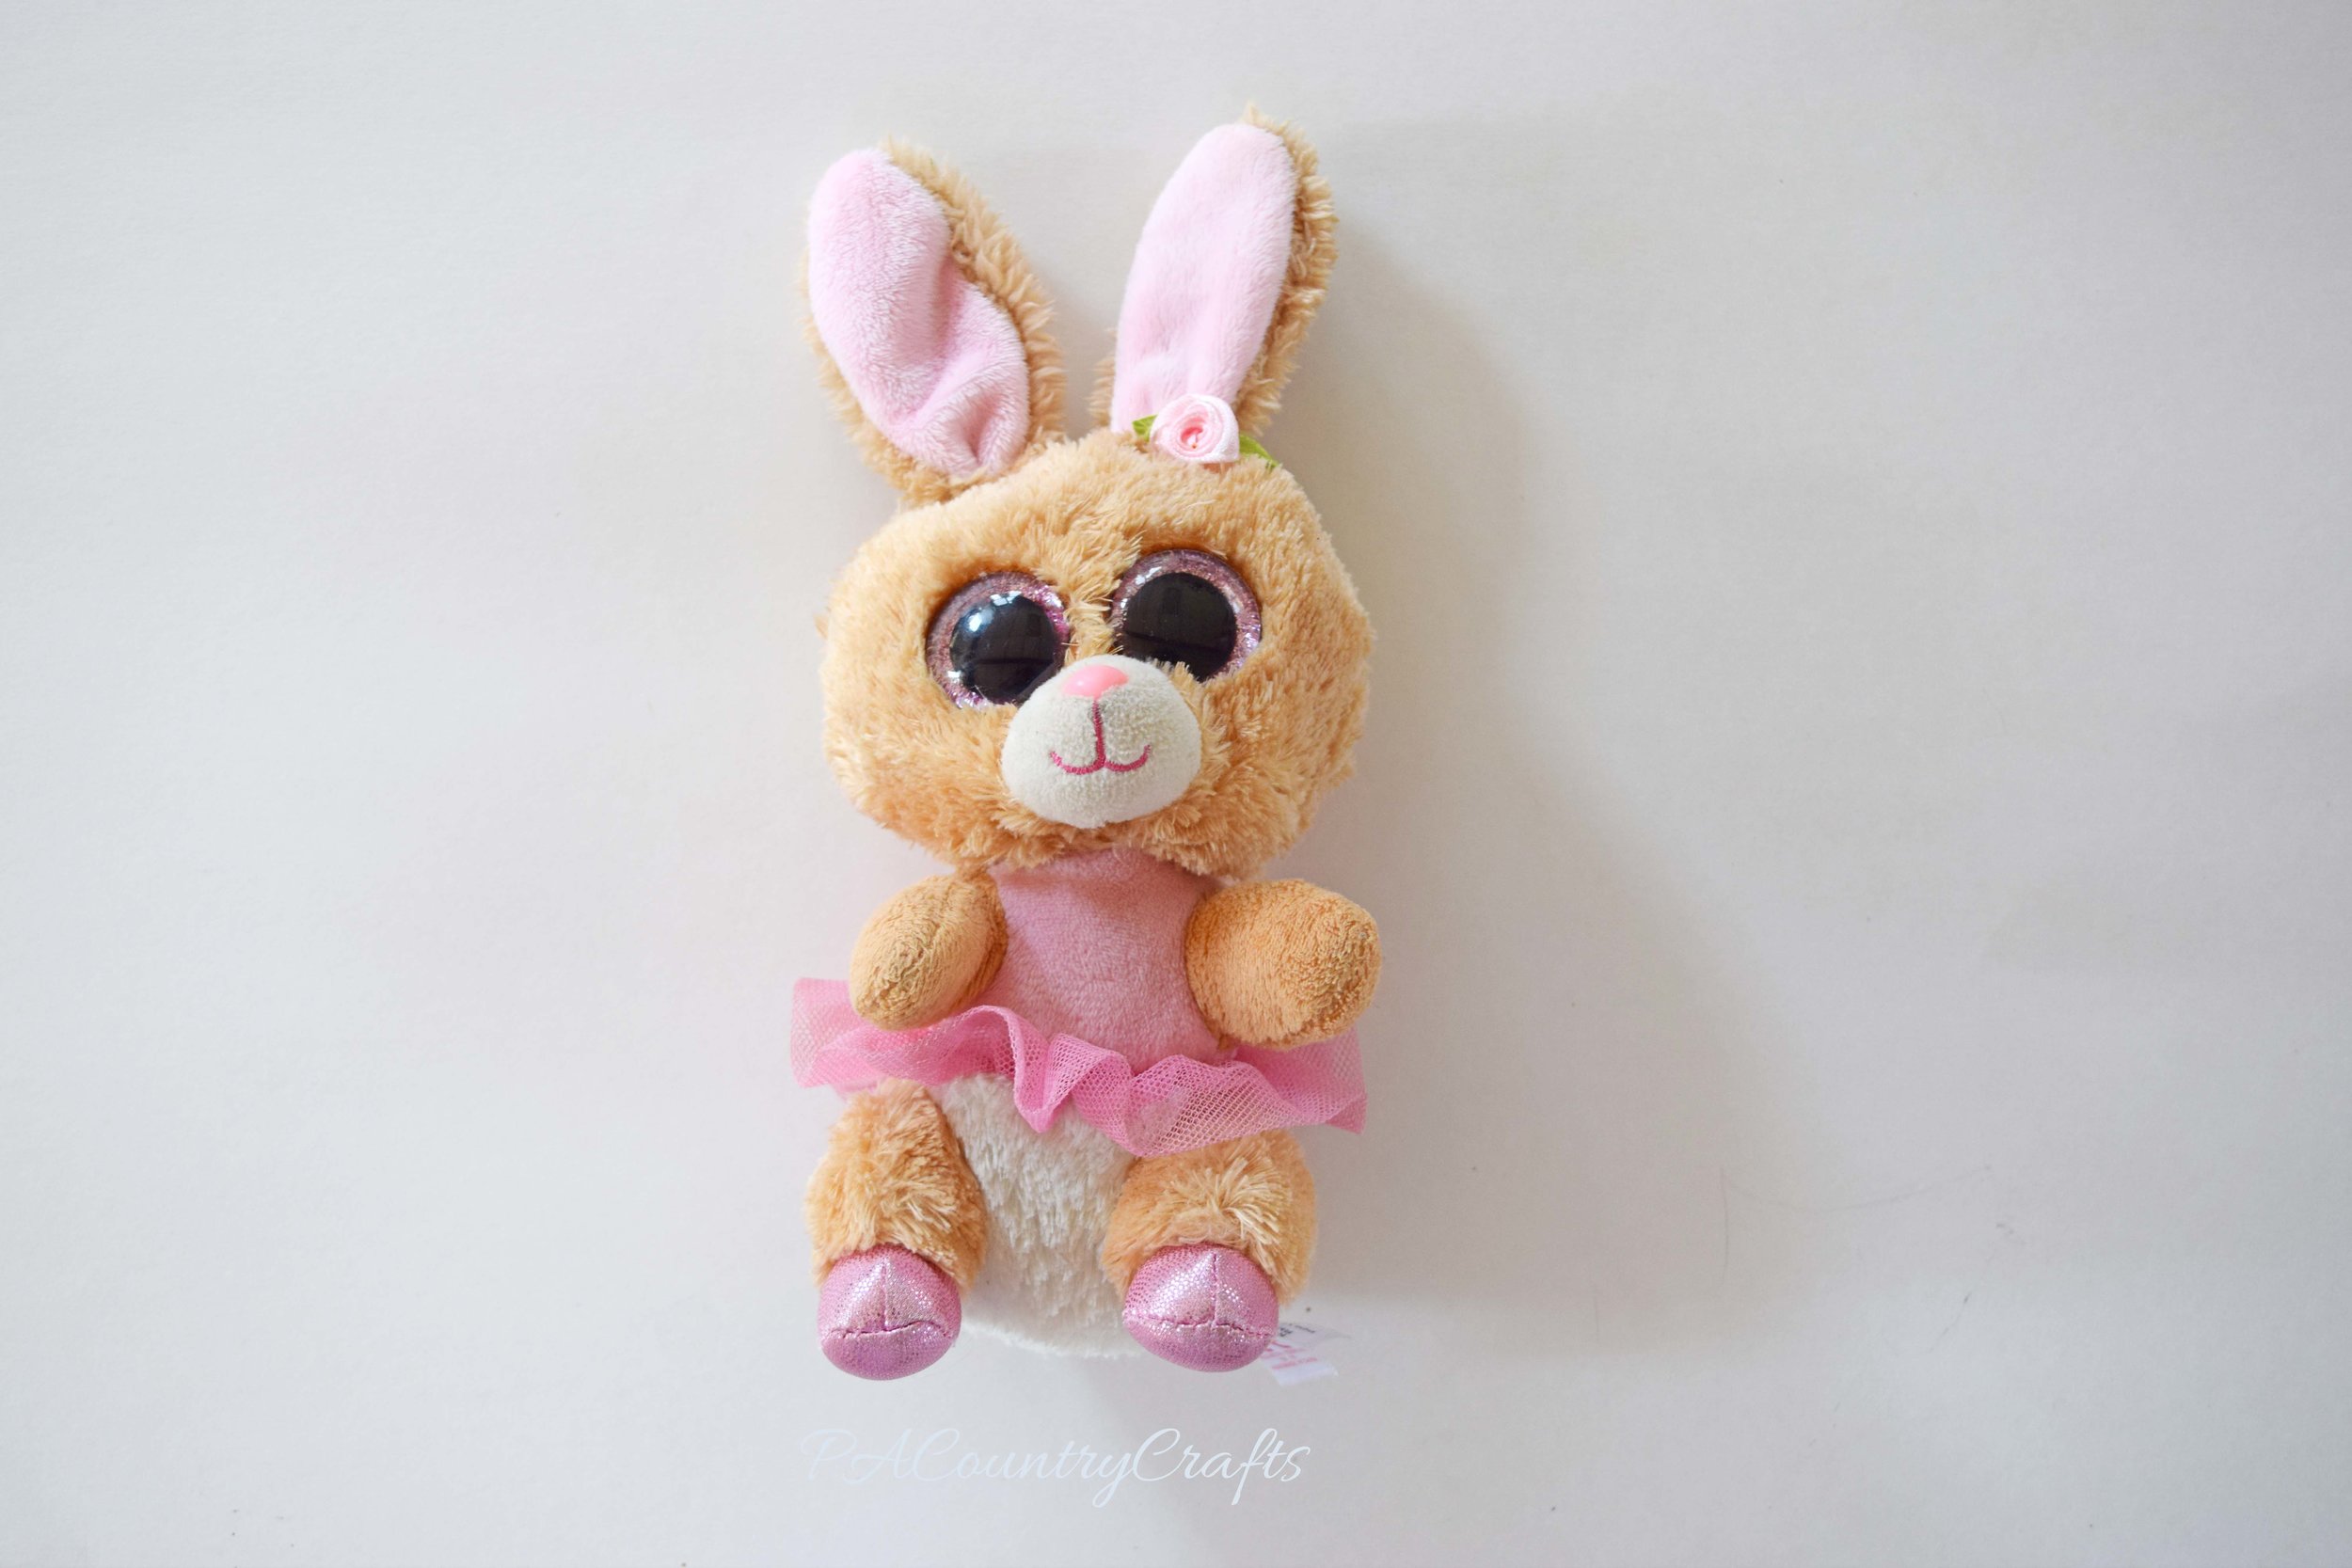
Thank you for posting for me today, Lydia! I am happy that I could fix your bunny for you!
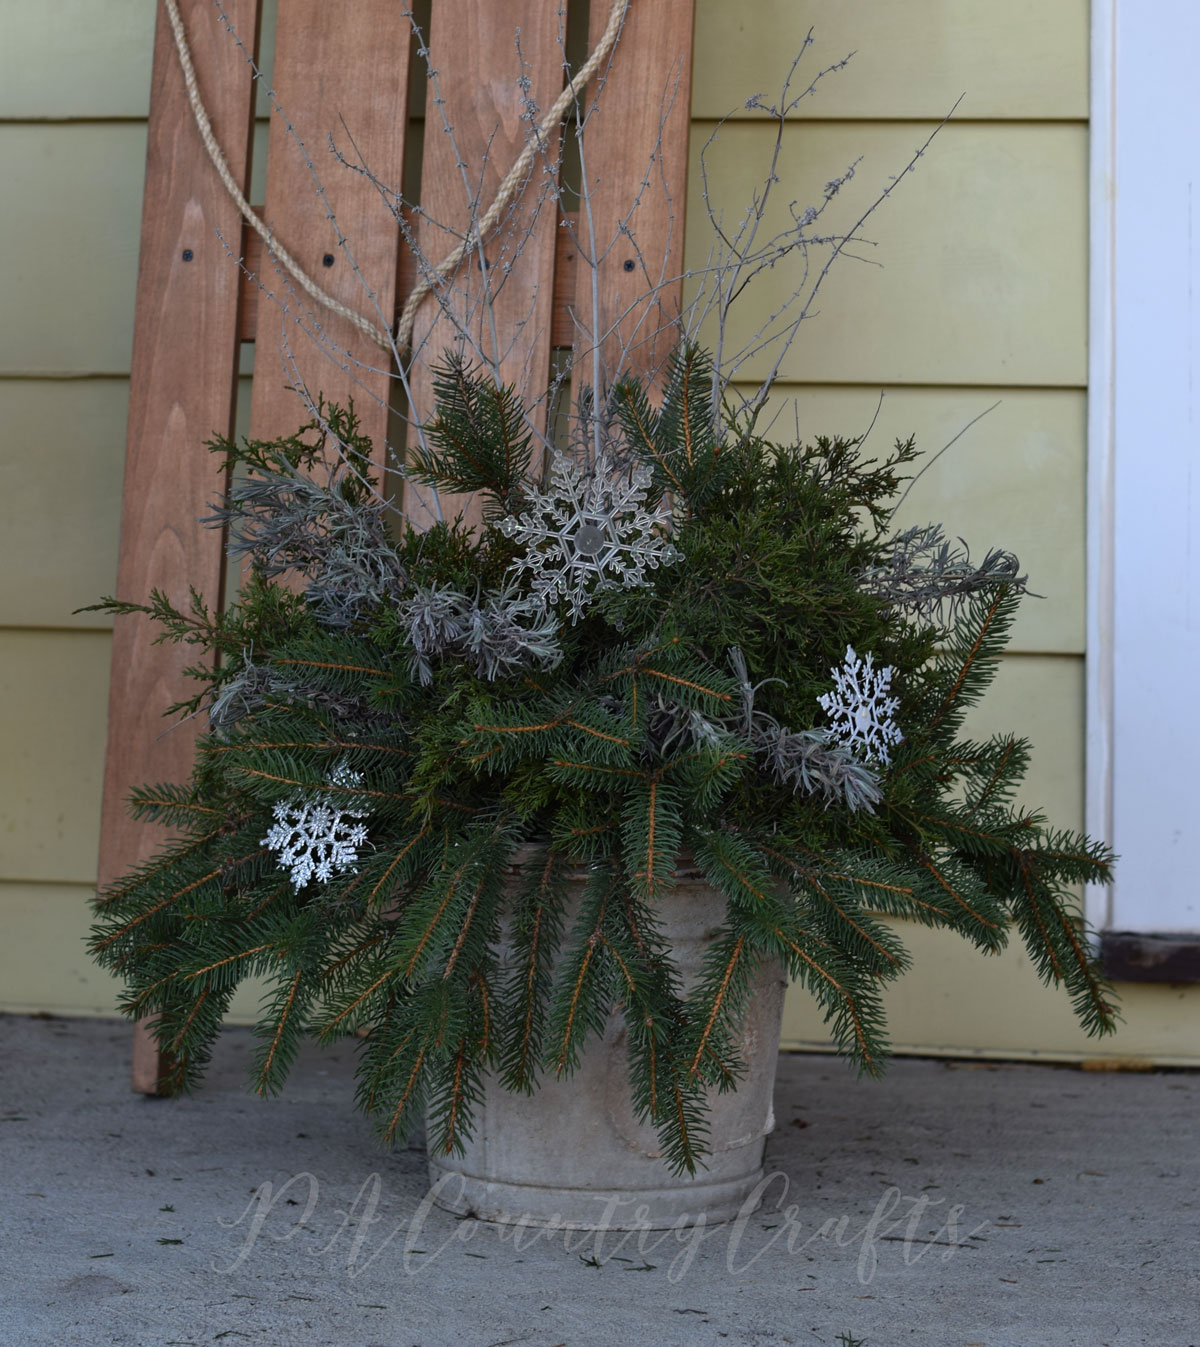
After all of the Christmas decorations are put away the house can seem a little cold and empty. I wanted to create some neutral, rustic, winter decor to fill the gap a bit. I have a few Valentine's Day decorations, but if I put pink all over the place I would start a pretty big fight in this house since we have strong opinions on both sides about that color. Instead, I went with more natural elements (free stuff I gathered outside) for sort of a rustic, winter look.

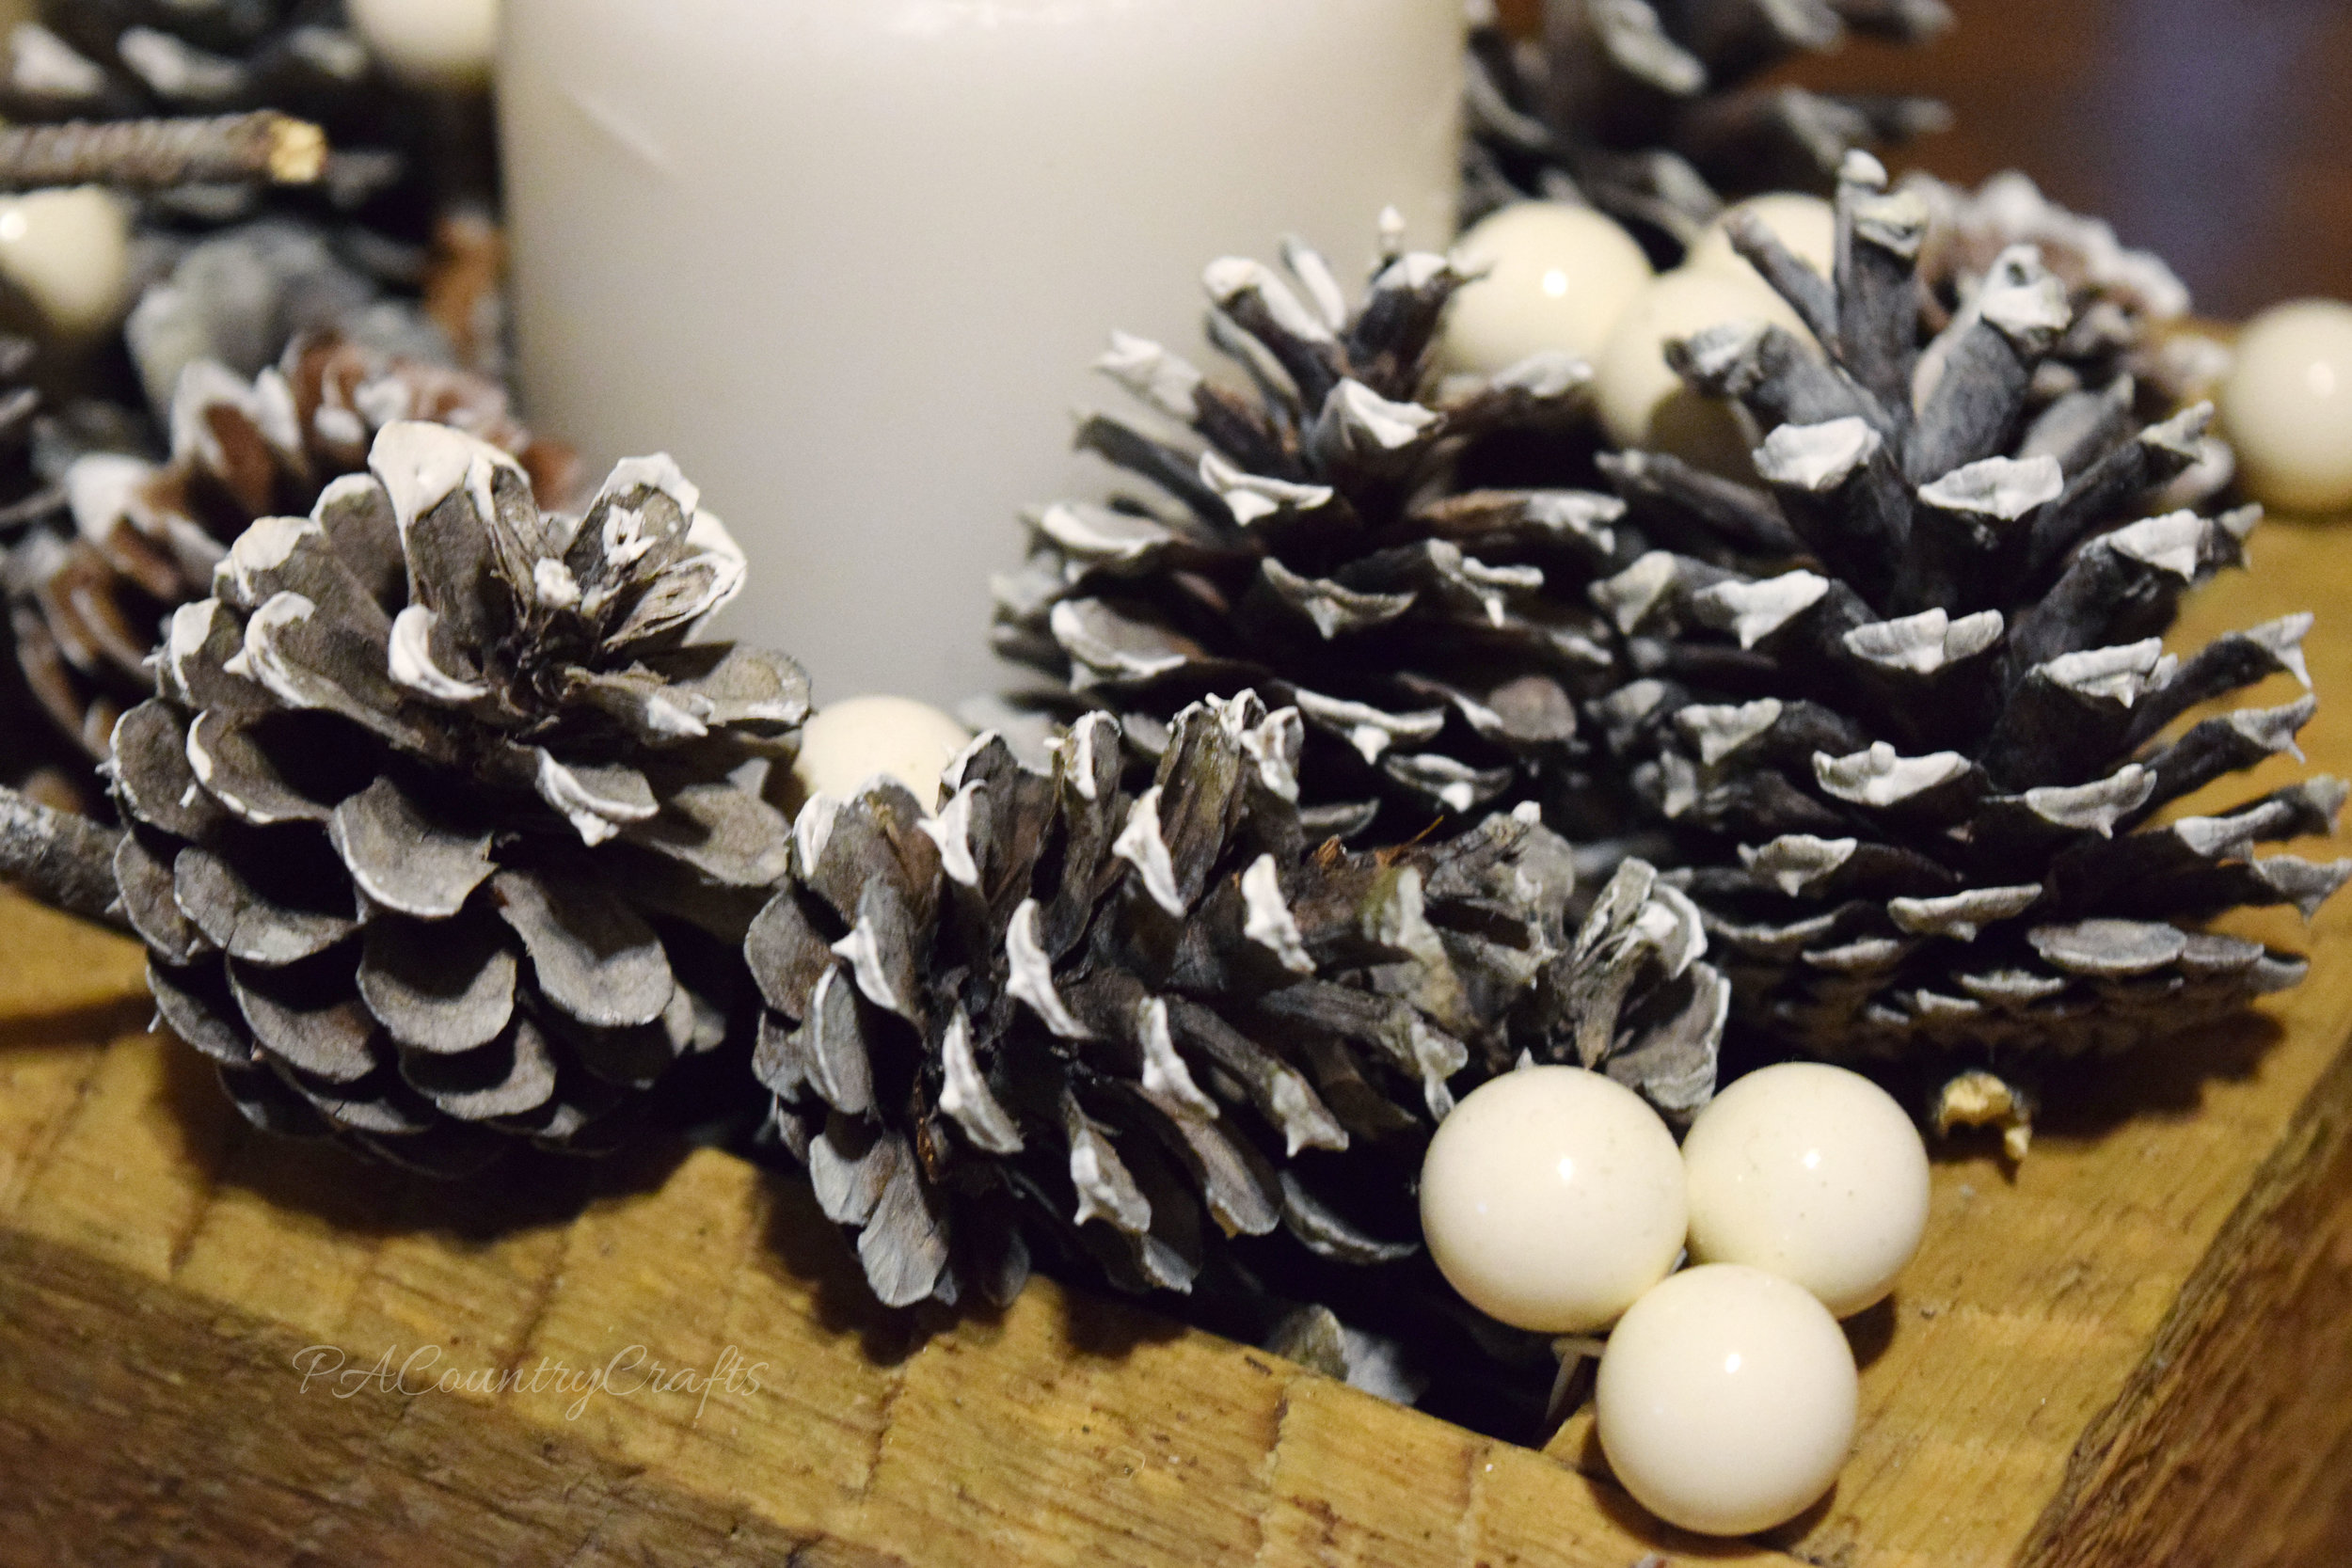
The first thing I made was this pine cone centerpiece. My husband had built me a box that will hold mason jars for a centerpiece. I had yet to fill it with anything and I was inspired by a centerpiece on Pinterest that has a bad link. I stained my box with a weathered gray stain and topped it with dark walnut antiquing wax.

I found two pillar candles in a cupboard. They aren't even the same color, but I don't care.

Next, my daughter and I went for a walk and collected pine cones. They were wet from being outside, so we baked them in the oven at 200 degrees Fahrenheit for an hour or two on a foil lined cookie sheet. This makes them open up and draws out the sap and bugs. I spray painted them with a little ivory just to dust them and give them a frosty coating.


Finally, we arranged everything in the box with some white berry picks. Those were on clearance after Christmas and the only thing I had to actually buy for this project. I really think arranging everything in the box was the hardest part. I also dabbed a bit more white paint on the edges of the pine cones for more contrast. Some of the pine cones went missing before I took these pictures, too. ;)

I like my little box and it will be fun to change it out with the seasons. It isn't perfect, but the girls got to help and we made do with what we could find.
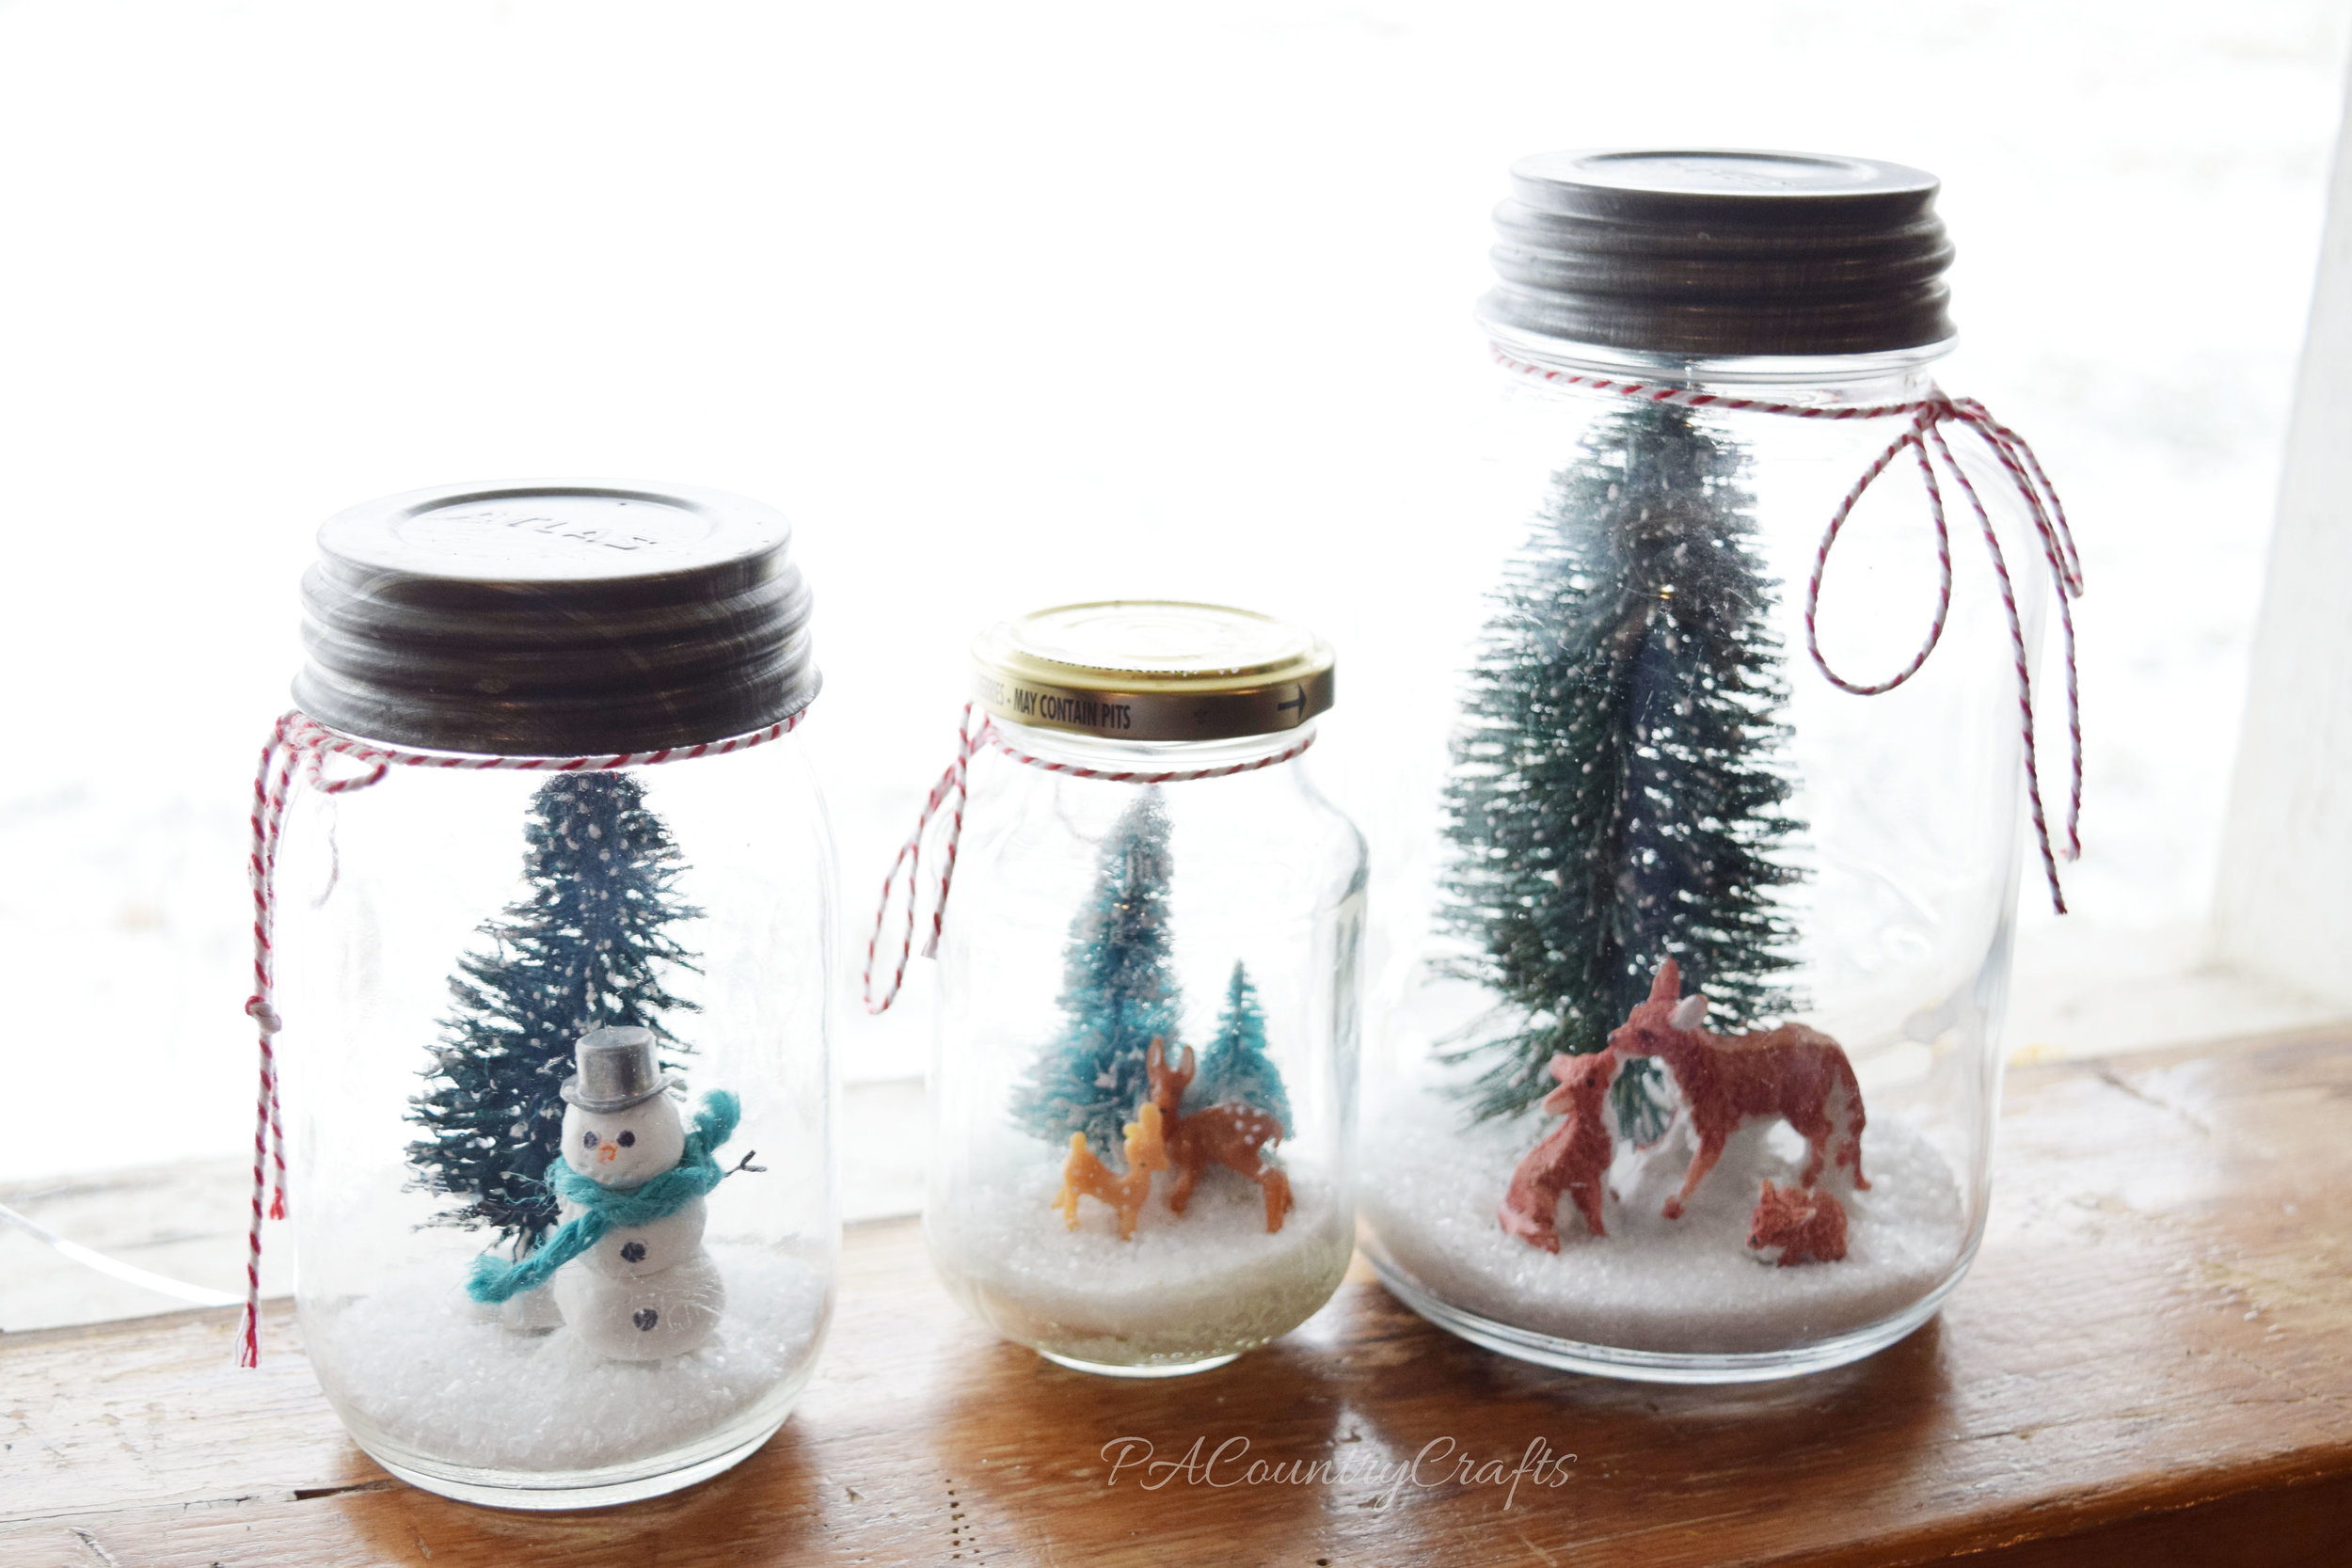
I have a few more rustic, winter decorating projects that I will blog about later this week!

Mend holes in girls’ jeans three different ways! Iron-on patches, machine stitching lines, and embroidery with fabric!
Read More
I am not really a morning person.
My husband gets up really, really early for work and knows better than to try to wake me up lets me sleep. In appreciation for this, I try to make sure that he has something that he can grab for breakfast. These pancake breakfast sandwiches are his favorite! It is basically like a McGriddle from McDonald's. Except I know what is in these.

I like to make a big batch of them at once and put them in the freezer so that he can microwave them before he leaves for work. I do a lot of multitasking so it saves on cooking time, too.
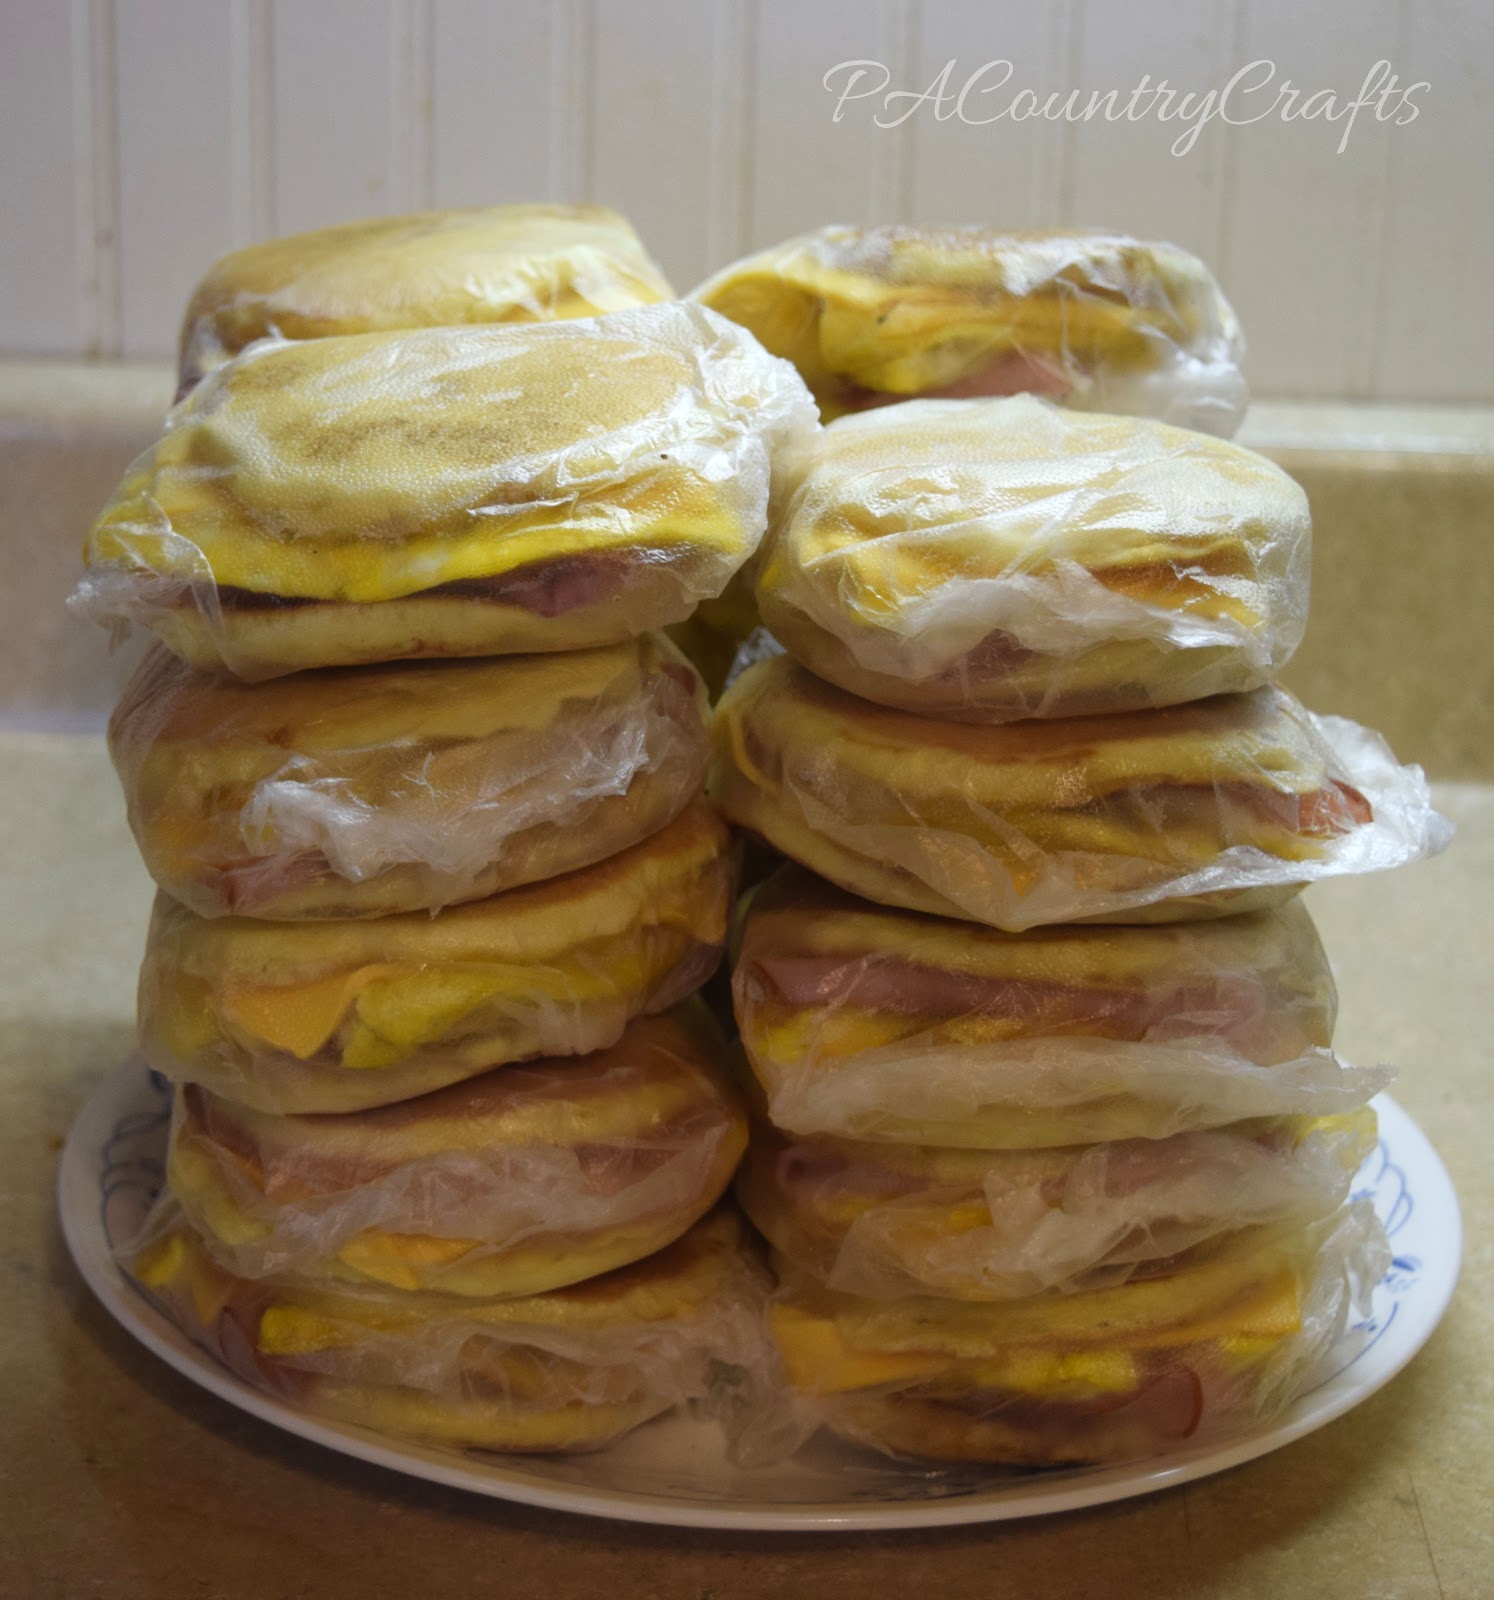
Here are some of the things that I do to make this work:


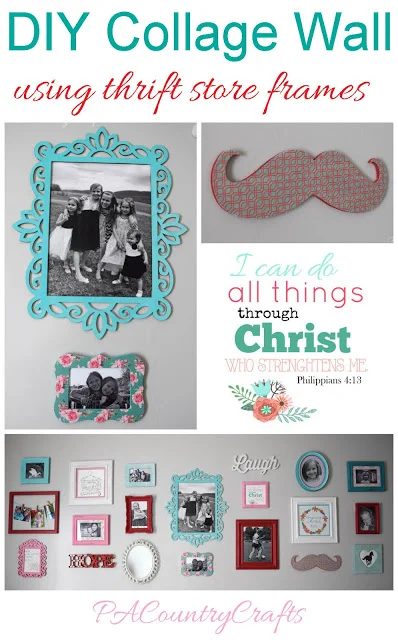
Make this DIY collage wall with thrift store frames and free printables!
Read MoreSewing, crafts, tutorials, recipes, and a little look at our life in the country - raising half a dozen children.

Hi! Thanks so much for stopping by! My name is Lindsay and on this blog you will find sewing, crafts, decorating, recipes, and tutorials with a little bit of honesty and encouragement.