

Kelsey's Quilt
/I don't believe I have ever shown off one of my quilts on my blog, but I am also a quilter! (Actually, I learned to sew quilts before anything else.) After a really tough Spring semester my sophomore year of college, I sold back all the books I could find from the first two years, went straight to Walmart, and bought the only sewing machine I could afford. That summer, I taught myself to quilt.I made baby quilts for my nieces and nephews, but the pre-quilting era kids have been skipped. So, for the girls, I have been making larger quilts for their 12th birthdays. Kelsey’s was just a bit overdue. I started it in April of 2009 and I just finished it. The piecing went really quickly! Basic nine patches in light blue and lilac, set on point with a cream background.
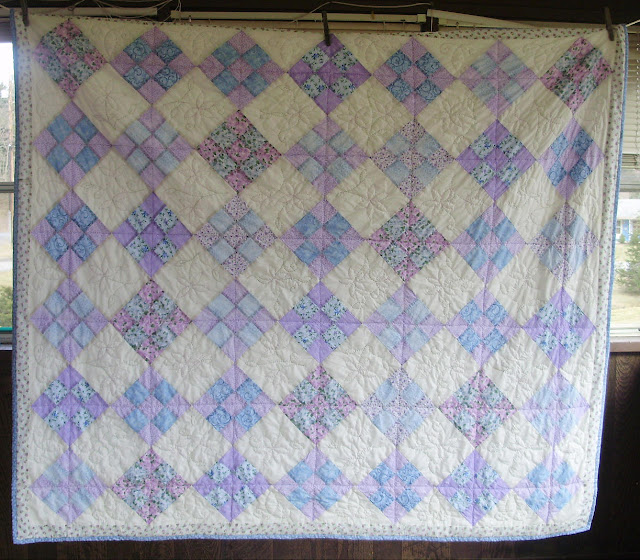
See, it took so long because I like to hand quilt motifs on the open squares. This intricate flower one was totally my own design and each block varies.
 I like how the colored thread stands out against the cream fabric.
 I put a few butterflies in there, too. I really punished myself with this one, and it would sit for months at a time with me having no ambition to work on it. However, I use washable crayola markers to draw on my quilting lines and after nearly 2 years, it didn't want to wash out! It took a lot of washing and soaking and OxiClean to get most of it out.
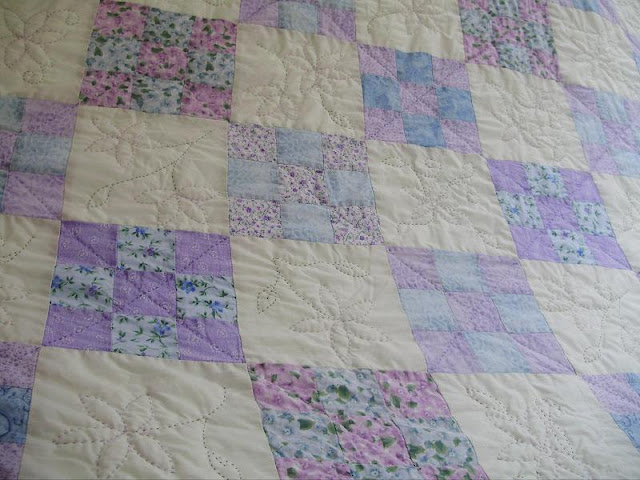
This is a terrible cropped in picture, but I designed a little motif to put her name in it that coordinated.

And of course I mitered the corners, too. I handstitch my bindings on around the back. (And that is some of Baby#5 under the green shirt there- makes a nice photo prop!)

I try to embroider a special message on the backs of these, and this one included Isaiah 40:8


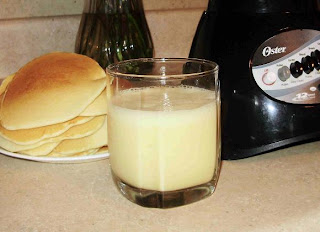 Well, so much for making up school days! President's Day was a snow make-up day, but we got MORE snow so it was cancelled. So, I used up all my daily ambition first thing in the morning and made a nice breakfast for the kiddos. One of their FAVORITES is Orange Julius. I have also made this for


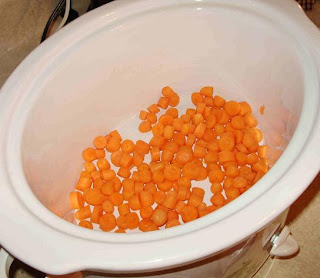 I used baby carrots because they were buy one get one free and what I had on hand. Although more of a pain to chop, they will be eaten more easily by the kids than big slices of carrot.
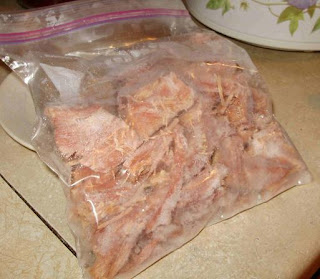 When I boil a large ham, there is usually an excess of meat, so I cut it up and freeze it in smaller quantities to use in recipes later. This is a great idea if you can get a big ham on sale around holidays, like Easter. If you don’t have the freezer space for a big ham- cook it right away and make a big pot of ham pot pie or ham and green beans (typical PA Dutch foods), freezing the rest of them ham for later. You can get several meals out of it this way.
 Potatoes are a big food staple in this house. We grow a lot but we need a better way to store them…
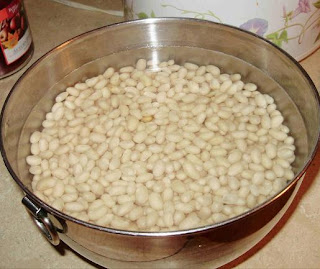 Remember to soak your beans the night before! Dry beans are really cheap and they take up less space in your cupboard than canned ones.
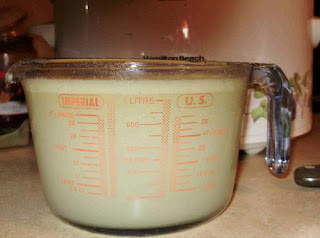 Instead of canned chicken broth, boil some chicken and save the broth. The chicken was used in zucchini casserole, but other than casseroles, I sometimes use the meat in chicken wraps for lunches, too. I boil the broth down to condense it sometimes, then freeze it in old margarine or sour cream containers. Another great way to take advantage of a good sale on chicken, or better yet, get your meat directly through the farmer- you will cut out the middle man and save! If you want it to be lower in fat, you can let it cool and then skim the fat off of the top.
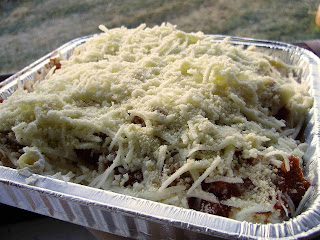
 It was pretty good. Next time, however, I might try to use ham soup base instead of chicken broth. I am used to my regular ham bean soup with that good, smoky flavor. Bacon would really make this, too. :)
 (Note: it is not cooked in this picture- just ready to freeze!)


