Boutique Peasant (Doll) Dress Tutorial
/
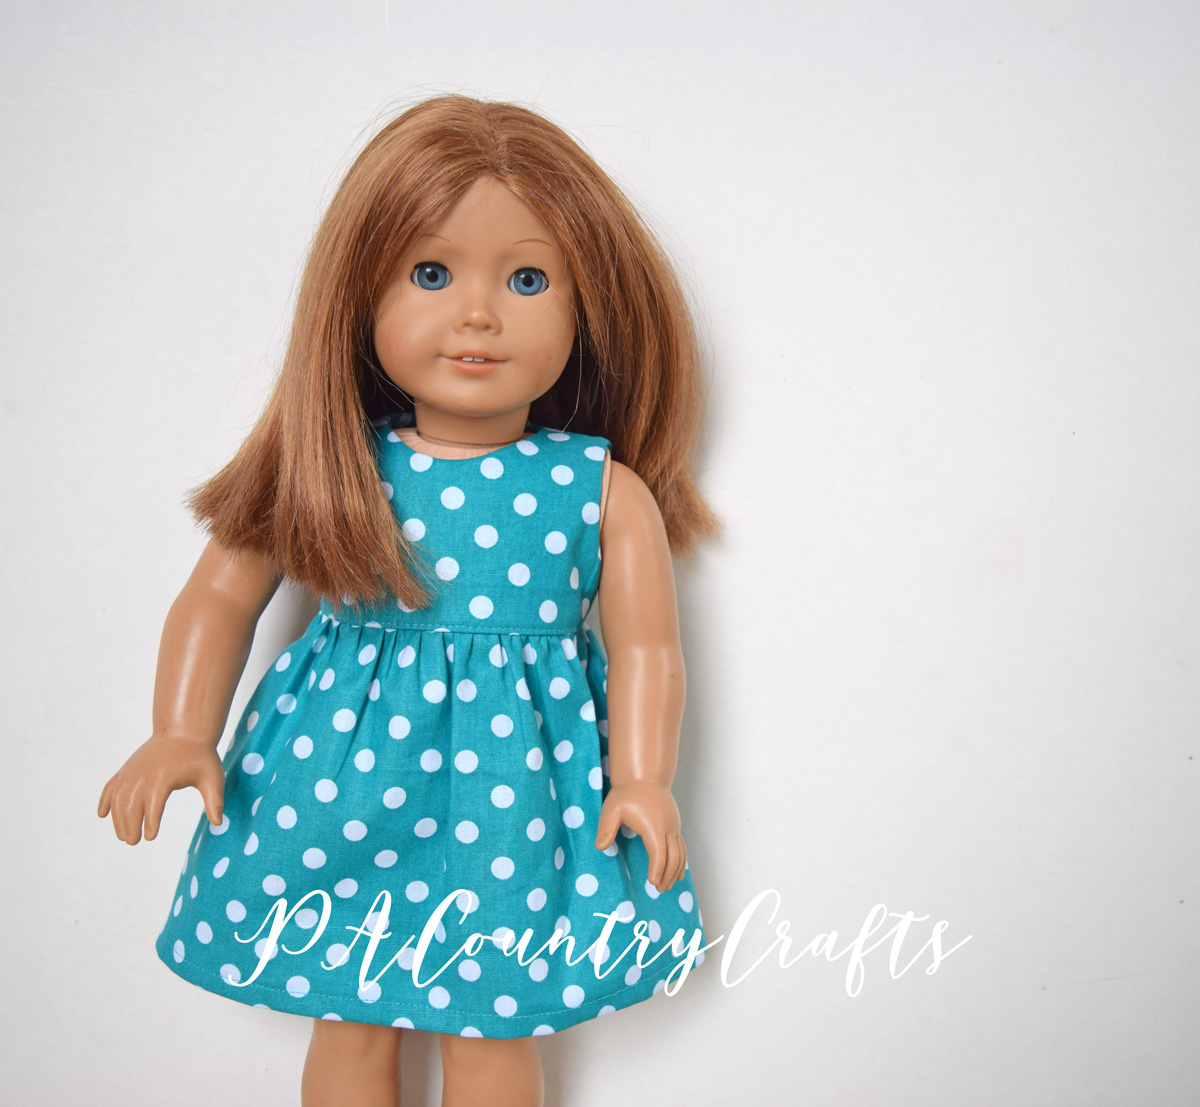
You didn't think I would get away with making a matching dress for just ONE of my daughter's dolls, did you? No way! With four girls (and who knows, maybe another one on the way to crush their brother's hopes one last time) if I am going to sew something for one of my girls, I had better be prepared to sew that something for the other ones, too.


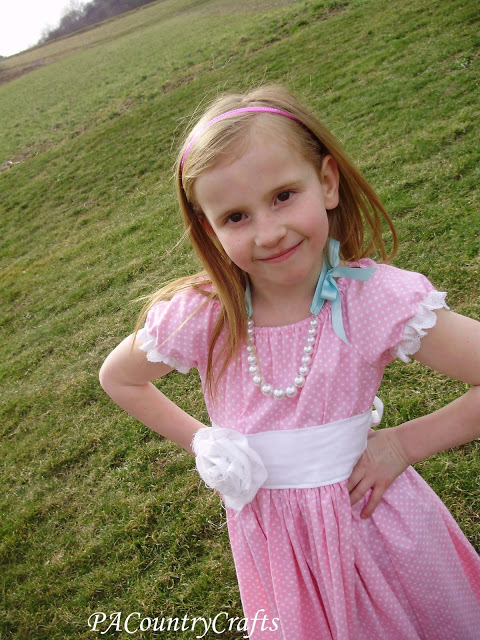
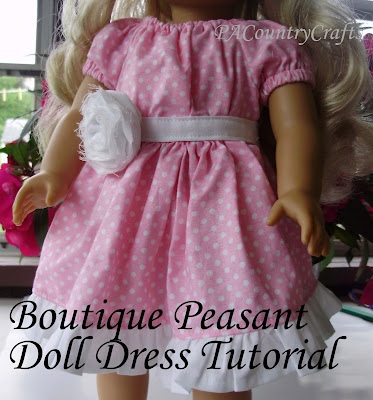
So, I made a Boutique Peasant Dress to match my second daughter's Easter dress, too. I didn't really mind because I had just enough fabric left and it is an easy dress to make. This time, though, I took pictures! So, I am sharing the tutorial. This is the exact same way that I made the girl-sized version, so you can easily adapt it if you would like to sew this dress for a real girl instead of a toy.
For the top, just follow your favorite peasant dress pattern, but only make it about 5" high in the bodice. (If you really need a pattern, leave a comment asking me nicely and I can redraw and scan the one I made since there are various other scribbles all over it right now. UPDATE: The pattern is available HERE. Thanks for your interest!) I made the skirt nice and full (much like the original dress) and used the full width of the fabric by 6". In the contrasting white, I cut three strips the width of the fabric by 2"- two for the bottom ruffle and one for the sash. Not too many pieces here, right?
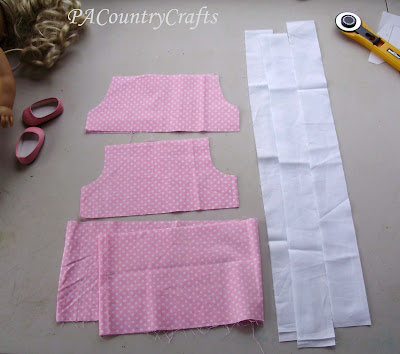
(Note: For the "real girl version" I did the same thing- chopped off a peasant dress pattern- but used two full widths of the fabric for the skirt and FOUR full widths for the bottom ruffle (which took forever to gather by hand!) I think the sash was 1 1/2 width of the fabric. Since I learned to quilt first, a lot of my measurements are based on easy rotary cutting. It works.)
Now, get sewing!
I used 1/4" seam allowances throughout.
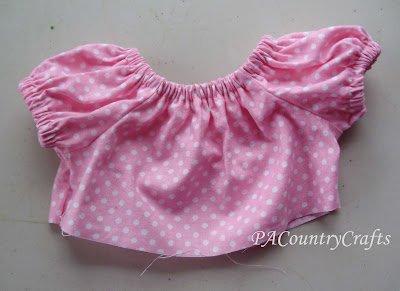
Sew the sleeves to the front and back bodice pieces along the arm curves as shown.
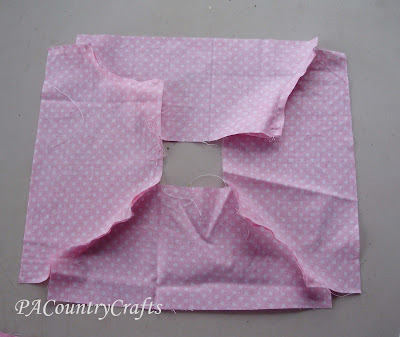
Sew the underarm seams from the edge of the sleeves down to the bottom of the bodice sides, making sure the armpit seams line up.

Serge or overlock the raw edges and sew elastic casings around the neckline and edges of the sleeves by folding under 1/2" and sewing 3/8" from the fold, leaving an opening to insert the elastic.
(I give directions for using a serger throughout the tutorial, but if you don't have one you can zig-zag stitch, or leave extra seam allowances and turn under twice.)
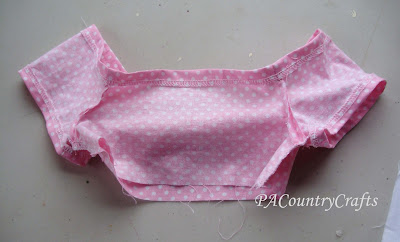
Insert 10" of elastic around the neckline and 4" of elastic around the sleeves. Sew the ends together and then stitch the openings closed.
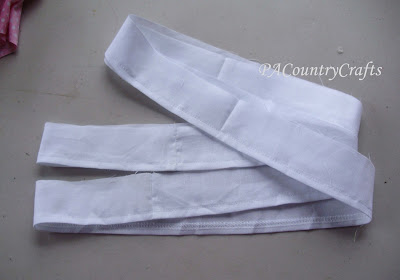
Sew two strips of white together at both ends. Overlock the bottom raw edge, press under 1/2" and sew a hem.
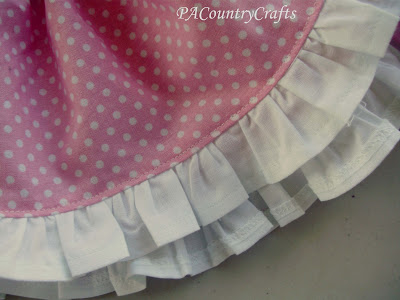
Sew two loose basting stitches around the top of the white strips, gather, and sew this strip to the bottom of the skirt piece. Serge the raw edges, press upwards and then topstitch the ruffle in place.
Gather the waist of the skirt and sew it to the bodice.
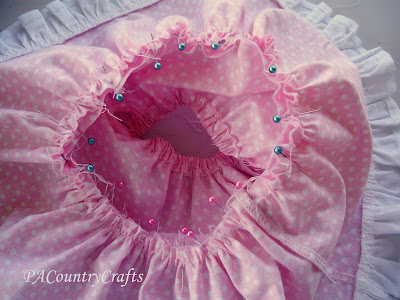
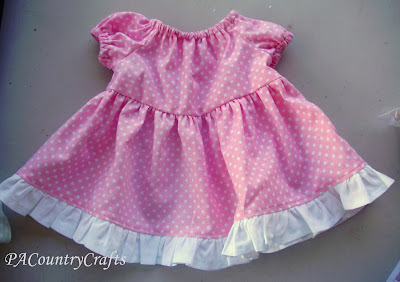
This is how it should look so far...
Take the remaining white strip and sew a seam along the length of the fabric. Flip and press.

Now, this isn't how I did it on the doll dress, but it works better...First, topstitch 1/8" from the edge the whole way around the sash (hemming the ends, too) EXCEPT for the middle six inches.
Mark the center of the sash with a pin and also place pins 3" from each side of the center.
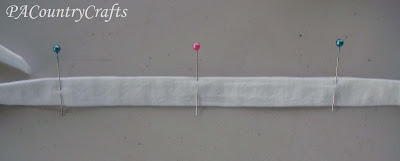
Line these pins up with the center and sides of the dress just above the waistline.

Pin in place, evenly gathering the bodice as needed.

Sew 1/8" from each edge of the sash to topstitch in place.

If you did as I told you and not as I did in these pics, the whole sash will then be toptstitched around the edges. Finally, I made a fabric flower following THIS tutorial and pinned it on so that it will be removable for machine washing (which is a mandatory feature in this house!)
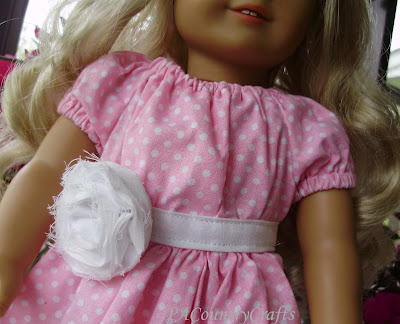
TADA! All done!
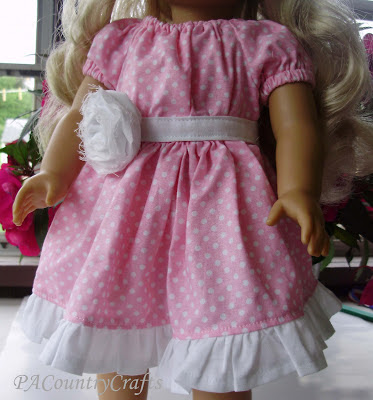
Now, take a picture in front of a beautiful, new hanging basket that you are about to kill.
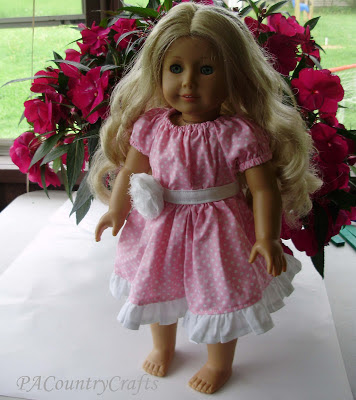
For bonus points, I even made a matching necklace. (I don't know why my bestest friend calls me an over-achiever?)
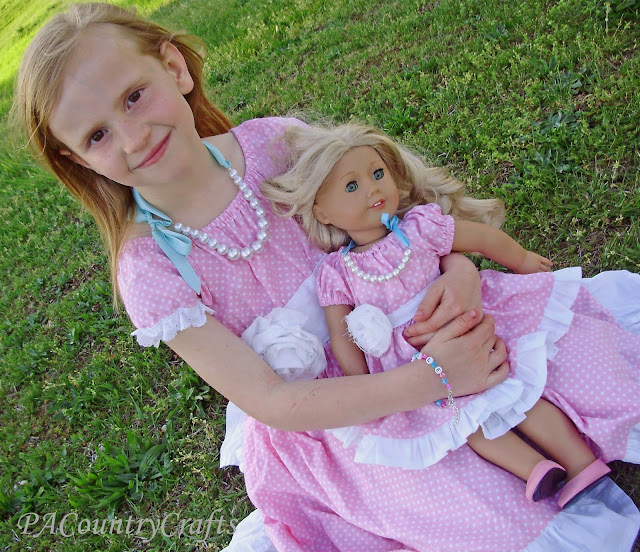
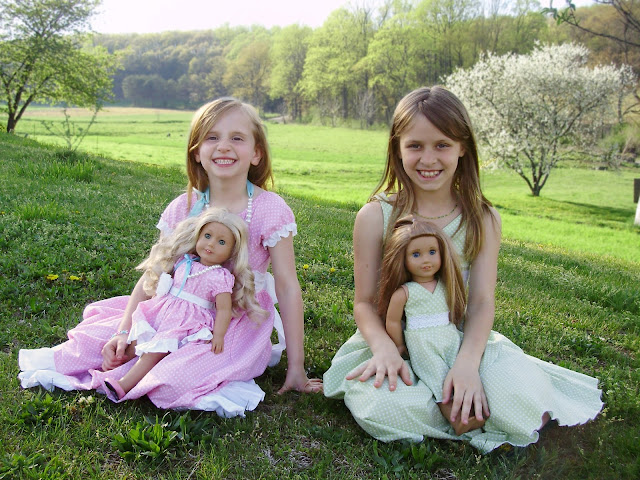
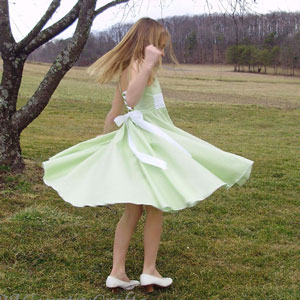
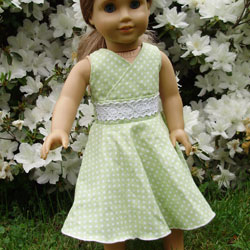
It definitely made for some happy girls at this house! Again, the pattern can be found HERE if you need it. The original Boutique Peasant Dress I made for my daughter's Easter dress can be found HERE. The green, Twirly Lace Dress Tutorial (girl sized) is HERE, and you can see the matching Twirly Lace doll dress pattern HERE. AND, their littler sister got a doll for her birthday after I made these dresses, so you can bet I will have one more to show you soon! Stay tuned...
Please remember that this pattern is for your own personal, non-commercial use. Do not sell this pattern. I am trying to make happy little girls here, not money. Thanks!


