

Project Night and Day: Daydreams
/
Project Night and Day continues with these pretty daytime inspired outfits for girls with Project Run and Play sewing patterns!
Read MoreProject Night and Day continues with these pretty daytime inspired outfits for girls with Project Run and Play sewing patterns!
Read MoreCelebrate Sofiona Designs first anniverary with giveaways, sales, a blog tour, an Instagram tour, and new releases! For the blog tour I redrafted the Railway joggers to make an on trend stretch corduroy skirt. It is paired with an Aurora raglan and a new Balsam bag with embroidery details.
Read More
Another finish!!!
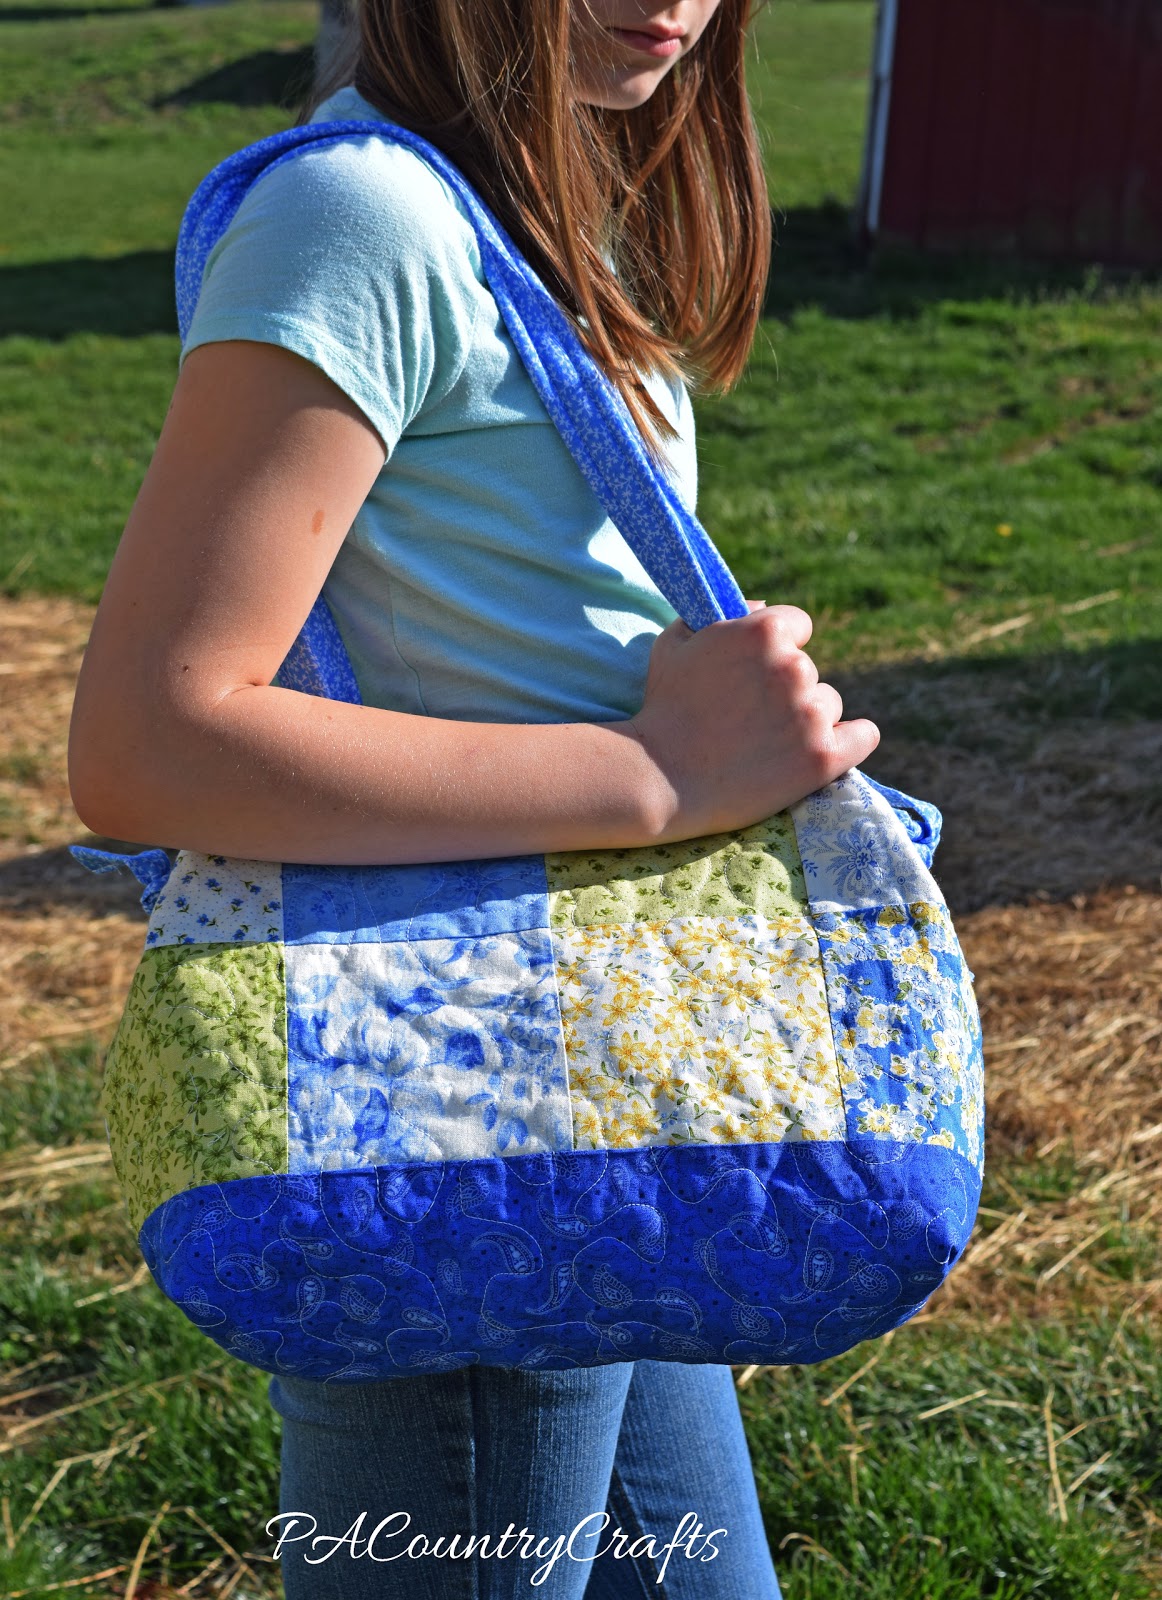
I won a charm pack of Summer Breeze II several years ago and I eventually made myself a charm square tote out of it. It isn't perfect, but I like it and it matches our school colors. I had enough charm squares left over to make another one, as long as I used a solid color on the bottom to make it stretch. I pieced the squares and then it sat on the shelf above my sewing table for the last three years. I am so glad to have this one done!


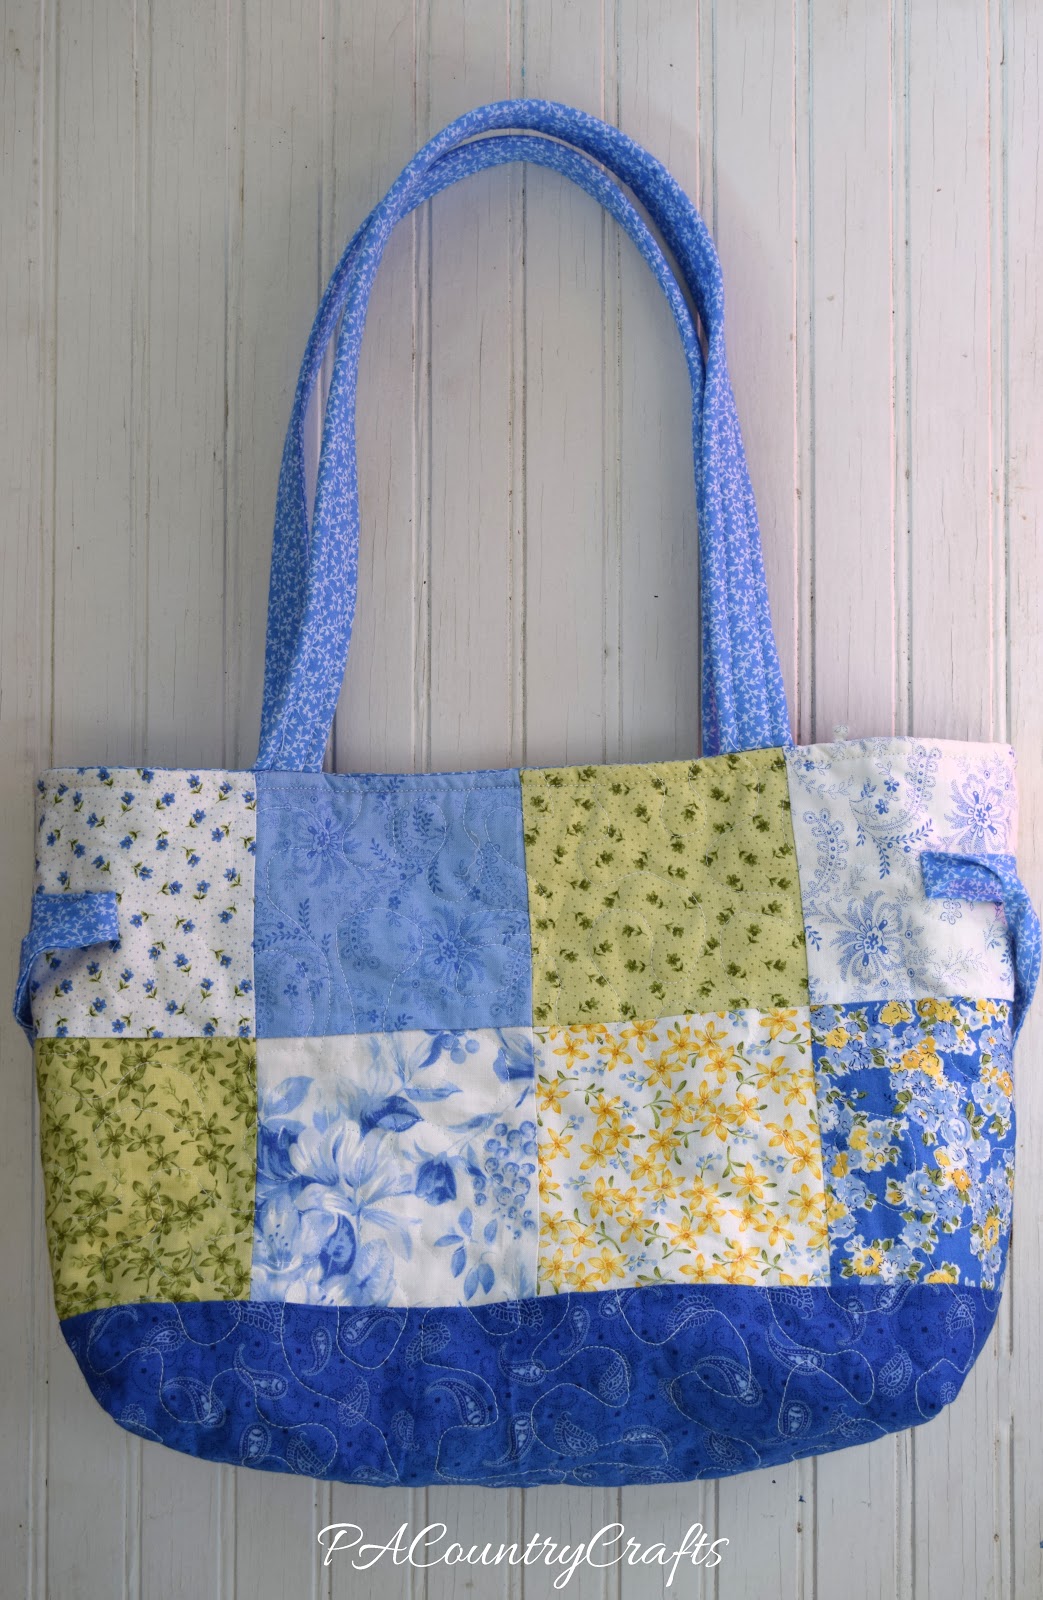
The pockets inside are my favorite part! They are a bit of extra work, but so great for attempting to keep my purse organized. This one is for my sister, and I think she is going to love it!!!

After sewing my little heart out for the girls last week, I was determined to finally make something for myself! Last year, I won a giveaway at Quilting, Losing, and Tea (Thanks, Karen!). I thought that the Summer Breeze II charm squares would make a lovely tote bag and have been wanting to make one for myself ever since. Well, I needed some coordinating fabric for the handles and tossed around some different ideas for how I wanted to make it. My friend, Anita, helped me out a bit with all of that and I ended up with a mish-mash of things to get this:


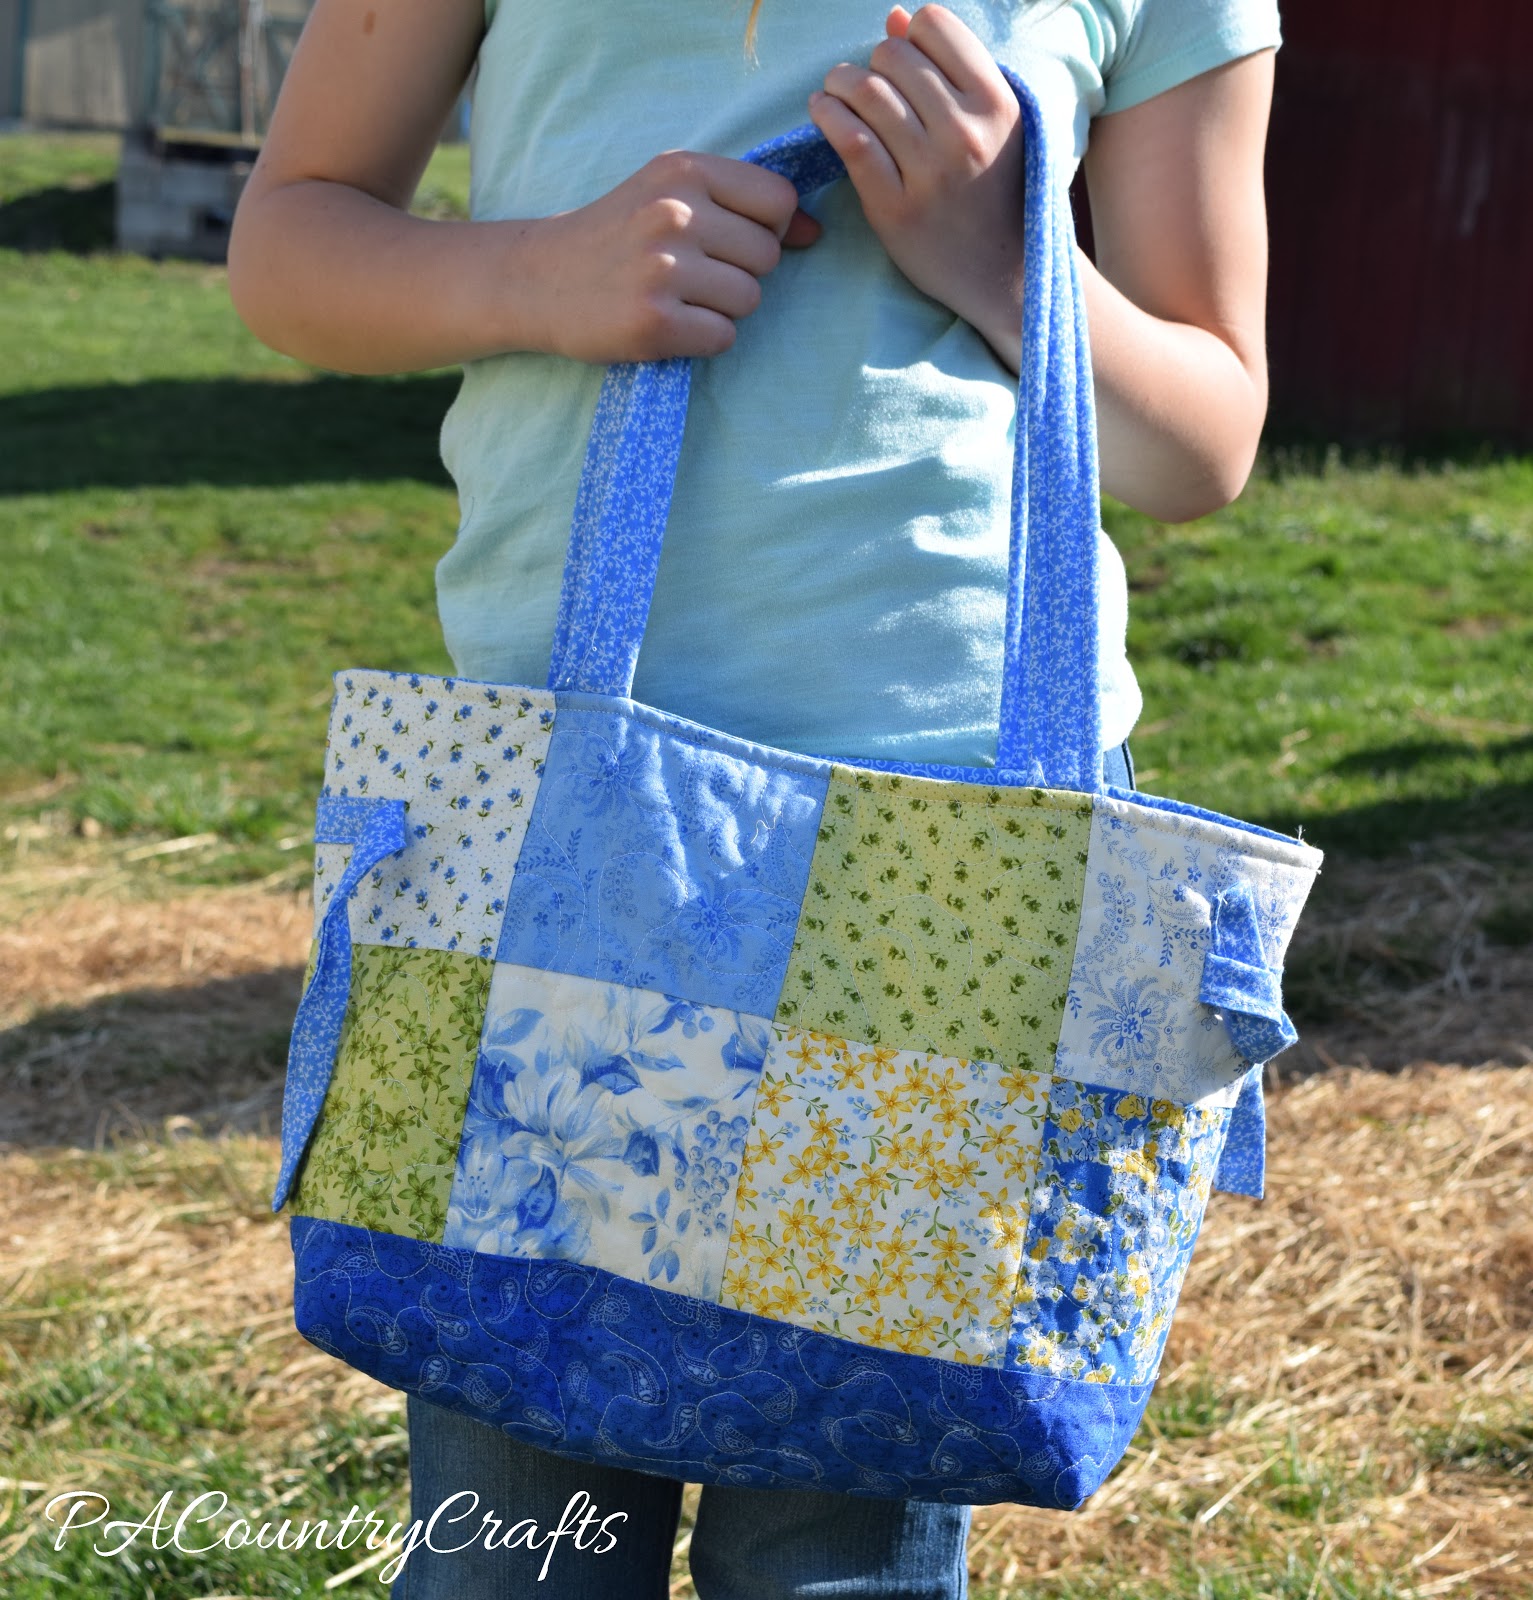
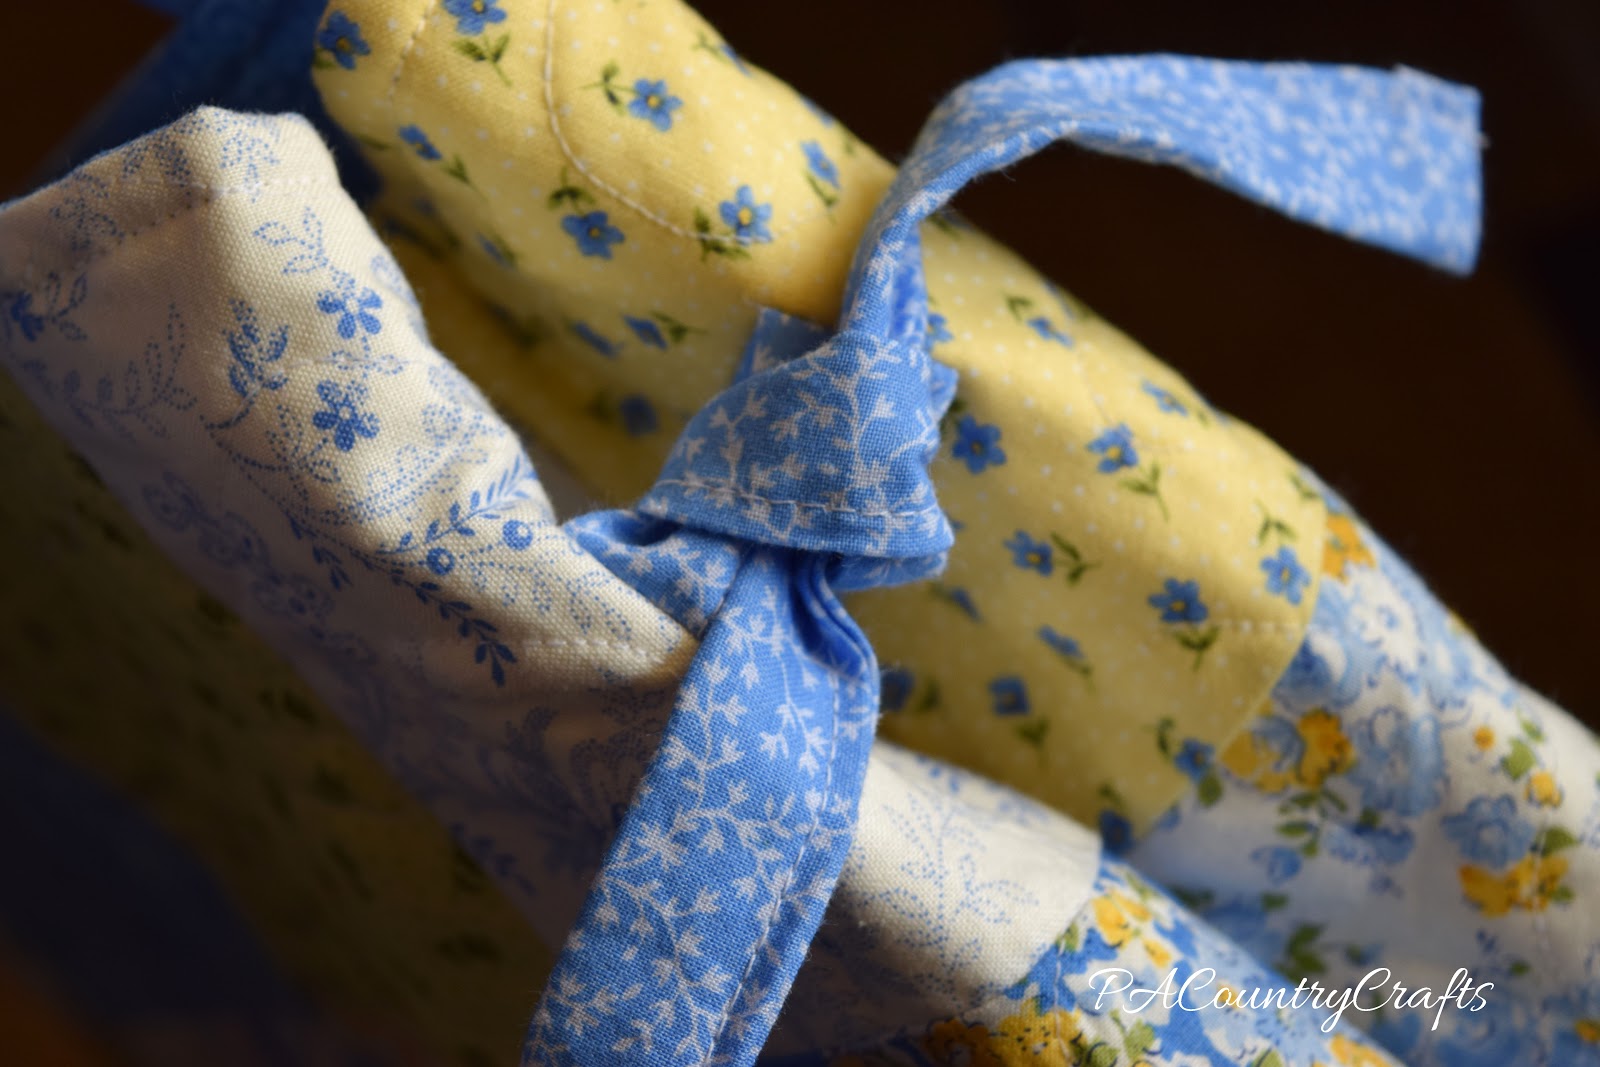
I saw a bag that she made with side ties and LOVED it! It really helps pull the bag together, but allows for more room if you need it (and let's face it, with all of these kids, I will probably need it!) I think it will be a great size to take along to soccer and softball games this Spring (in our school colors of blue and gold! Go Eagles!!)

Lots of pockets for necessary things (I even did my first zipper pocket! WOOHOO!) and lots of room for snacks and things to entertain the kids/me. Now, I want to make a coordinating clutch or pouch to hold my embroidery projects- they are great to work on while waiting for practices and such. (Sadly, I am using a plastic sandwich bag right now.)
The handles are super sturdy- four layers of fabric and fusible fleece! My poor sewing machine!

I tried to FMQ the bag, but I can't lower the feed dogs on my machine and even if I cover them with the darning plate, I don't have the correct presser foot to make the tension work. So, I just fought against the feed dogs. It isn't pretty and it was quite a workout, but it gives the ripply texture I wanted.
If it hadn't been for SewLux's Charm Madness Blog Hop, I probably would not have pushed myself to get it done so quickly. So... Thank you!

As promised, I am showing you all my modified Buttercup Bag. I got this LOVELY fabric like I used in my sister-in-law's purse for Christmas (I just reversed the outside and lining for mine). After making one for my daughter as a trial run, I realized the original pattern was too small for me, so I made mine a bit bigger (still a bit too small for me, but I am trying to size down from my HUGE Birdie Sling Bag). I made quite a few other adjustments from the original pattern...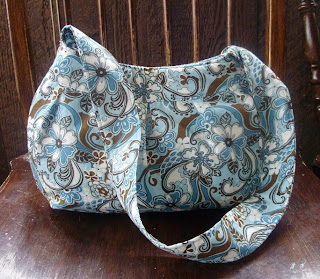

 The busy print of the fabric hides the pleats, but it is still a great little bag! :)
  Unfortunately, I have decided that the purse is also too small because it makes my pregnant belly look much bigger! :)
(And I even look pretty small in this picture!)
I am taking part in my second Sneak Peek- I was pretty busy last week, so I have extra things to show you all that I have been working on. There are other things, too, but they are either listed in my shop or I don't have pics yet.


I am trying to use up fabric quickly. I have to move all of my sewing stuff and fabrics to another room before Baby #5 comes! Then my husband will see just how much stash I have crammed into that sewing table, there! EEK!
I saw the Buttercup Bag sewing pattern (Free! YAY!) and wanted to make one for myself. However, I need it a little bigger than that, so I enlarged the pattern. But, before I waste the beautiful fabric I have waiting for my own purse, I thought I would try out the original pattern and make one for my 5yo. 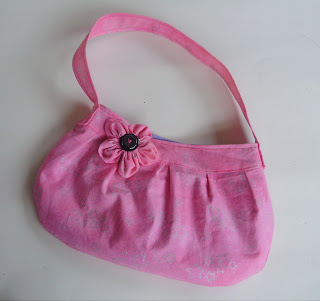
She LOVES stars and I had 1/4 yard of this fabric in pink and a little less of the same in purple that I used for the lining.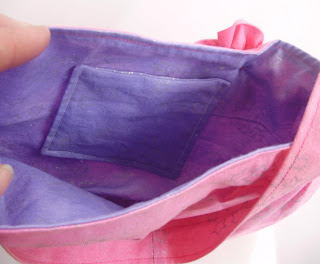
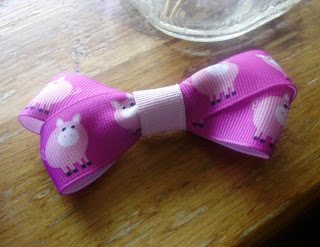
I had a little pink left over (trying to use up fabric here!), so I wanted to embellish the bag a bit. I made one of these cute fabric flowers from the directions here.
It is an adorable little bag! The flower is actually a little heavy, since it is unlined. I will definitely make mine lined with interfacing and fusible fleece. Still, a very cute bag!
Sewing, crafts, tutorials, recipes, and a little look at our life in the country - raising half a dozen children.

Hi! Thanks so much for stopping by! My name is Lindsay and on this blog you will find sewing, crafts, decorating, recipes, and tutorials with a little bit of honesty and encouragement.


