DIY Handwriting Copy Sign Tutorial

A new trend I have noticed is displaying portions of handwritten notes enlarged as a sign. I think it is a lovely way to remember special words. I was recently asked to create a sign with a portion of Clarence's note from It's a Wonderful Life so I thought I would snap a few pictures of the process to share a tutorial on the blog.

DIY Handwriting Copy Sign Tutorial

I happened to have the perfect size board already on hand. It is a rough cut board sanded slightly, so it has the rough edges and saw blade marks still visible. It really gives the piece some rustic character. I just lightly brushed some cream paint onto the board to get a weathered effect. You can also sand the edges to remove paint and make it more rustic.

Next, I resized the portion of the original note I was using and printed it out. (I just use Microsoft Word because I can use the page size to estimate dimensions.) I used carbon paper to transfer the image to the painted wood.

It's a Wonderful Life Quote
Use carbon paper to transfer handwriting to wood
How to transfer handwriting to signs

I used a fine tip black paint marker to paint the words onto the wood. It is more natural to make handwriting with a paint marker vs. a paintbrush. I also let the roughness of the wood texture the lettering by not filling in chips and grain.

How to easily make a sign from handwriting

Finally, I applied an antiquing wax to further age and seal the piece.

It's a Wonderful Life sign- Clarence's note

I think this technique would be really sweet for old love notes from your spouse, cards from special occasions, or even treasured family recipes!

You may also like...

Puzzle Organization

Hey there! I am still here. You can always assume that if I am not blogging it is because I am super busy with real life stuff. I tend to take on too much and end up getting really burned out. That usually results in getting sick, too. It is like my body is forcing me to slow down and take care of myself. Unfortunately, moms don't get sick days. Even though my 4yo was struggling with a nasty cold herself, she still had way more energy than I could handle. I have written before about utilizing busy bags, quiet books, or stashes of special toys/activities to keep little ones occupied. The past few days we have gone through quite a few of them.

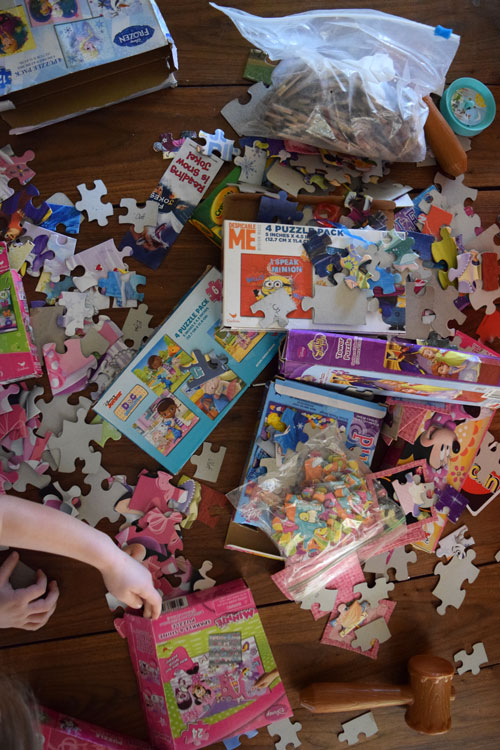
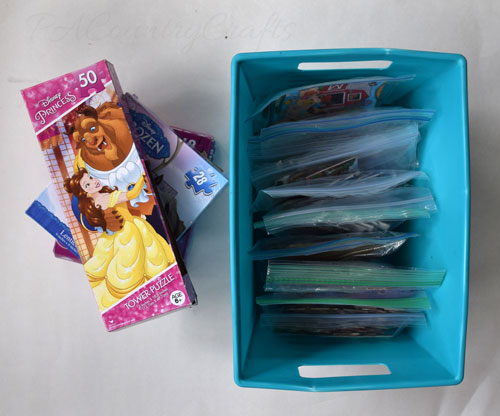
At the beginning of the year I was on a major decluttering and organizing spree. One of the things I tackled was the puzzles. I decided to throw away any puzzles that did not have all of their pieces. Most of them are from the Dollar Tree so it was not a great loss. It made it easier to clean the rest of the house because I tossed any pieces I found instead of saving them and trying to put them in the right box later. Here is the before picture...

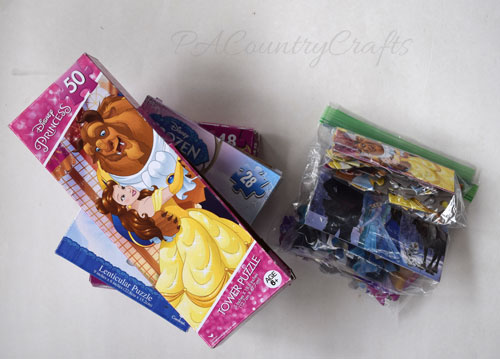
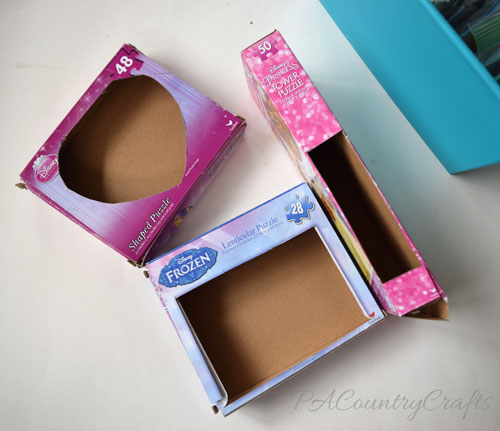
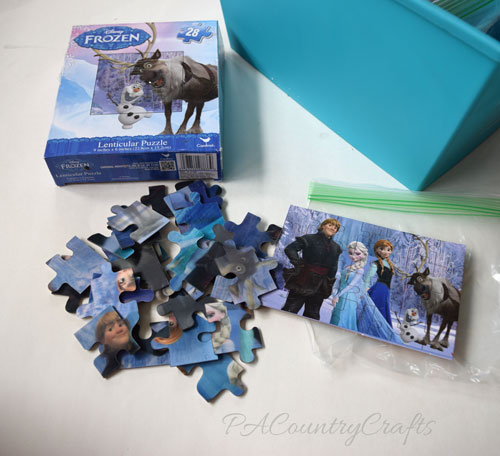
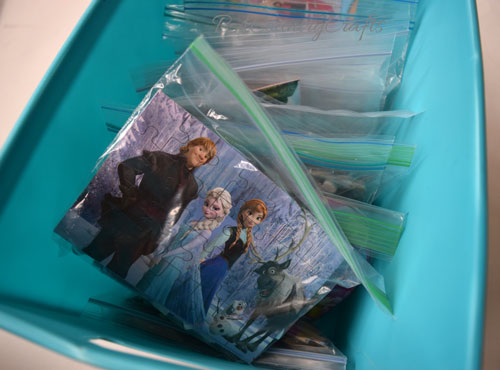
Puzzle boxes take up a lot of space for the tiny pieces that they hold. They also come in all shapes and sizes, so the boxes do not stack neatly anywhere. I decided that it was easier to put them all in bags instead. All of the bags fit in one bin from the Dollar Tree. (Honestly, I don't shop there very often!) I cut the pictures off of the boxes so that they know what it is supposed to look like.

I can fit dozens of puzzles in that little bin!

It was a simple storage solution for us. Although, the puzzle my daughter chose to do was actually missing one piece. Figures!

Other posts that you may find helpful…

8 Tips that Help Me Declutter

Kitchen Decluttering and Organizing

Kitchen Organization for Lunchbox Stuff

Kitchen Drawer Organizing