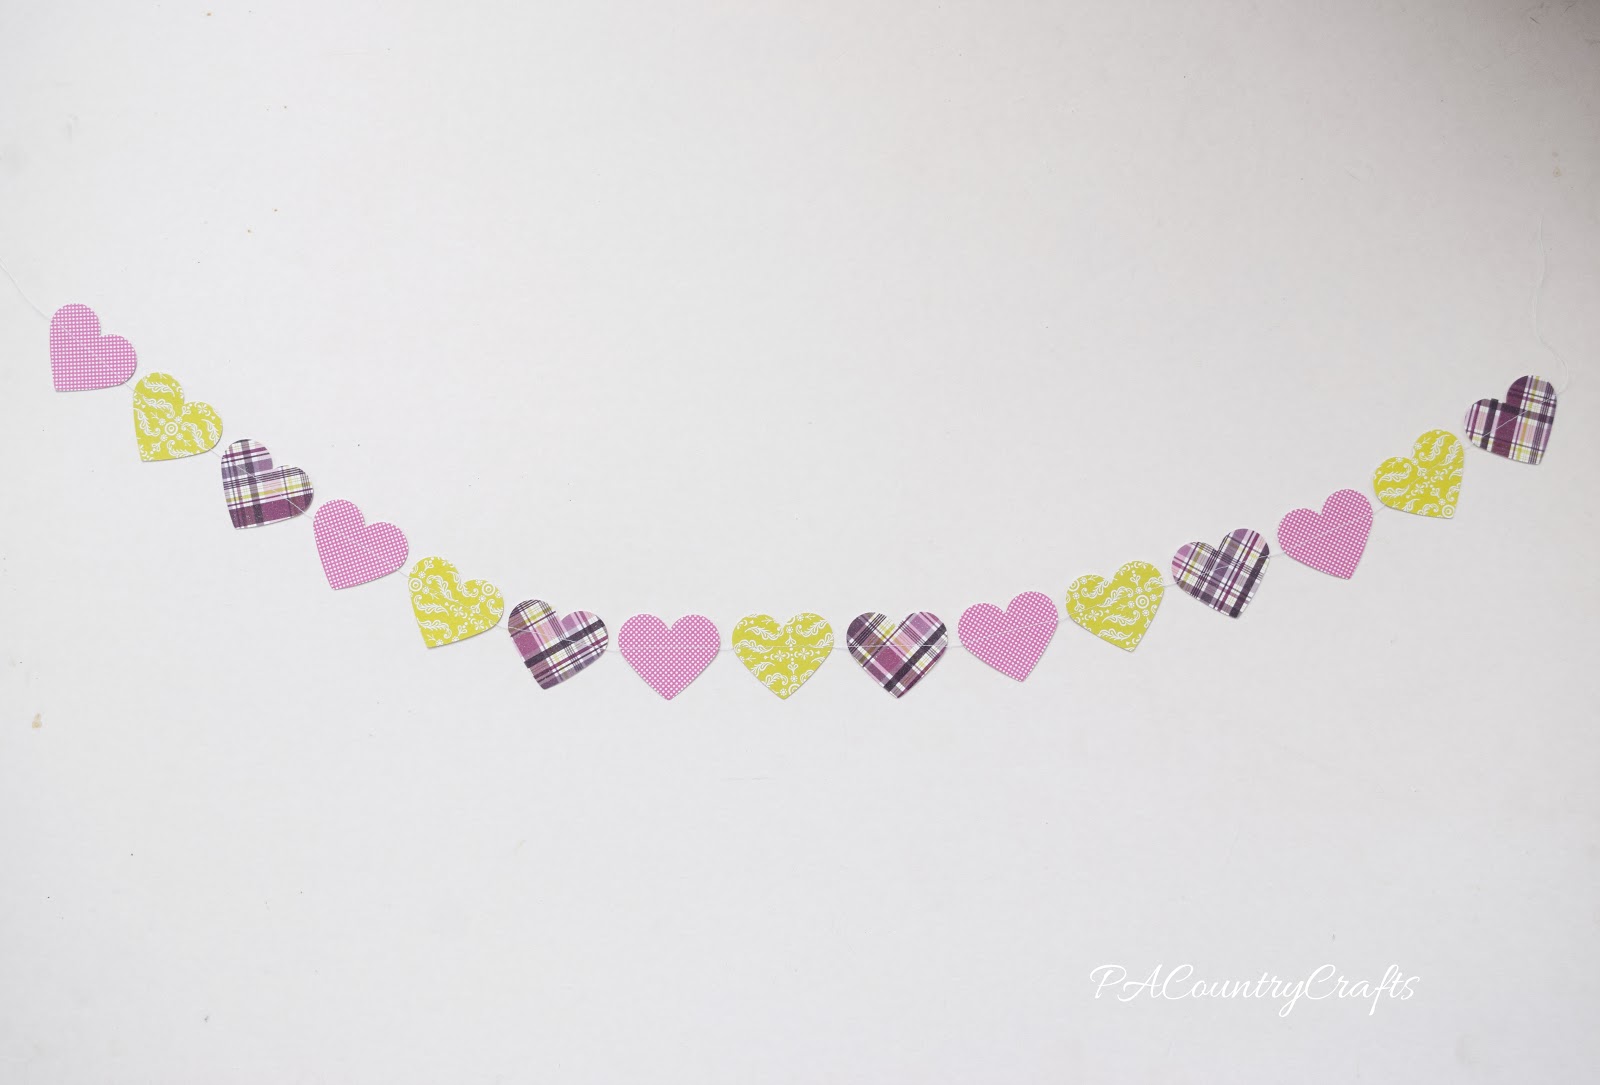
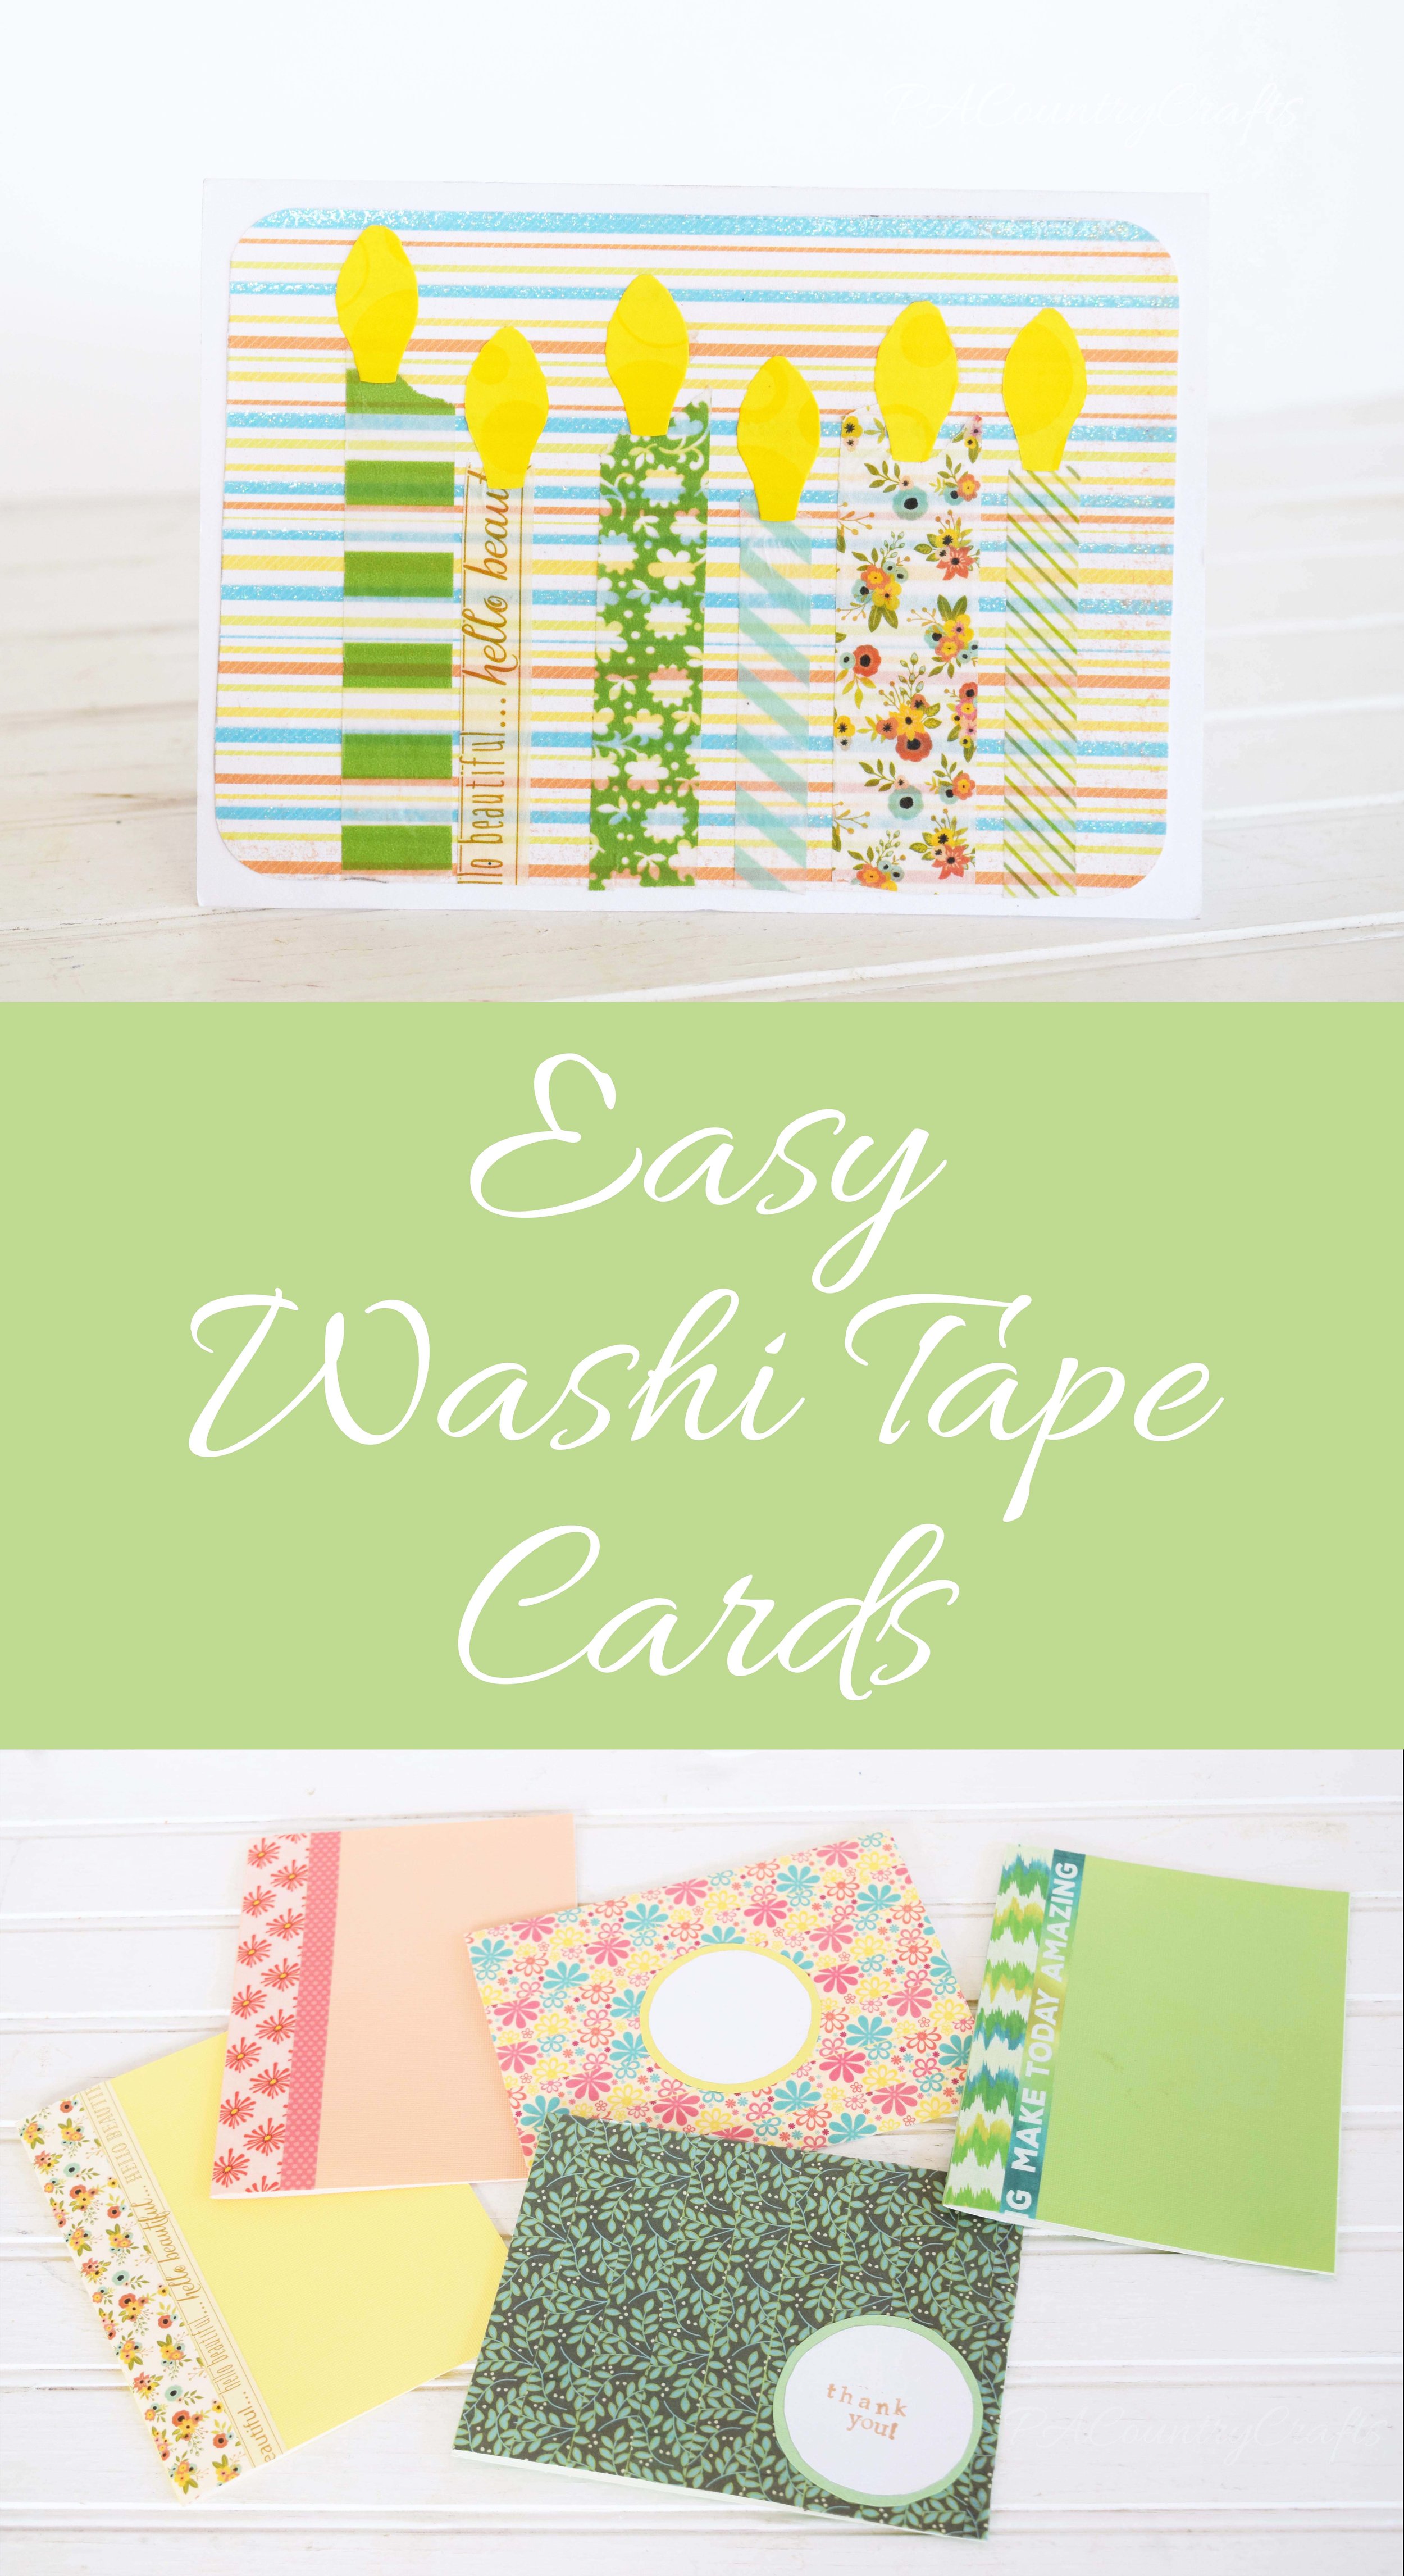
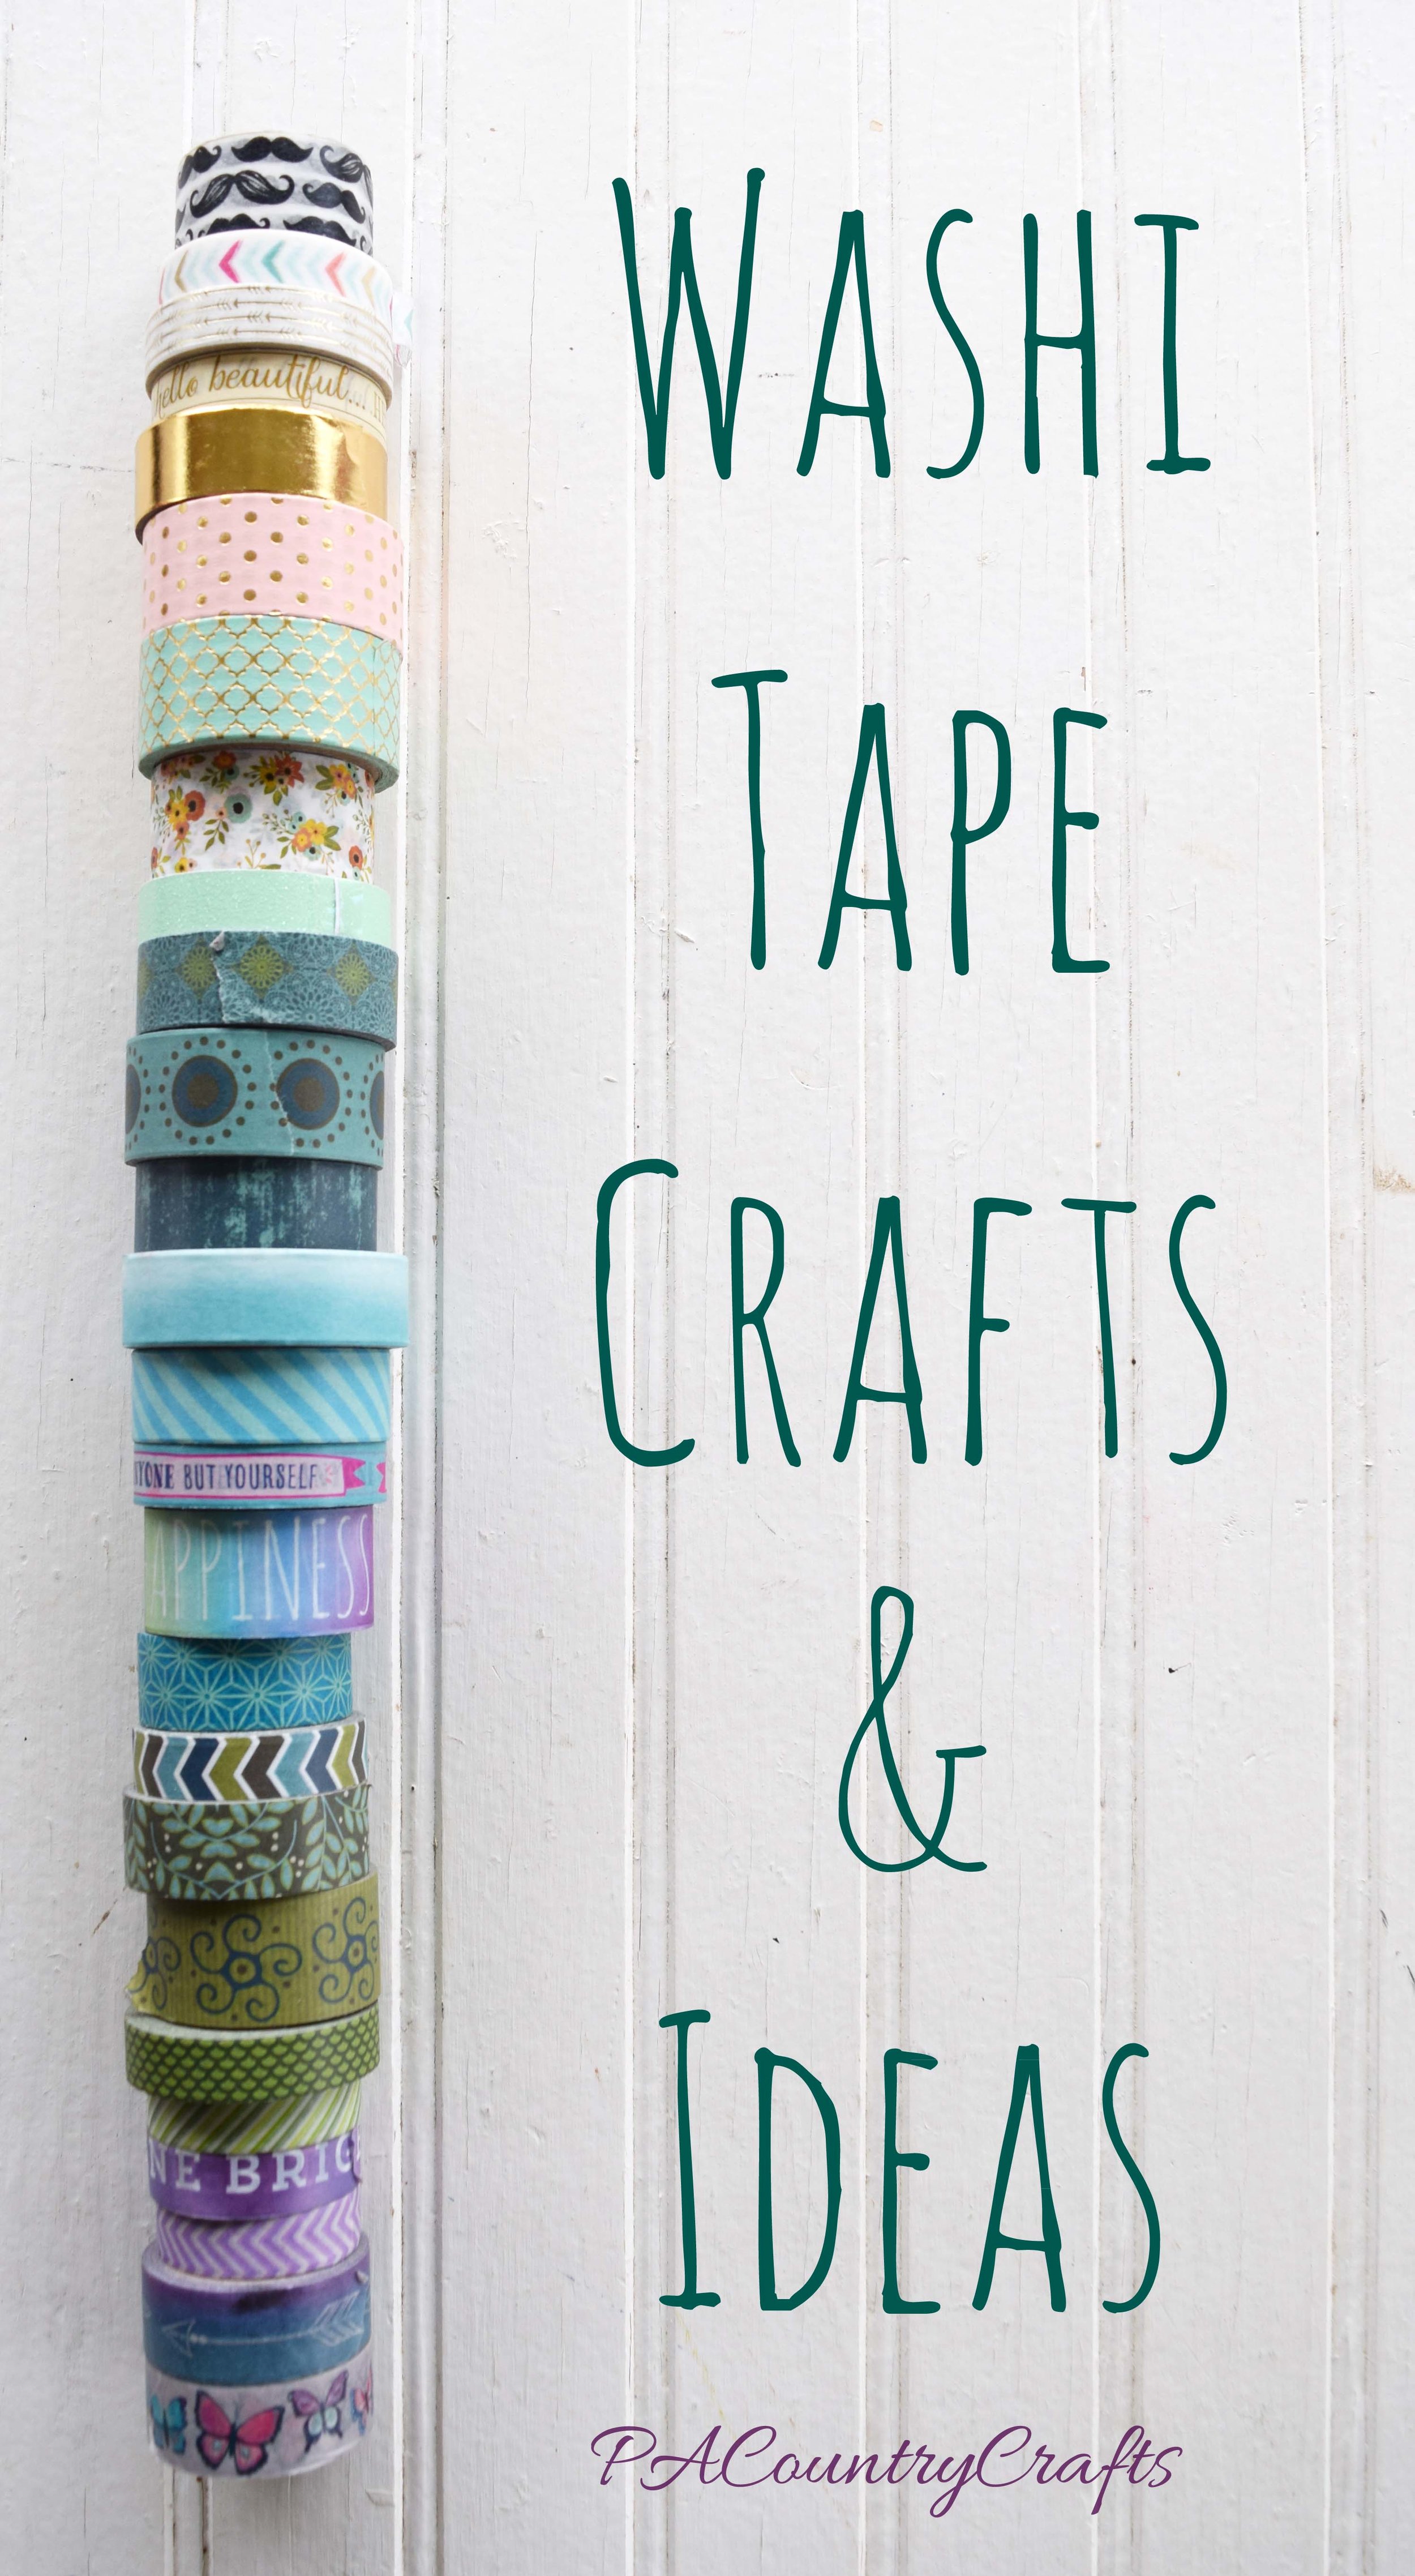
Washi Tape Cards

Hi! I'm Halley, and I'm here for Washi Week. Since I know many people have absolutely no idea what washi tape is, let me explain: washi tape is decorative paper tape that comes in SO many different sizes and prints, and you can do just about anything with it. I am basically the expert of washi tape in the family. I can't tell you how much I love this stuff. I may or may not have an obsession :) My parents (mostly my dad) say I have a real problem. I started with only 2 rolls from last Easter, and now I have  A LOT! I counted 79 this morning but I know I am missing at least 15. Anyway, I am super excited to tell you about my best Washi creations, and we're going to start the week off with my favorite... CARDS! The thing I love about making cards is there is so many things you can do with them and so many occasions you can make them for! Christmas, birthdays, weddings, thank you cards, or even just random cards to give to friends (those are my favorite!). Just like my amazing mom, I love Pinterest!!! Many of my cards are Pinterest-inspired.

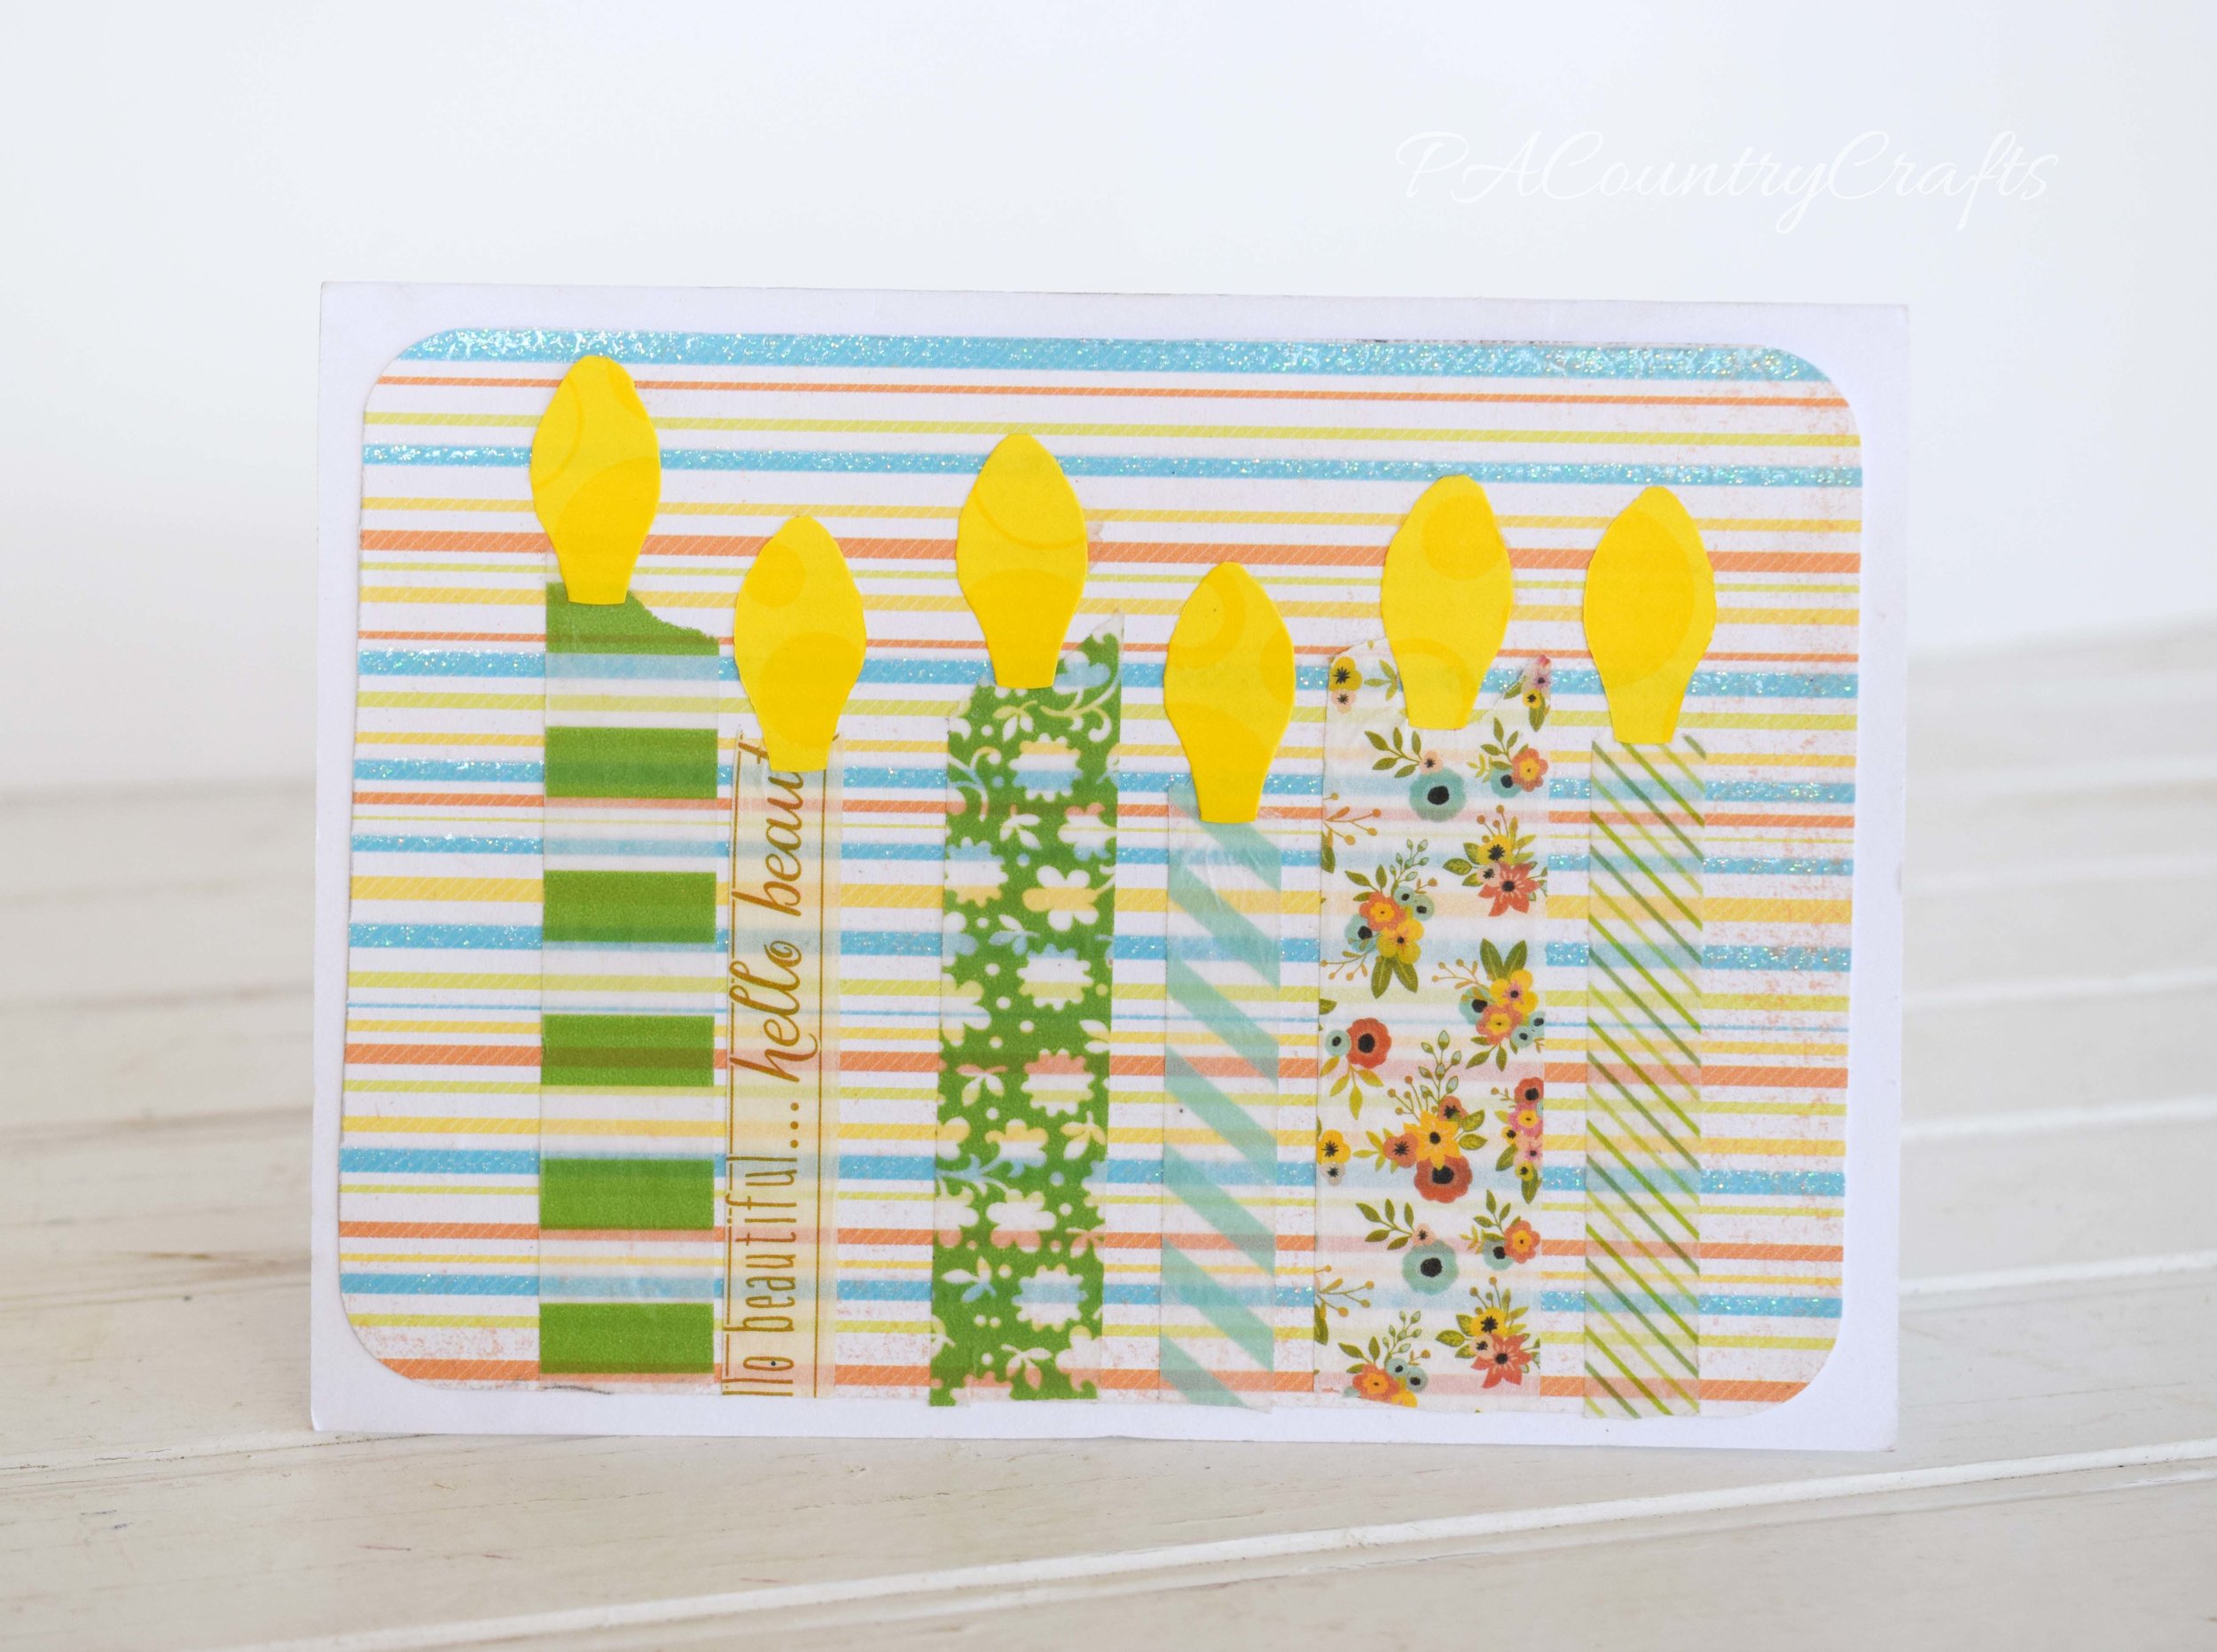
With this card the sparkly card stock background gives a "happy" look to it, perfect for a birthday card.

Canlde Washi Tape Card

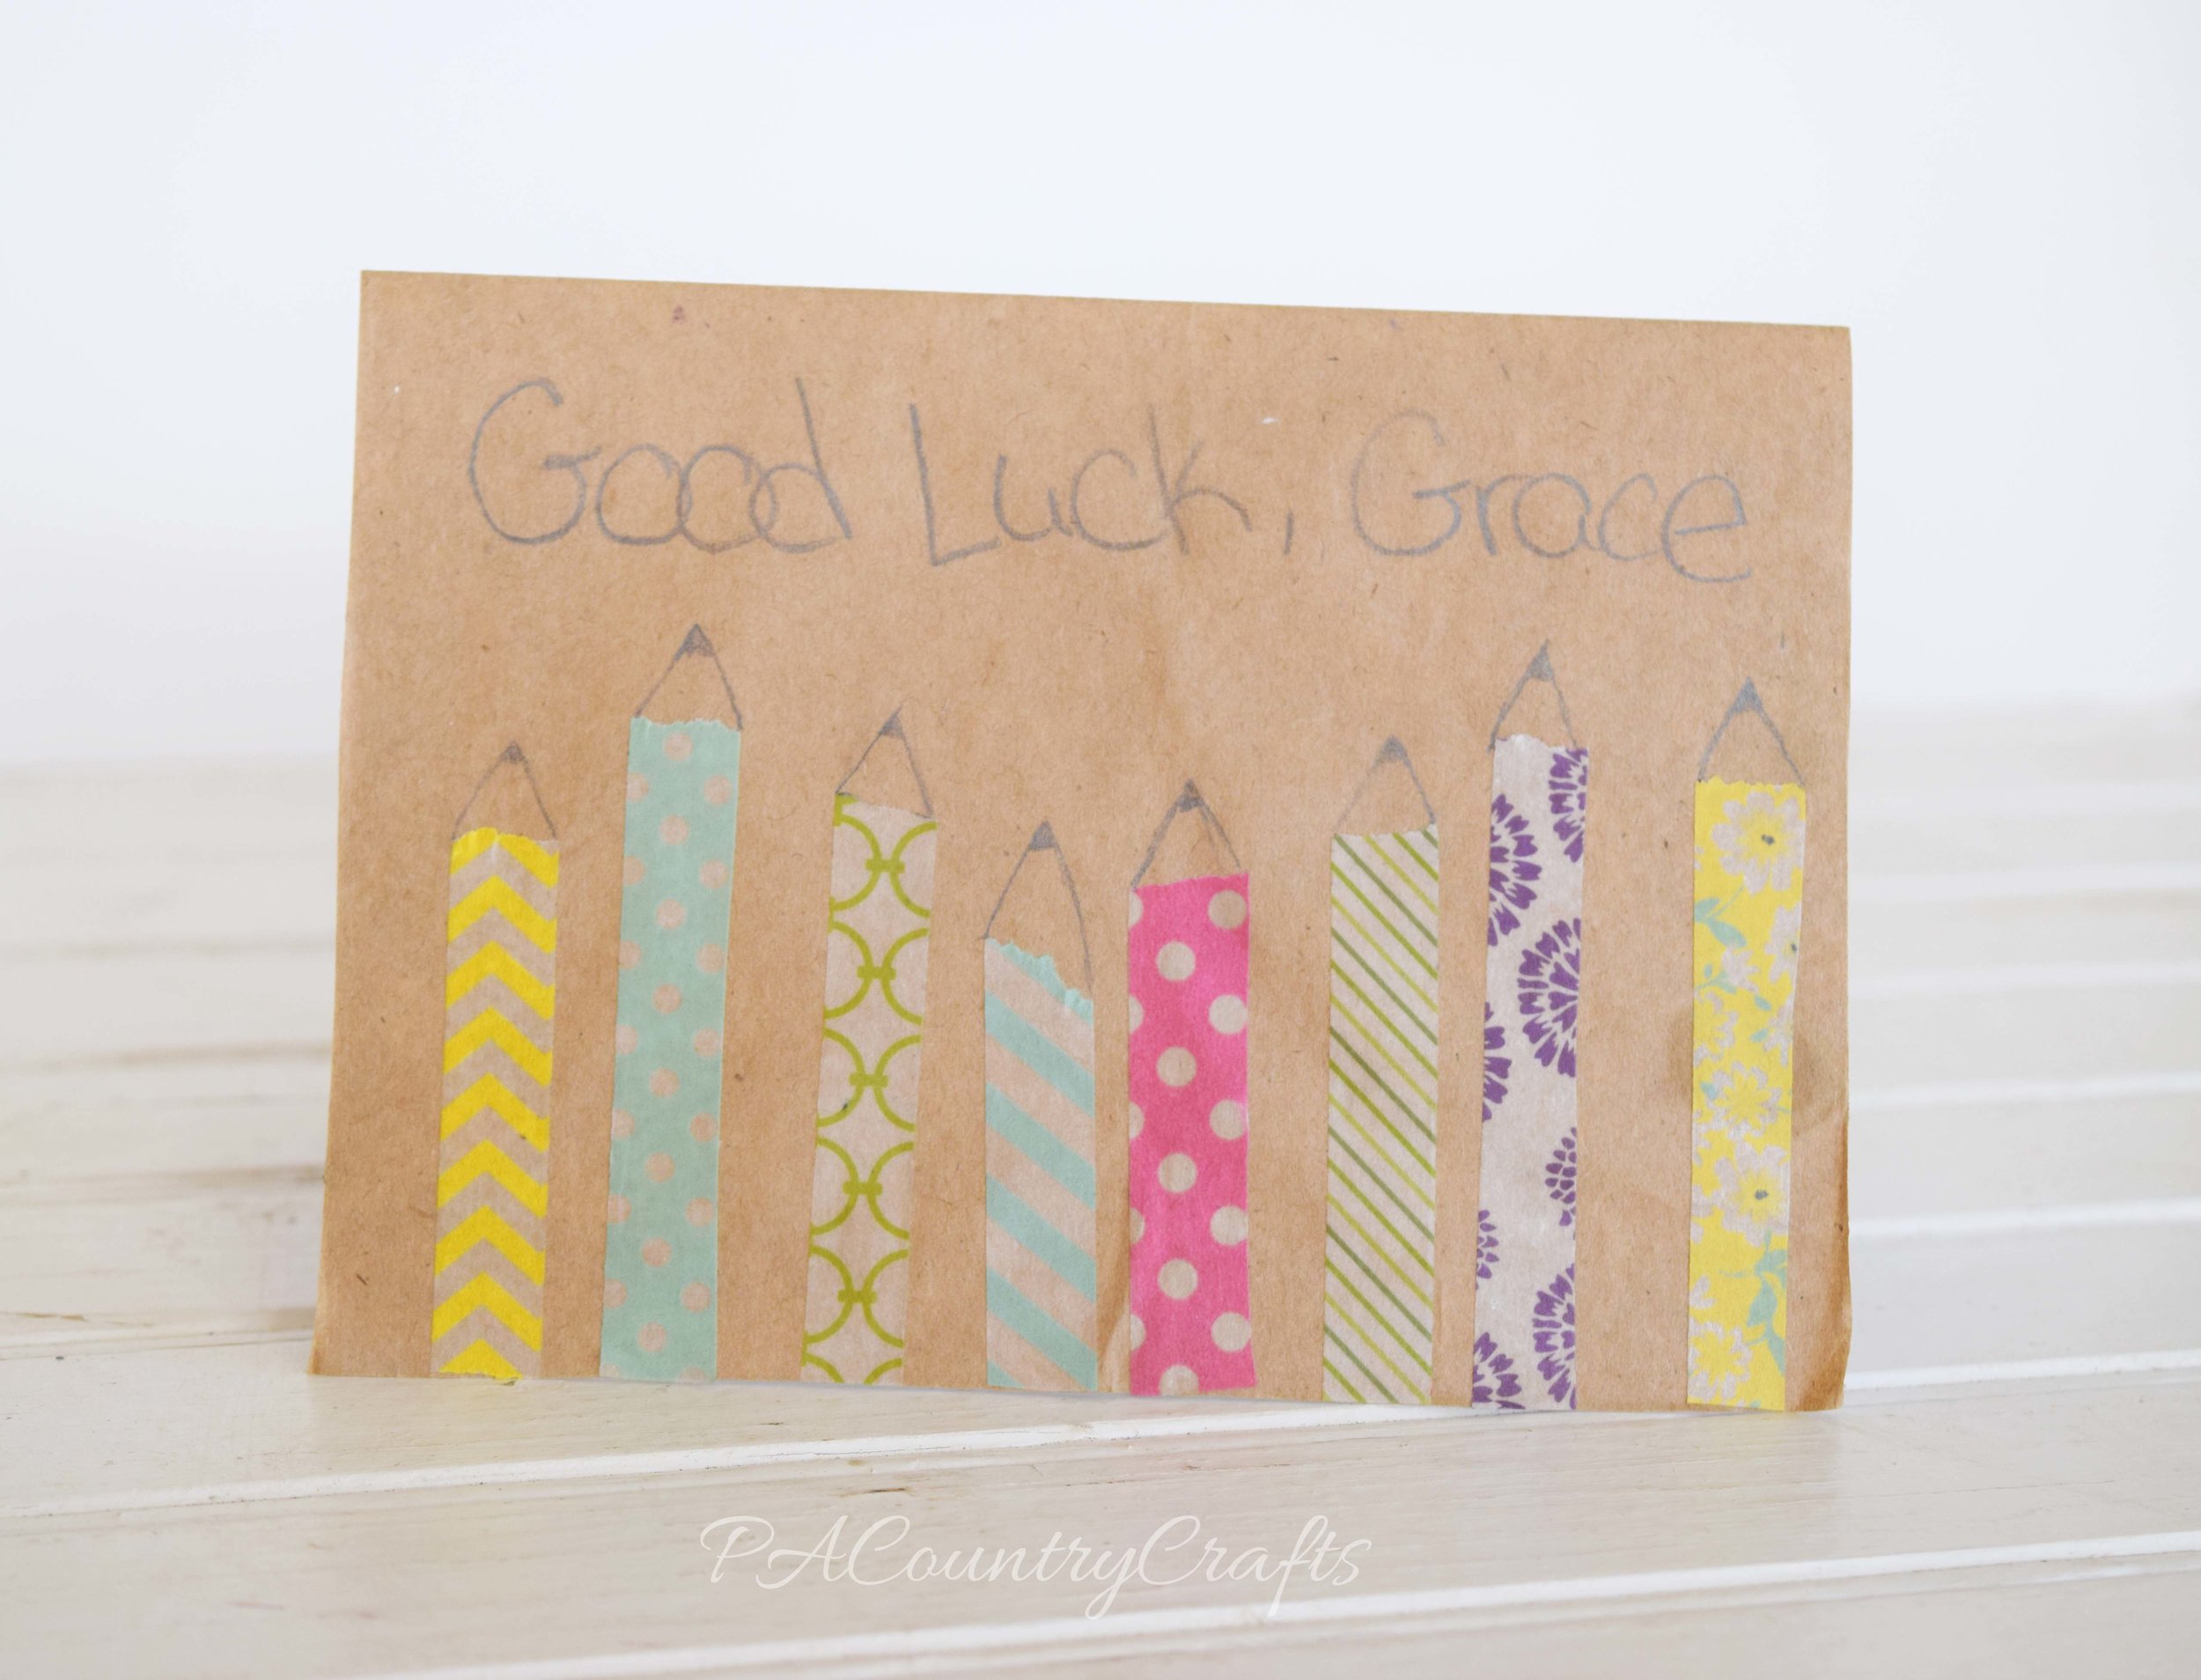
I love this card! It was made for my sister who was going to be starting kindergarten, and she needed to get pumped up about it. What better way then using a card!?! All I did was cut a paper bag to size and glued it on. Then, using thin washi tape, I ripped off pieces to look like pencils then drew the tips So simple, yet so cute!

Washi Tape Pencil Card

This card was my first, but I don't like it because I can't decide which way to hold it!

Cute flower embellishment on a blank card with washi tape!

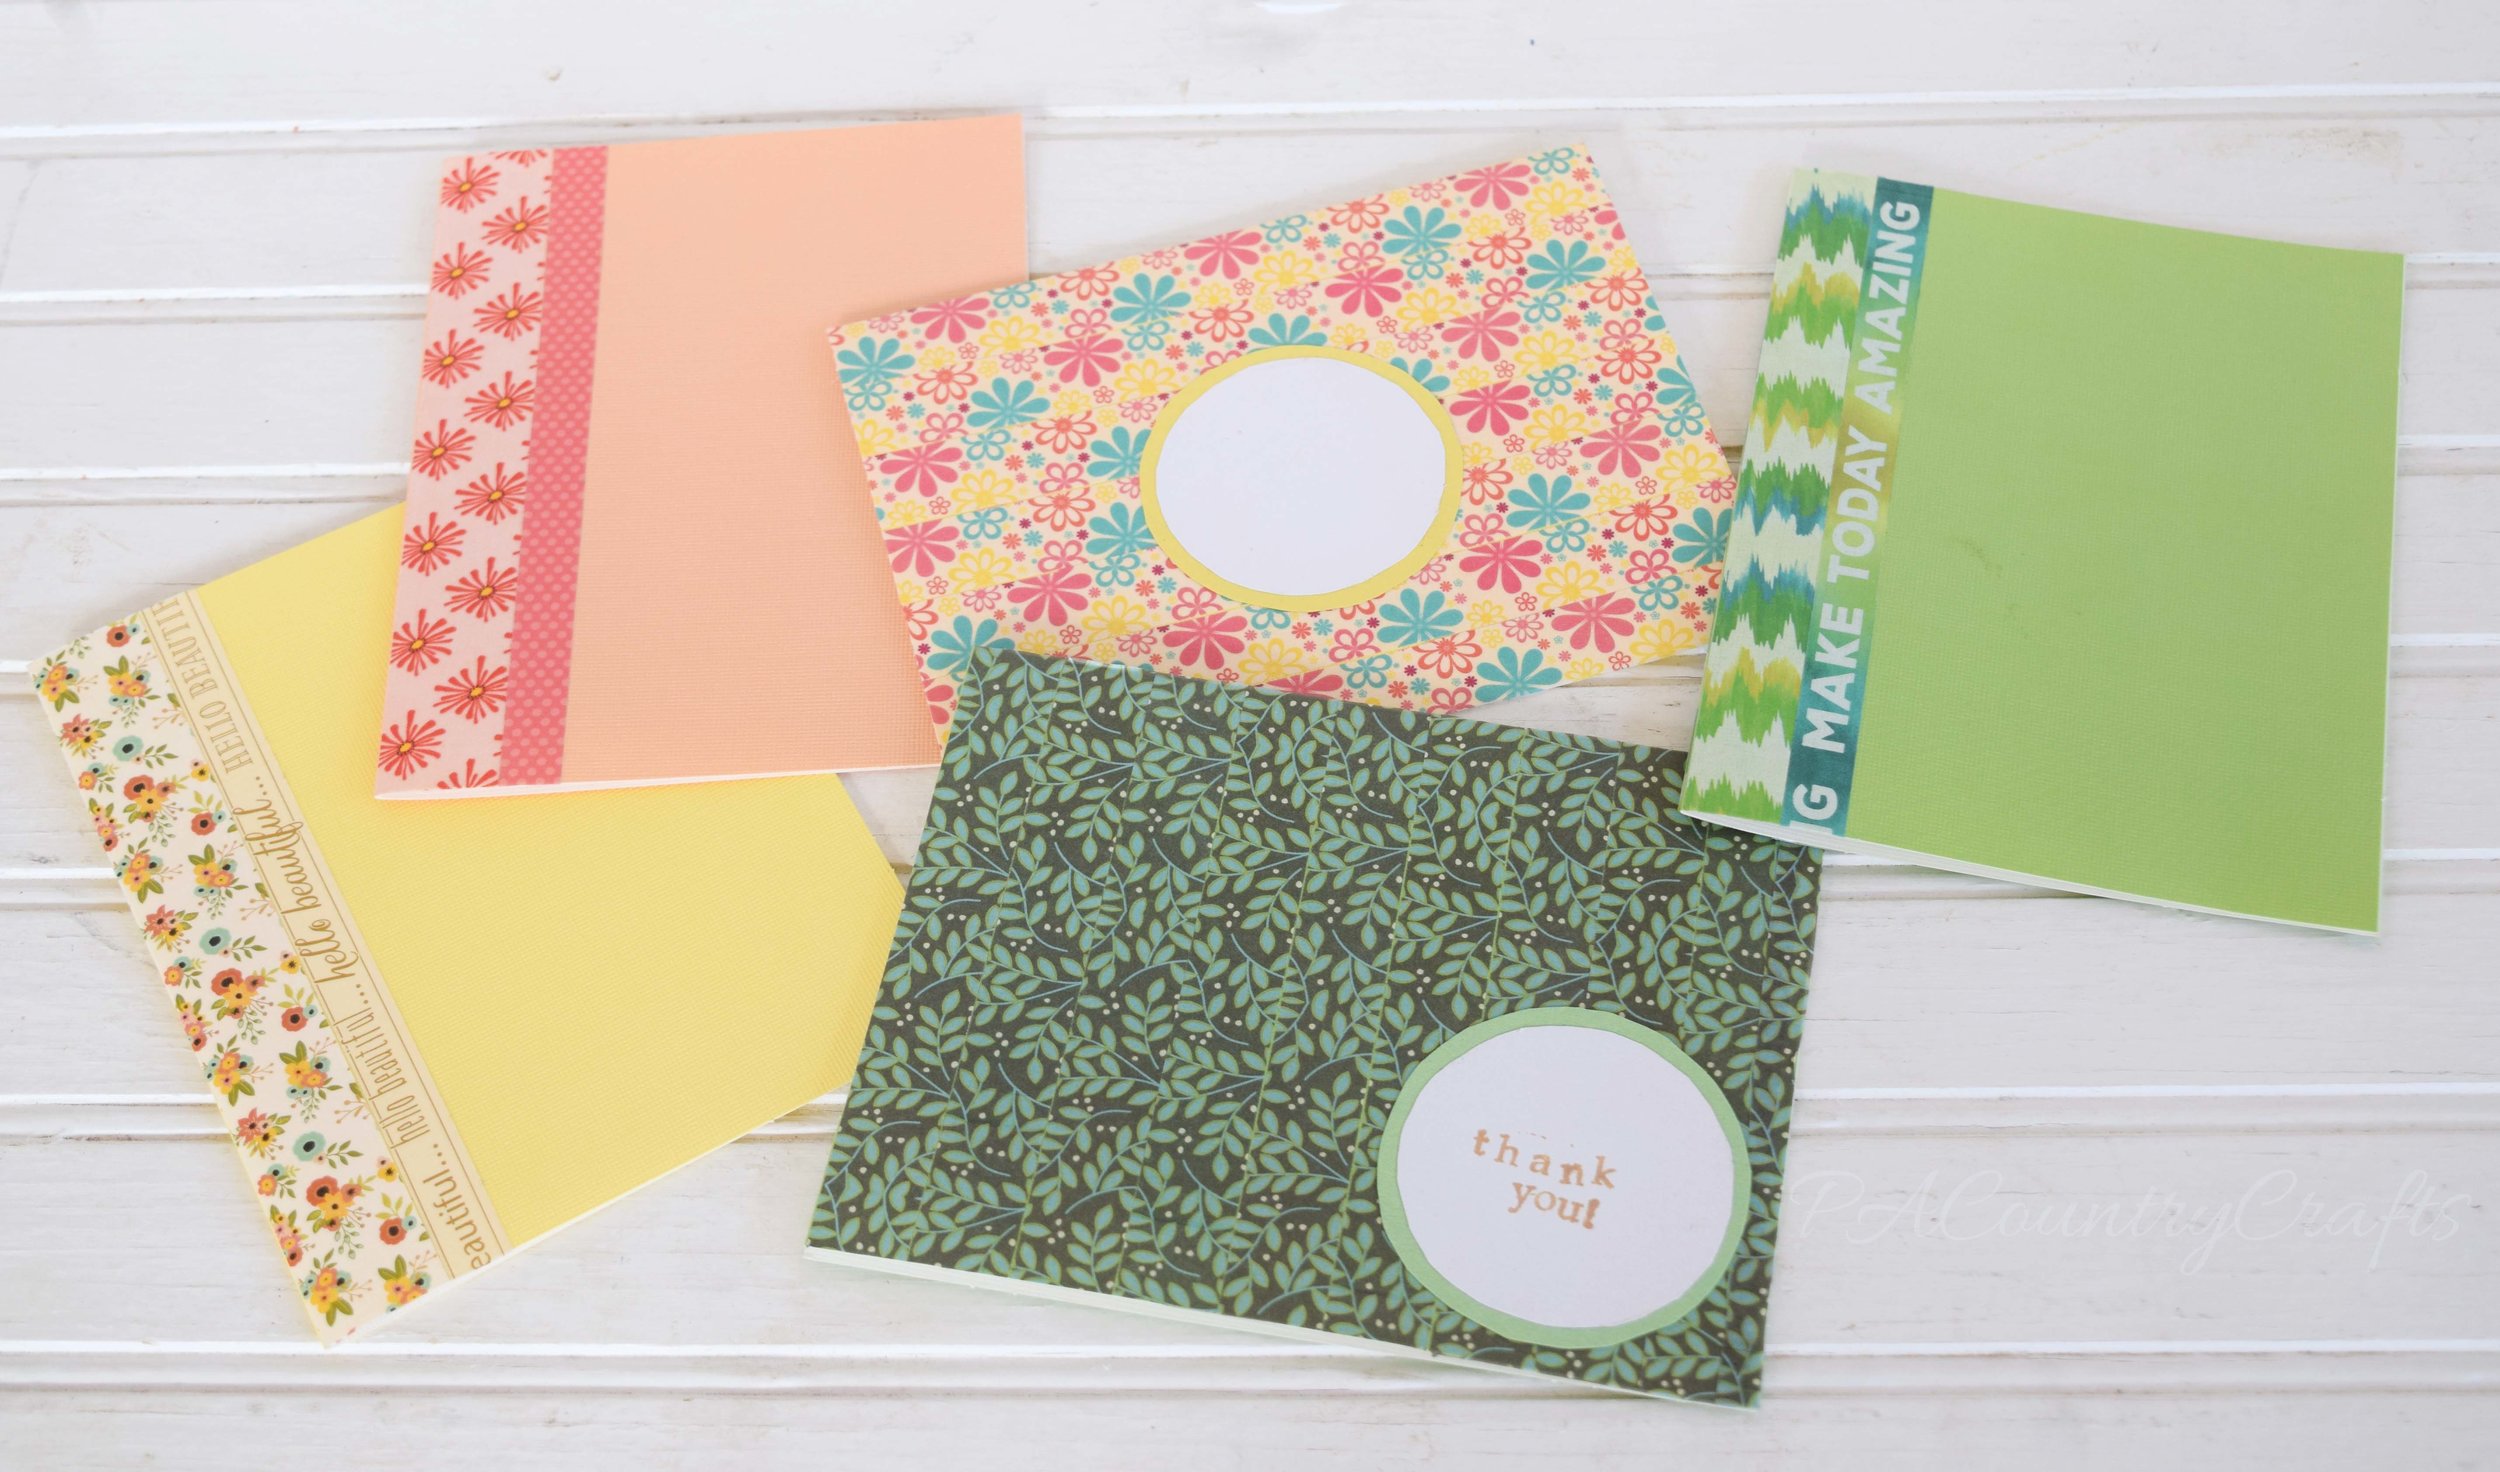
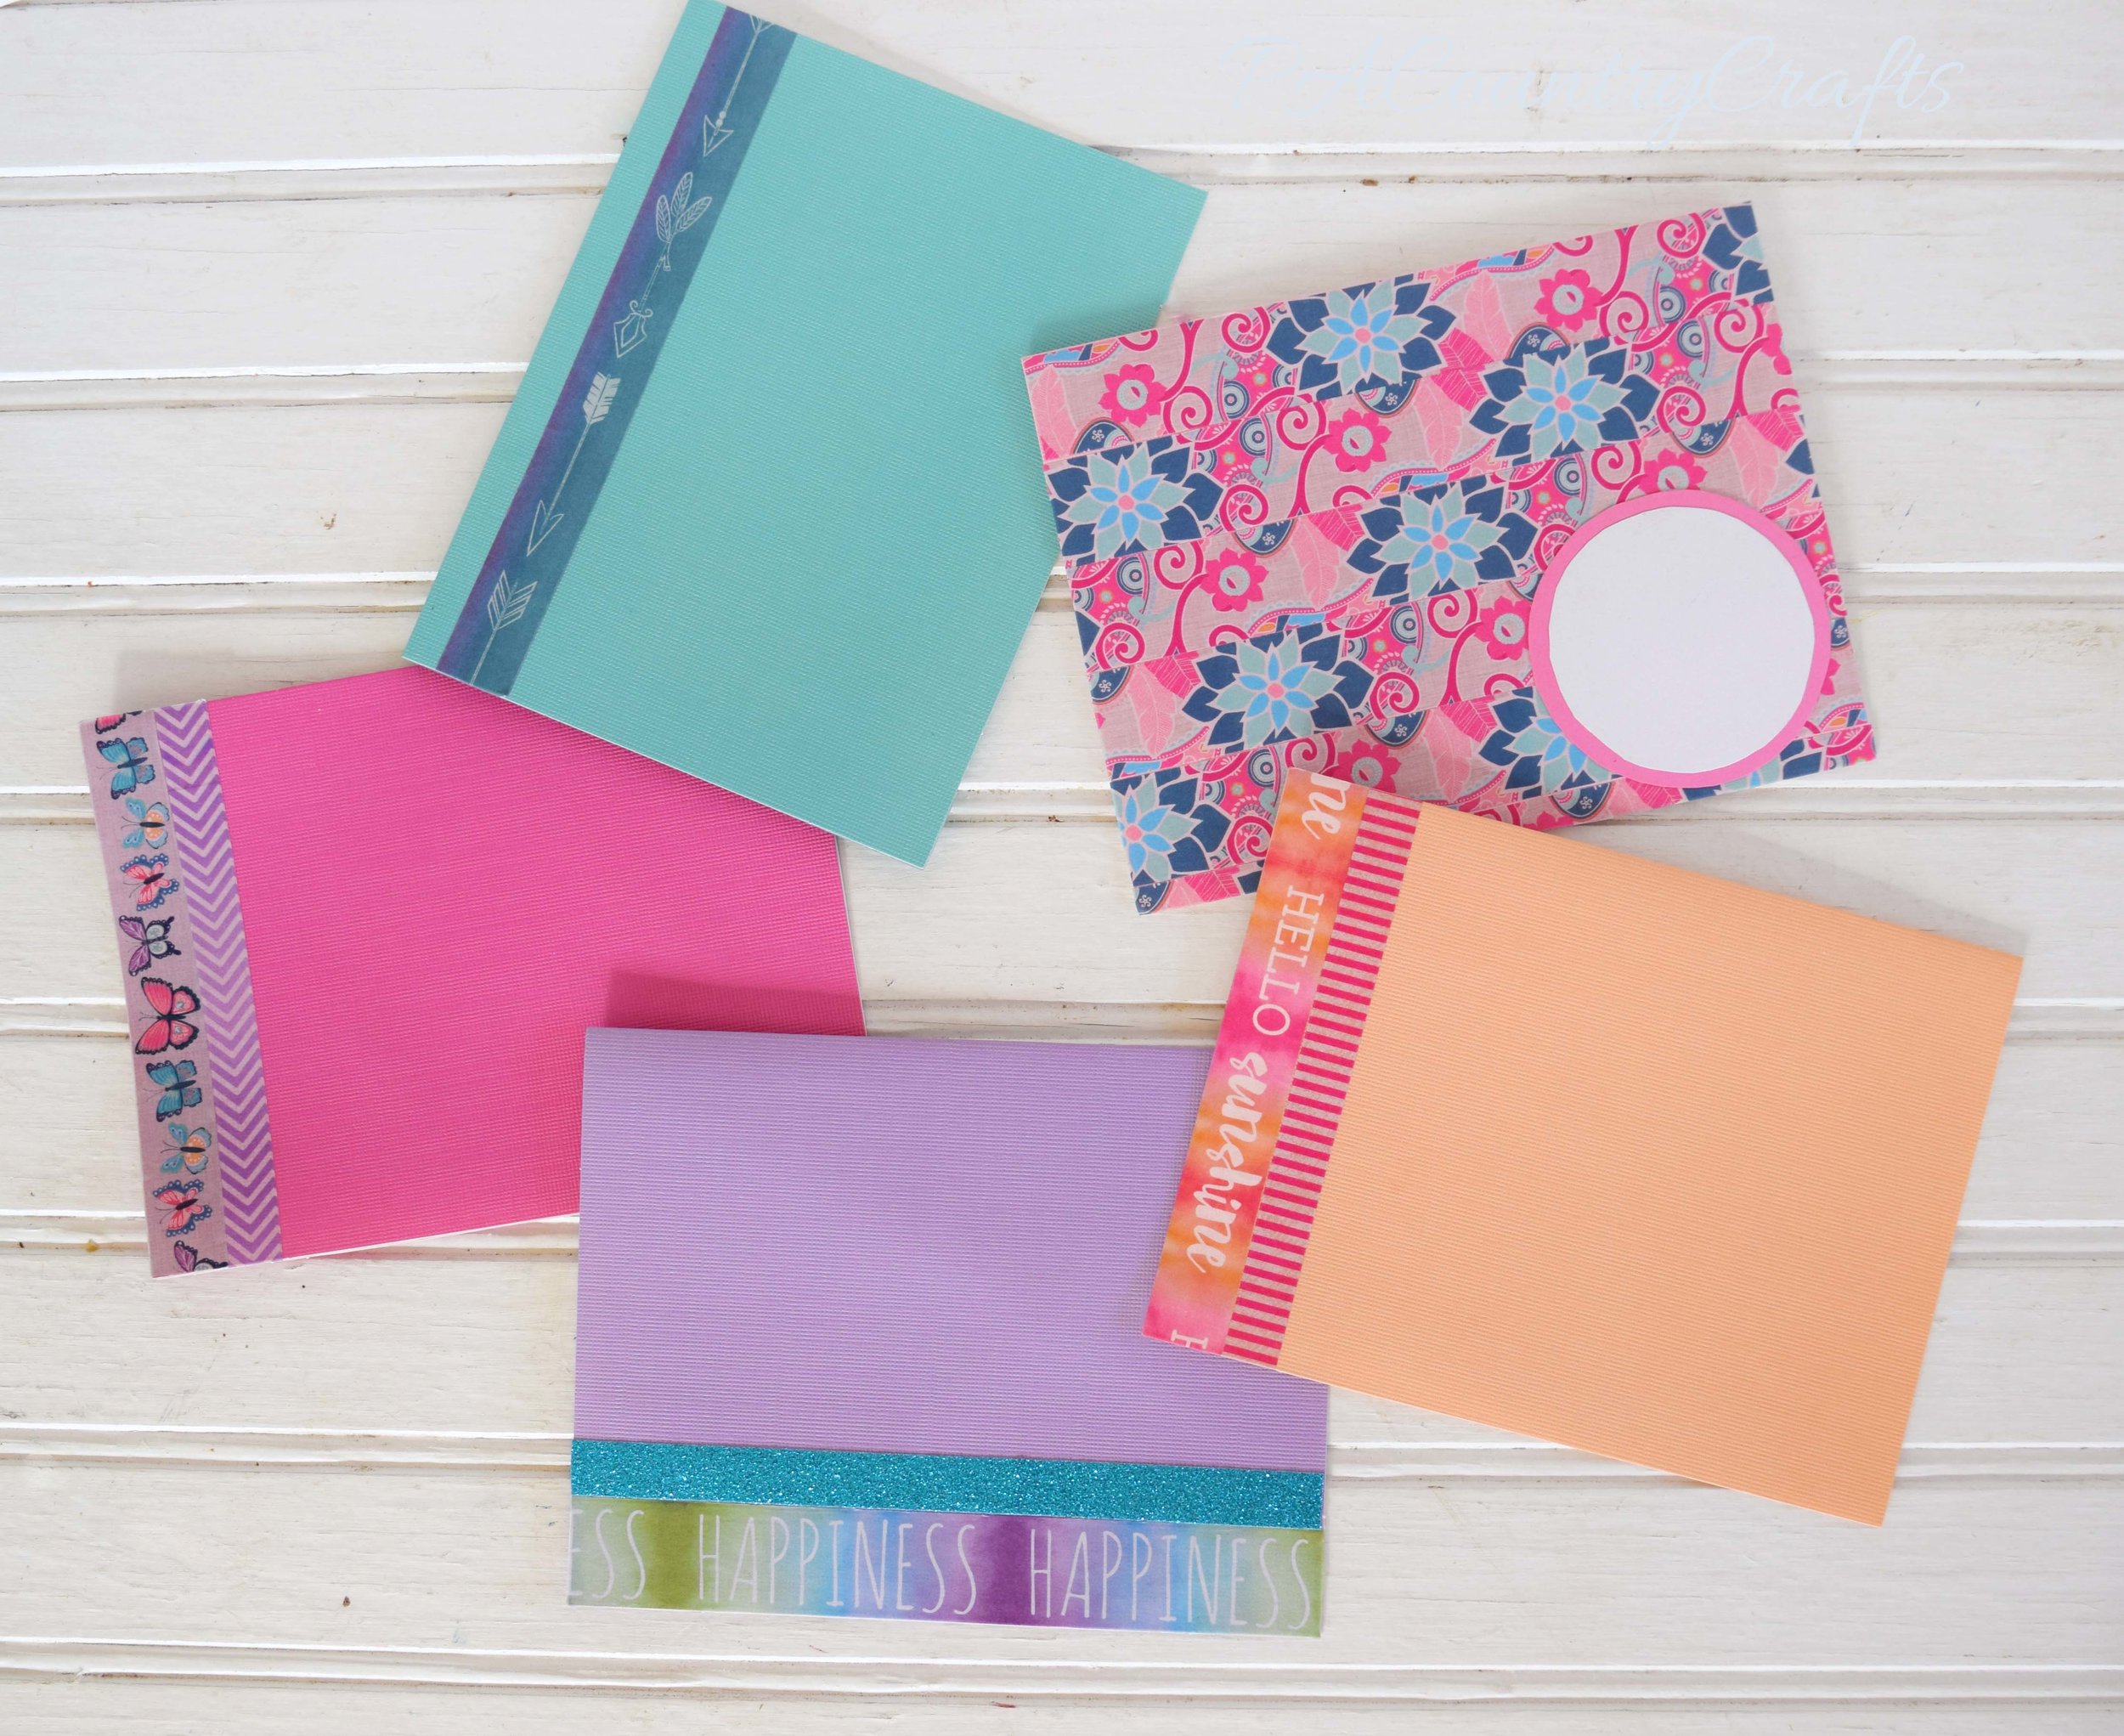
A lot of times when I buy my washi tape, they come in matching sets of two or three. Below are some of the tapes I matched together and and used on the cards. Some of them don't have their "caption boxes" yet, but usually if it's a taped background, I use a solid colored circle to surround the caption box, and if it's a solid background I include one of the tapes on the card to surround it.

Simple washi tape cards- so easy and fun!

And Some More Cards...

Washi tape cards that anyone can make!

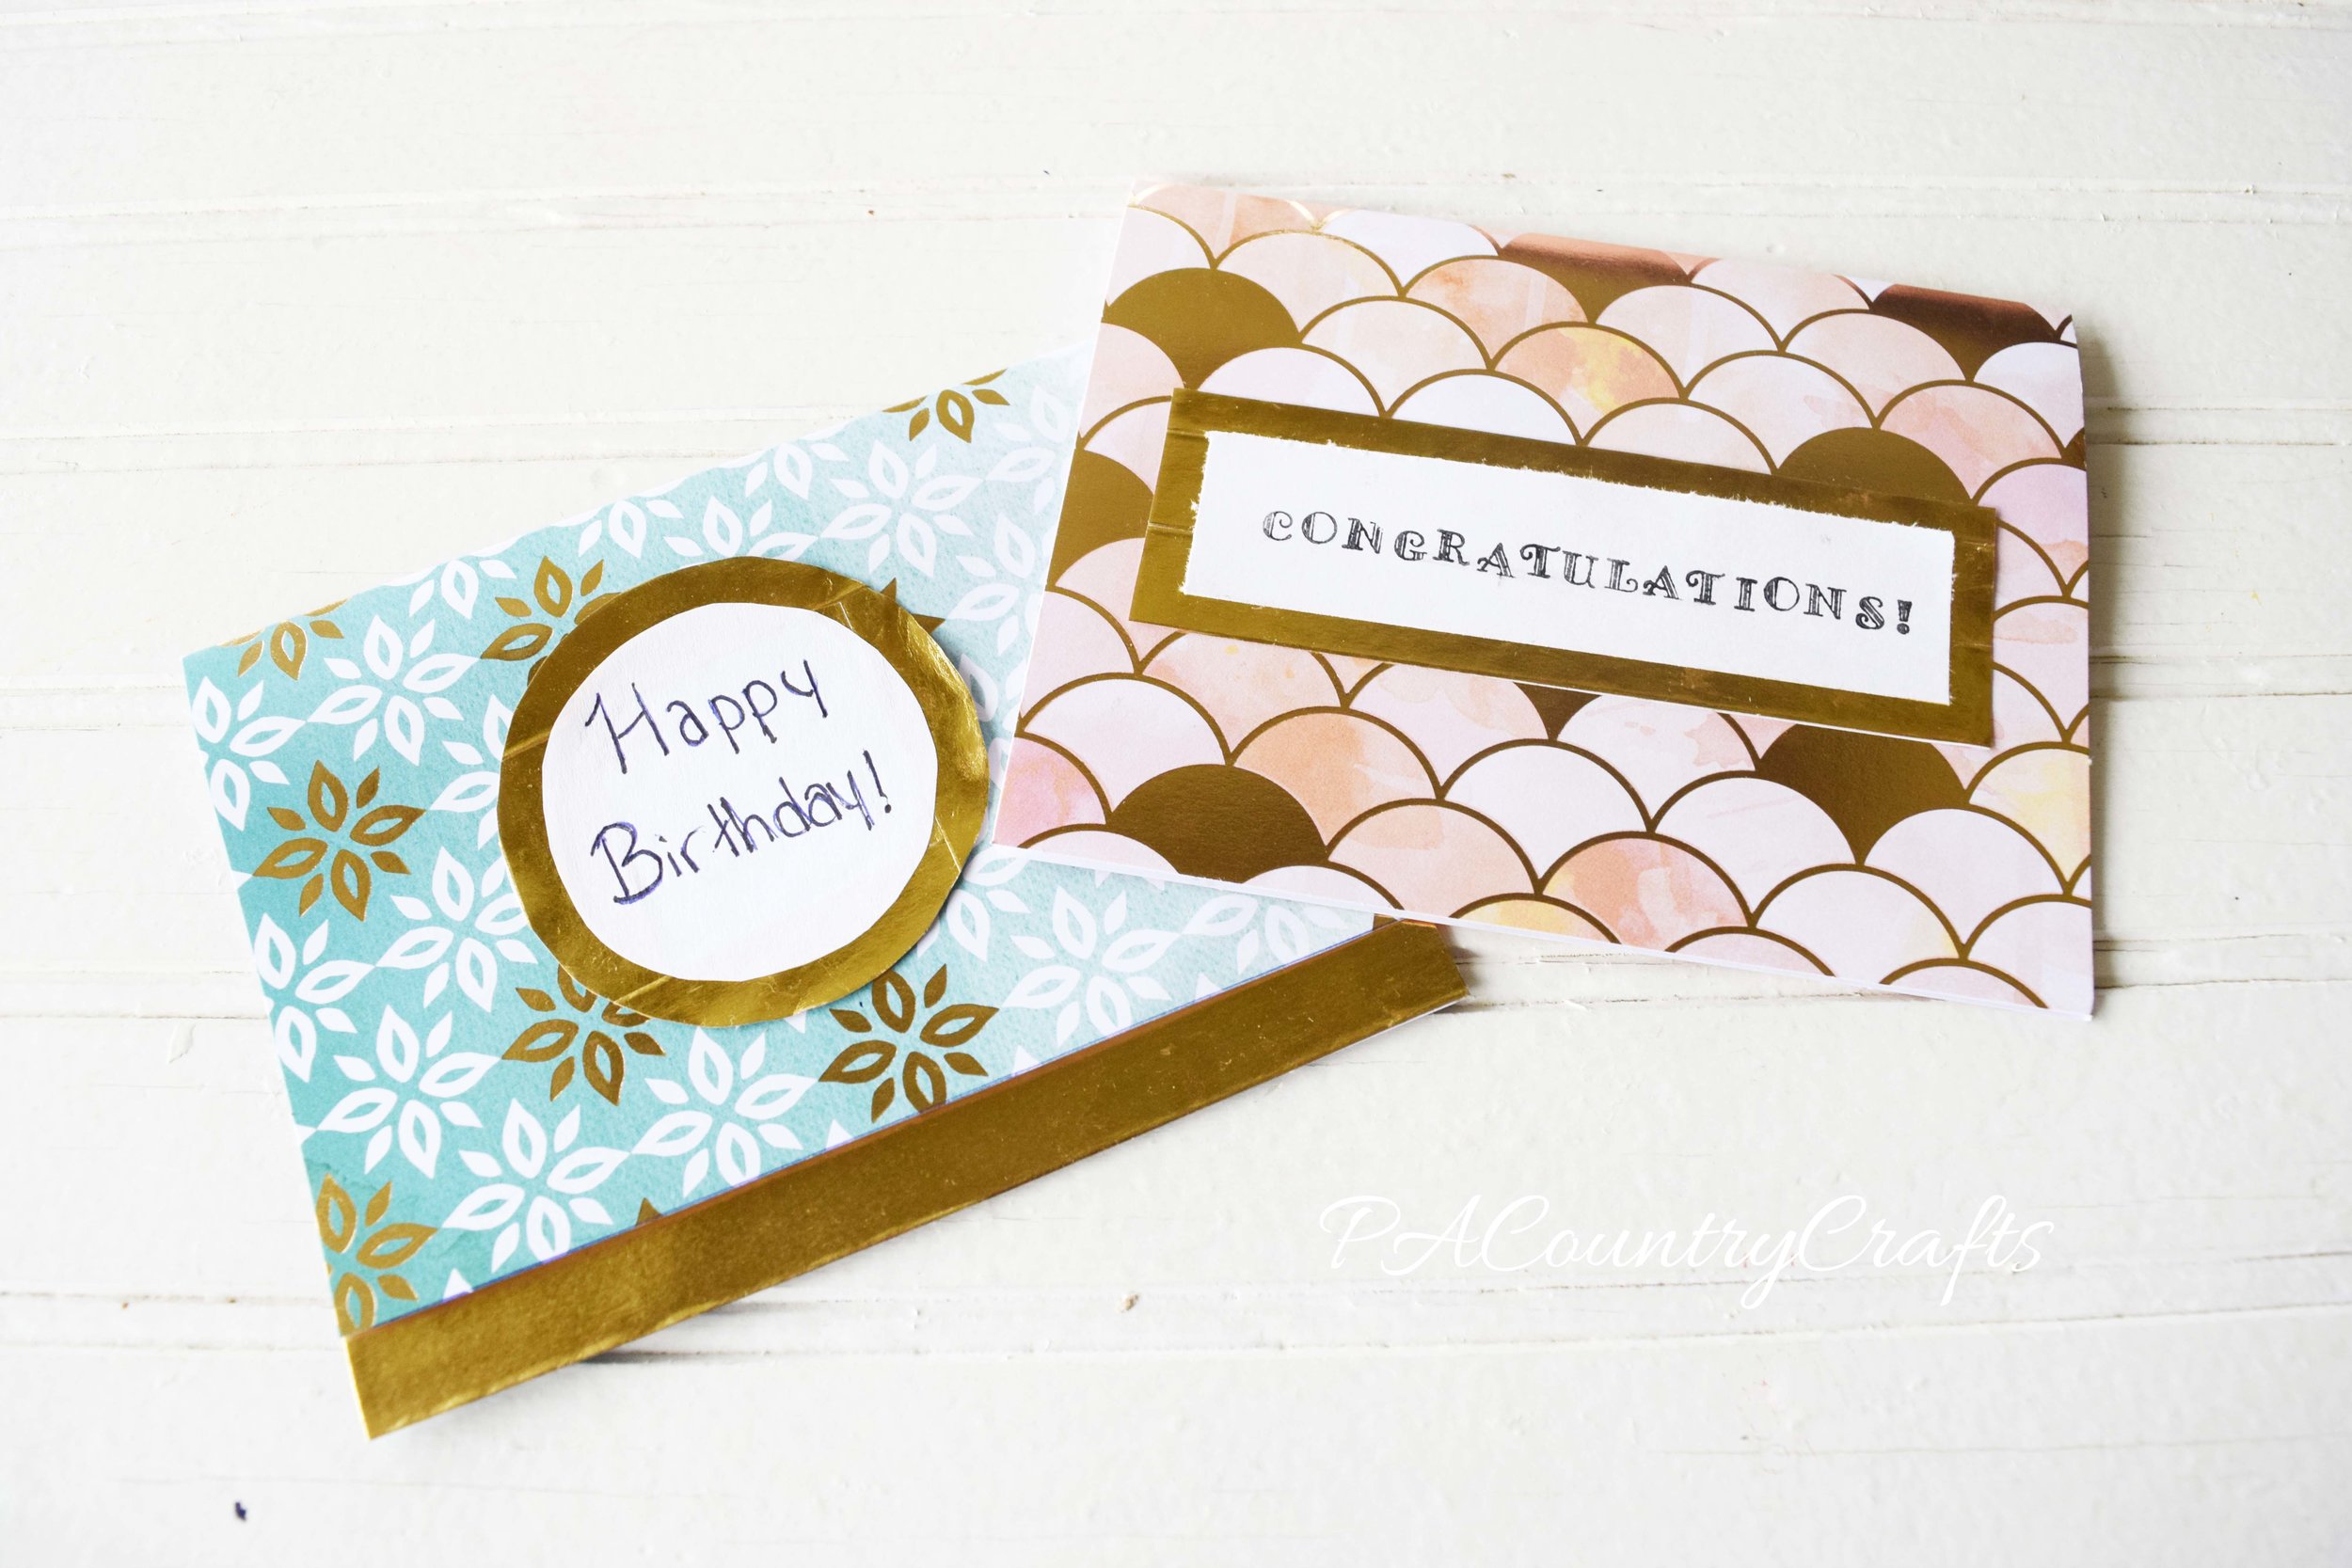
I made these cards just recently using cards that I bought and, some metallic washi tape to really set them off.

metallic-washi-tape-cards

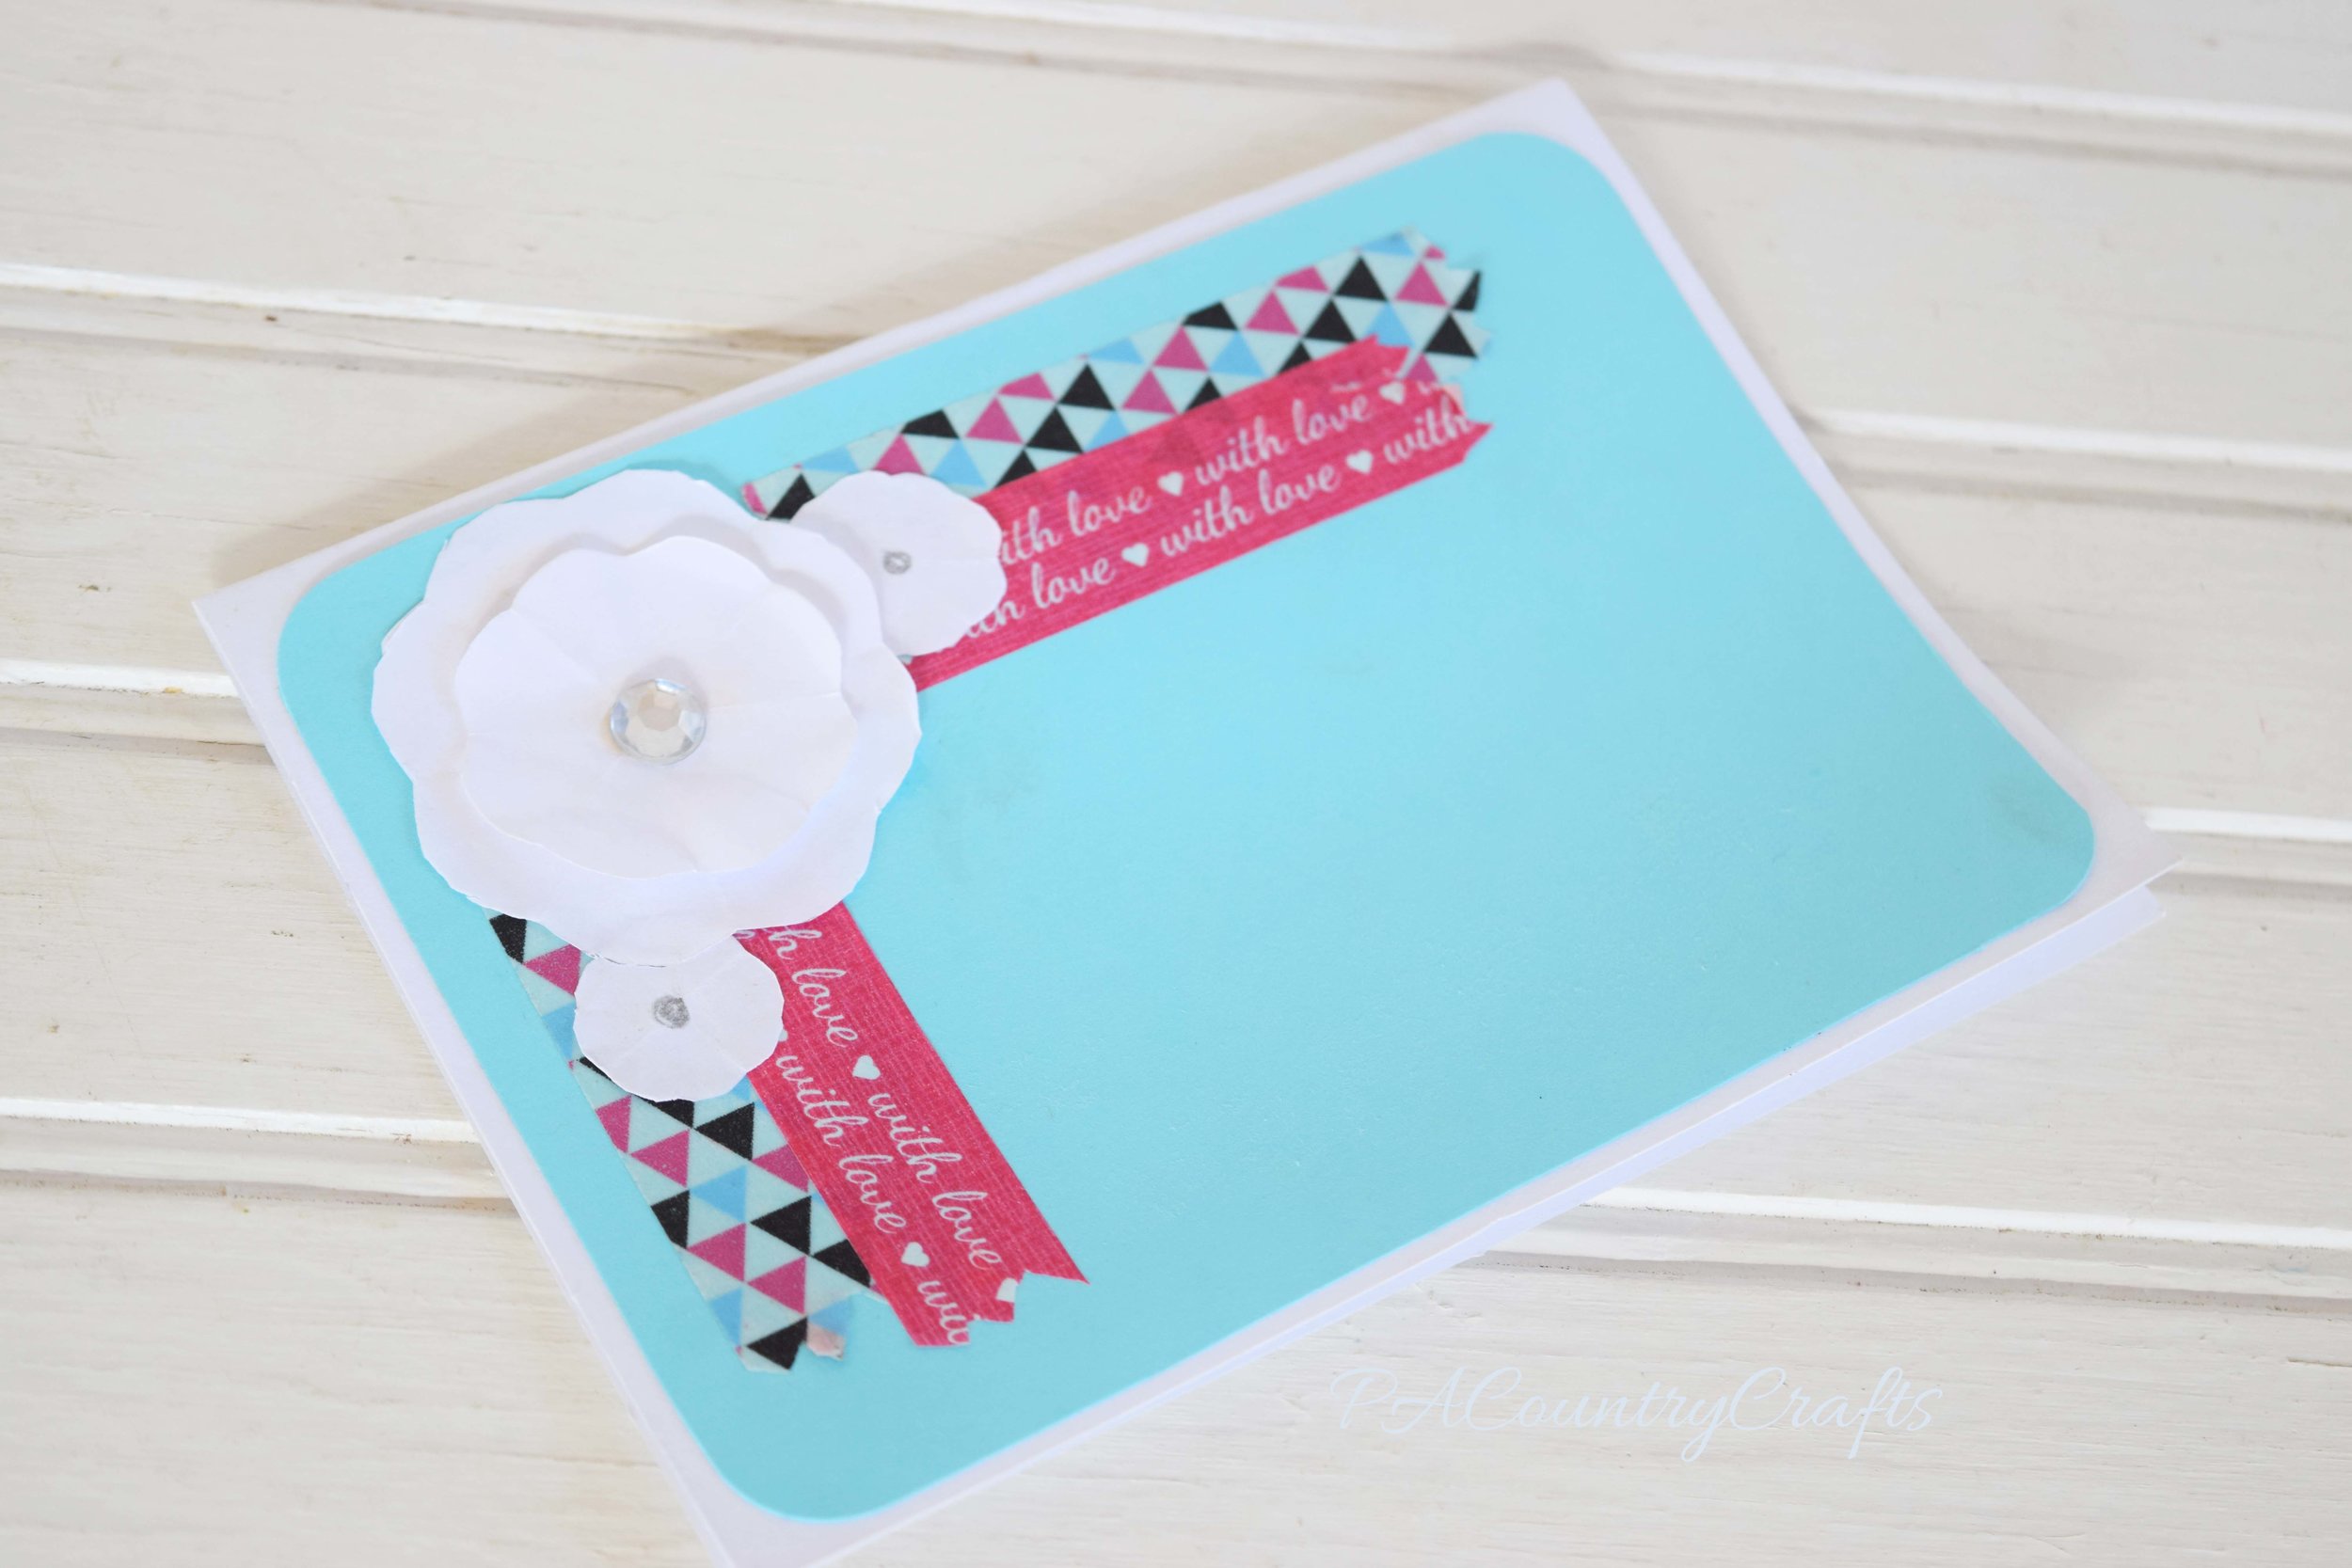
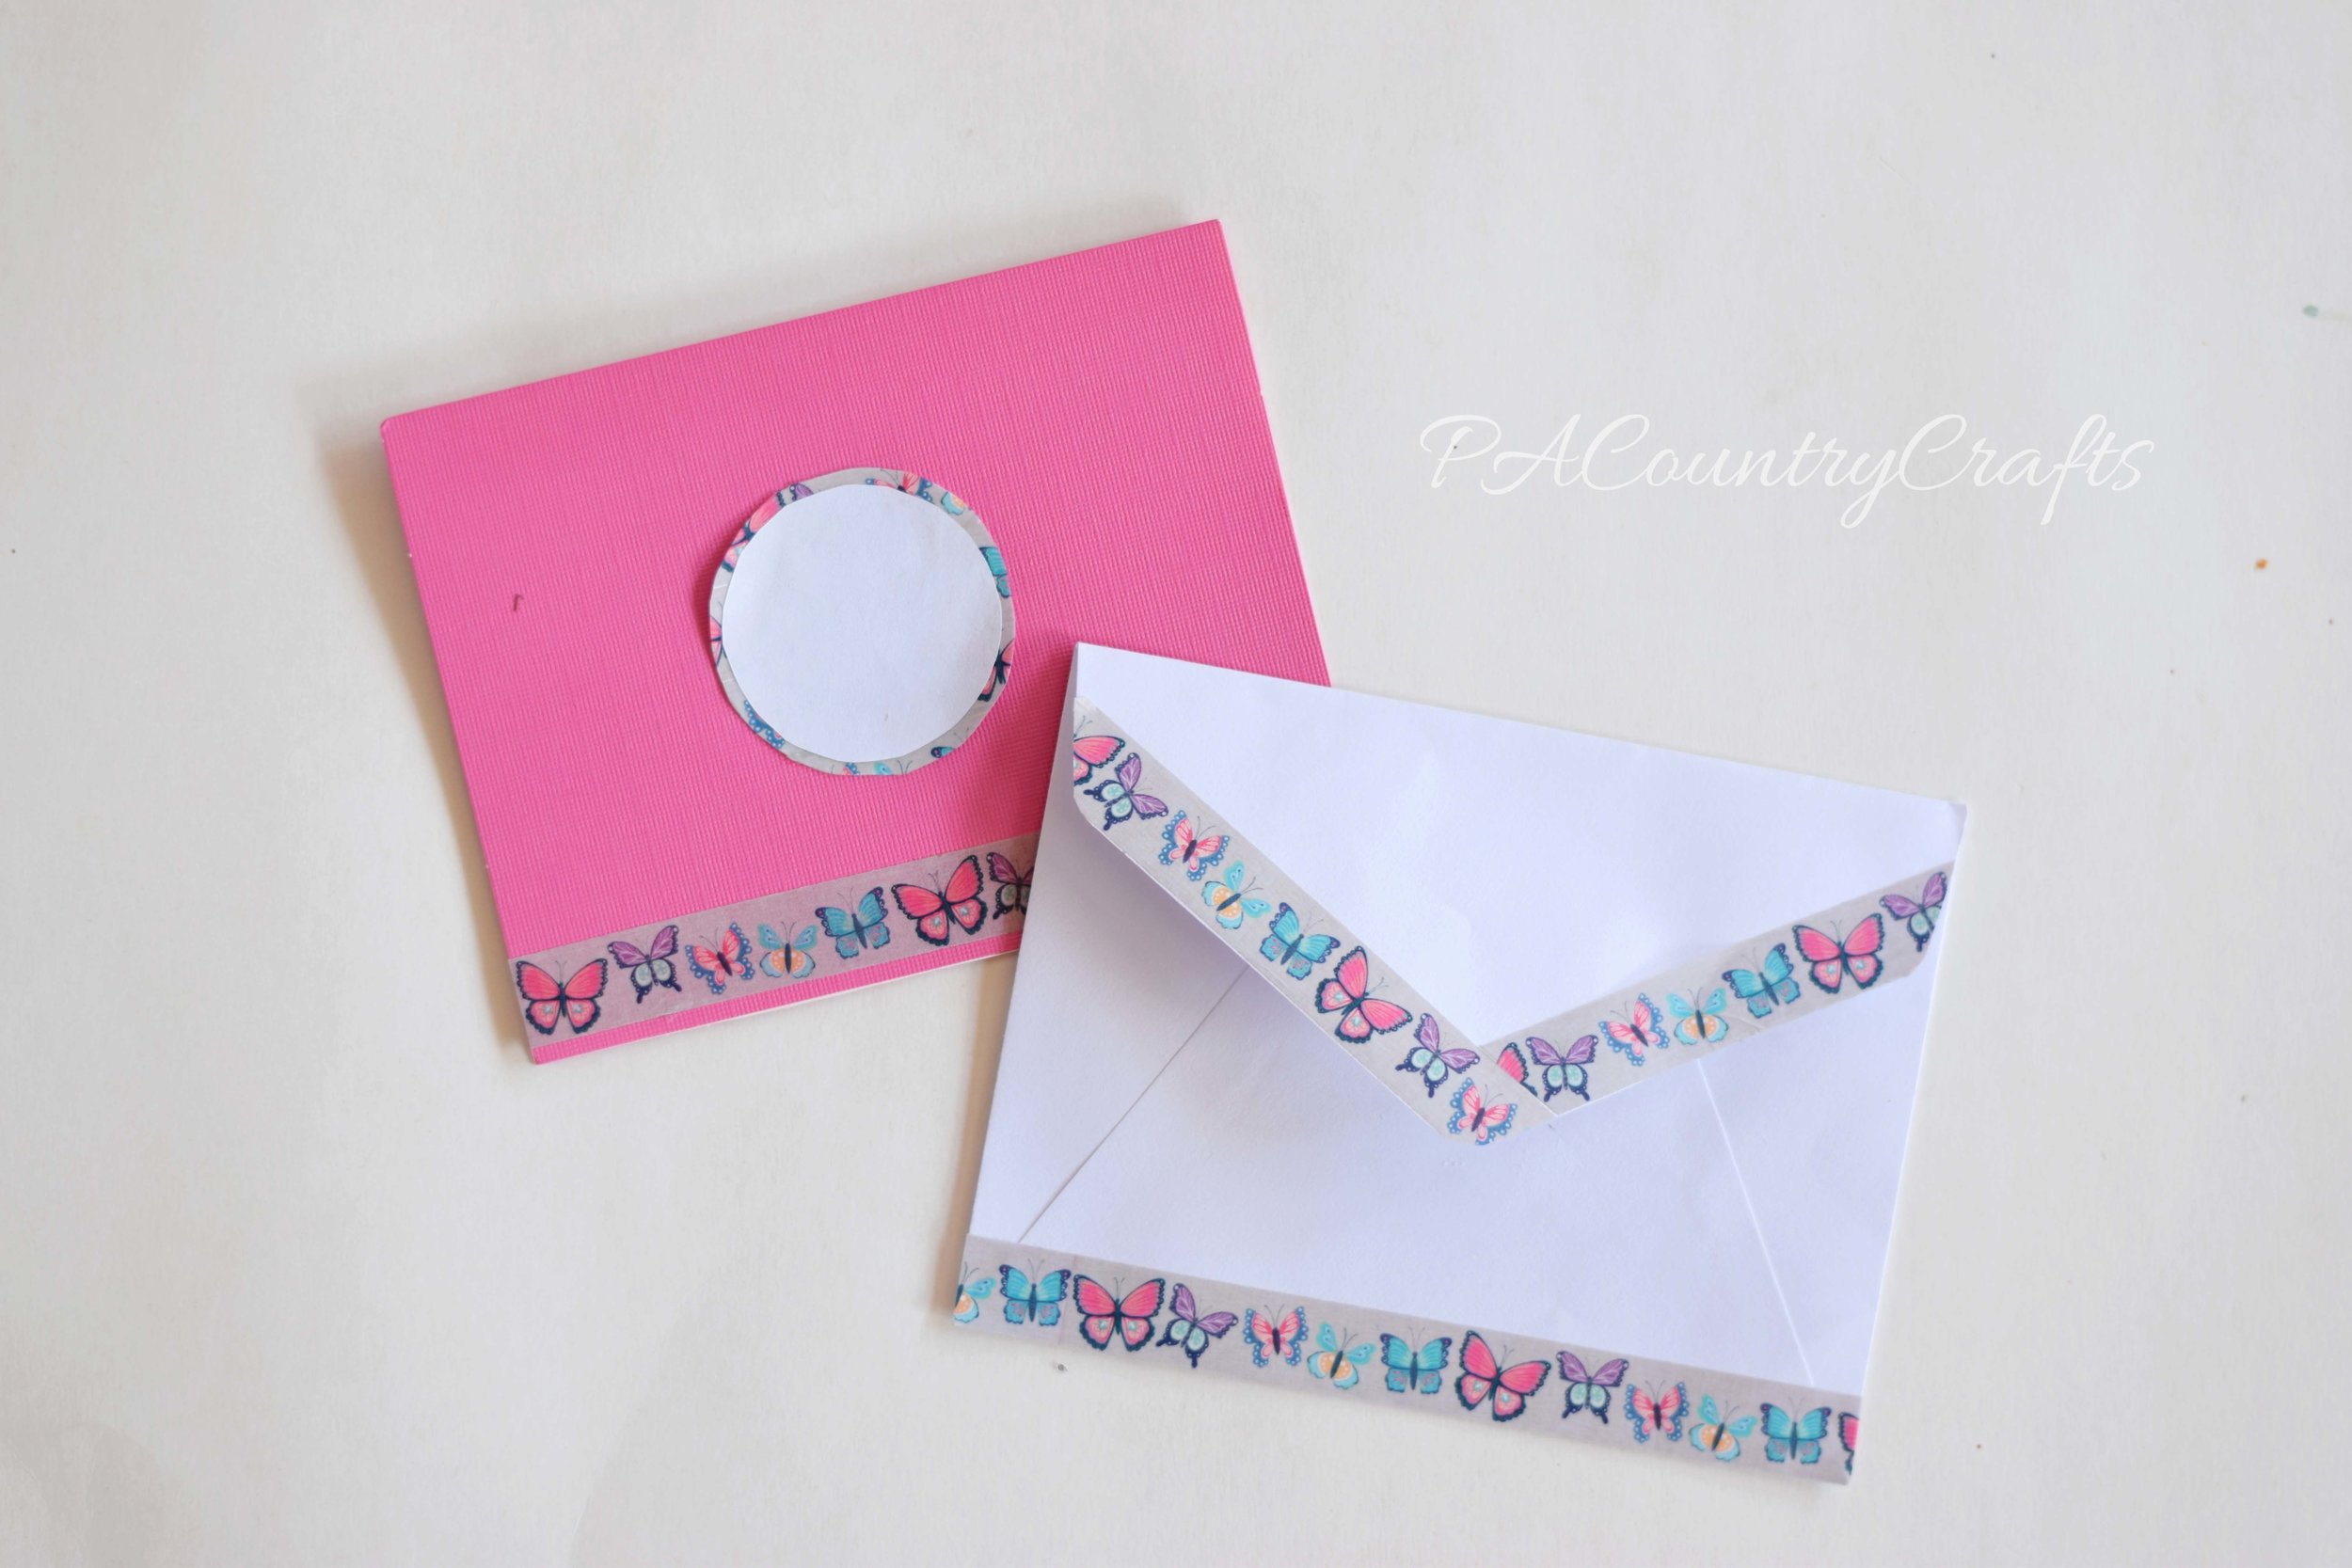
If the card isn't cute enough already you can add something simple and adorable to spice things up. All you have to do is border the envelope with one of the washi tapes used on the card. You can even add a strip on the front of the envelope to add a little extra cuteness to it. It just makes people more excited to get it in the mail!

Use washi tape to decorate envelopes!

Thanks so much for reading my post. I hope you liked it! Be sure to stay tuned for the rest of Washi Week!

If you want to pin it for later...


Use blank cards and washi tape to make cute greeting cards for any occasion!

Scrapbook Paper Picture Frame Tutorial

April is generally the craft month for our MOPS group. We wanted to come up with something that every mom could use... picture frames! At the March meeting we set up a photo booth with two background choices: an aqua sheet thumbtacked to the divider with THIS pink and yellow bunting or a navy sheet thumbtacked to the divider with some yellow stars that are part of our "Starry Eyed" meeting decor. They were simple, but beautiful (and FREE!) One of our steering team members is also a talented photographer. She has a good eye for capturing those special moments. She photographed the moms as they came in with their little ones and we got free 4 x 6 prints through the Shutterfly app printed before the April meeting. We figured if there was a picture to put in the frame right away it would be used.

Cute and easy MOPS craft with picture frames!

The frames were easy and inexpensive. I got them at Michaels and used a 30% off your entire purchase coupon so they were only 70 cents each. We also used up leftover paper from our journal craft in September (see HERE). I picked up some more scrapbook papers in neutral and blue colors that would be better for pictures with the navy background.

DIY book page picture frame

Scrapbook paper over a wood frame...

MOPS photo booth and picture frame craft

I have made these frames before and you can see some of them in my daughters' collage wall HERE. It is the perfect craft for a ladies night or a group. You can add little embellishments like baker's twine, washi tape, fabric flowers, die-cuts, etc. so they will all be unique. In addition to flat frames like these, you can use this same technique on any flat wood surface. I made a mustache for the collage wall, too!

Easy group craft- scrapbook paper covered picture frames!

Here is what you need:

~wood frame ~mod podge ~foam brush ~sandpaper ~scrapbook paper ~scissors ~pencil ~embellishments (optional) ~paint (optional)

Easy DIY frame craft with scrapbook paper, cheap wood frames, and mod podge.

I began by painting the edges of the frames just to make the finished product a little nicer. I used white acrylic.

Paint the edges of frames for a nicer finish

Lightly sand the frame to remove any rough edges or extra paint. (My craft table is a disaster! #keepitreal)

how to prep a wood frame for decorating

Trace the frame on the wrong side of the paper (so you don't see pencil marks in case you mess up).

how to make scrapbook paper frames

Cut out the frame shape you traced, but leave a little extra outside the pencil lines. Always go big, not too small!

Cute paper to cover wood frames

Brush a layer of mod podge onto the frame. It should be a fairly thick layer, but it should all be smoothed out- no runs or lumps.

mod-podge-frame

Lay the paper on top of the frame, lining up the center opening and edges as best as you can. There should be a little extra all around.

How to cover a wooden frame with paper

If you get big wrinkles, you can take it off and redo it, but only if you are fast about it. Some wrinkles can be pushed out by hand, or you can even try scraping with a credit card. Just smooth it all out the best that you can and let it dry. We did our "speed friending" activity awhile.

Then, it is time to sand the extra paper off of the edges. Make sure to use a perpendicular, downward motion (if you have ever done Jamberry nails it is the same technique!) Don't ever push the sandpaper back upward or you might lift the paper. Just keep scraping down at as close to a 90 degree angle as you can. Use some muscle! It takes a bit of pressure to make it work. The paper will begin to loosen and peel off.

This tip helps you sand extra paper of the edges of mod podge frames for a clean finish.

The secret to getting perfect edges on mod podge picture frames...

Don't forget the inside, too. It looks very crisp and neat when you are done! Nothing at all like my messy table.

How to get clean edges on a paper covered frame

It is a good idea to seal it by brushing on a thin layer of mod podge. If you want to add embellishments, just brush a little mod podge on, stick it on top, then just brush over the whole frame.

Cute embellishments on a DIY frame. Mod podge is great!

See? It dries clear.

Easy picture frame craft project!

You can also add washi tape to a dry frame and lightly seal over that.

Washi tape on a DIY picture frame

Pretty easy, right? I think the sanding is the trick to this. And now, on a nicer background than my icky table...

Mod podge, scrapbook paper, and washi tape make this cute frame!

There is a lot that you can do with these. They don't take too long and don't cost much to make. If you mess up and get too many wrinkles, you can always rip the paper off, sand, and try again. Or, you can call it "texture" and just go with it. No one will see small wrinkles from across the room. Just you.

scrapbook paper mod podge frames

Feel free to pin it for later...

Use scrapbook paper and cheap wood frames to make a cute craft - perfect for craft nights and groups!

You may also like...

composition-book-journal

Composition Book Journals

recovered-compostion-books_edited-1.jpg

composition-book-journal
I am super excited to be leading creative activities for our MOPS group this year! For our first meeting, I was asked to come up with a craft project. I put a lot of thought into it and spent a lot of time on Pinterest. ;) I ended up deciding on these composition book journals. It was a very economical craft project and there are some materials left over for some future projects, too. I got a cute scrapbook paper pad on sale at Joann's, then cut each of the 180 pages into pieces the size of the composition book covers. (That took a long time!) I gathered some cute embellishments- ribbon, ric rac, lace, stickers, washi tape, etc. I also stamped some cardstock with some cute rubber stamps and cut them out to give more options. Extra paper trimmings, cardstock, and even paint samples gave everyone a lot of options. I cut some tag shapes out with my paper punch and stamped them with phrases like "starry eyed", "hope", and "wonder" to incorporate this years' theme. We also gave the options of using glue sticks or mod podge to adhere the paper to the book. Both seemed to work fine.

These are my best tips:

  • I cut my paper at 9 3/4" by 6 5/8"- double check your notebook size and if in doubt cut it bigger and trim later. It was more effecient to make a template, then use it mark the back of a paper lightly with pencil. Stack 3 or so together and use a paper slicer to cut them all at once. The leftover strips were spread out at the tables to be used as accents.
  • If using glue sticks, apply heavily to the paper, especially the edges. Use the side of your fist to smooth it all out.
  • If using mod podge, brush a thin layer onto the book and carefully smooth the paper onto it. Do NOT mod podge over the paper.
  • Keep checking the corners to see if they are lifting up and reapply glue as needed.
  • After it is dry, open up the book and trim any excess that may stick out over the edges and the corners.
  • Use hot glue to apply ribbon and ric rac. Other embellishments seem to be fine with glue sticks.
  • We added envelopes inside the covers to hold notes, papers, etc. Someone also covered the inside cover with scrapbook paper, which looked great if you have extra paper!
  • Make sure you have a wide variety of embellishments that coordinate with the papers.
  • Spread the embellishments out and make sure that there is enough room for people to gather around the tables.

These are the samples that I made before the meeting. They will be used as gifts to welcome new moms during the year.

Recovered Composition Books
The backs are also covered with coordinating papers.

Recovered journals- MOPS craft idea
MOPS Creative Activities Journals

Altered notebook craft project

Composition Book to Journal

Scrapbook Paper Covered Journals

I think this one is my favorite. It is simple, but so pretty!

Altered Composition Book
I incorporated this years' theme verse on the cover of this one. I couldn't find papers that coordinated with the Starry Eyed theme, so I added it in a few of the journals as best as I could.

DIY Bible Journal
MOPS Starry Eyed Journal Craft Idea

Altered Composition Books 
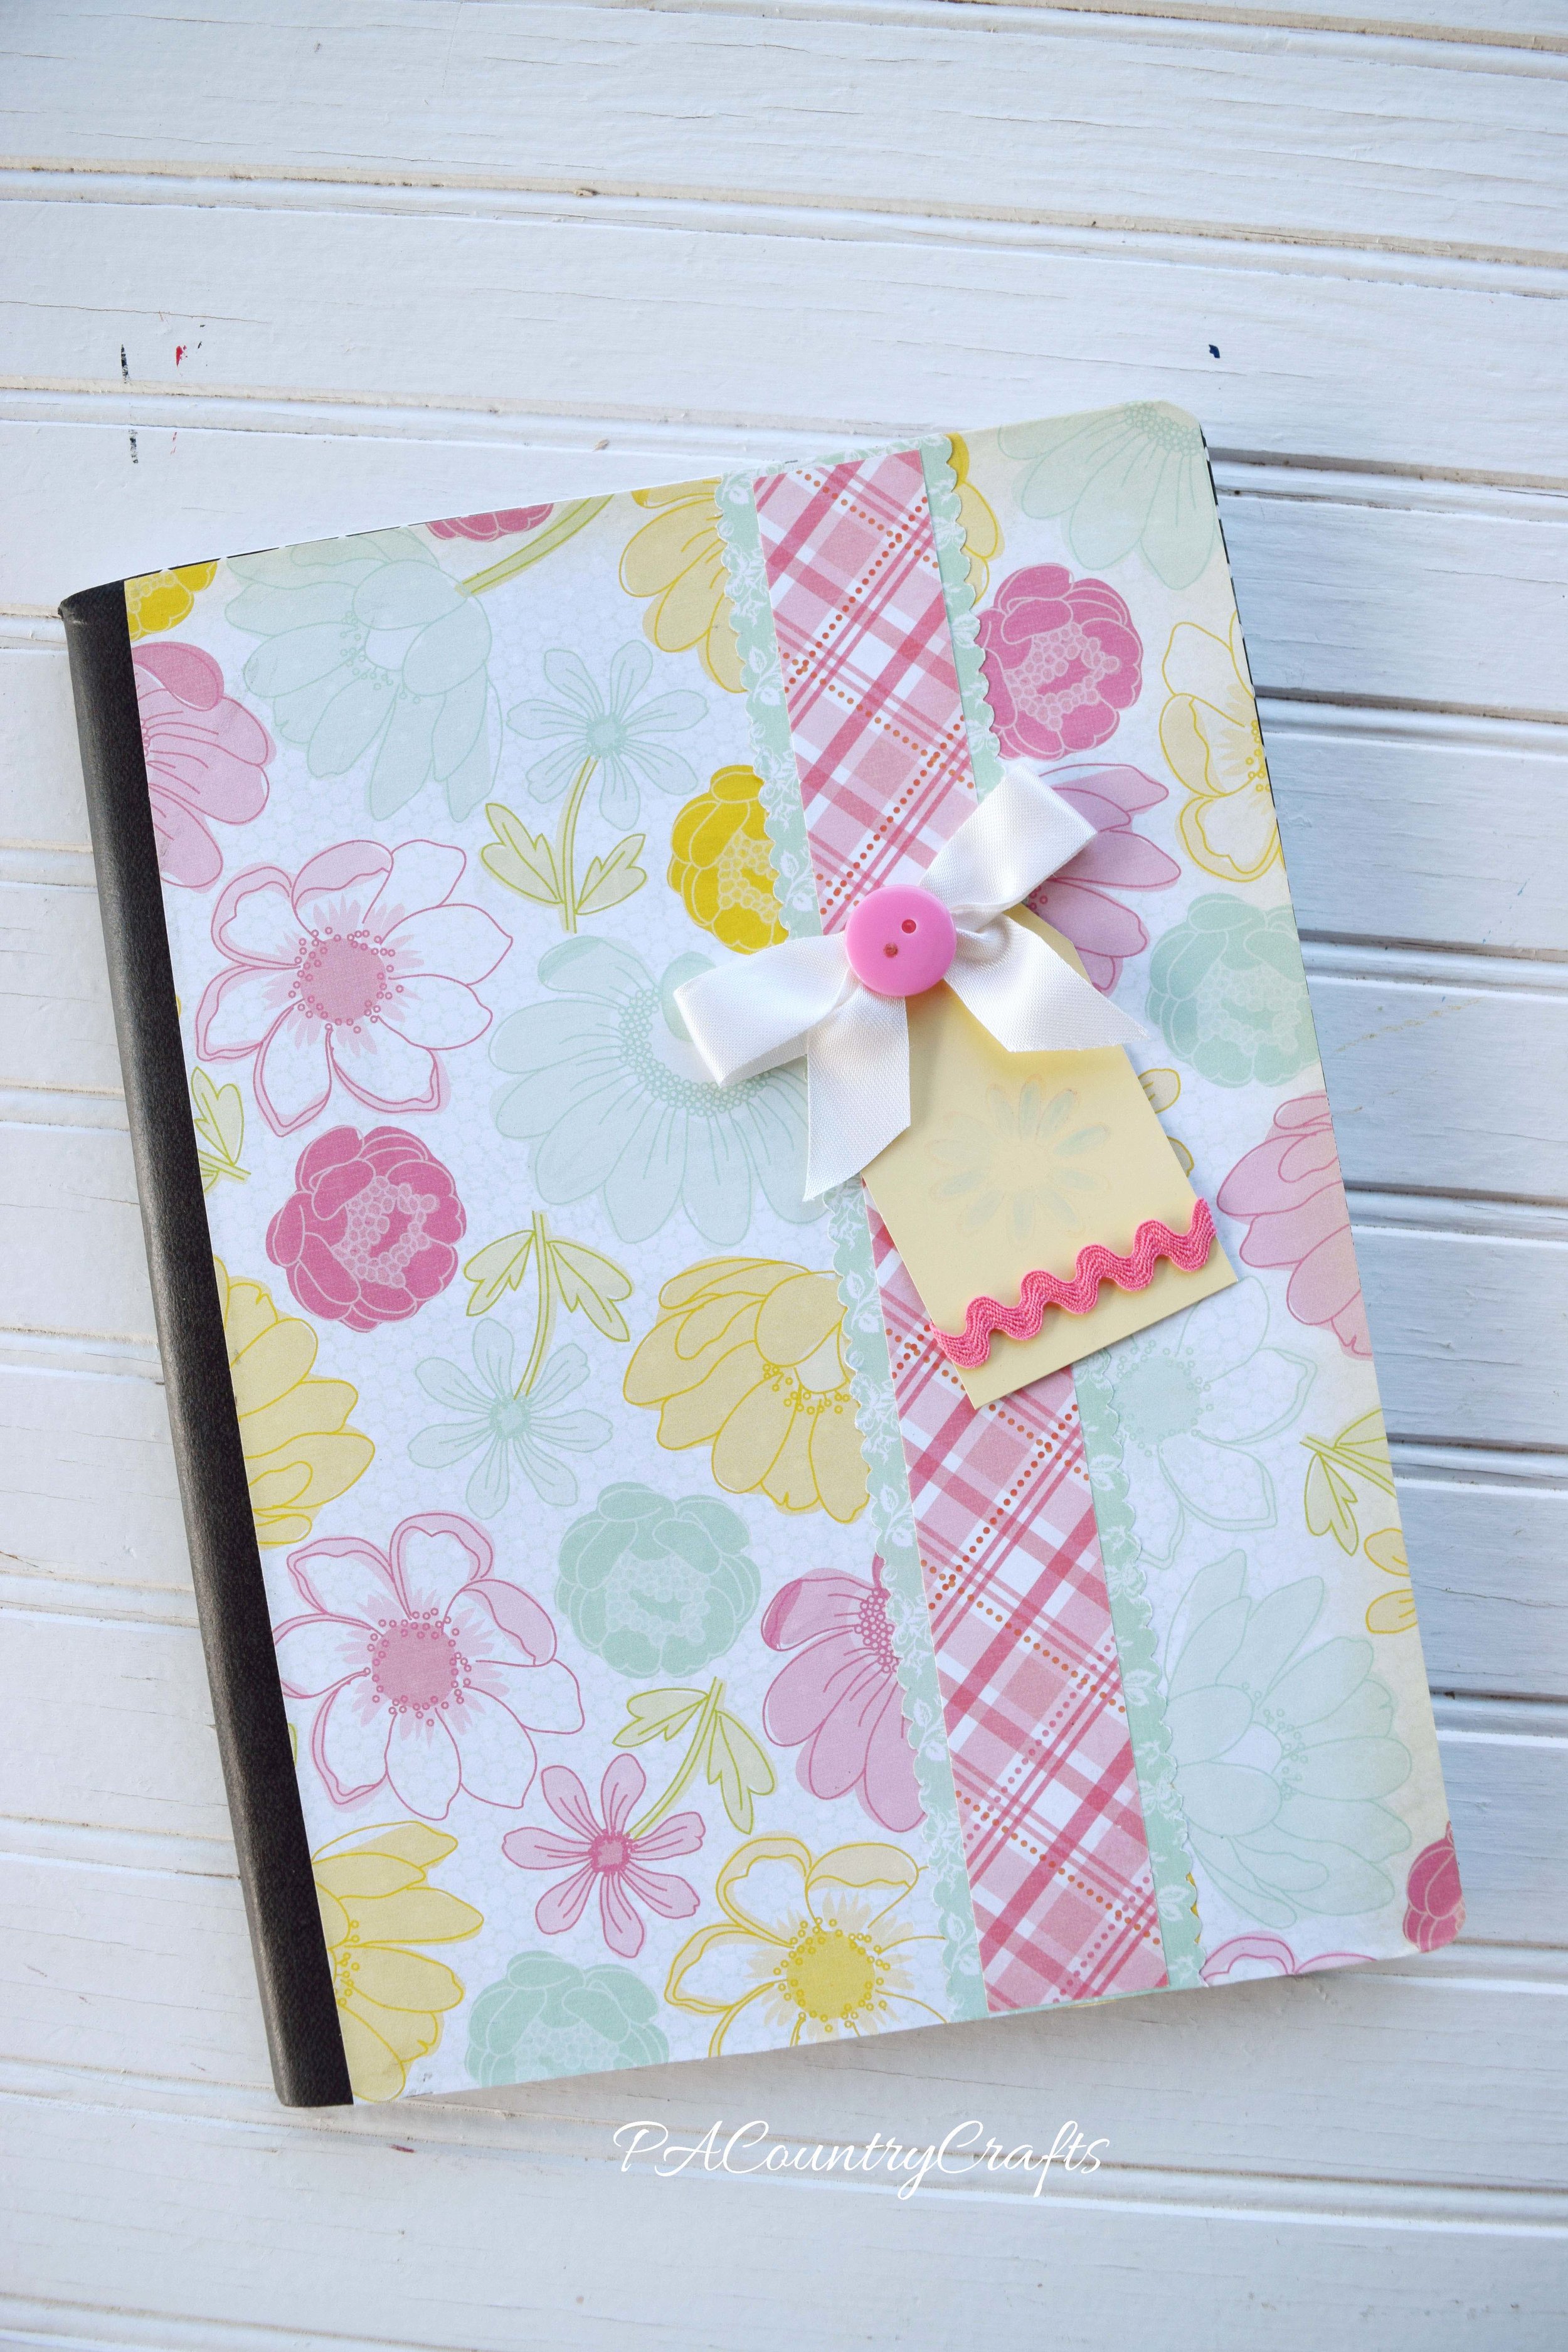
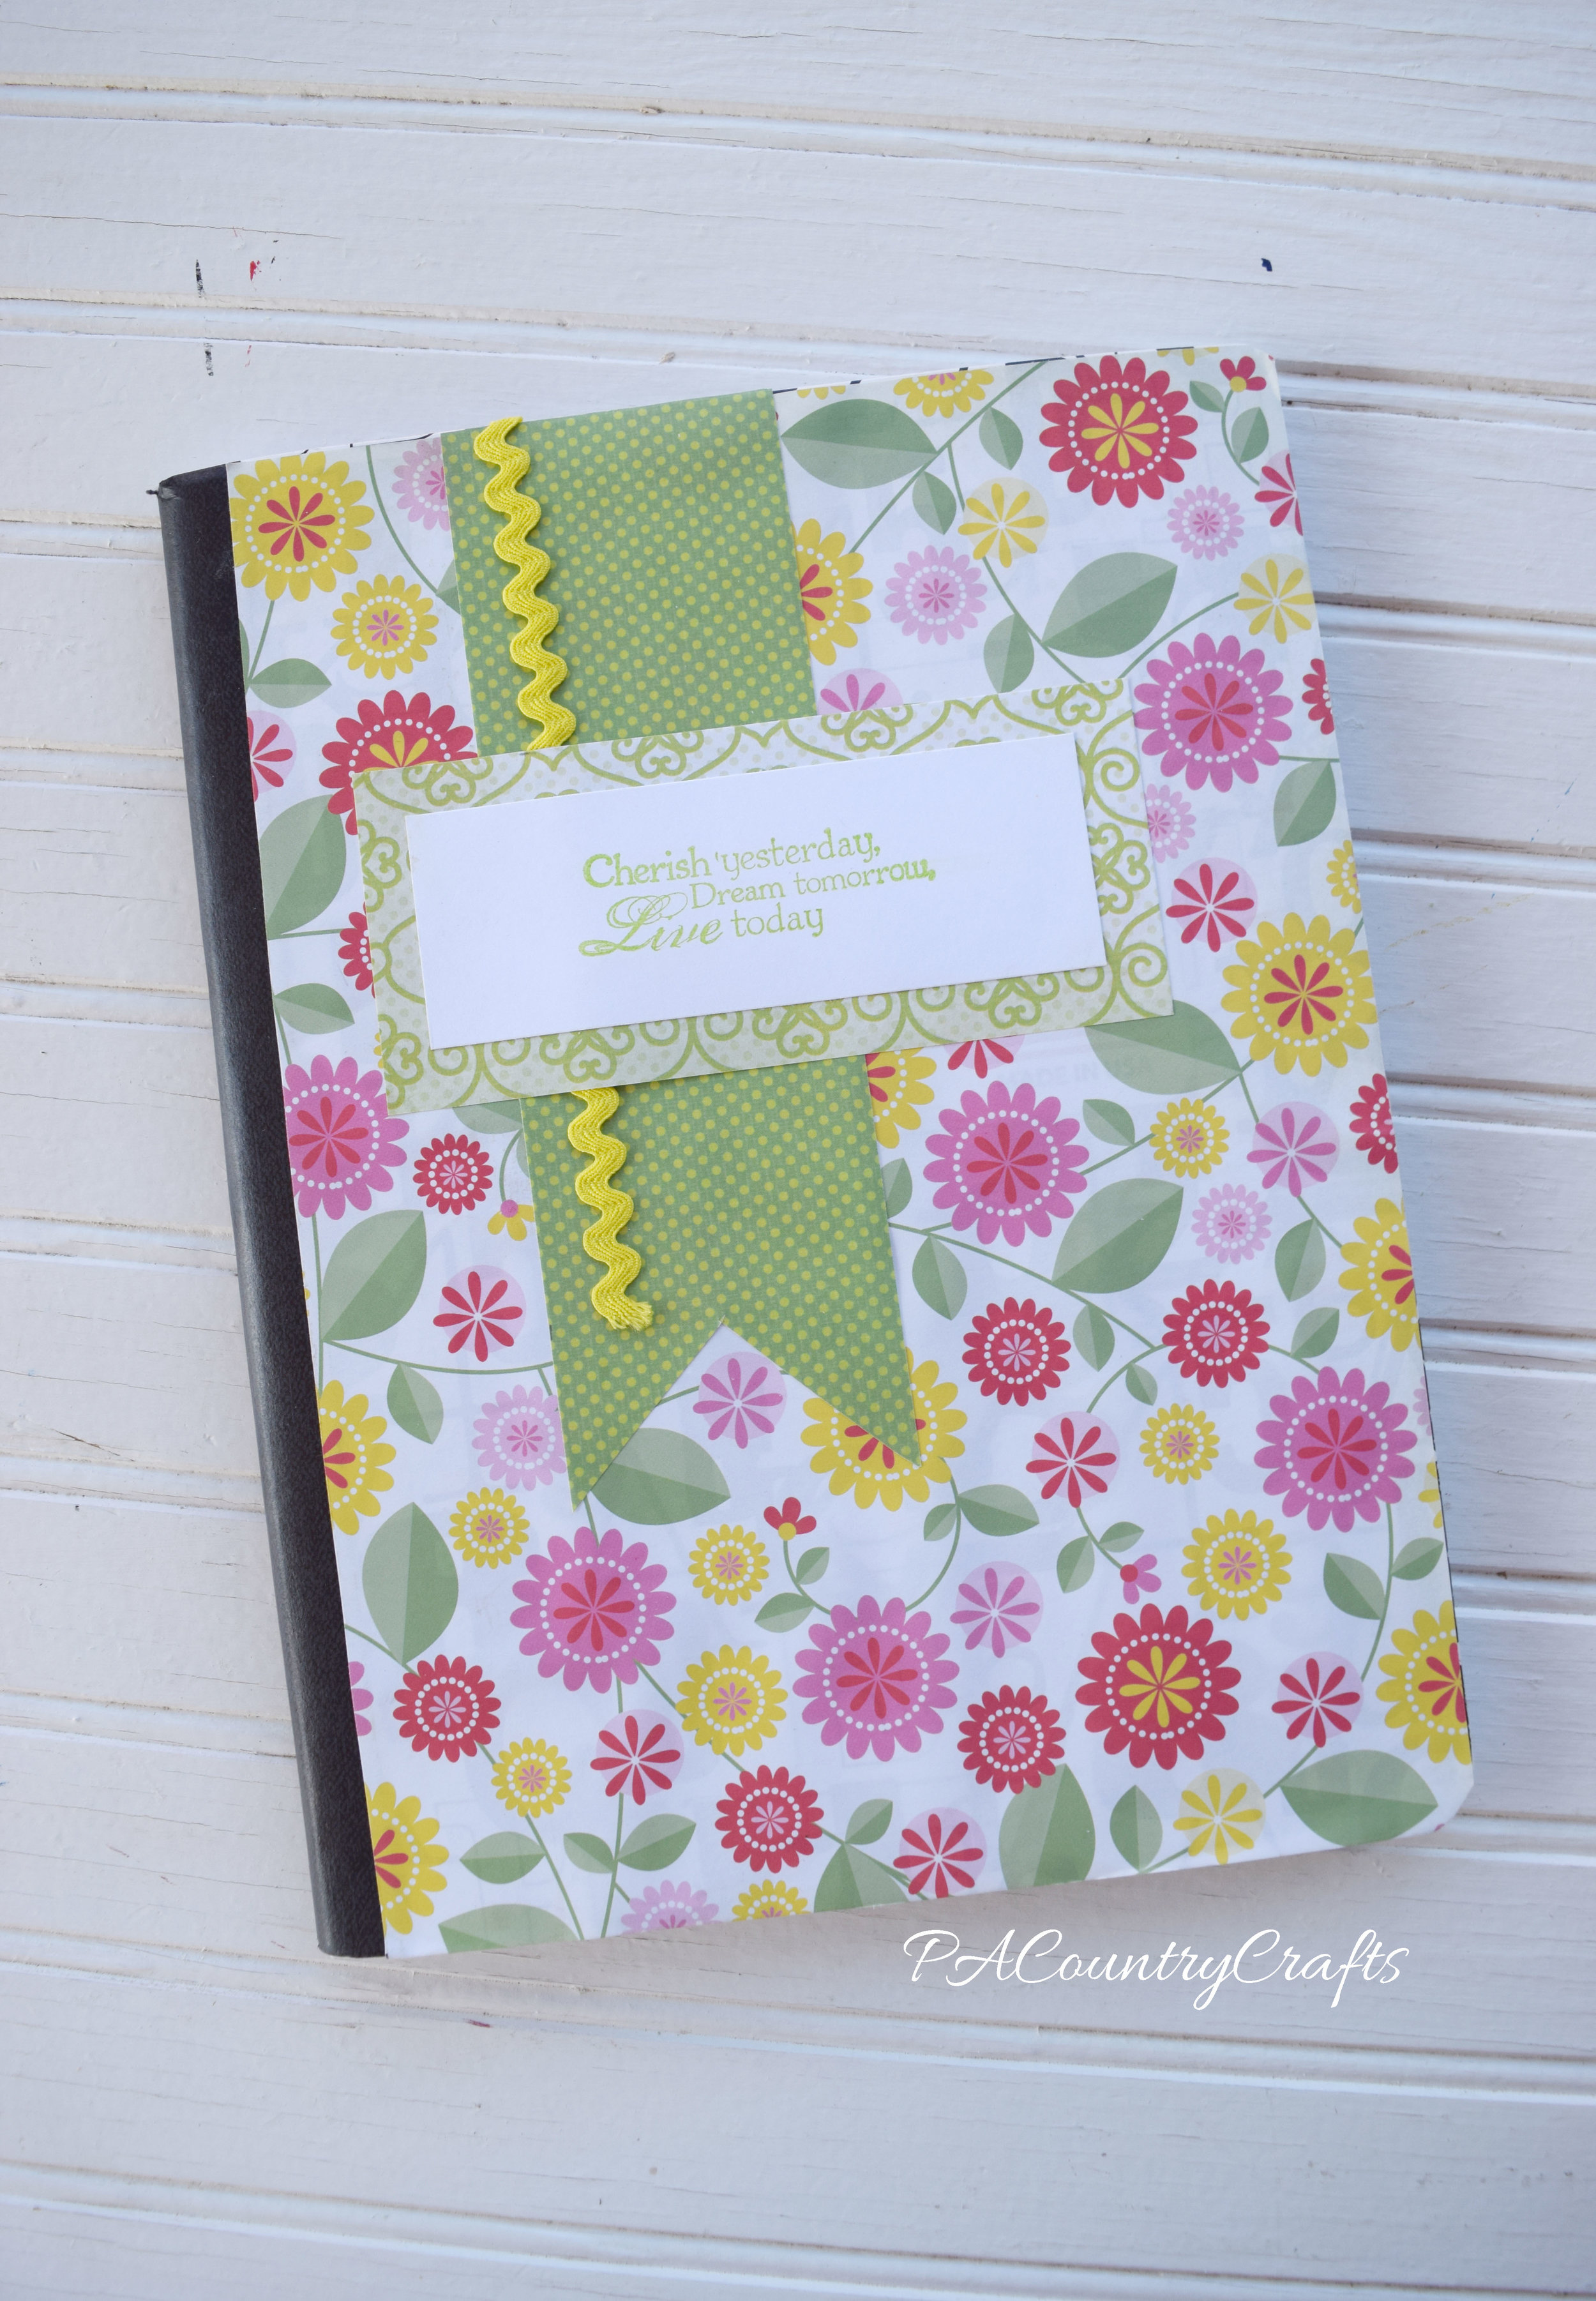
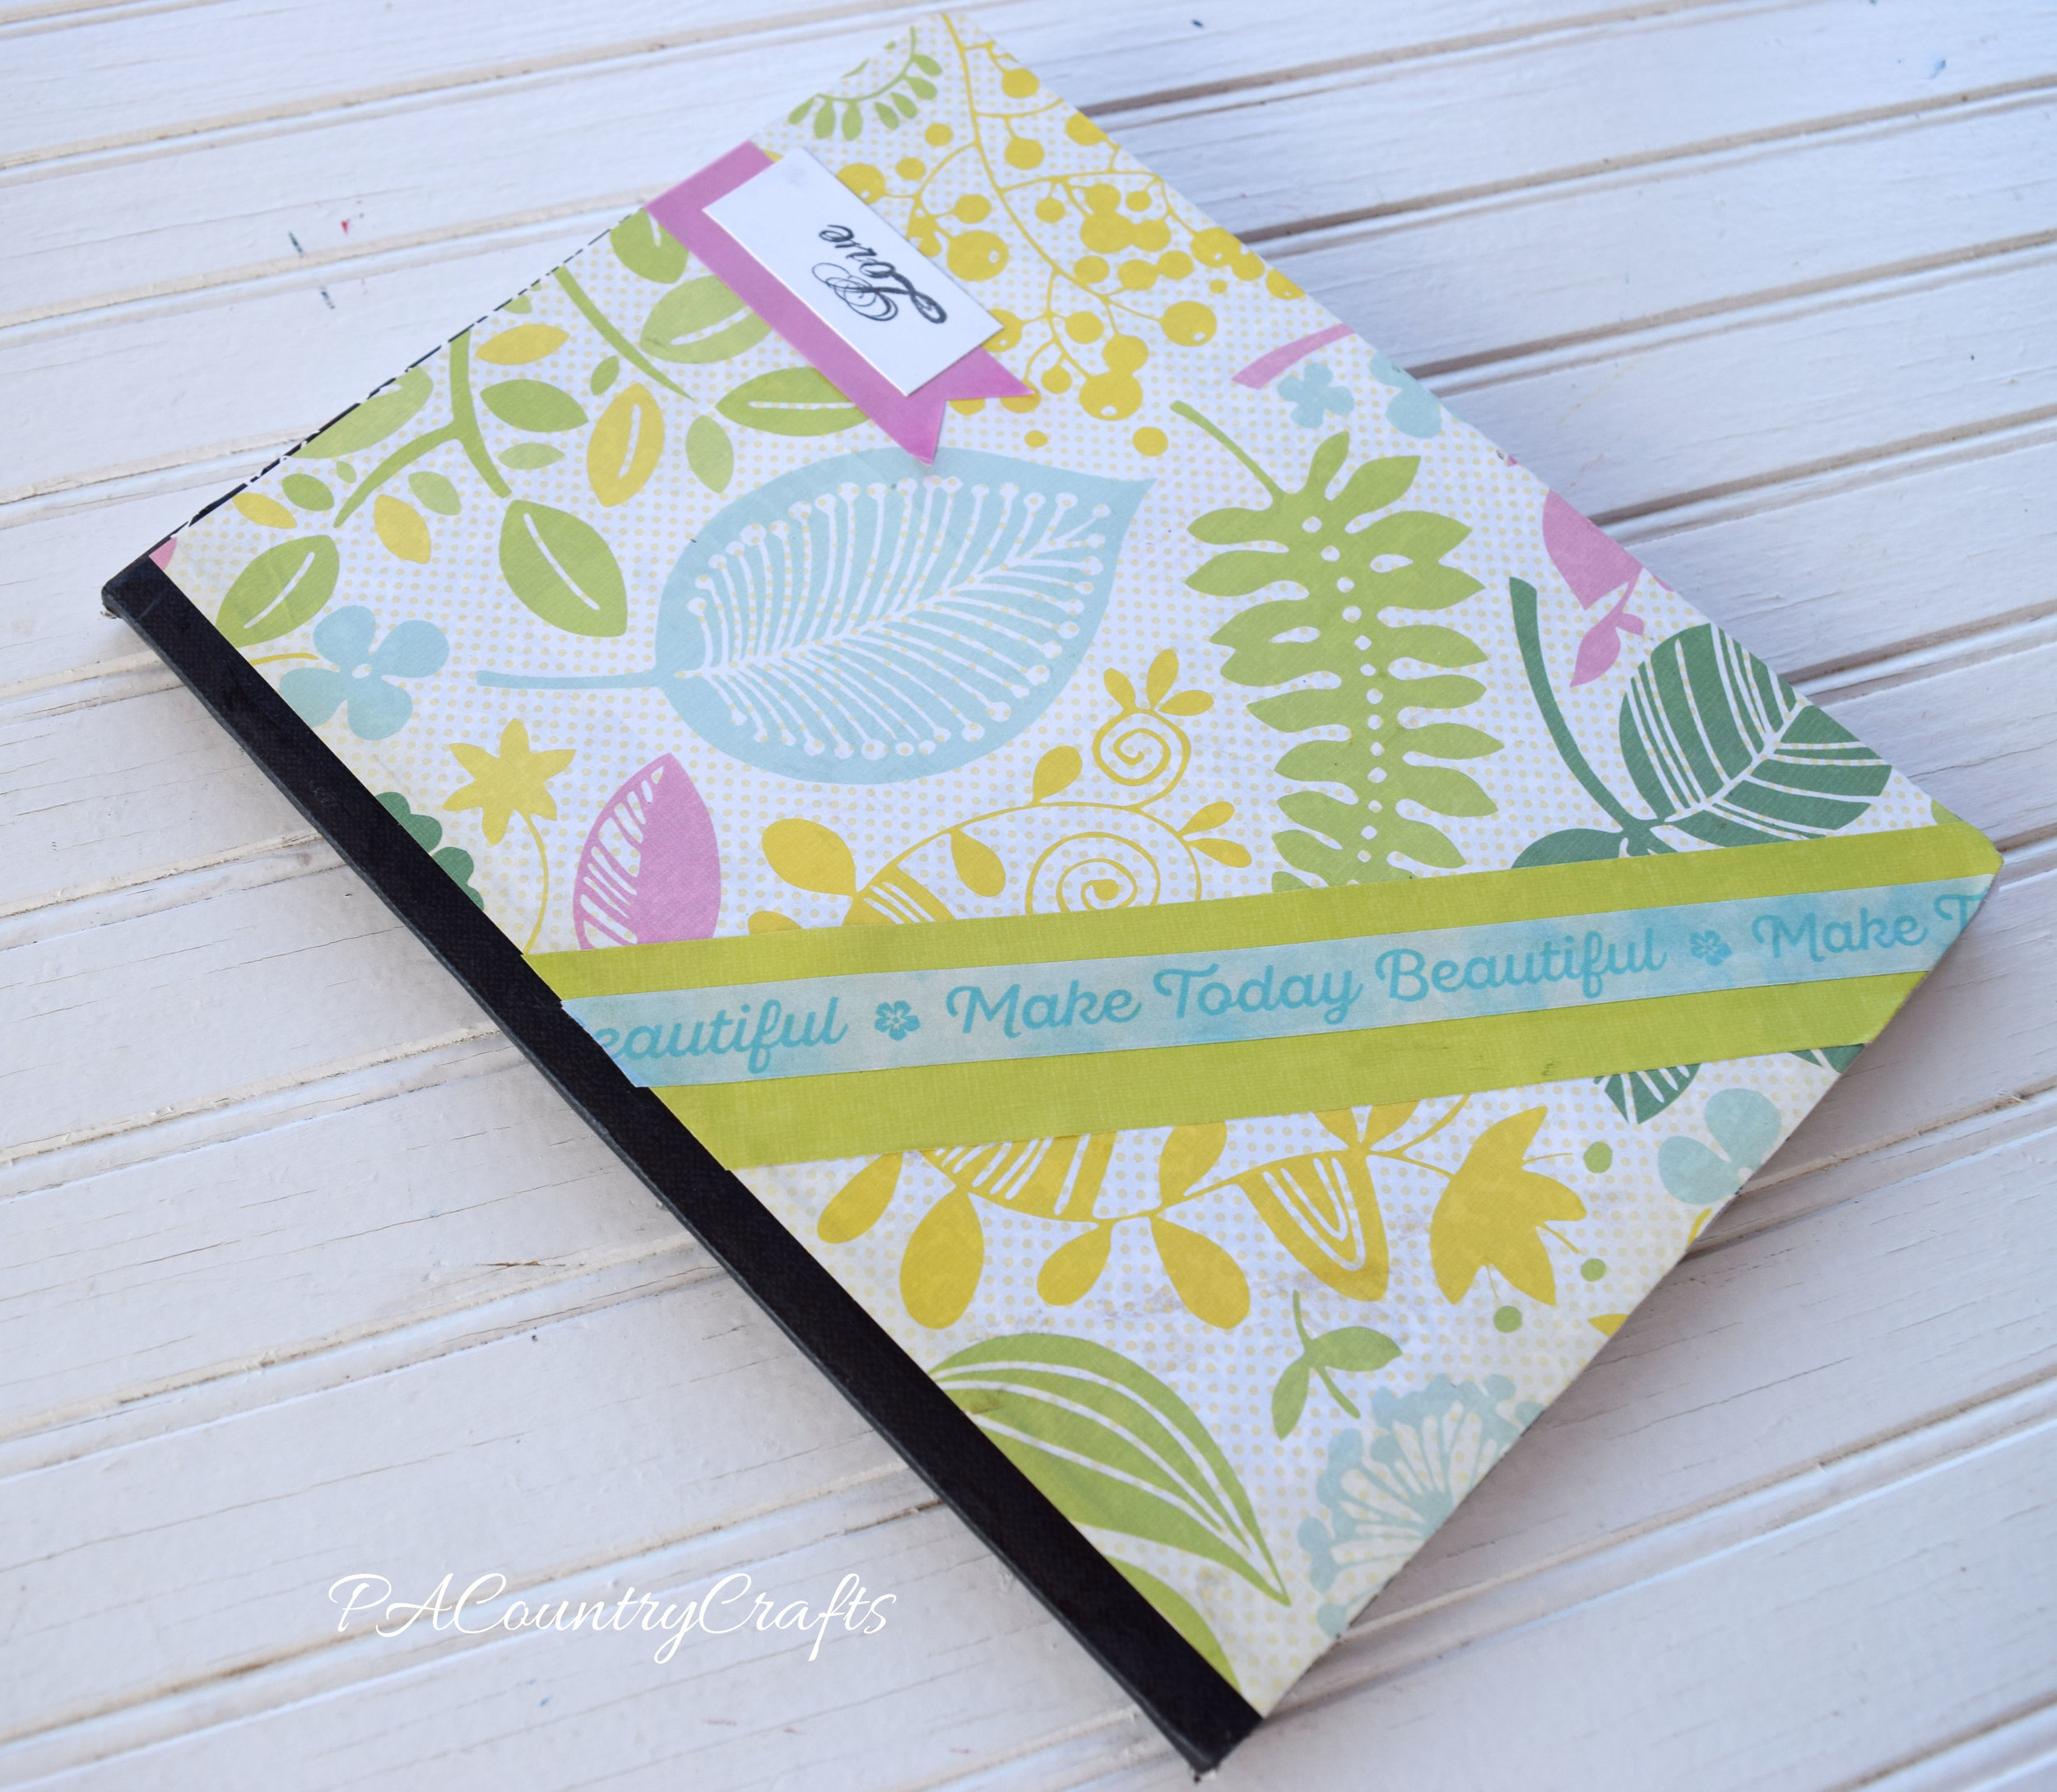
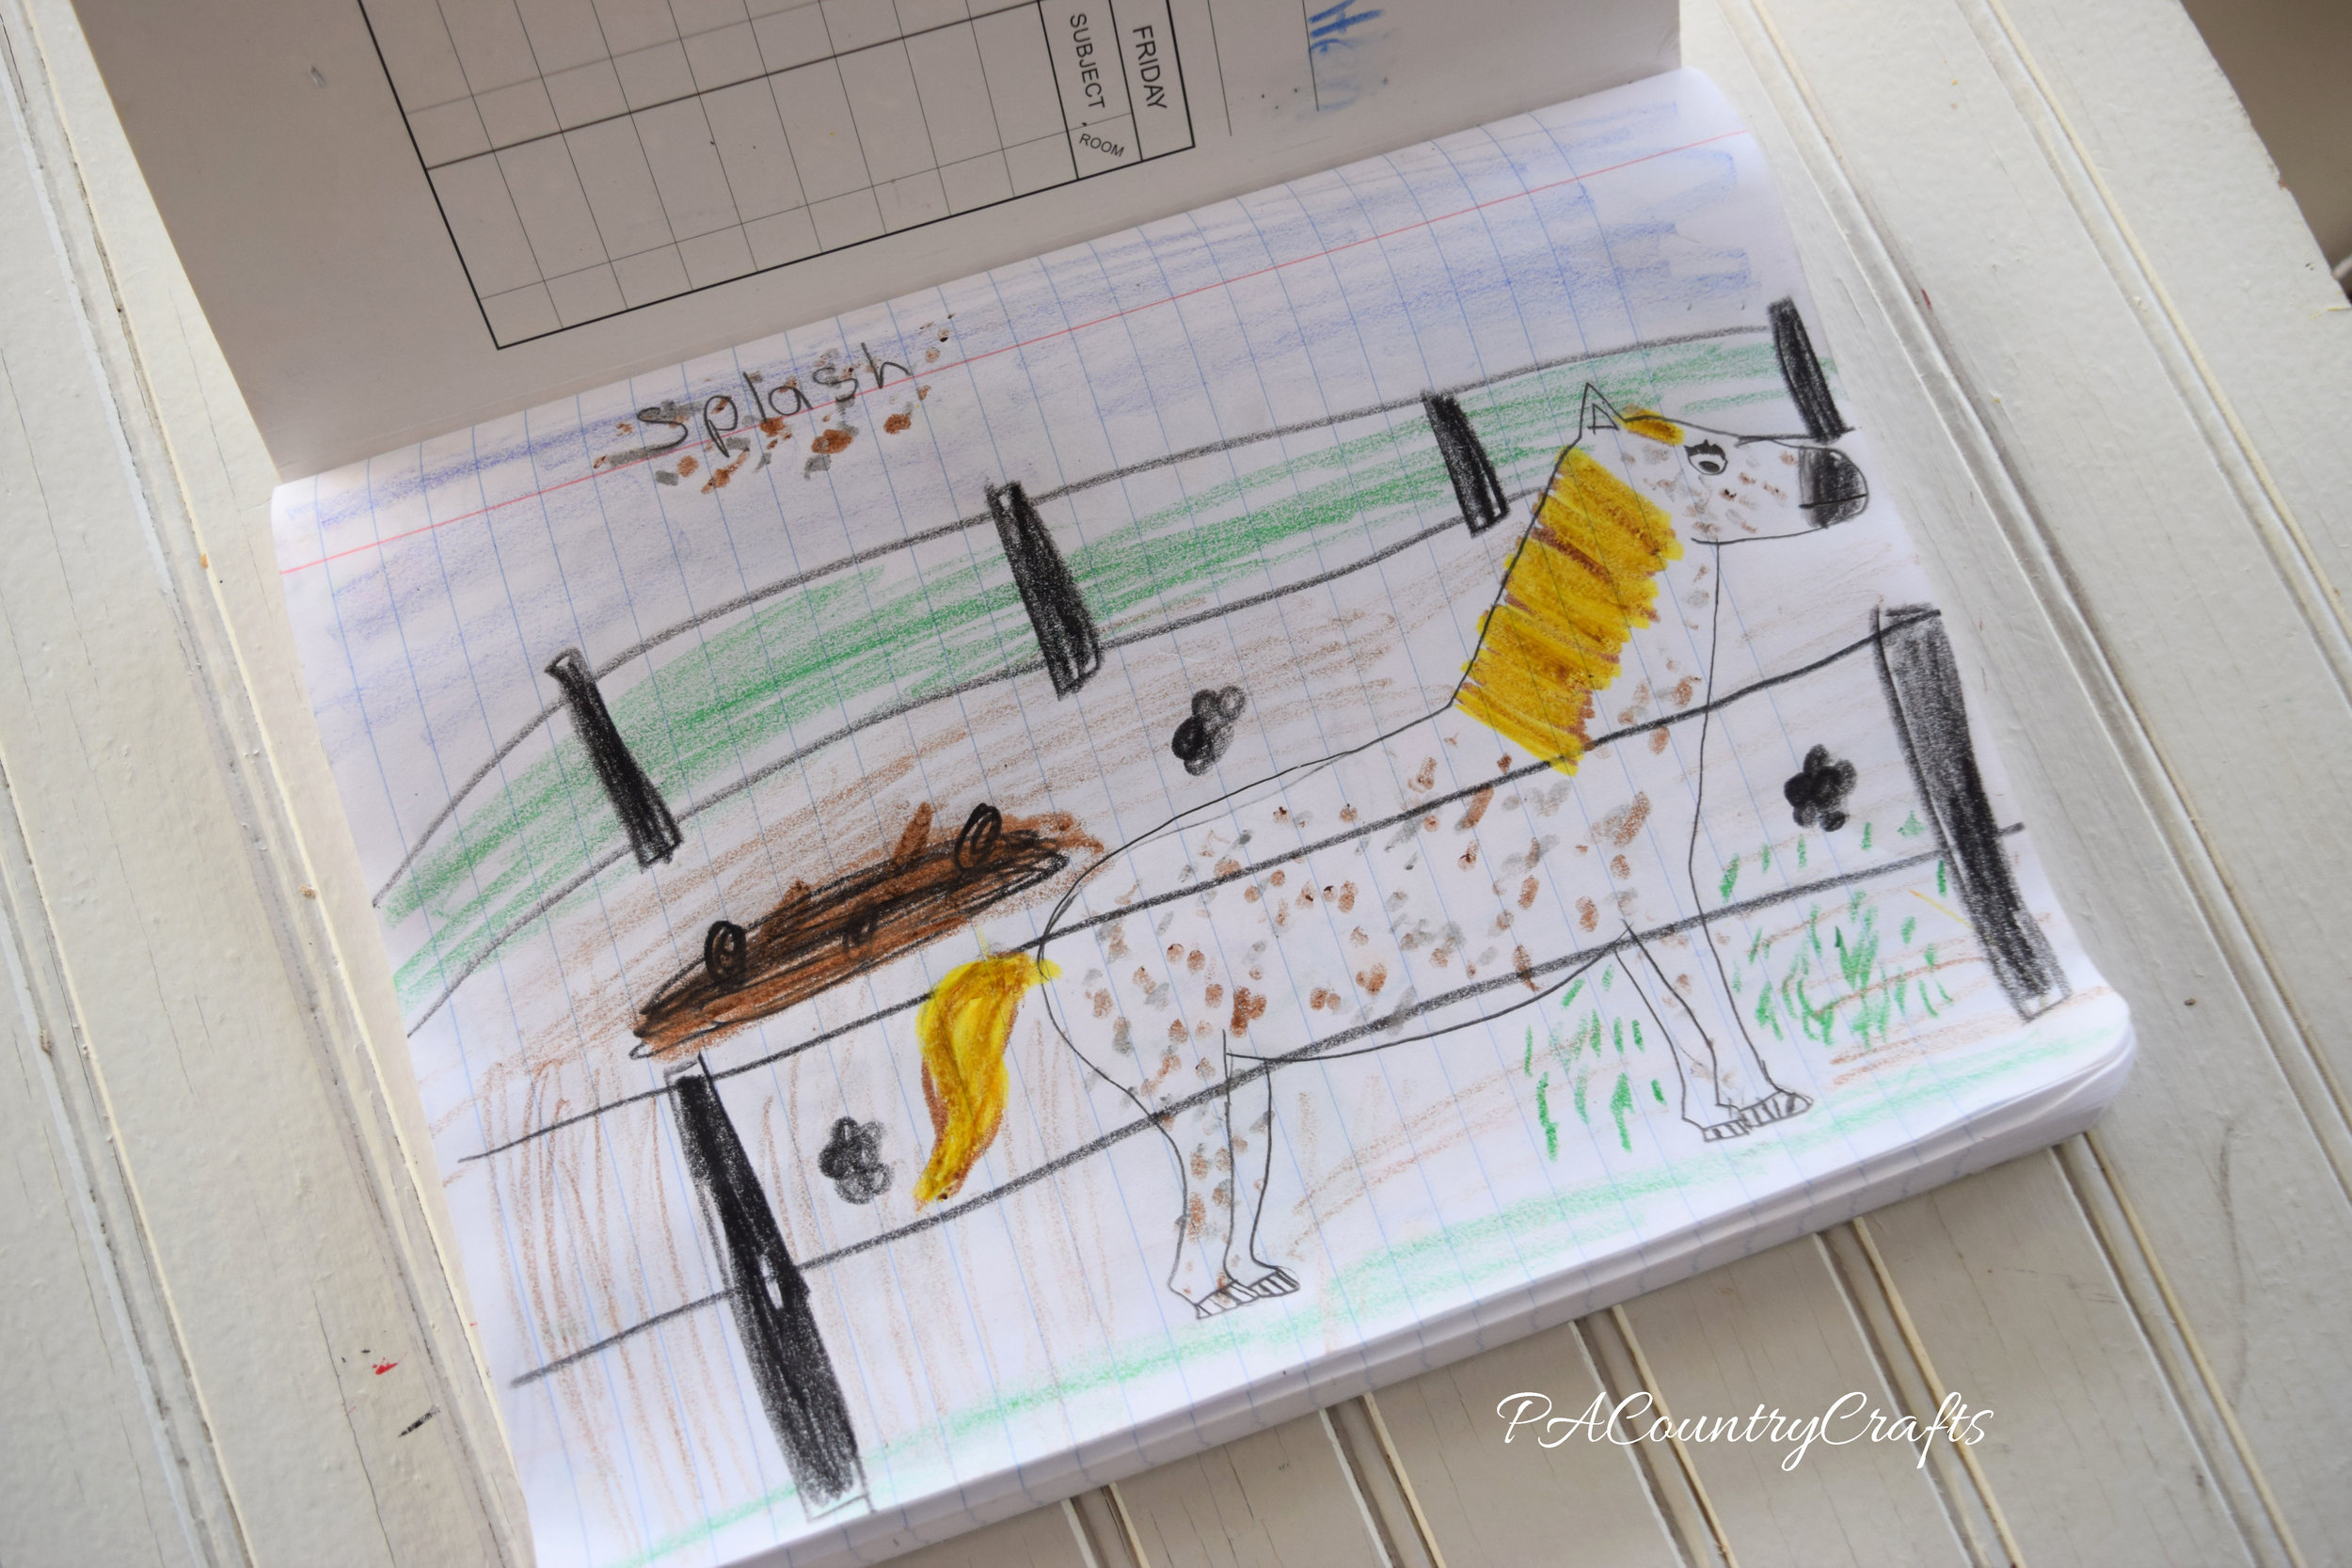
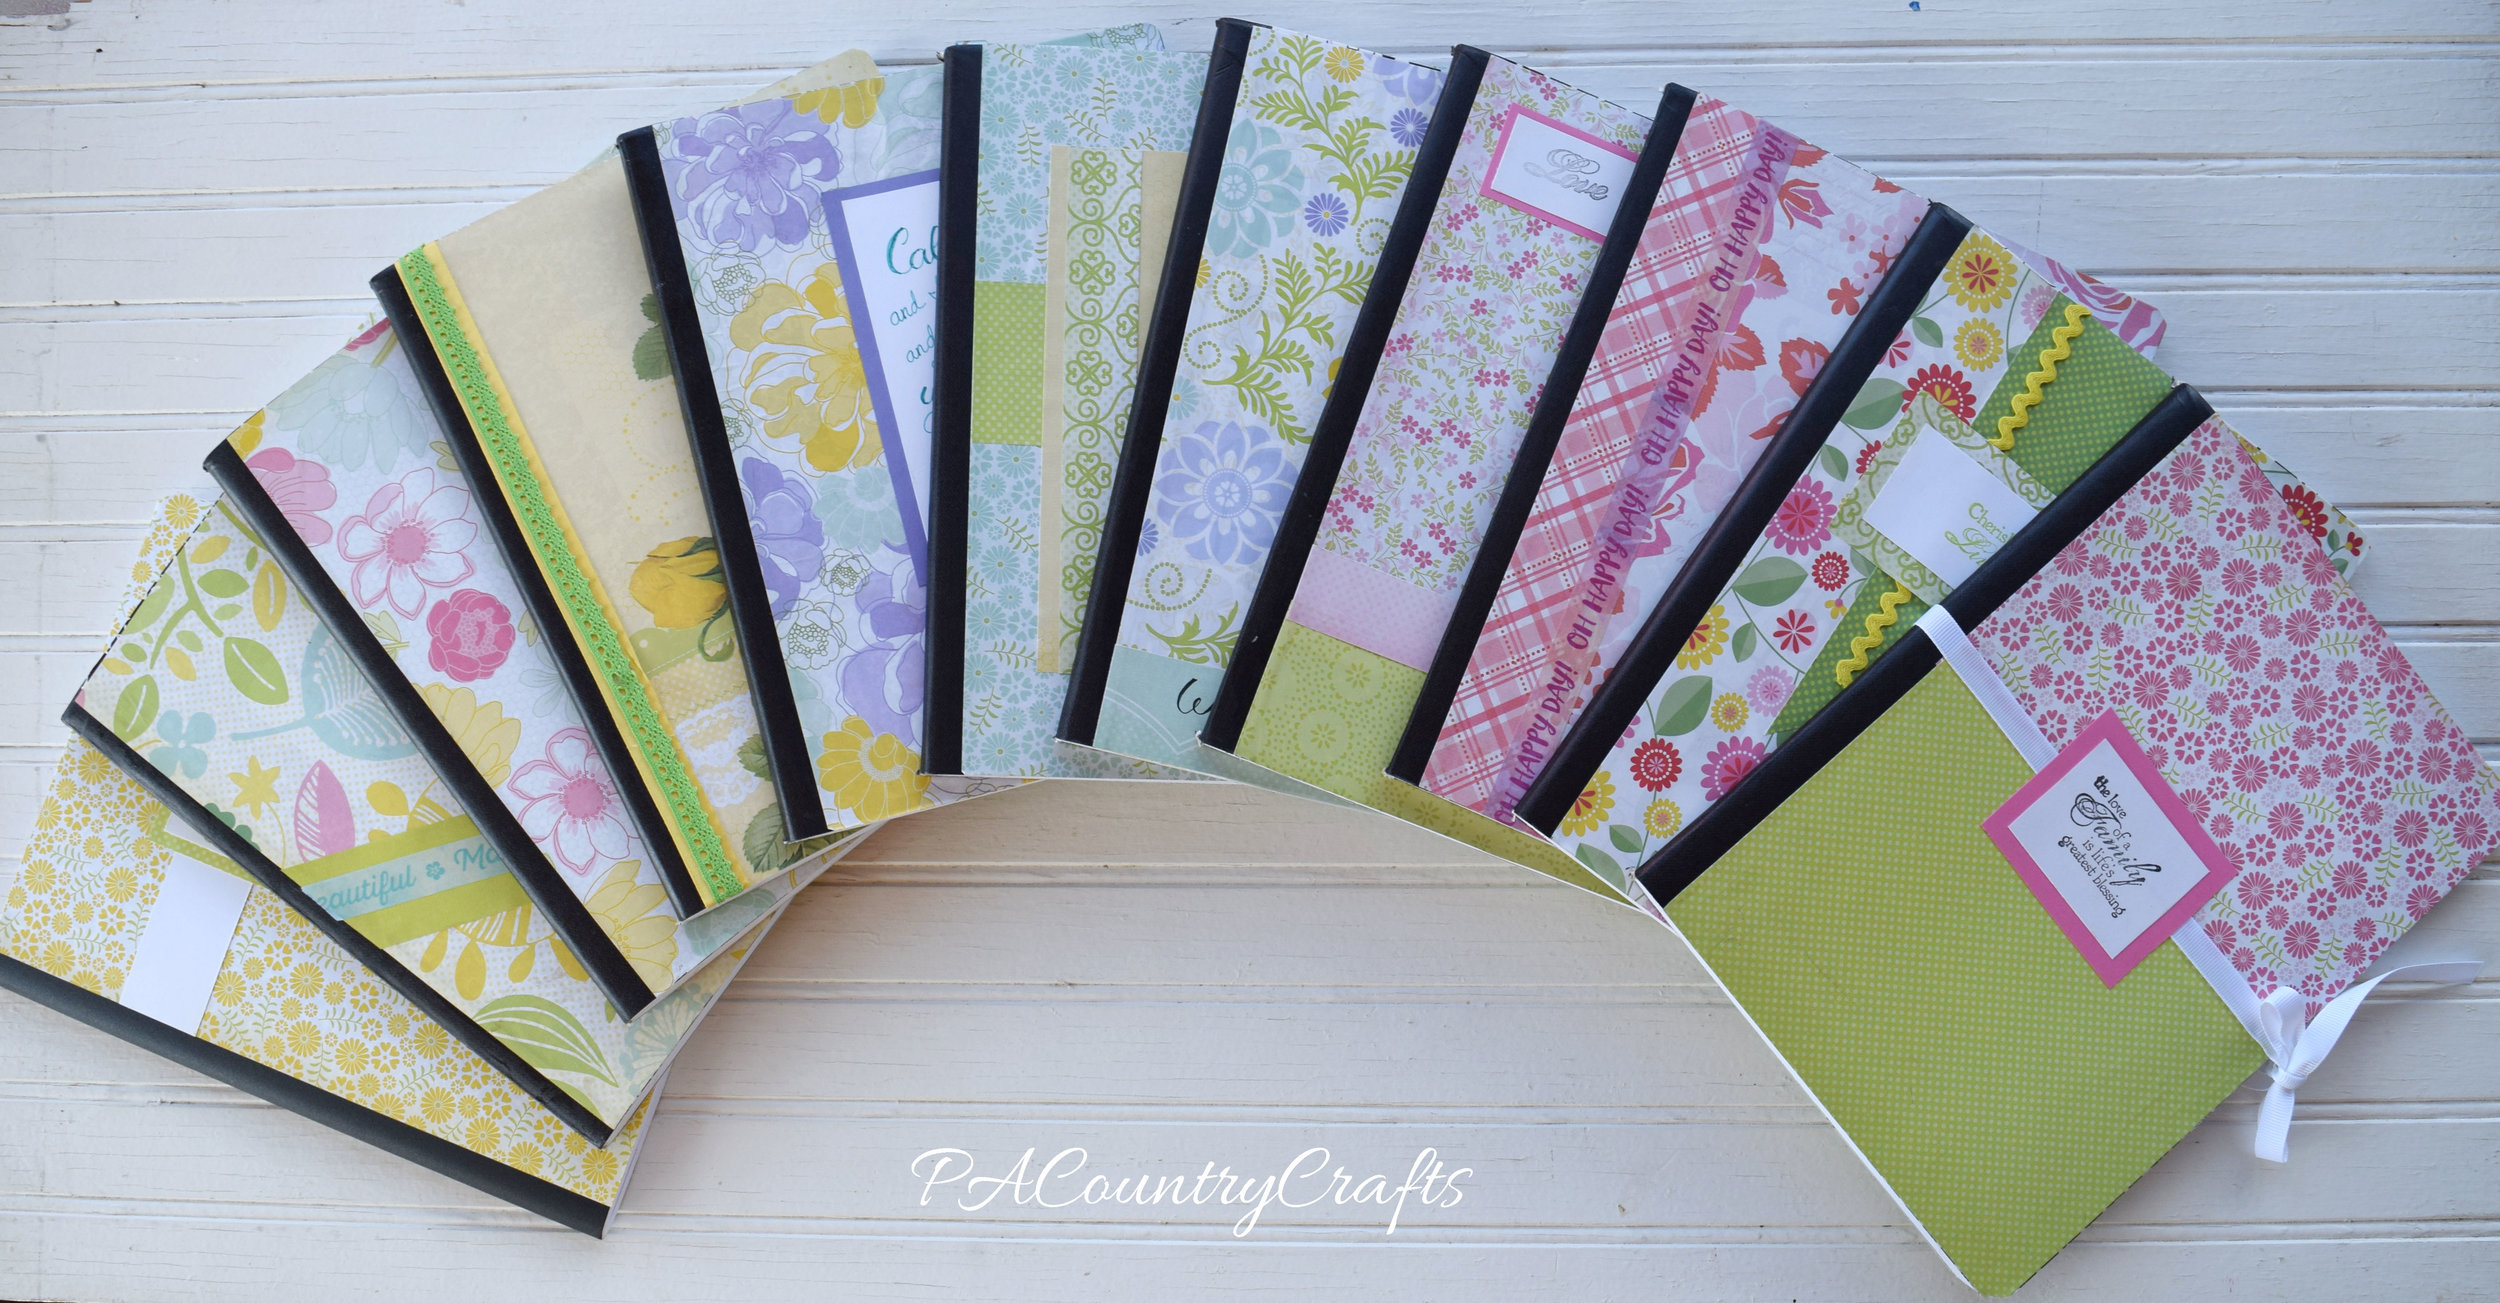
After the meeting, I found composition books on clearance SUPER cheap, so I got some more. I had bought another pad of paper for myself because I loved the prints and colors. So, my daughters helped themselves to my craft supplies and made their own journals. Apparently, this makes a really easy kids craft, too!

Kids craft journals

They are being used as art and writing journals. They made a few others that I didn't snap pics of and are using them at school. They used glue stick and they are still holding up well.

horse-drawing-journal

They even found some mini ones and made a coordinating doll journal!

American girl doll journal

Overall, this was a successful and EASY craft project! It was simple enough that anyone could do it, but had so many creative options for those who want to challenge themselves a bit more.

You may also like...

Use scrapbook paper and cheap wood frames to make a cute craft - perfect for craft nights and groups!

washi tape crafts and ideas

Sneak Peek of Doll Dresses and Some Valentine Stuff

pug2Bvalentine2Bbox.jpg

I have been doing a lot of craft projects for the kids/with the kids lately on these cold, snowy days. I made a few new things for their dolls a few weeks ago and ended up designing some new patterns. This one is a reversible doll dress.

Reversible Valentine doll dresses made with fat quarters and bias tape.
It was surprisingly easy and I hope to release a pattern to go with it soon. It only requires two fat quarters of fabric and some bias tape.

I just haven't found two coordinating fat quarters that I really like to make another one and take pictures. Doll clothes are a little trickier because you can't use large prints.

We have had oodles of delays and an early dismissal this week. Yesterday I decided to bribe the girls to clean up with the promise of a craft project. I bought a heart paper punch when I couldn't take it anymore and ran away to the craft store one day this week. We raided my scrapbook cardstock and they got to punch hearts out. Then, I took the pile and ran them through the sewing machine to make a garland.


Paper punched hearts sewn together to make a fun Valentine garland!


I just made a longer stitch and was sure to tie the ends together when I was done. These are fun and didn't take too much effort. That is my kind of project when there is a school delay.


There are some other things that aren't finished or are top secret, but I can show you this one, last Valentine project...
Pugs and Kisses Valentine box made out of a cereal box and kraft paper.
It is my daughter's Valentine box and it is made from an old Cheerios box and some brown packaging paper. I think he turned out pretty cute!
Happy Valentine's Day!

Scrapbook Paper Collage Canvas Art ~ Zebra & Elephant

zebra2Bcanvas2Bcollage2Bart.jpg

My daughter and I made more collage canvas art pieces featuring jungle animals. (You can see the hippo and tiger that we made before HERE.)

First, we did a purple elephant on an aqua background.

Then, she changed her mind and did a zebra on a pink background. The ribbon on the edges has polka dots.

One thing we learned is that using larger pieces for the background reduces the bubbles. 
All it takes is a canvas, some mod podge, bits of scrapbook paper, ribbon, and a little paint for the details. These are pretty easy to make and it is definitely a project worth trying with the kids! 
 Link Parties where I sometimes hang out...

Valentine's Day Home Decor

Please don't think I am actually early for something.

These are actually pics of my Valentine's Day decor from last year. We did some renovating last year shortly after I took these pictures and I haven't found a new spot to decorate yet.

I love my old barn window frame and I always have it decorated with some of my favorite black and white photographs of each of the kids. They have been hanging around for a few years now and are starting to curl up.  I just used red baker's twine and mini clothespins to hang them.

I made these LOVE blocks with some scrapbook paper and trims mod podged onto 2 x 4 scraps.

I made the tray, too. It is a metal serving tray from Dollar Tree with aqua paint on the edges and chalkboard paint in the center. The paint chips easily, so if you try this, be careful!

Last, the girls and I made this cute wreath for the front door. Red glitter paint was used to freezer paper stencil hearts onto burlap. I cut them into triangles and used jute to hang them across a grapevine wreath I already had. 

I love the pops of color these decorations add to the cold, winter months. The $1 tray was my only expense, too. I need to figure out where I am decorating this year because it has been so dreary and I could definitely use something cheerful around the house! 

Do you decorate for Valentine's Day?

Scrapbook Paper Collage Canvas Art ~ Hippo and Tiger

tiger.jpg

The next Christmas gifts were these canvas art pieces my daughter and I made together for her to give to her friends. Since this is her thing, I am going to let her tell you about them while I go make breakfast...

~~~~~~~~~~~~~~~~~~~~~~~~~~~~~~~~~~~~~~~~~~~~~~~~~~~~~~~~

Hello! I'm Halley, and as my mom said above I will be telling you all about these "Art Pieces".

First of all, I want you to know these were easy to make, and are worth any trouble you go through to make them. We started off by finding an adorable template for the animal on Pinterest. We traced the pieces that we needed onto paper and cut them out. Of course we didn't want an all-white hippo or tiger, so we picked a patterned  piece of paper for both the body and body pieces. (We used scrapbook paper, but you can use anything.) 

We did a collage for the background to make the animals really pop! I suppose it would work with a single piece of paper, but it definitely would not be as cute.We picked 3 pieces of scrapbook paper that  I think complement each other very nicely. We ripped them up into random shapes and used Modge Podge to make them stick to the canvas. We used the matte Mod Podge halfway through the hippo canvas then then decided that  the glossy would just give it "that look".
We again used Mod Podge to attach the actual hippo. Black buttons were hot glued on for eyes and nostrils. (It was very hard to let go of the hippo canvas, by the way!)  We just did all of these steps again for the tiger. The face and stripes were painted on with black paint. We thought we were done, but then we realized there were staples on the side. That was an easy fix- we just hot glued coordinating grosgrain ribbon onto the sides for a clever and cute way to hide the staples.  
Now, I know I'm not very good with instructions but I hope you can translate them and get results as good as ours, and possibly better! Overall this is pretty easy, and guaranteed to make the person who receives it VERY happy! 
Now, back to my oh-so-crafty mom!
~~~~~~~~~~~~~~~~~~~~~~~~~~~~~~~~~~~~~~~~~~~~~~~~~~~~~~~
Thank you, Halley! I think these turned out really cute! One of her friends LOVES hippos and the other is soon getting her own jungle themed bathroom. These would be really cute for a nursery, but they are also a good kids craft, too. Besides scrapbook paper, you can use tissue paper or fabric. A friend of mine made me one of these and she used rubber stamps to add more dimension and pattern to the background. There really are a lot of possibilities. I was just glad that this was something she could make for her friends.
Link Parties where I sometimes hang out...