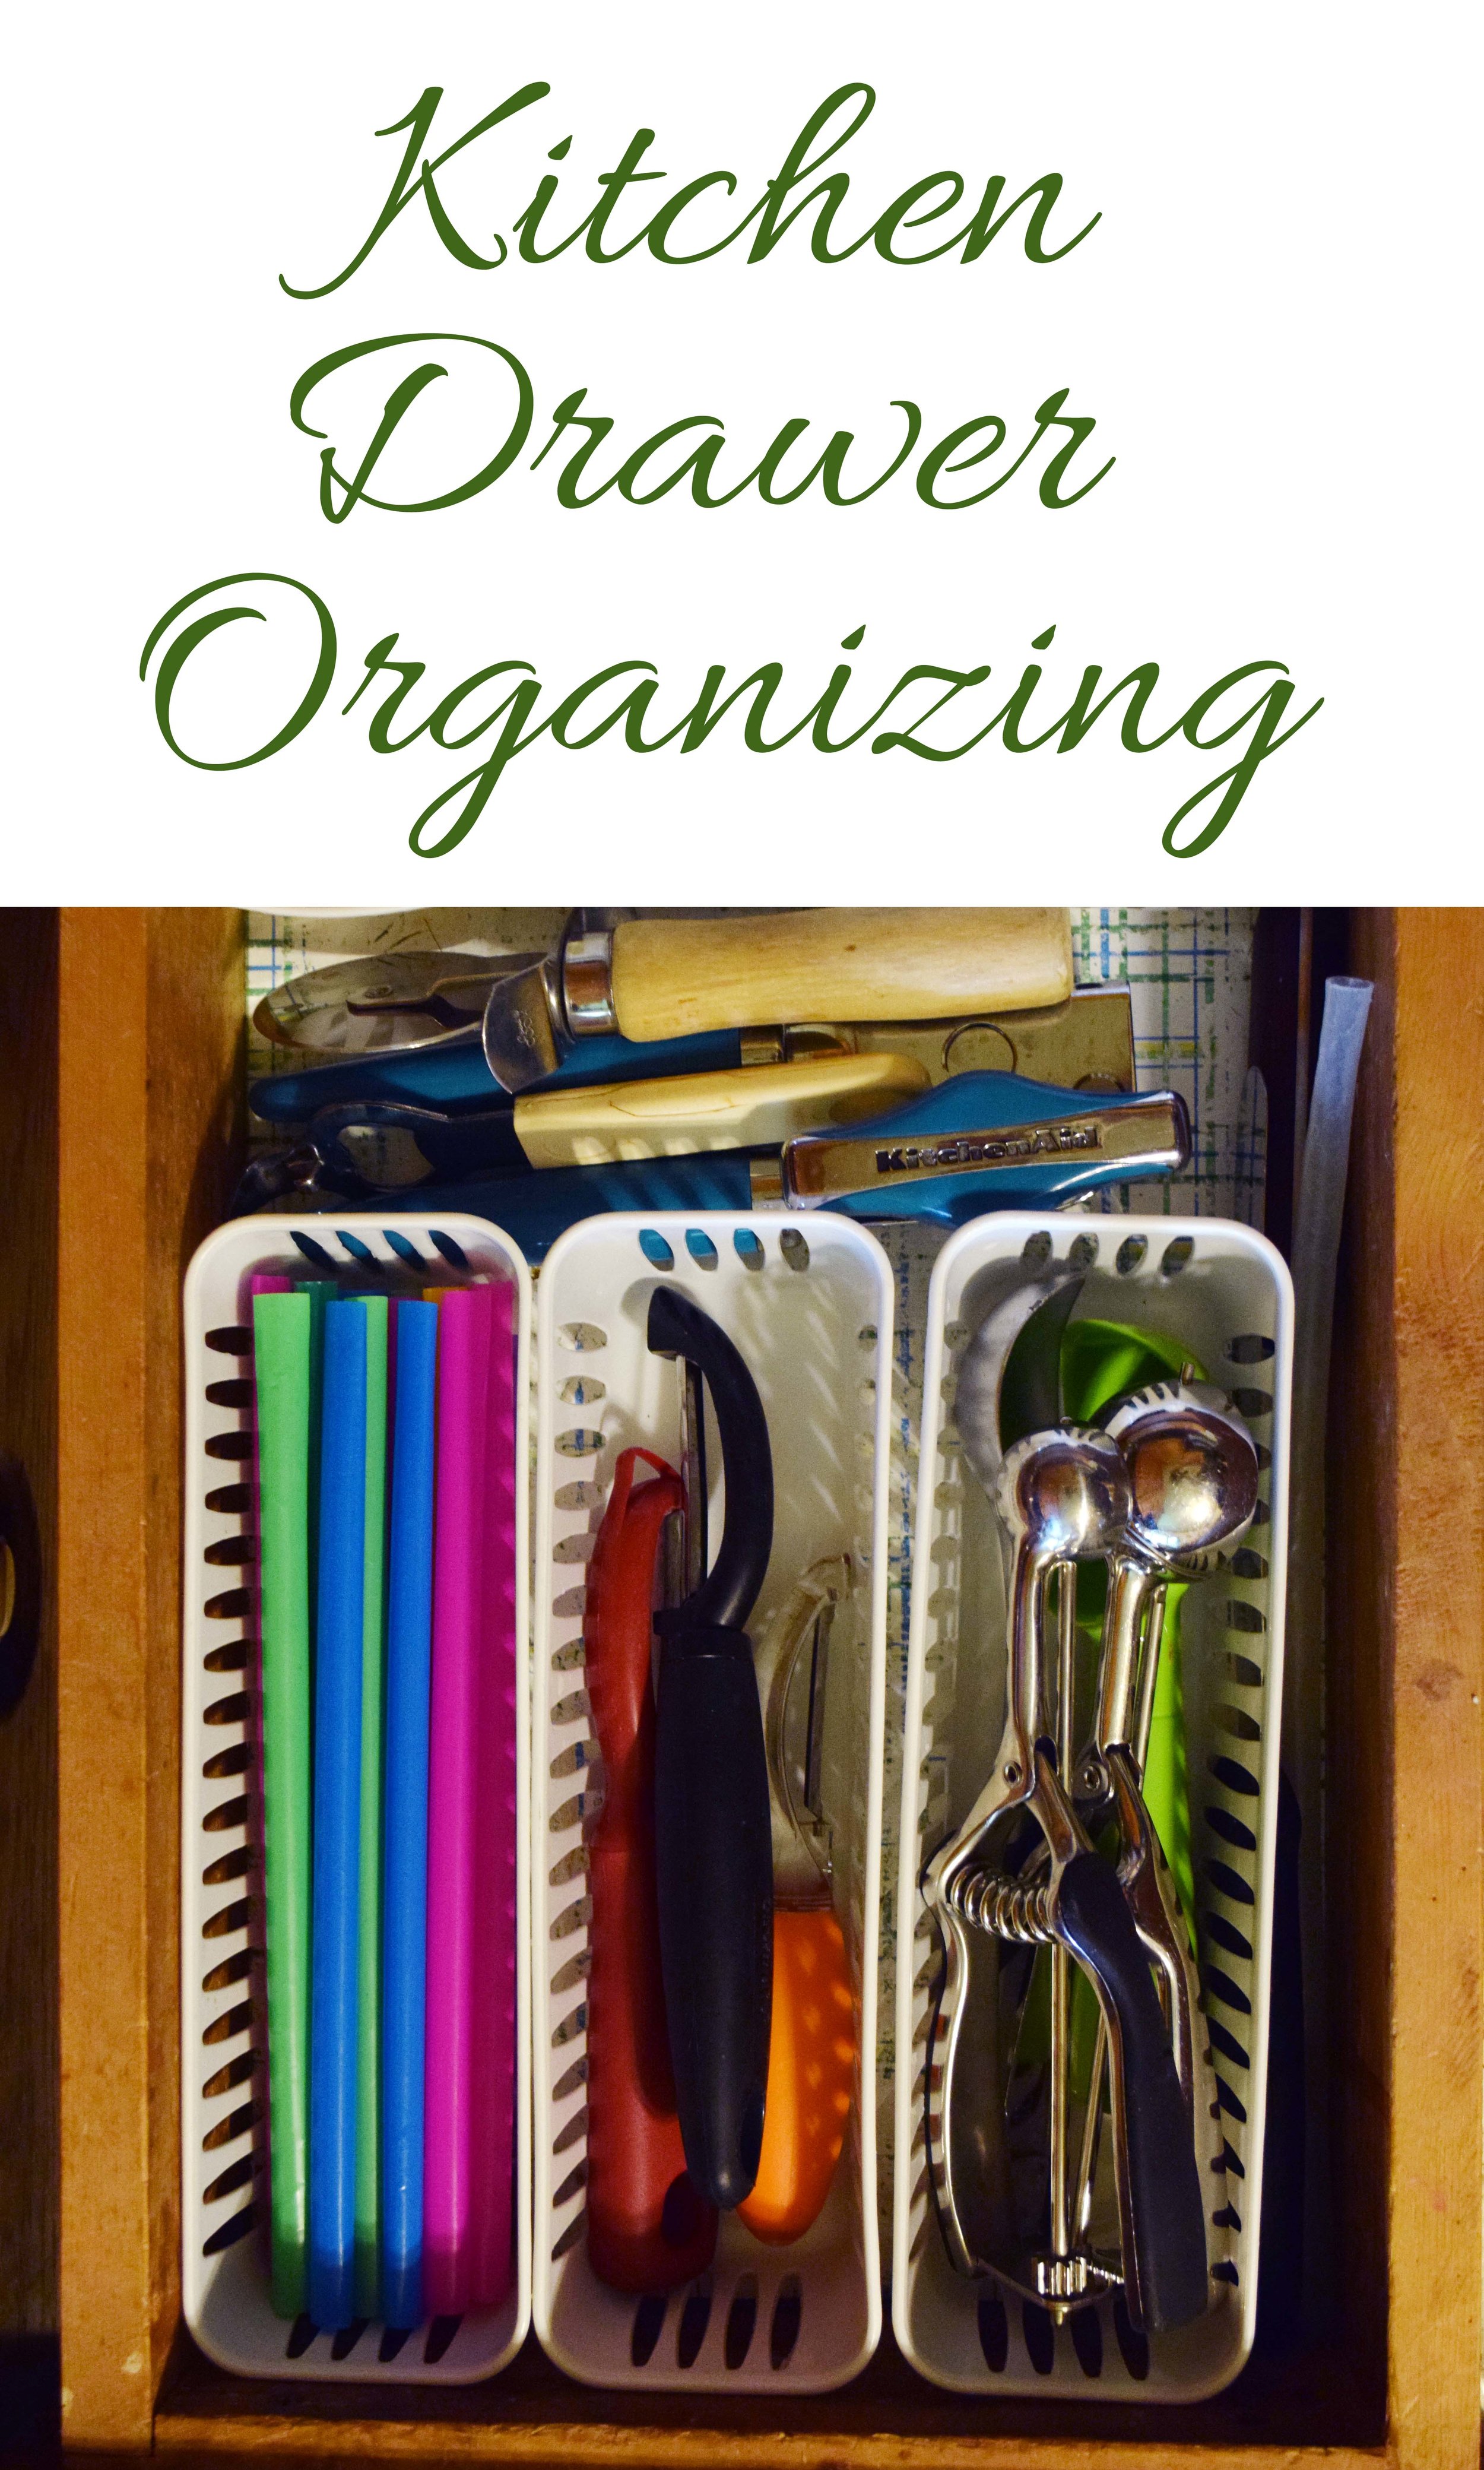
Kitchen Drawer Organizing

May is a crazy busy month for me! We have 4 different sports teams going right now so we are always on the go. I really don't have time for extra cleaning and organizing, but I know that I need to make it a priority because, let's face it, when the kids are home from school for the summer it will only get worse. Kathi Lipp is running a 10 day "Spring Fling" challenge over on her blog and I decided to join in. The first room was the same place where I always start- the kitchen. Since I organized and decluttered a lot back in January, it was not too bad. I got rid of some things that we aren't really using and some things that are in poor condition. If I find I really do need to replace them later, I will, but I would bet that we can made do. One area that I have decent organization is my drawers. Unfortunately, it is my 11yo's job to unload the dishwasher and she doesn't put things away correctly. We need some more lessons on that. I won't let them graduate to another job until they have learned to master the currently assigned chore. (Everyone really hates unloading the dishwasher.) I focused on decluttering and straightening the drawers today. So, this is what my drawers look like when things are put in the proper places (and to be fair there are some things in the dishwasher waiting to be washed).

Please excuse my terrible pictures; the lighting in my kitchen is really bad, especially on dreary days like today. 

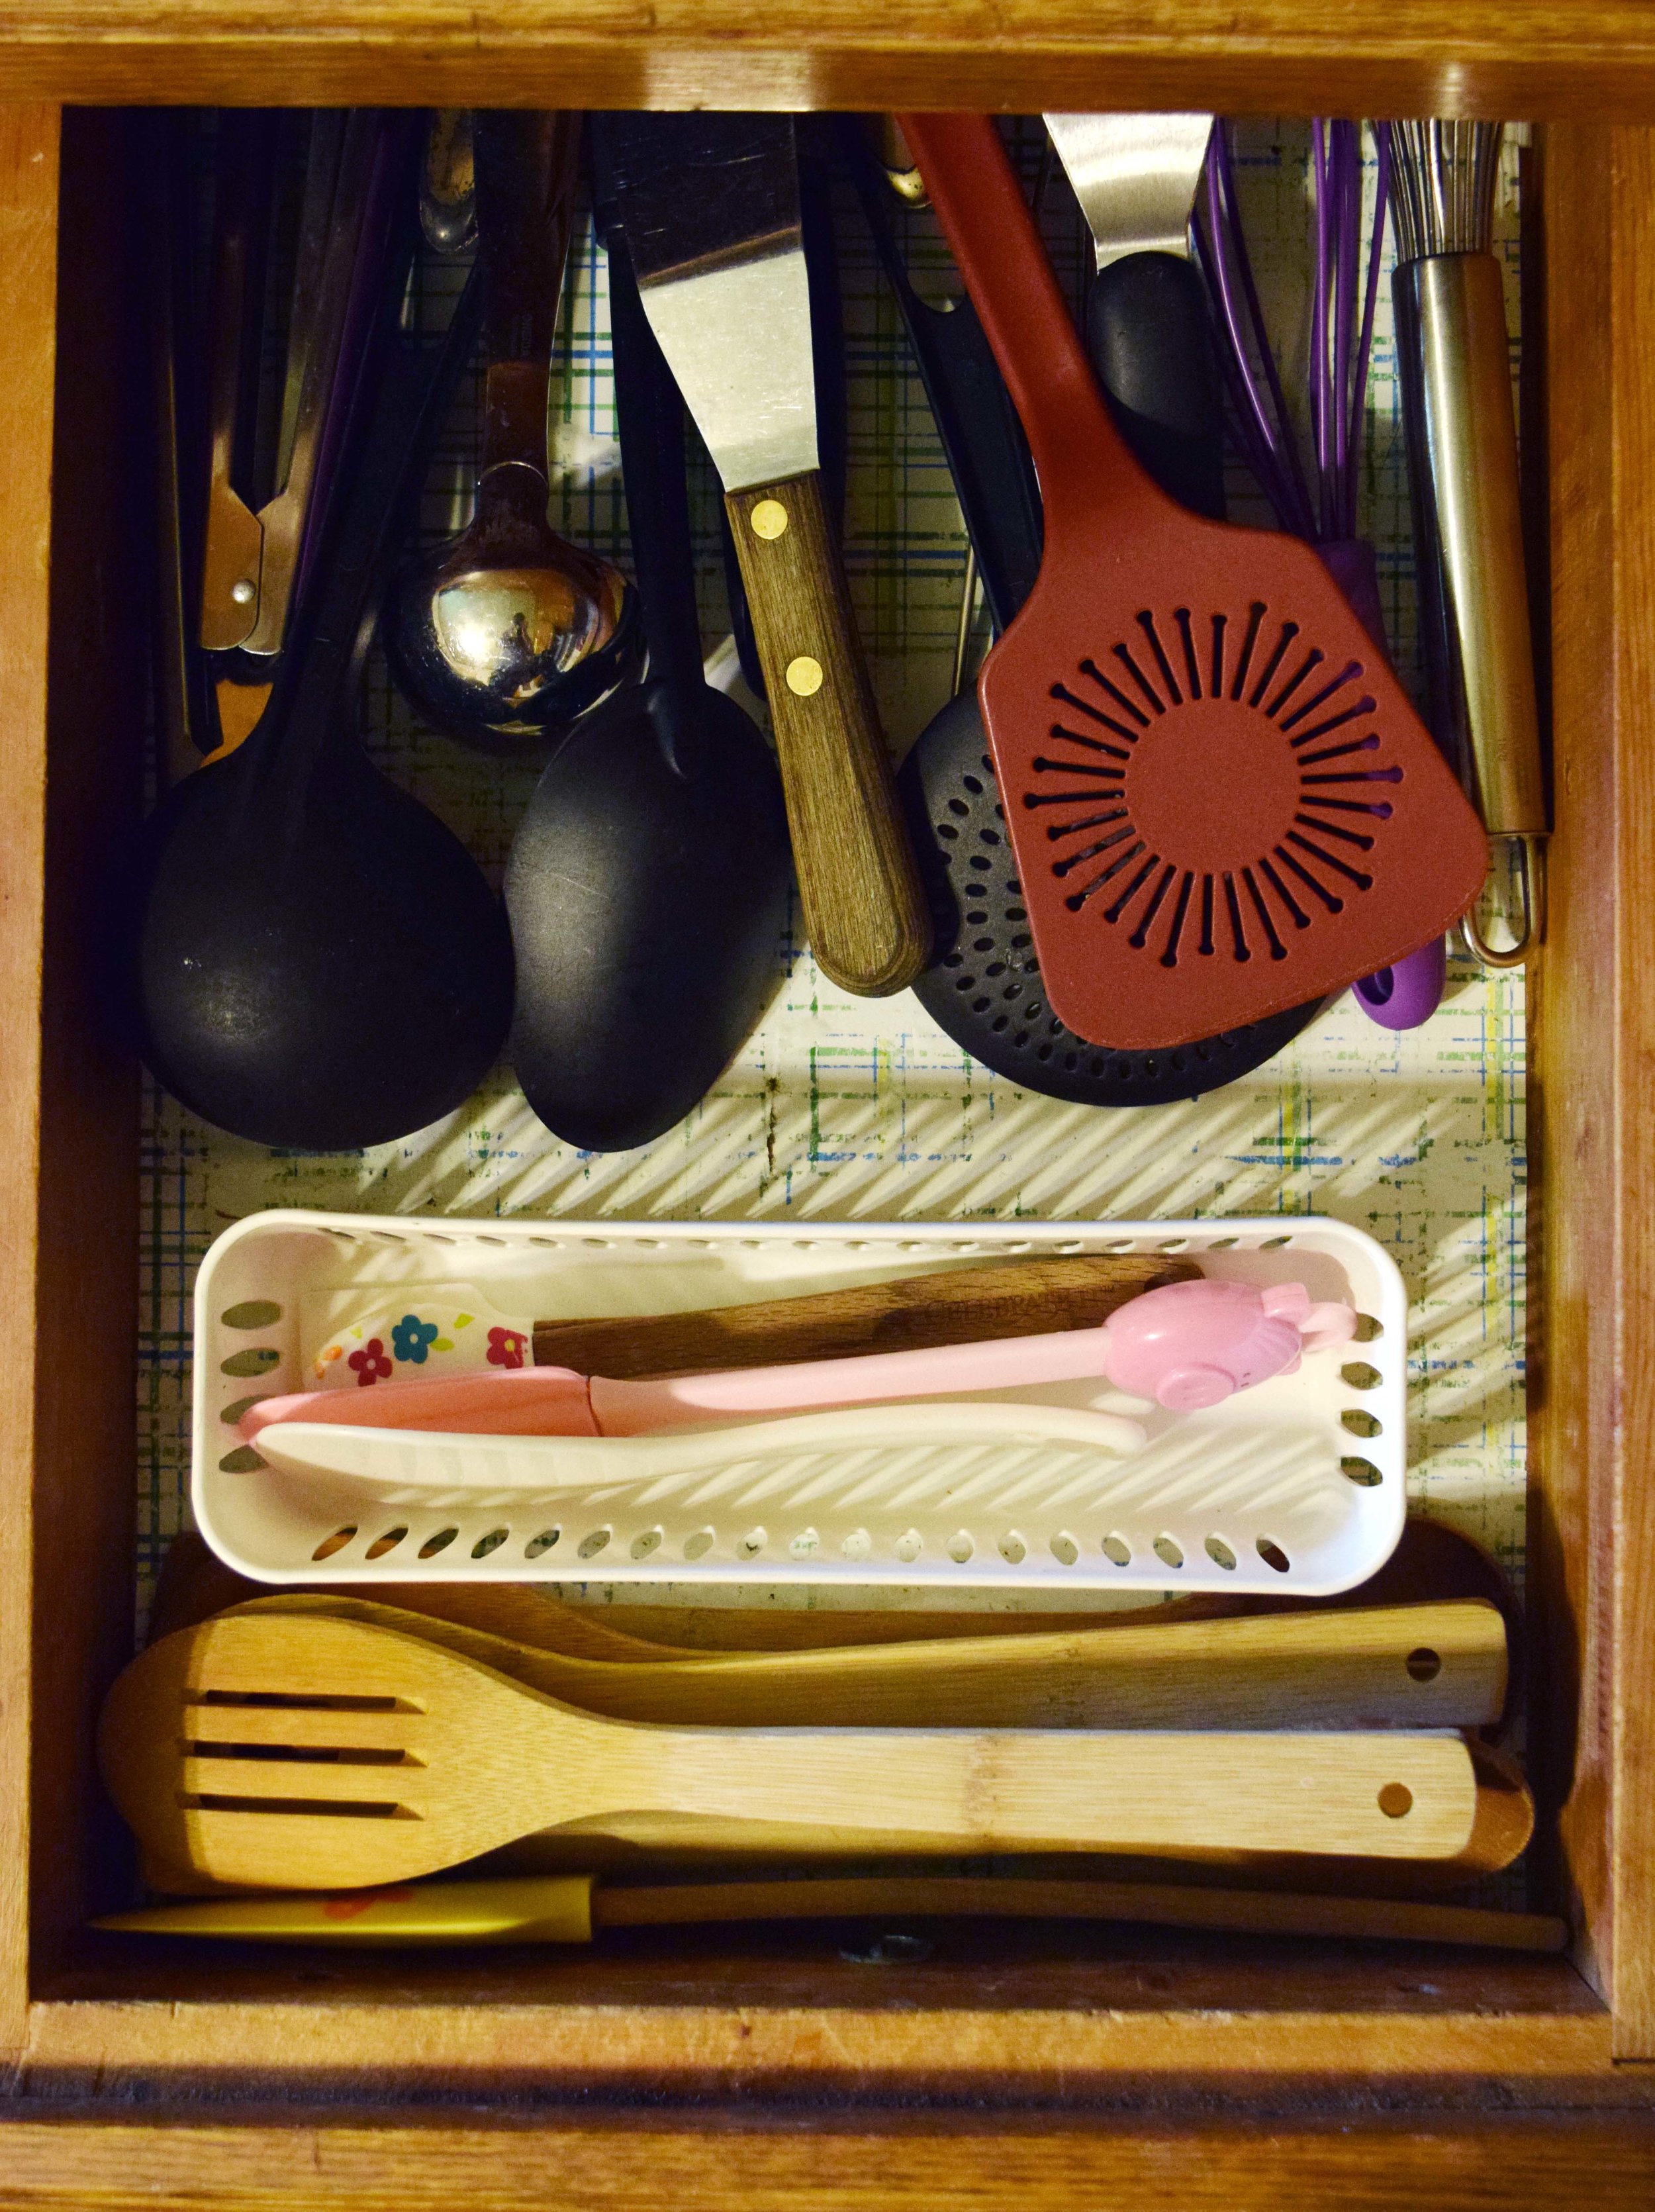
I was given this handy tray for utensils. My rolling pin fits nicely beside it so that is where I keep it.

utensil-drawer

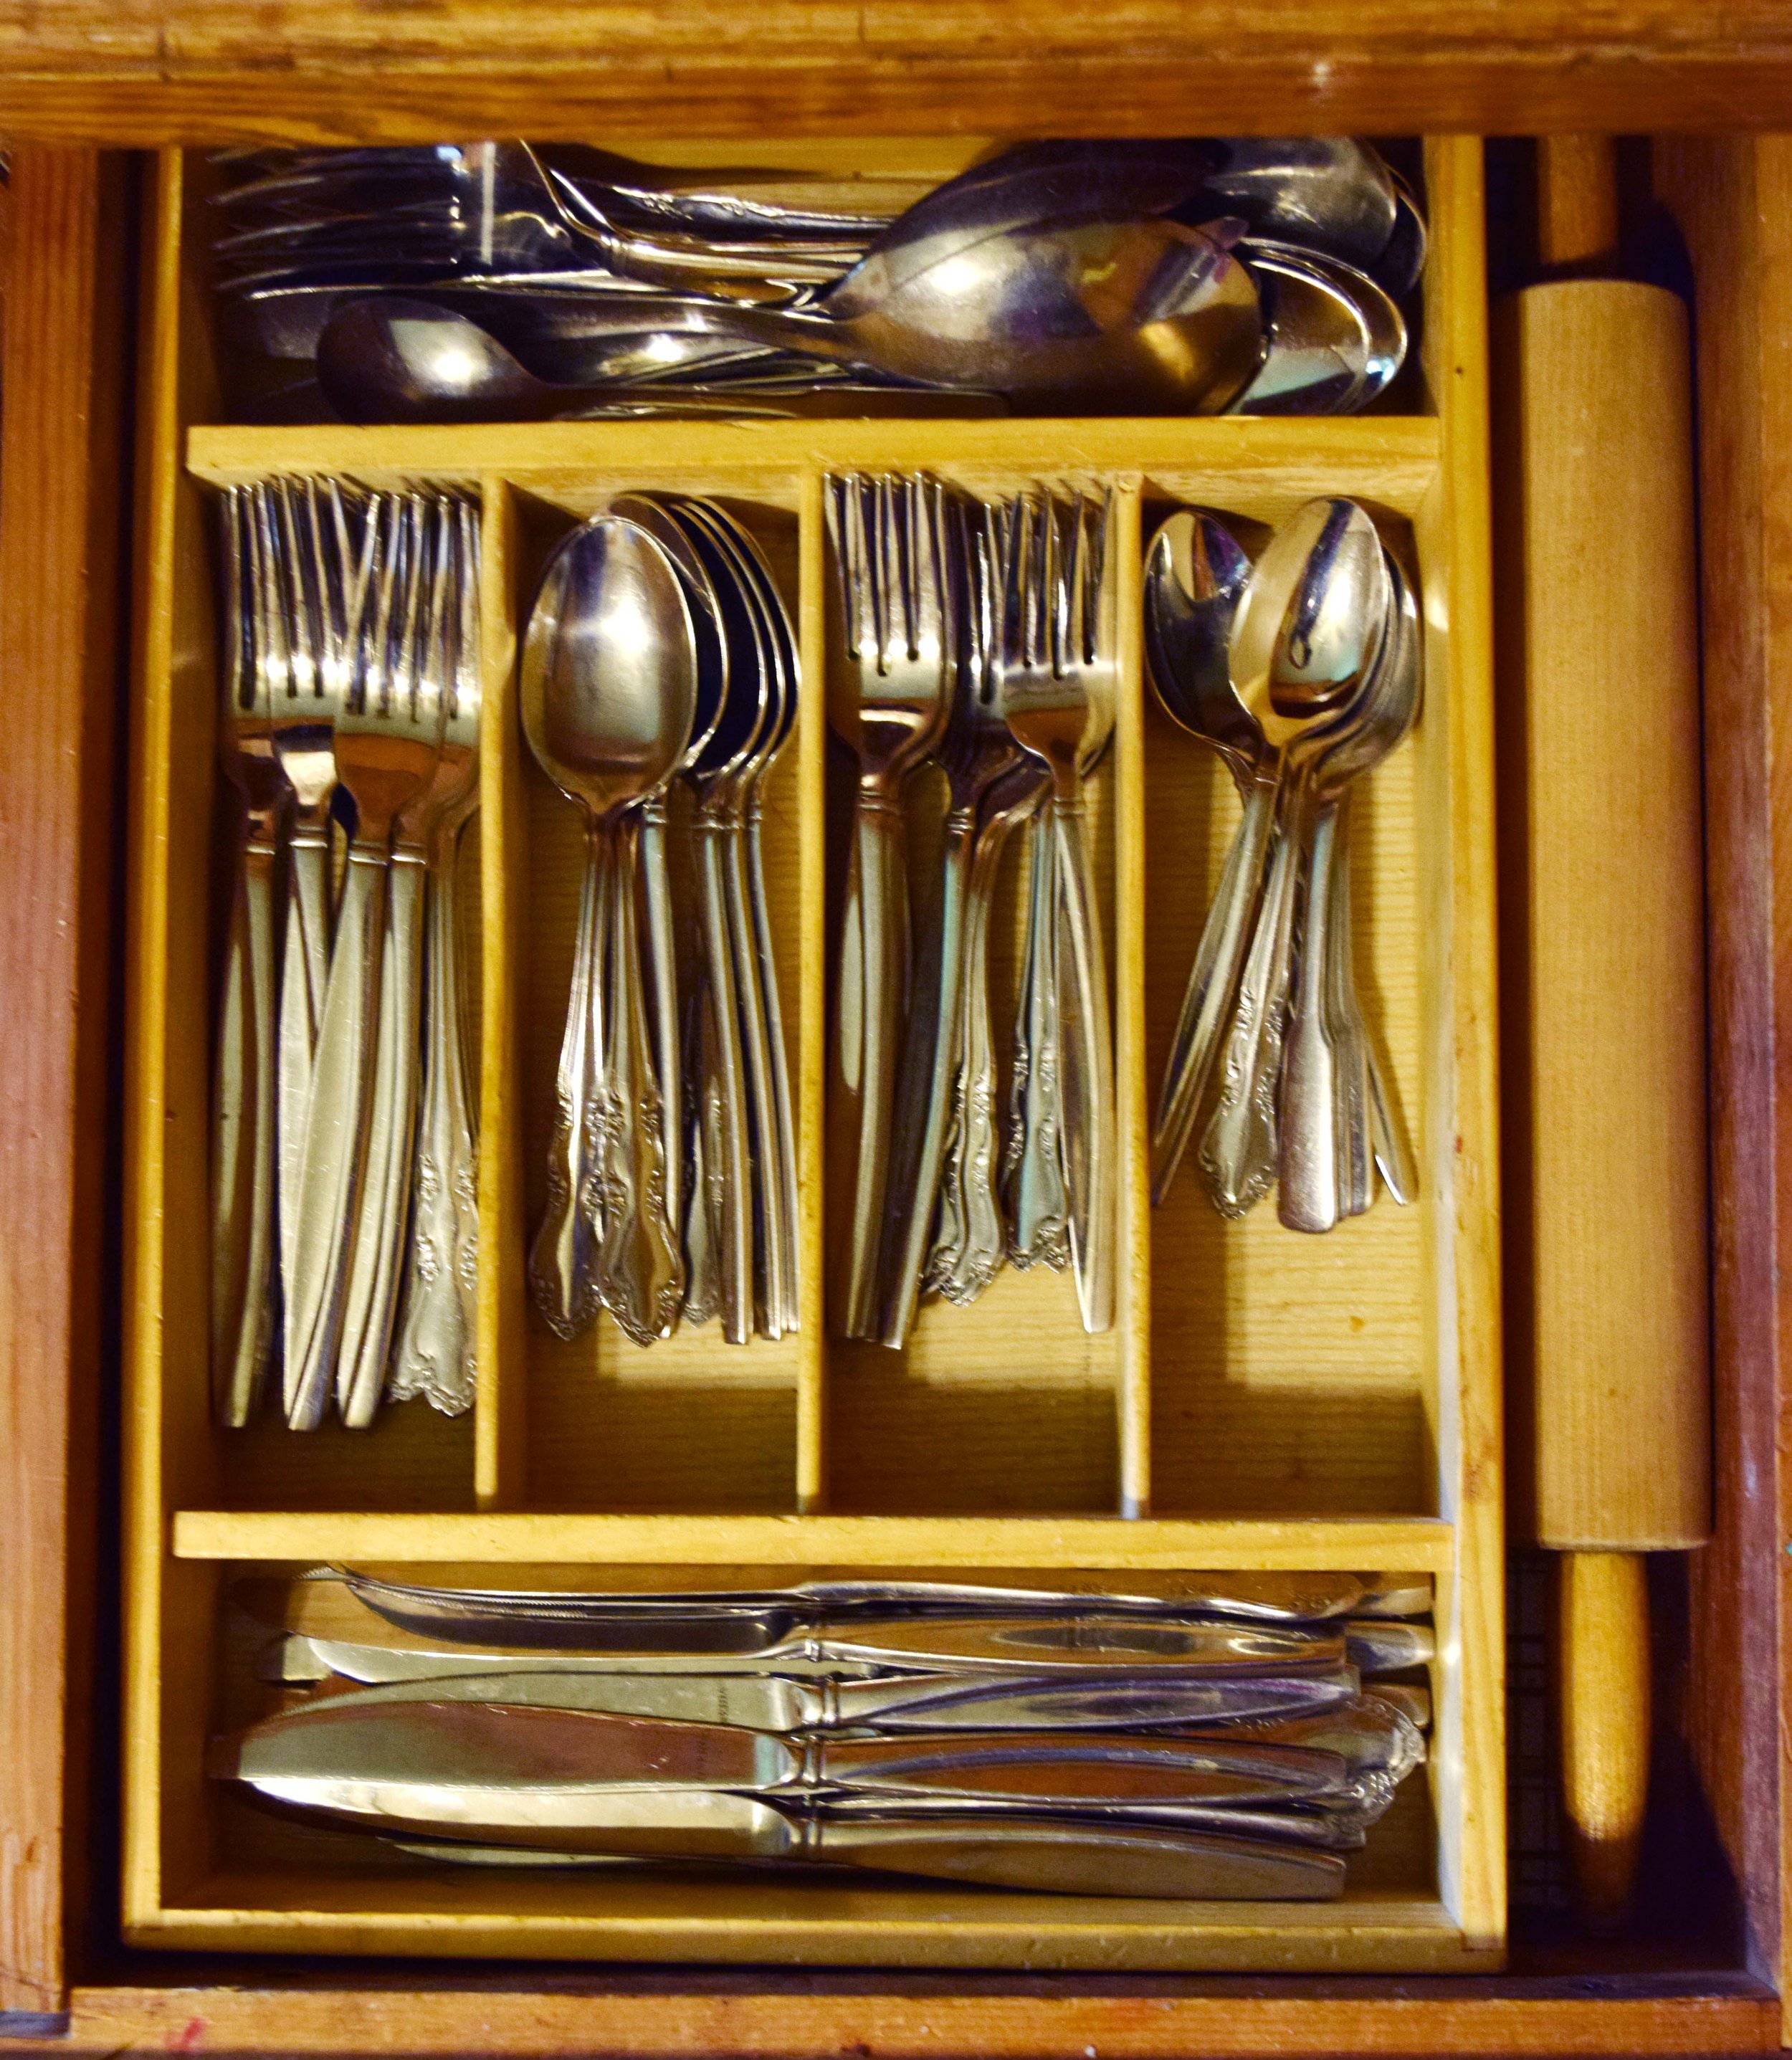
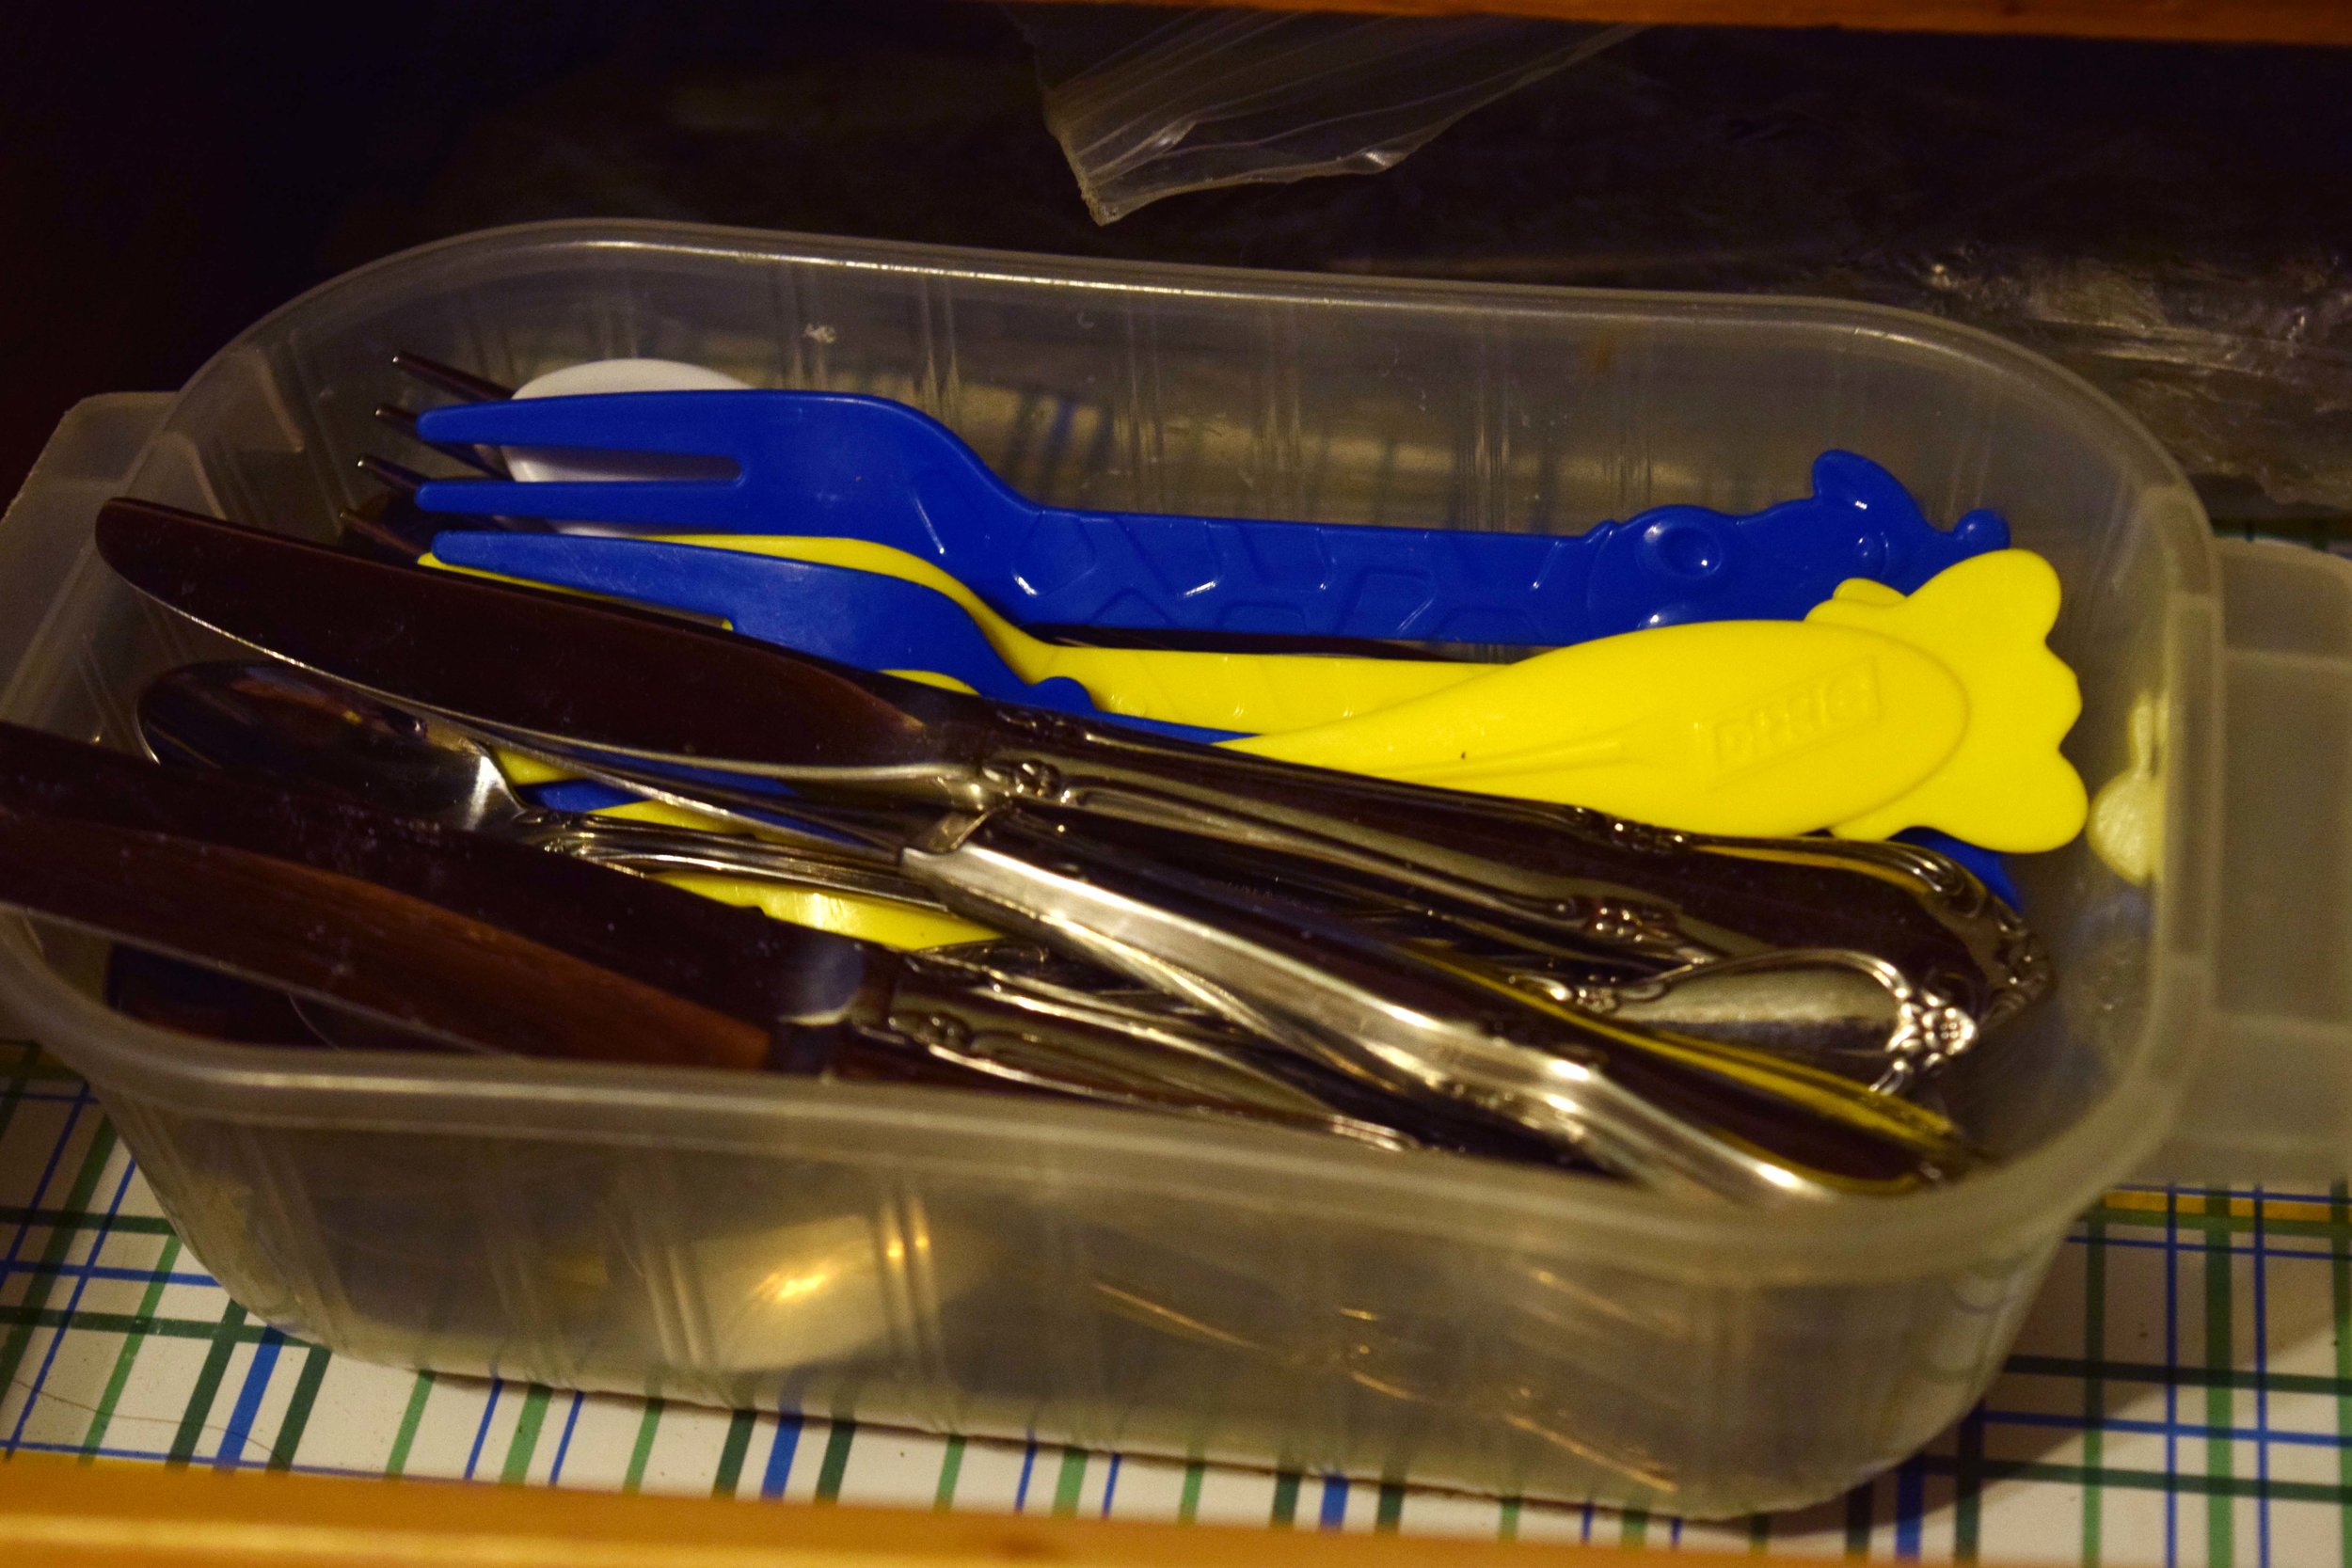
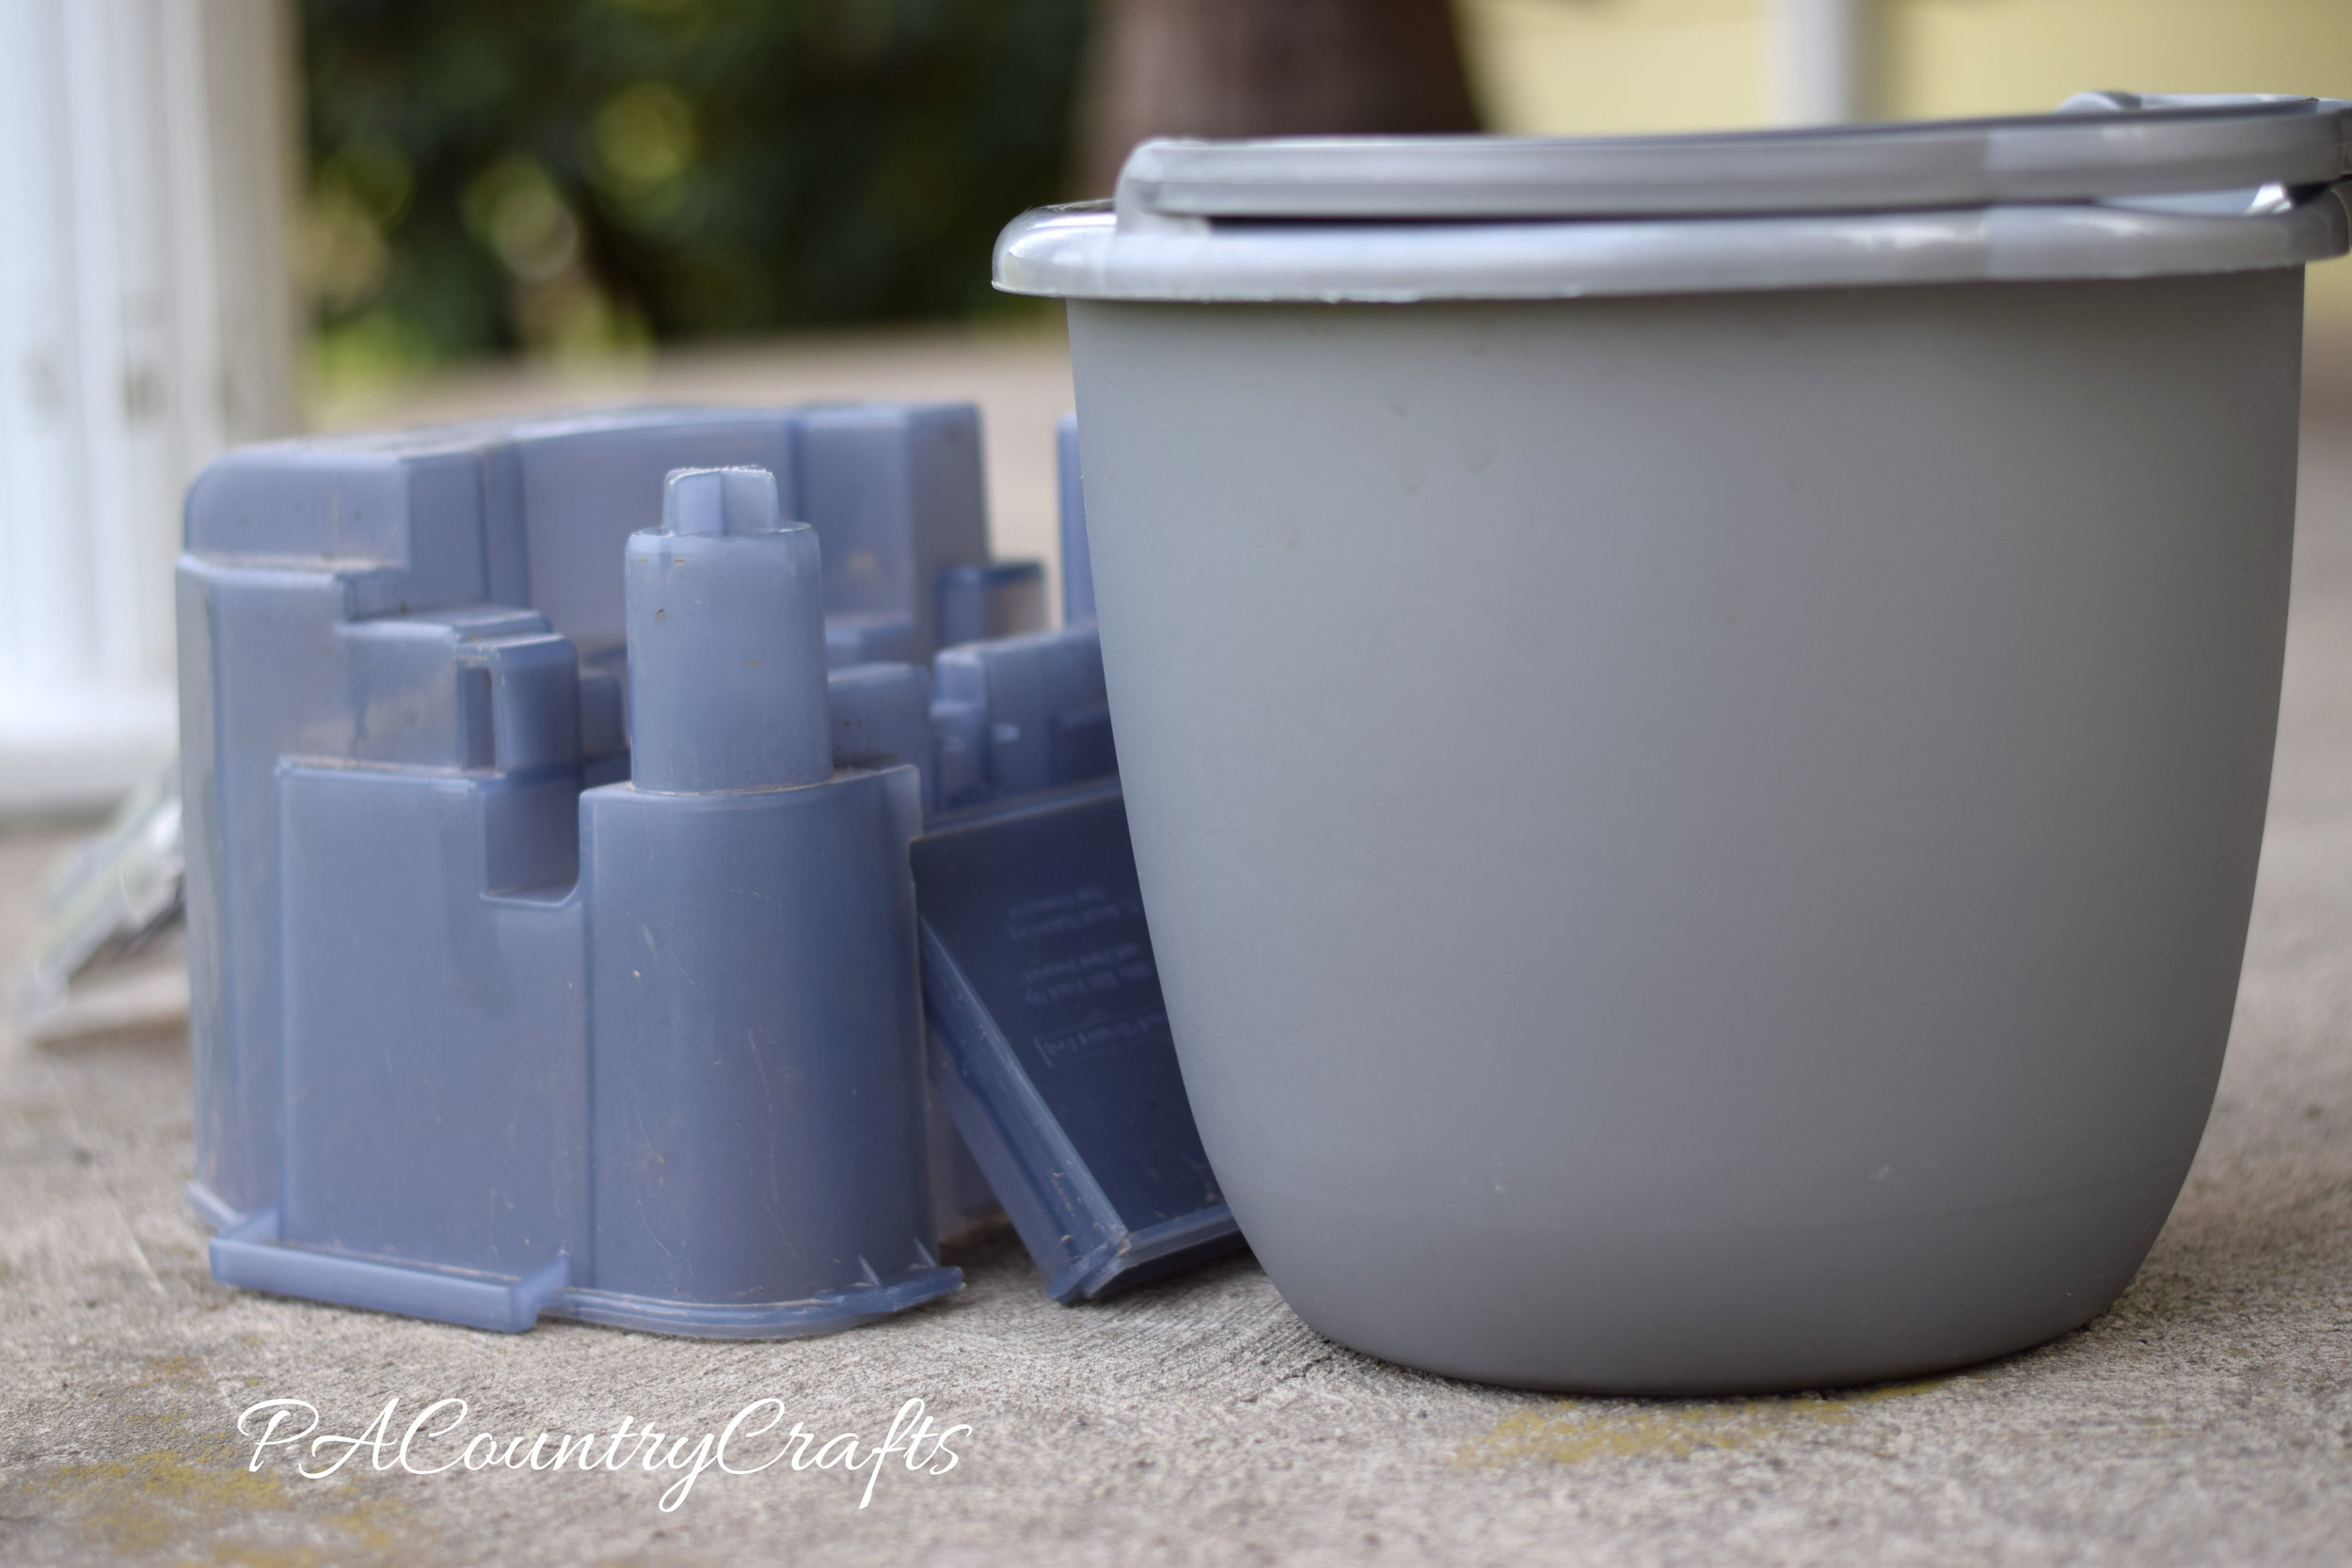
The drawer doesn't pull out all the way, but behind the tray I have a bag with extra utensils for when we host large gatherings, which is never, and the toddler and baby utensils in an old storage container that didn't have a lid.

use storage containers with missing lids to organize drawers

Next I have the larger utensils that I use for cooking and serving. I use a tray from the Dollar Tree (came in a 3-pack) to hold the spatulas and create a sort of divider. This drawer is usually the messiest, but I didn't want all of those bulky items in a container on my counter anymore.

keep big utensils in a drawer instead of on the kitchen counters

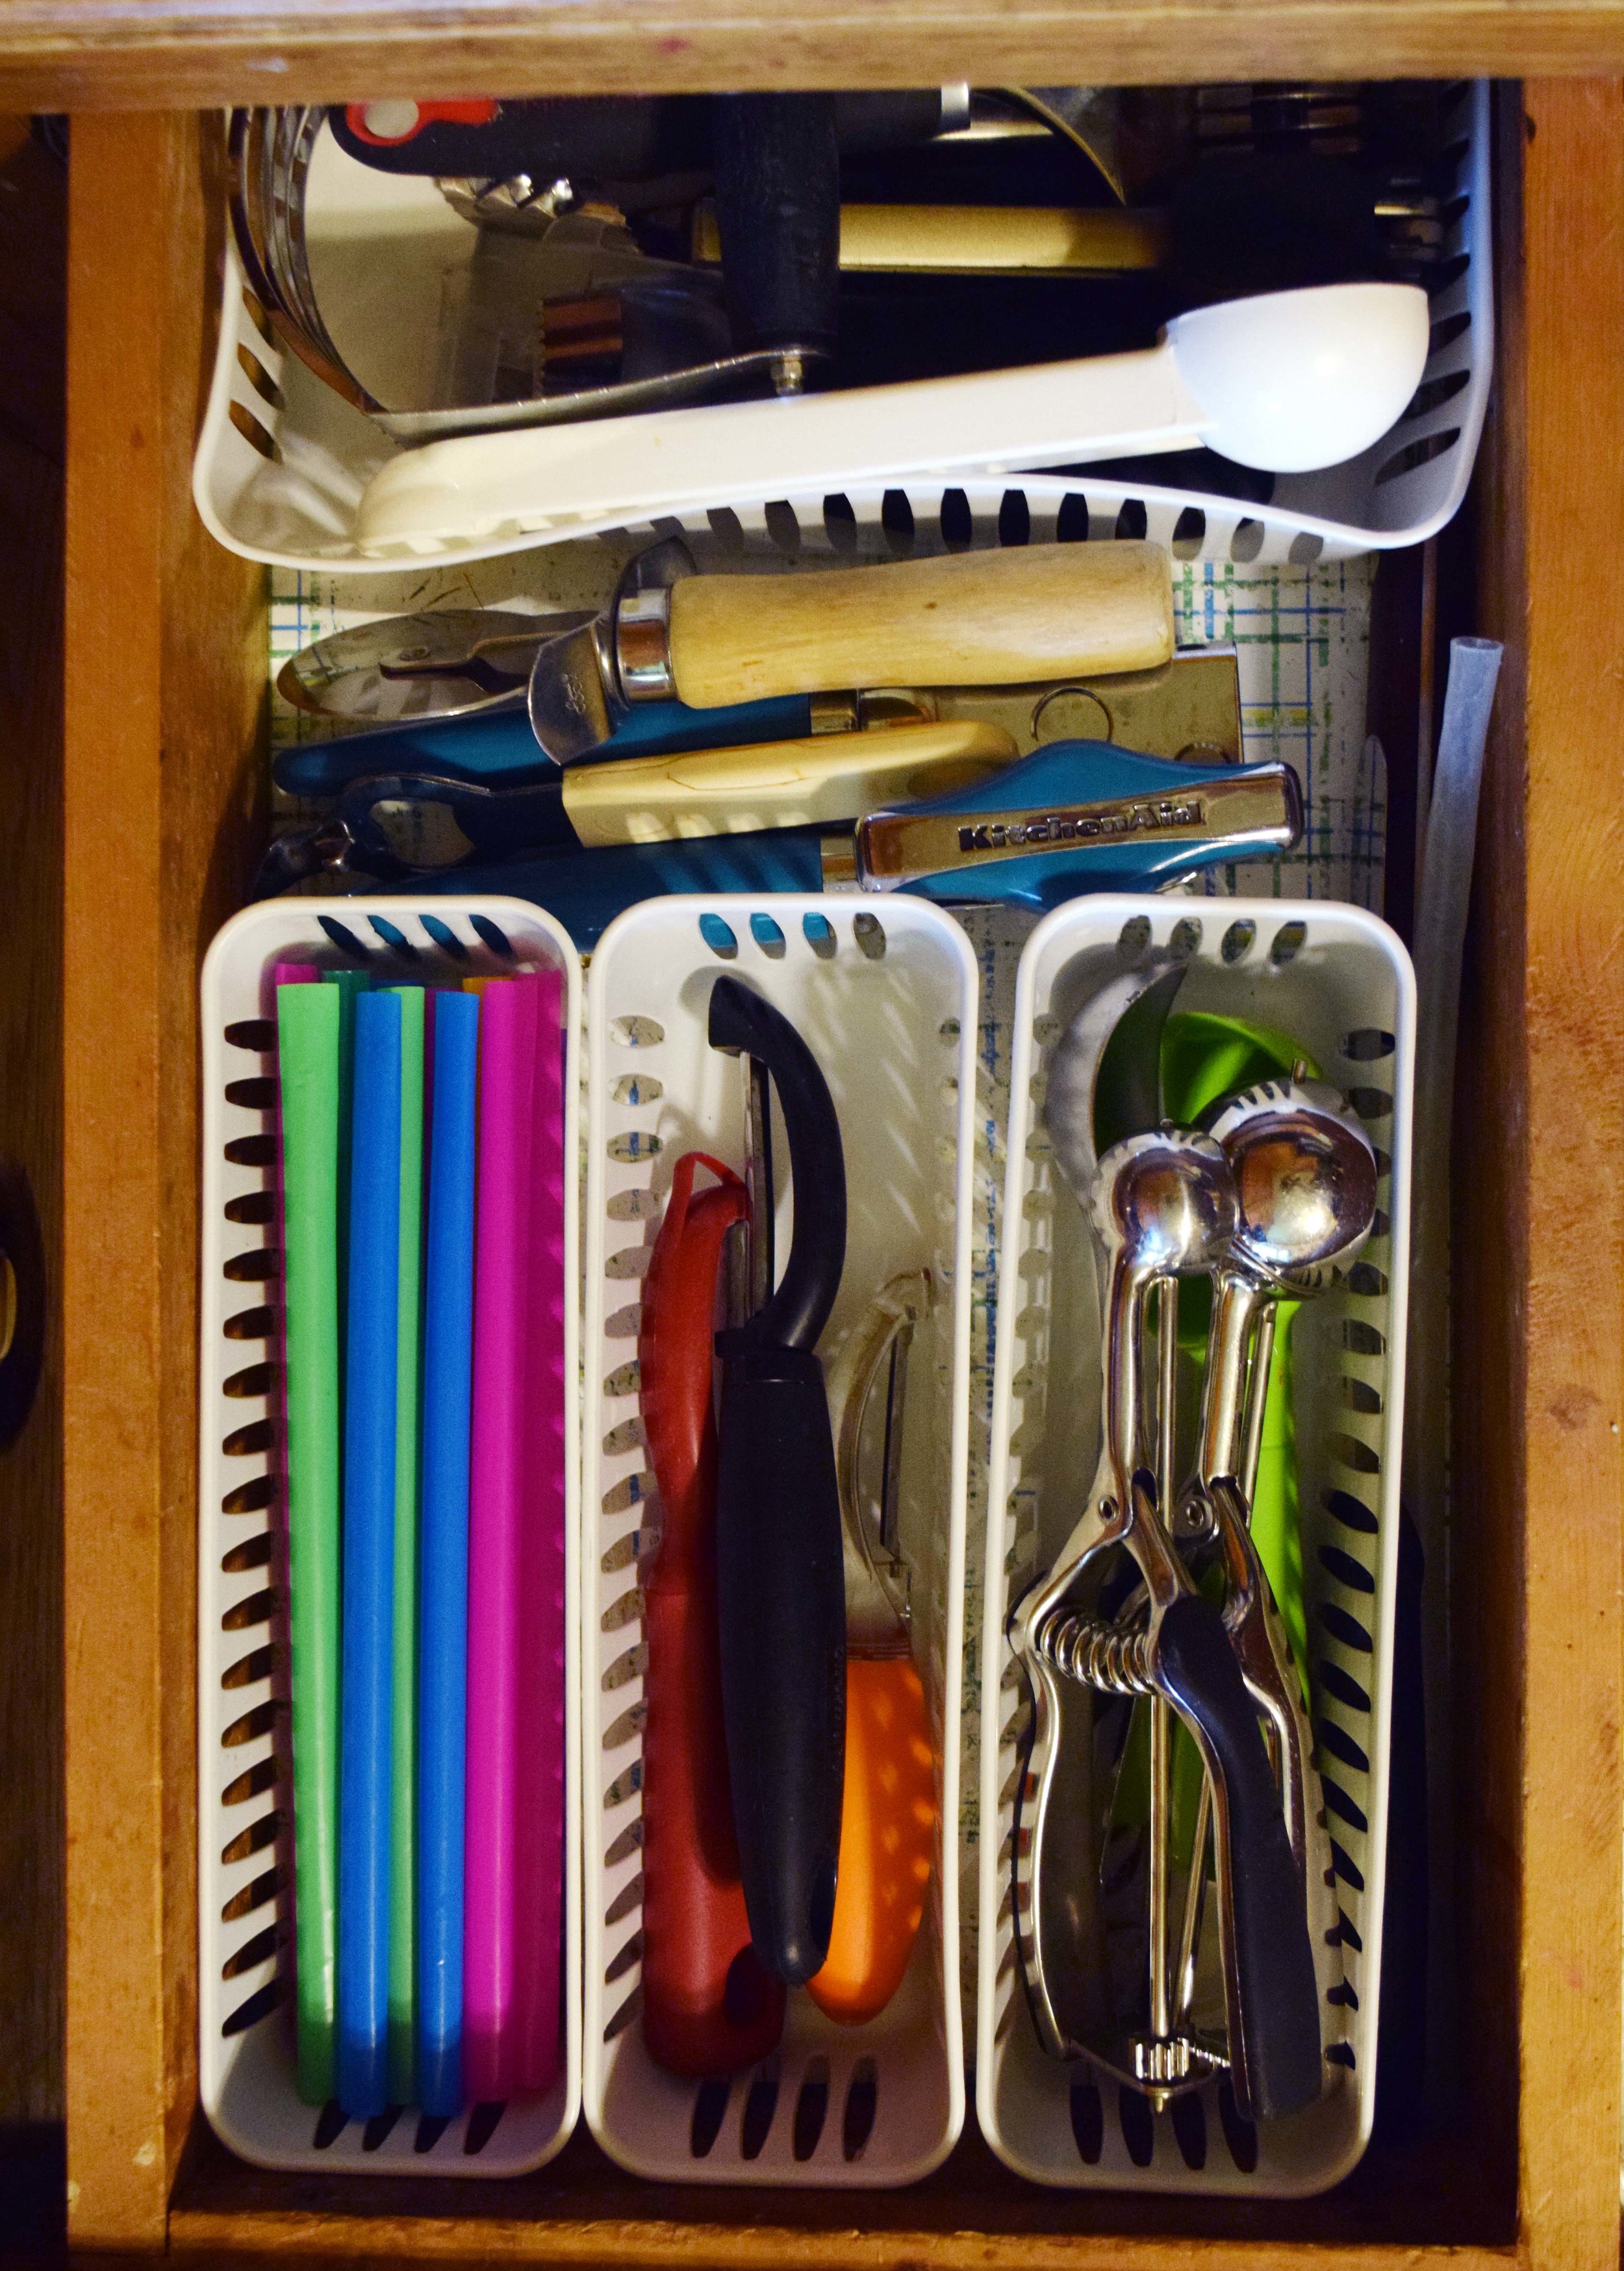
My kitchen gadget drawer is nicely organized with dollar store bins. Someone in the Spring Fling facebook group showed that she decluttered her vegetable peelers. Well, I had five but we use them all when we are canning and I put the girls to work. I still parted with two that were worn out so either I get more or we take shifts. LOL

Neatly organize kitchen gadgets with dollar store bins.

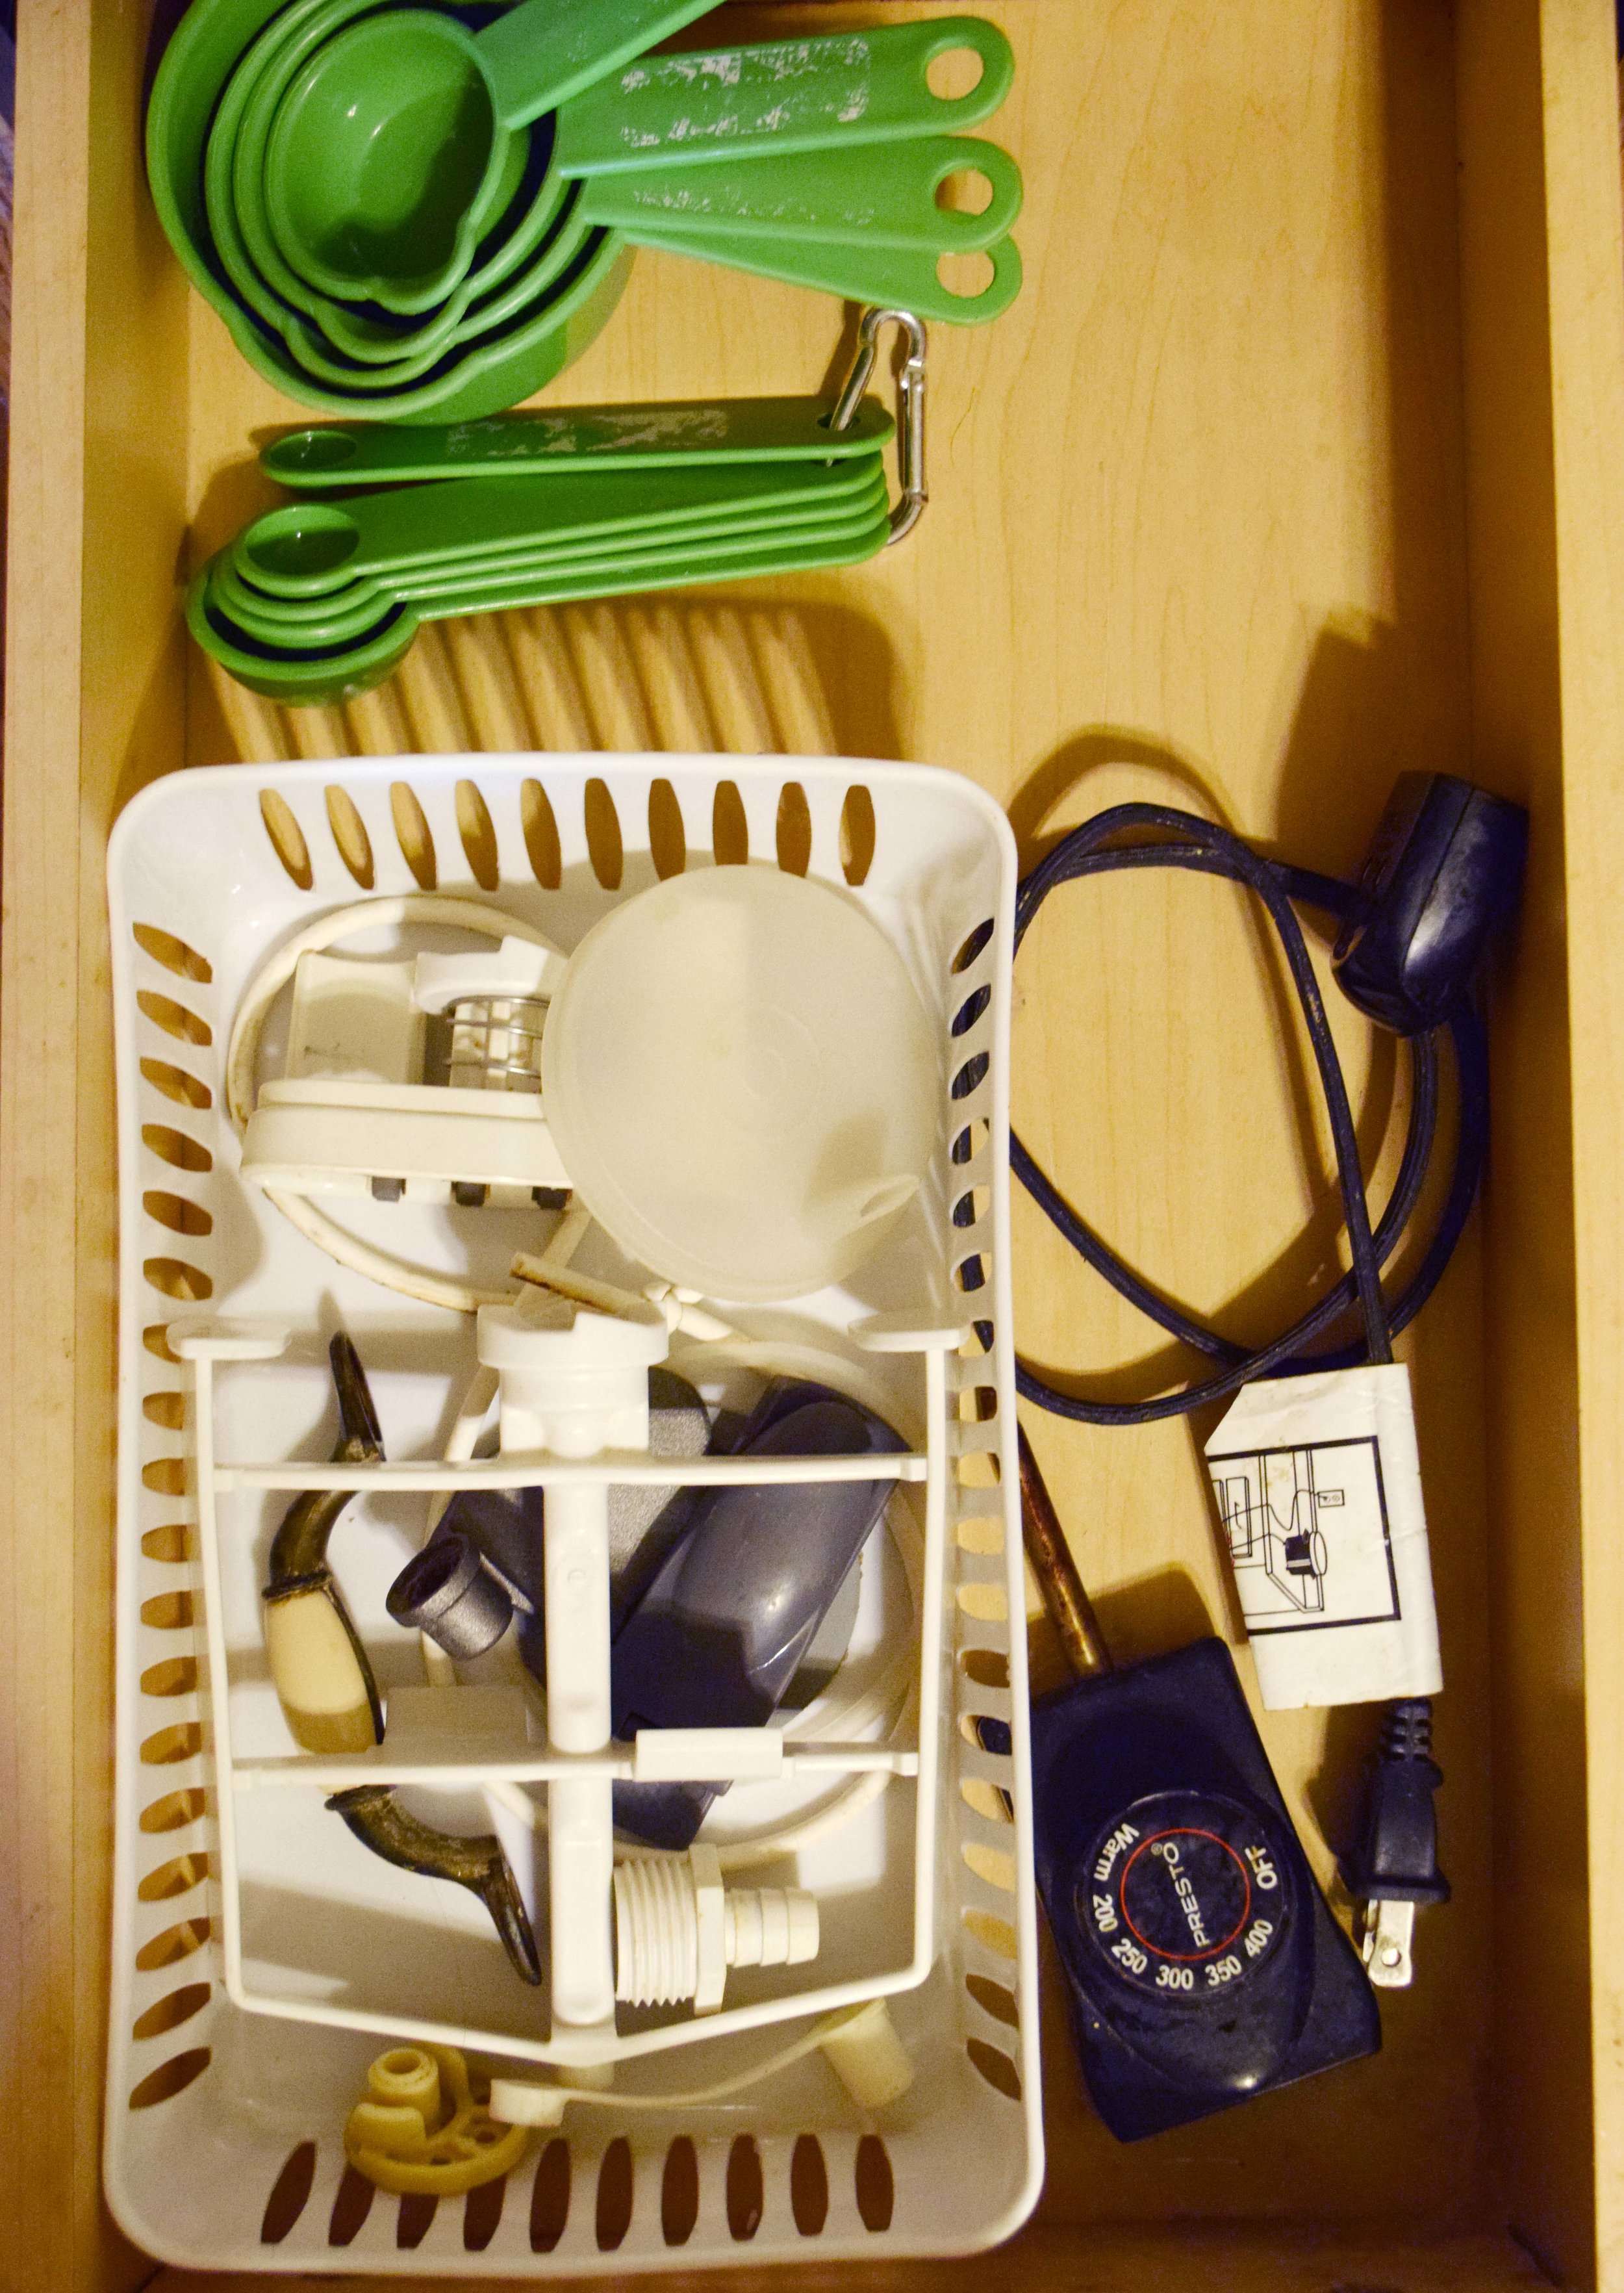
Last stop is the junk drawer. Most of our junk is in baskets around the house (which I plan on revisiting soon) so it really just holds some miscellaneous items and extra things.

Junk drawer organization

I feel like I am off to a good start, even if I got rid of a lot of small items.

How to declutter and organize your kitchen drawers.

 Other posts that you may find helpful...

8 Tips that Help Me Declutter

Kitchen Decluttering and Organizing

Kitchen Organization for Lunchbox Stuff

Cow Flannel Rag Edge Baby Blanket

I have made it very clear that I am a procrastinator. When my sister was pregnant with her oldest, who is now 6, I bought this adorable cow flannel with plans to make her a blanket or something. It never happened.

I ended up stealing the yellow flannel and making my youngest daughter a blanket, so I still had the pink cow flannel in my stash. Since my sister has now had another baby girl, I decided to finally make her the blanket and I even tricked my niece into helping with the safety pins. Yes, on the blanket that should have been hers.

flannel-rag-edge-baby-blanket-with-cows

I also used my letter stitches to put her name on one corner, just because I never use those letter stitches.

name-stitching-in-blanket

I really love these blankets. They are big and such a nice in-between weight. As you can see, my blanket got a lot of use...

flannel-baby-blankets

You can find my original tutorial for how I make these blankets by clicking on the picture below...

Flannel Rag Edge Baby Blanket Tutorial

Scrapbook Paper Picture Frame Tutorial

April is generally the craft month for our MOPS group. We wanted to come up with something that every mom could use... picture frames! At the March meeting we set up a photo booth with two background choices: an aqua sheet thumbtacked to the divider with THIS pink and yellow bunting or a navy sheet thumbtacked to the divider with some yellow stars that are part of our "Starry Eyed" meeting decor. They were simple, but beautiful (and FREE!) One of our steering team members is also a talented photographer. She has a good eye for capturing those special moments. She photographed the moms as they came in with their little ones and we got free 4 x 6 prints through the Shutterfly app printed before the April meeting. We figured if there was a picture to put in the frame right away it would be used.

Cute and easy MOPS craft with picture frames!

The frames were easy and inexpensive. I got them at Michaels and used a 30% off your entire purchase coupon so they were only 70 cents each. We also used up leftover paper from our journal craft in September (see HERE). I picked up some more scrapbook papers in neutral and blue colors that would be better for pictures with the navy background.

DIY book page picture frame

Scrapbook paper over a wood frame...

MOPS photo booth and picture frame craft

I have made these frames before and you can see some of them in my daughters' collage wall HERE. It is the perfect craft for a ladies night or a group. You can add little embellishments like baker's twine, washi tape, fabric flowers, die-cuts, etc. so they will all be unique. In addition to flat frames like these, you can use this same technique on any flat wood surface. I made a mustache for the collage wall, too!

Easy group craft- scrapbook paper covered picture frames!

Here is what you need:

~wood frame ~mod podge ~foam brush ~sandpaper ~scrapbook paper ~scissors ~pencil ~embellishments (optional) ~paint (optional)

Easy DIY frame craft with scrapbook paper, cheap wood frames, and mod podge.

I began by painting the edges of the frames just to make the finished product a little nicer. I used white acrylic.

Paint the edges of frames for a nicer finish

Lightly sand the frame to remove any rough edges or extra paint. (My craft table is a disaster! #keepitreal)

how to prep a wood frame for decorating

Trace the frame on the wrong side of the paper (so you don't see pencil marks in case you mess up).

how to make scrapbook paper frames

Cut out the frame shape you traced, but leave a little extra outside the pencil lines. Always go big, not too small!

Cute paper to cover wood frames

Brush a layer of mod podge onto the frame. It should be a fairly thick layer, but it should all be smoothed out- no runs or lumps.

mod-podge-frame

Lay the paper on top of the frame, lining up the center opening and edges as best as you can. There should be a little extra all around.

How to cover a wooden frame with paper

If you get big wrinkles, you can take it off and redo it, but only if you are fast about it. Some wrinkles can be pushed out by hand, or you can even try scraping with a credit card. Just smooth it all out the best that you can and let it dry. We did our "speed friending" activity awhile.

Then, it is time to sand the extra paper off of the edges. Make sure to use a perpendicular, downward motion (if you have ever done Jamberry nails it is the same technique!) Don't ever push the sandpaper back upward or you might lift the paper. Just keep scraping down at as close to a 90 degree angle as you can. Use some muscle! It takes a bit of pressure to make it work. The paper will begin to loosen and peel off.

This tip helps you sand extra paper of the edges of mod podge frames for a clean finish.

The secret to getting perfect edges on mod podge picture frames...

Don't forget the inside, too. It looks very crisp and neat when you are done! Nothing at all like my messy table.

How to get clean edges on a paper covered frame

It is a good idea to seal it by brushing on a thin layer of mod podge. If you want to add embellishments, just brush a little mod podge on, stick it on top, then just brush over the whole frame.

Cute embellishments on a DIY frame. Mod podge is great!

See? It dries clear.

Easy picture frame craft project!

You can also add washi tape to a dry frame and lightly seal over that.

Washi tape on a DIY picture frame

Pretty easy, right? I think the sanding is the trick to this. And now, on a nicer background than my icky table...

Mod podge, scrapbook paper, and washi tape make this cute frame!

There is a lot that you can do with these. They don't take too long and don't cost much to make. If you mess up and get too many wrinkles, you can always rip the paper off, sand, and try again. Or, you can call it "texture" and just go with it. No one will see small wrinkles from across the room. Just you.

scrapbook paper mod podge frames

Feel free to pin it for later...

Use scrapbook paper and cheap wood frames to make a cute craft - perfect for craft nights and groups!

You may also like...

composition-book-journal

Getting My Act Together

easter-lily

At the beginning of the year I was challenged to come up with a word to focus on this year. I couldn't really come up with a specific word, but I had the general idea that I wanted to "get my act together."

I bought a cute planner and decided I was going to be organized. I love my planner and it is a great start, but sometimes it gets lost on the mess of my desk. I wanted to get the entire house decluttered, but stalled out before tackling the bedrooms. I had all of these grand ideas that if I could get the house organized and cleaned, if I could tackle the laundry pile I call Mount Washmore, if I could send out birthday cards on time, if I could finish all of my half-completed craft projects, if I could be on time for everything, if I could get a healthy supper on the table at a reasonable time each night, if, if, if... And guess what? It isn't happening. That is not real life. We have 6 kids and a little wanna-be farm. I try, but something will always be a mess and I can't get everything done.

Just because everything isn't Pinterest-perfect doesn't mean that I am failing. I am such a perfectionist about certain things, as I have confessed before, and I am slowly chipping away, learning to let go. I get to a point where I completely run myself into the ground. So, really, "getting my act together" is more about getting my attitude together and prioritizing.

sky
working-on-truck
clothesline
hostas

I didn't sew the rest of the Easter dresses on time again this year. I ordered some fabric that came a few days ago and I didn't want to stress myself out to get them done. So I didn't. Instead, we made a ton of peanut butter eggs and did a lot of cleaning, both of which were very necessary.  We didn't get to any egg hunts besides the ones at family gatherings because of vehicle problems. Instead, the girls played outside and we painted our toenails on the sidewalk.  Probably the most shocking... I didn't give my kids anything in their Easter baskets. It was a personal decision to combat a materialistic attitude some of them have been displaying.  (When did Easter become the spring version of Christmas?)  Instead, we opened resurrection eggs on Easter morning as a family and took turns reading from the Bible.

blossoms-against-sky_edited-1
cleaning
dowel-rod-fishing
holding-a-kitten
pb-eggs
tree-blossoms
painted-toes
resurrection-eggs

This Easter I think I found a little more peace. I realized that I can't get everything done, so I have to choose what is important to me. I can let go of some traditions that aren't working, postpone them, or even just take a break from them. I am pretty sure that my kids aren't going to be scarred for life because they missed out on a chocolate bunny. A few years ago I would have been up all night sewing to get dresses finished and baskets filled. This year, I curled up on the couch with a book waiting to shower and relaxed! I can see that part of getting my act together isn't doing more, but learning to be OK with doing less.

The Last Easter Dress

Vote for the final round of Project Run and Play Season 13 HERE!

the-last-easter-dress

When I found out that I was having my first daughter I went out and bought the sweetest little pink dress I have ever seen! I was so excited to get to dress her up in adorable little girl clothes! When her first Easter came a few months later, although I know that has nothing to do with the true meaning of Easter, I was super excited to go out and buy another pretty new dress- this time in yellow. My life has been overflowingly full of sweet little girly things for the last 13 years!

By the time her second Easter came, I was ready to try something different! My mother-in-law sewed coordinating Easter dresses for her girls and I thought that was a nice tradition. I was adjusting to being a stay at home mom and sewing was a good mental challenge for me, too. I went to Walmart and bought a pattern and some pretty purple and blue butterfly fabric that matched the basket I had made for her first Easter. I struggled so much with that pattern and I called my sister-in-law to ask a lot of questions. (Google wasn't much help back then because craft blogs hadn't taken off and we had dial-up so it was faster to use the telephone.) She showed me how to cut a pattern out and how to do gathering stitches. I really had NO idea what I was doing! When I put the cap sleeve in, I was confused because the directions had me sew the end that was going into the arm hole. No, I just put it in backwards! I hemmed the sleeves by hand because I didn't figure out what I did wrong until years later. The zipper is awful and I didn't finish the waist inside, but that dress has been worn by five girls and has lasted 12 years. I was so proud of myself when she wore that first dress, and the sizing was terrible so she was able to wear it for a few years, too!

first-easter-dress

terrible zippersleeve put in backwards
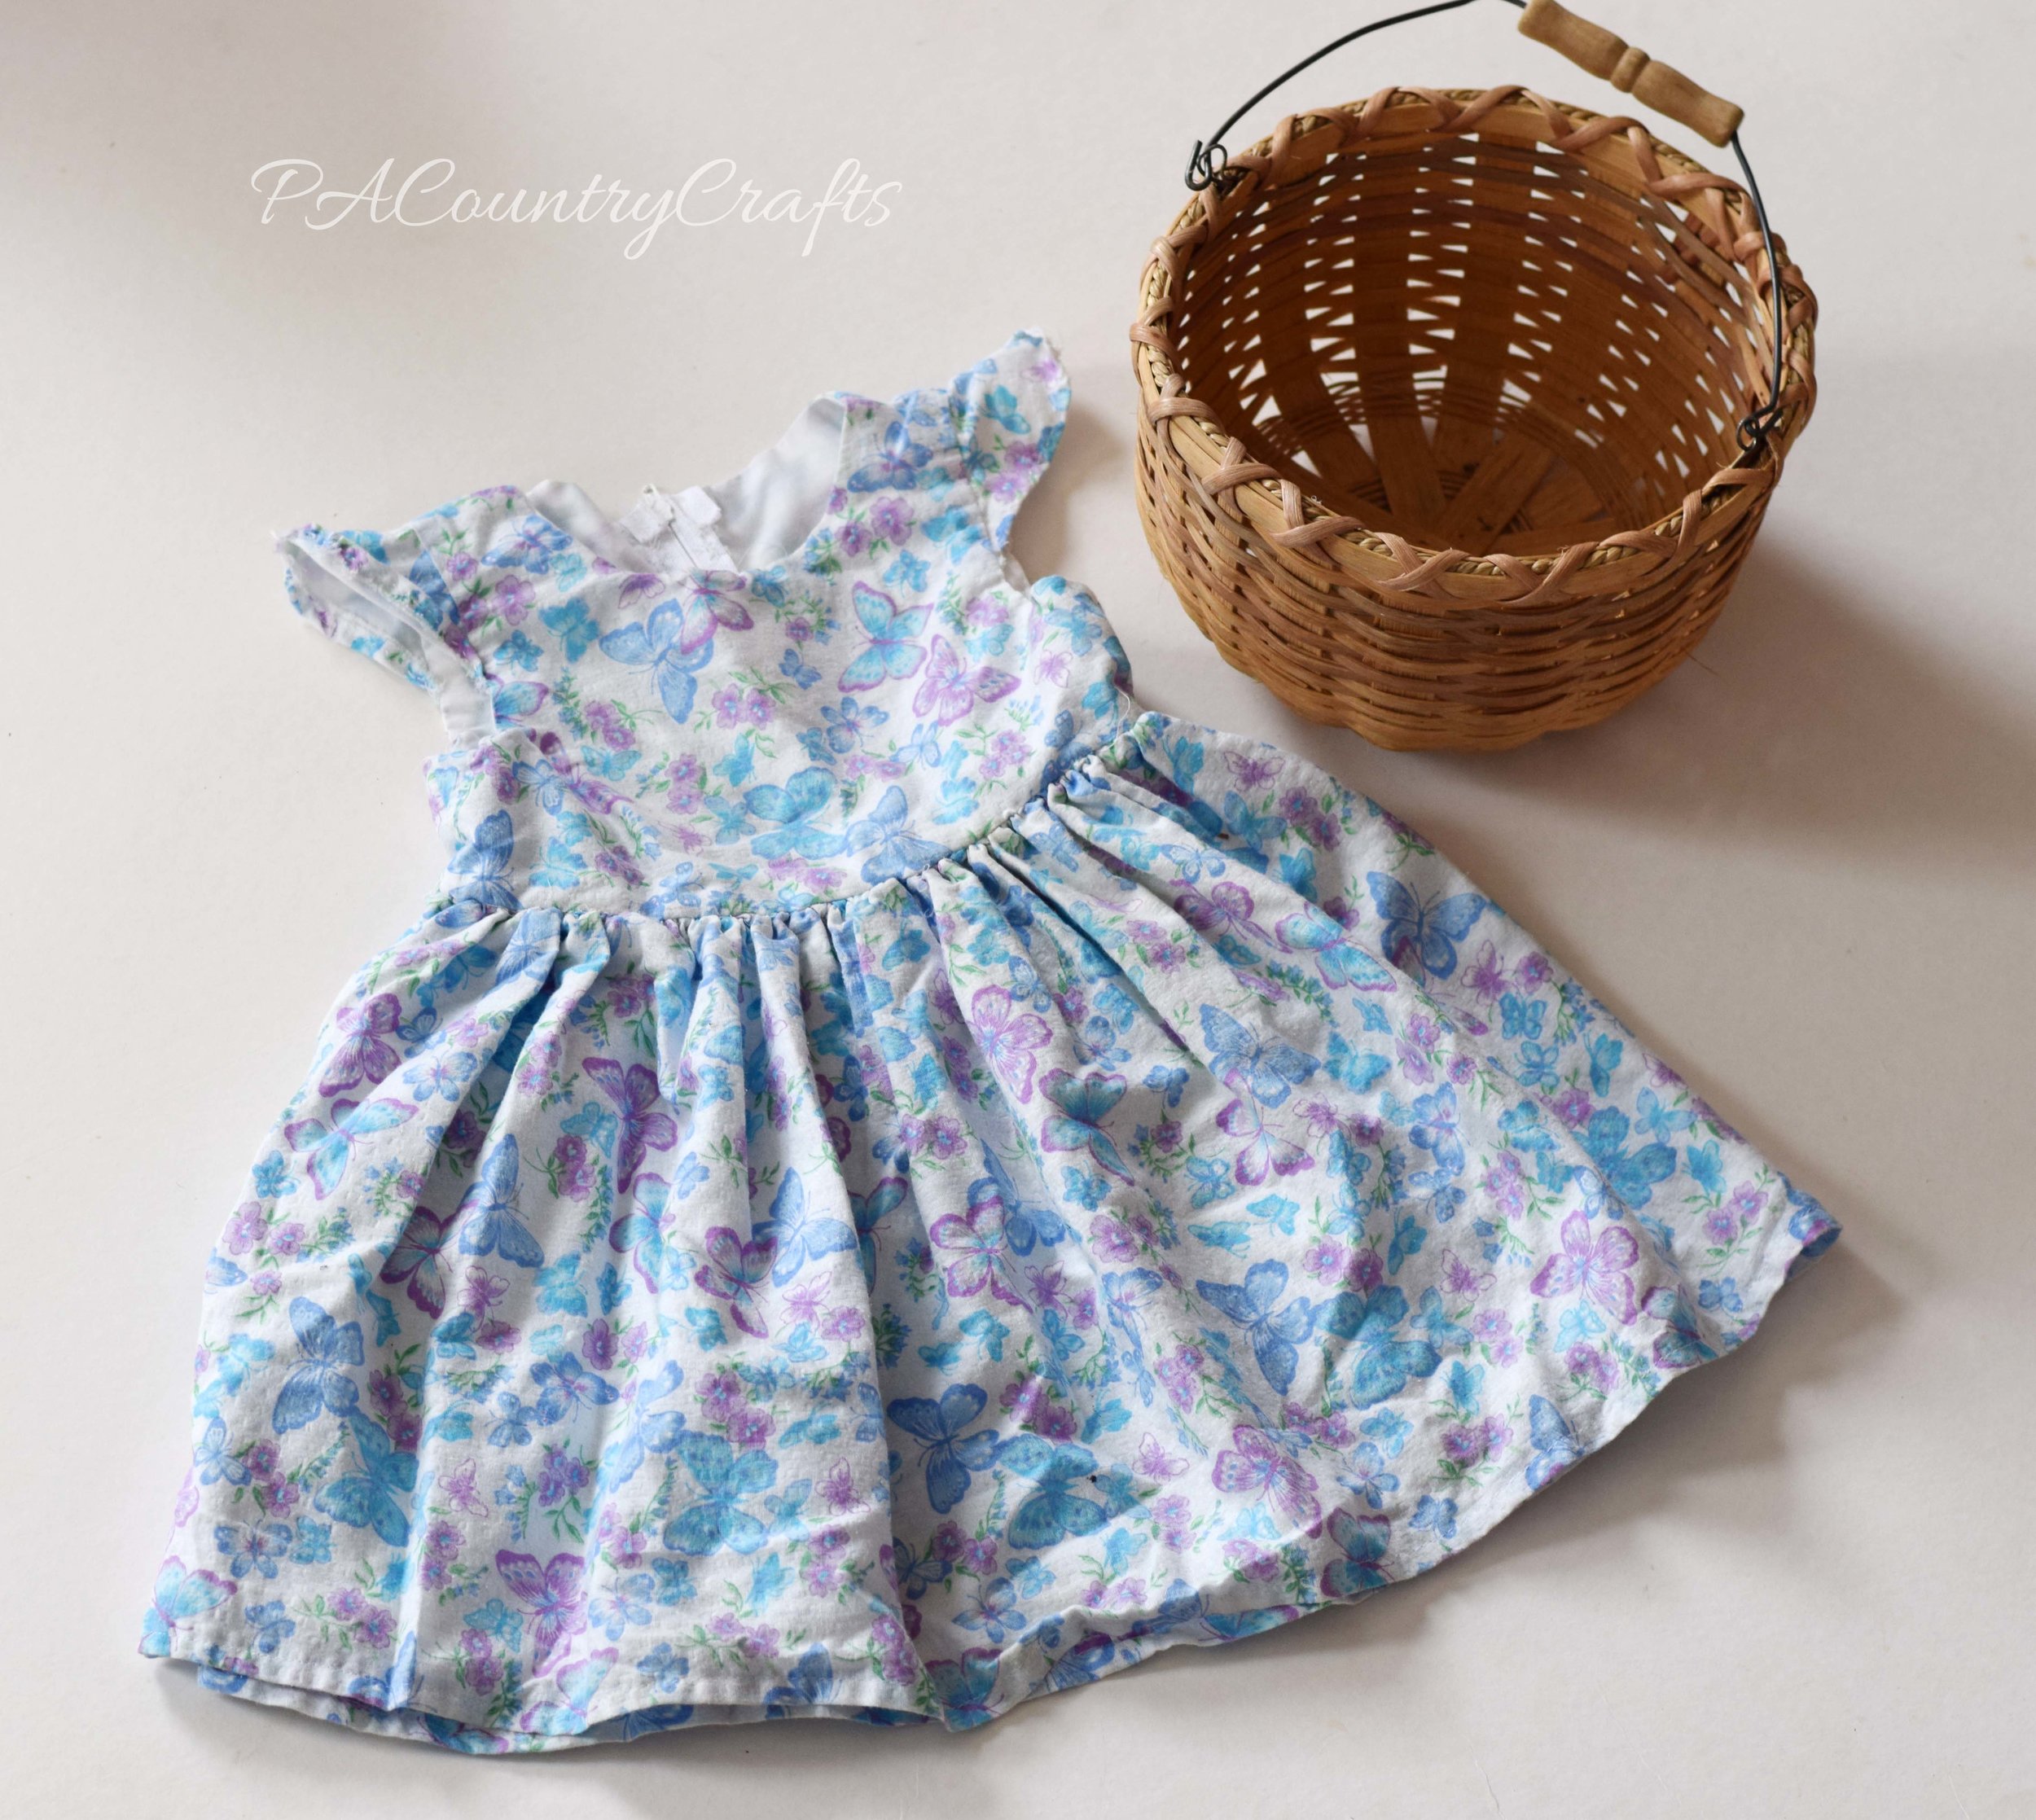
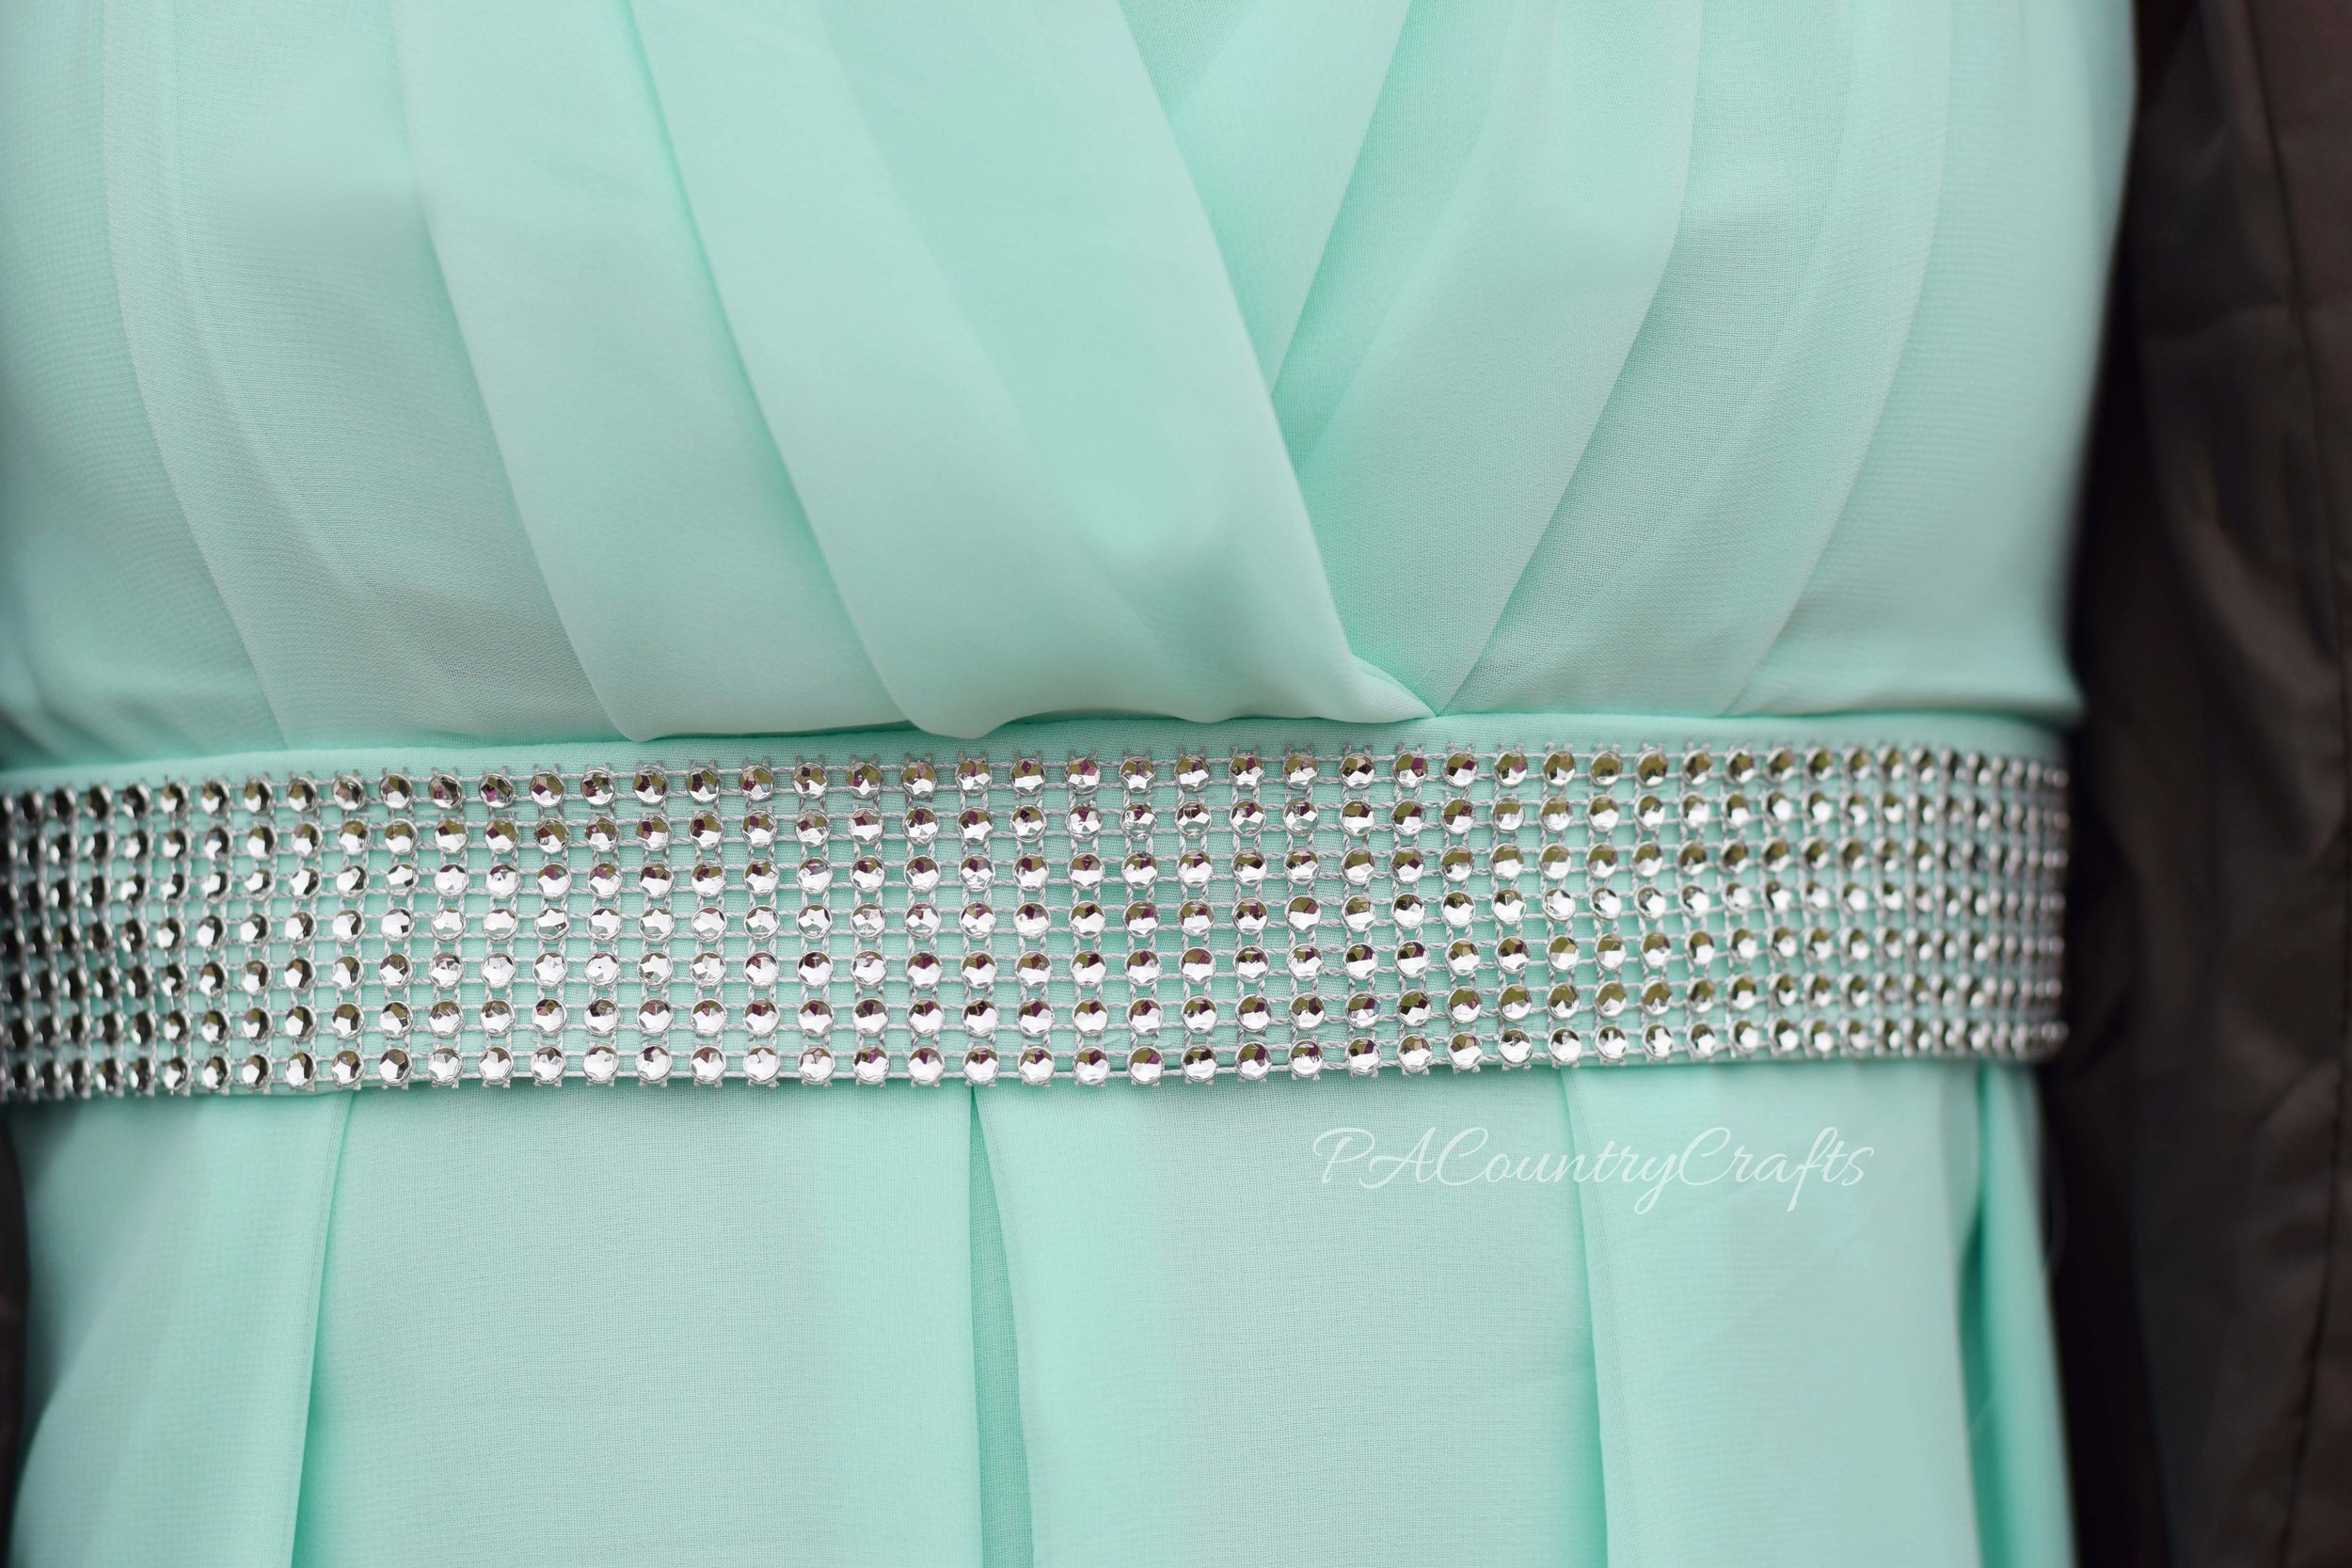
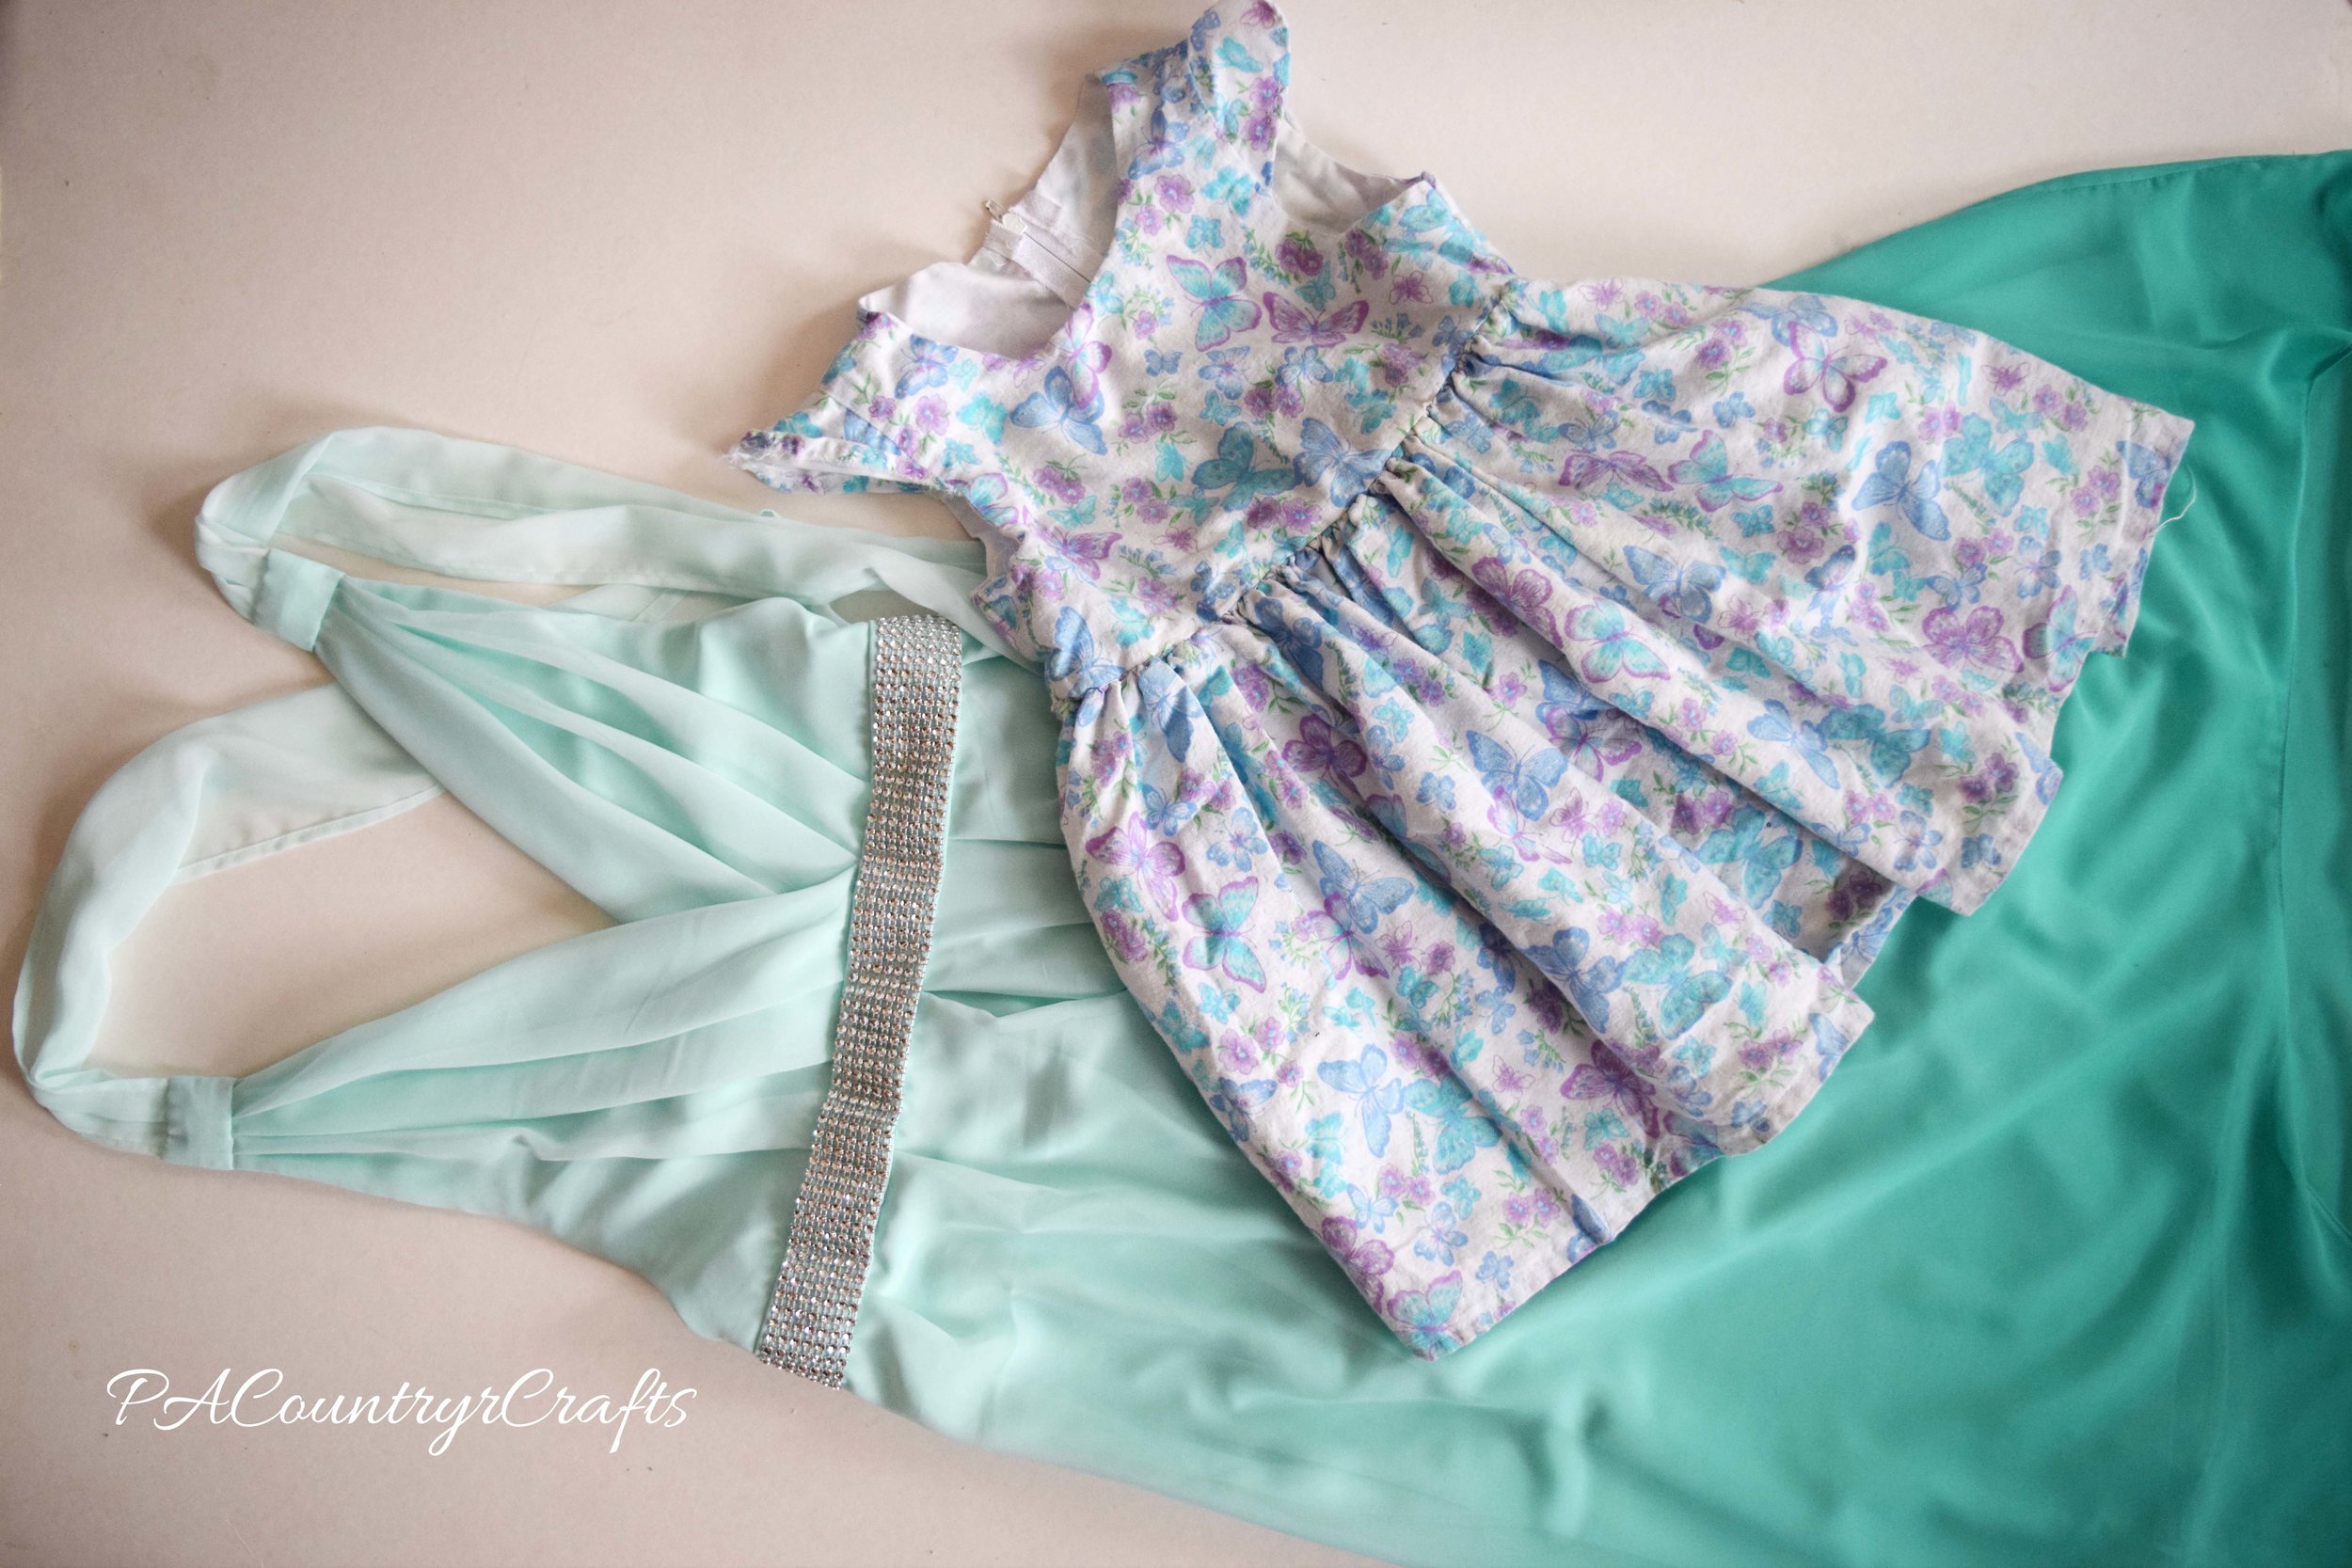
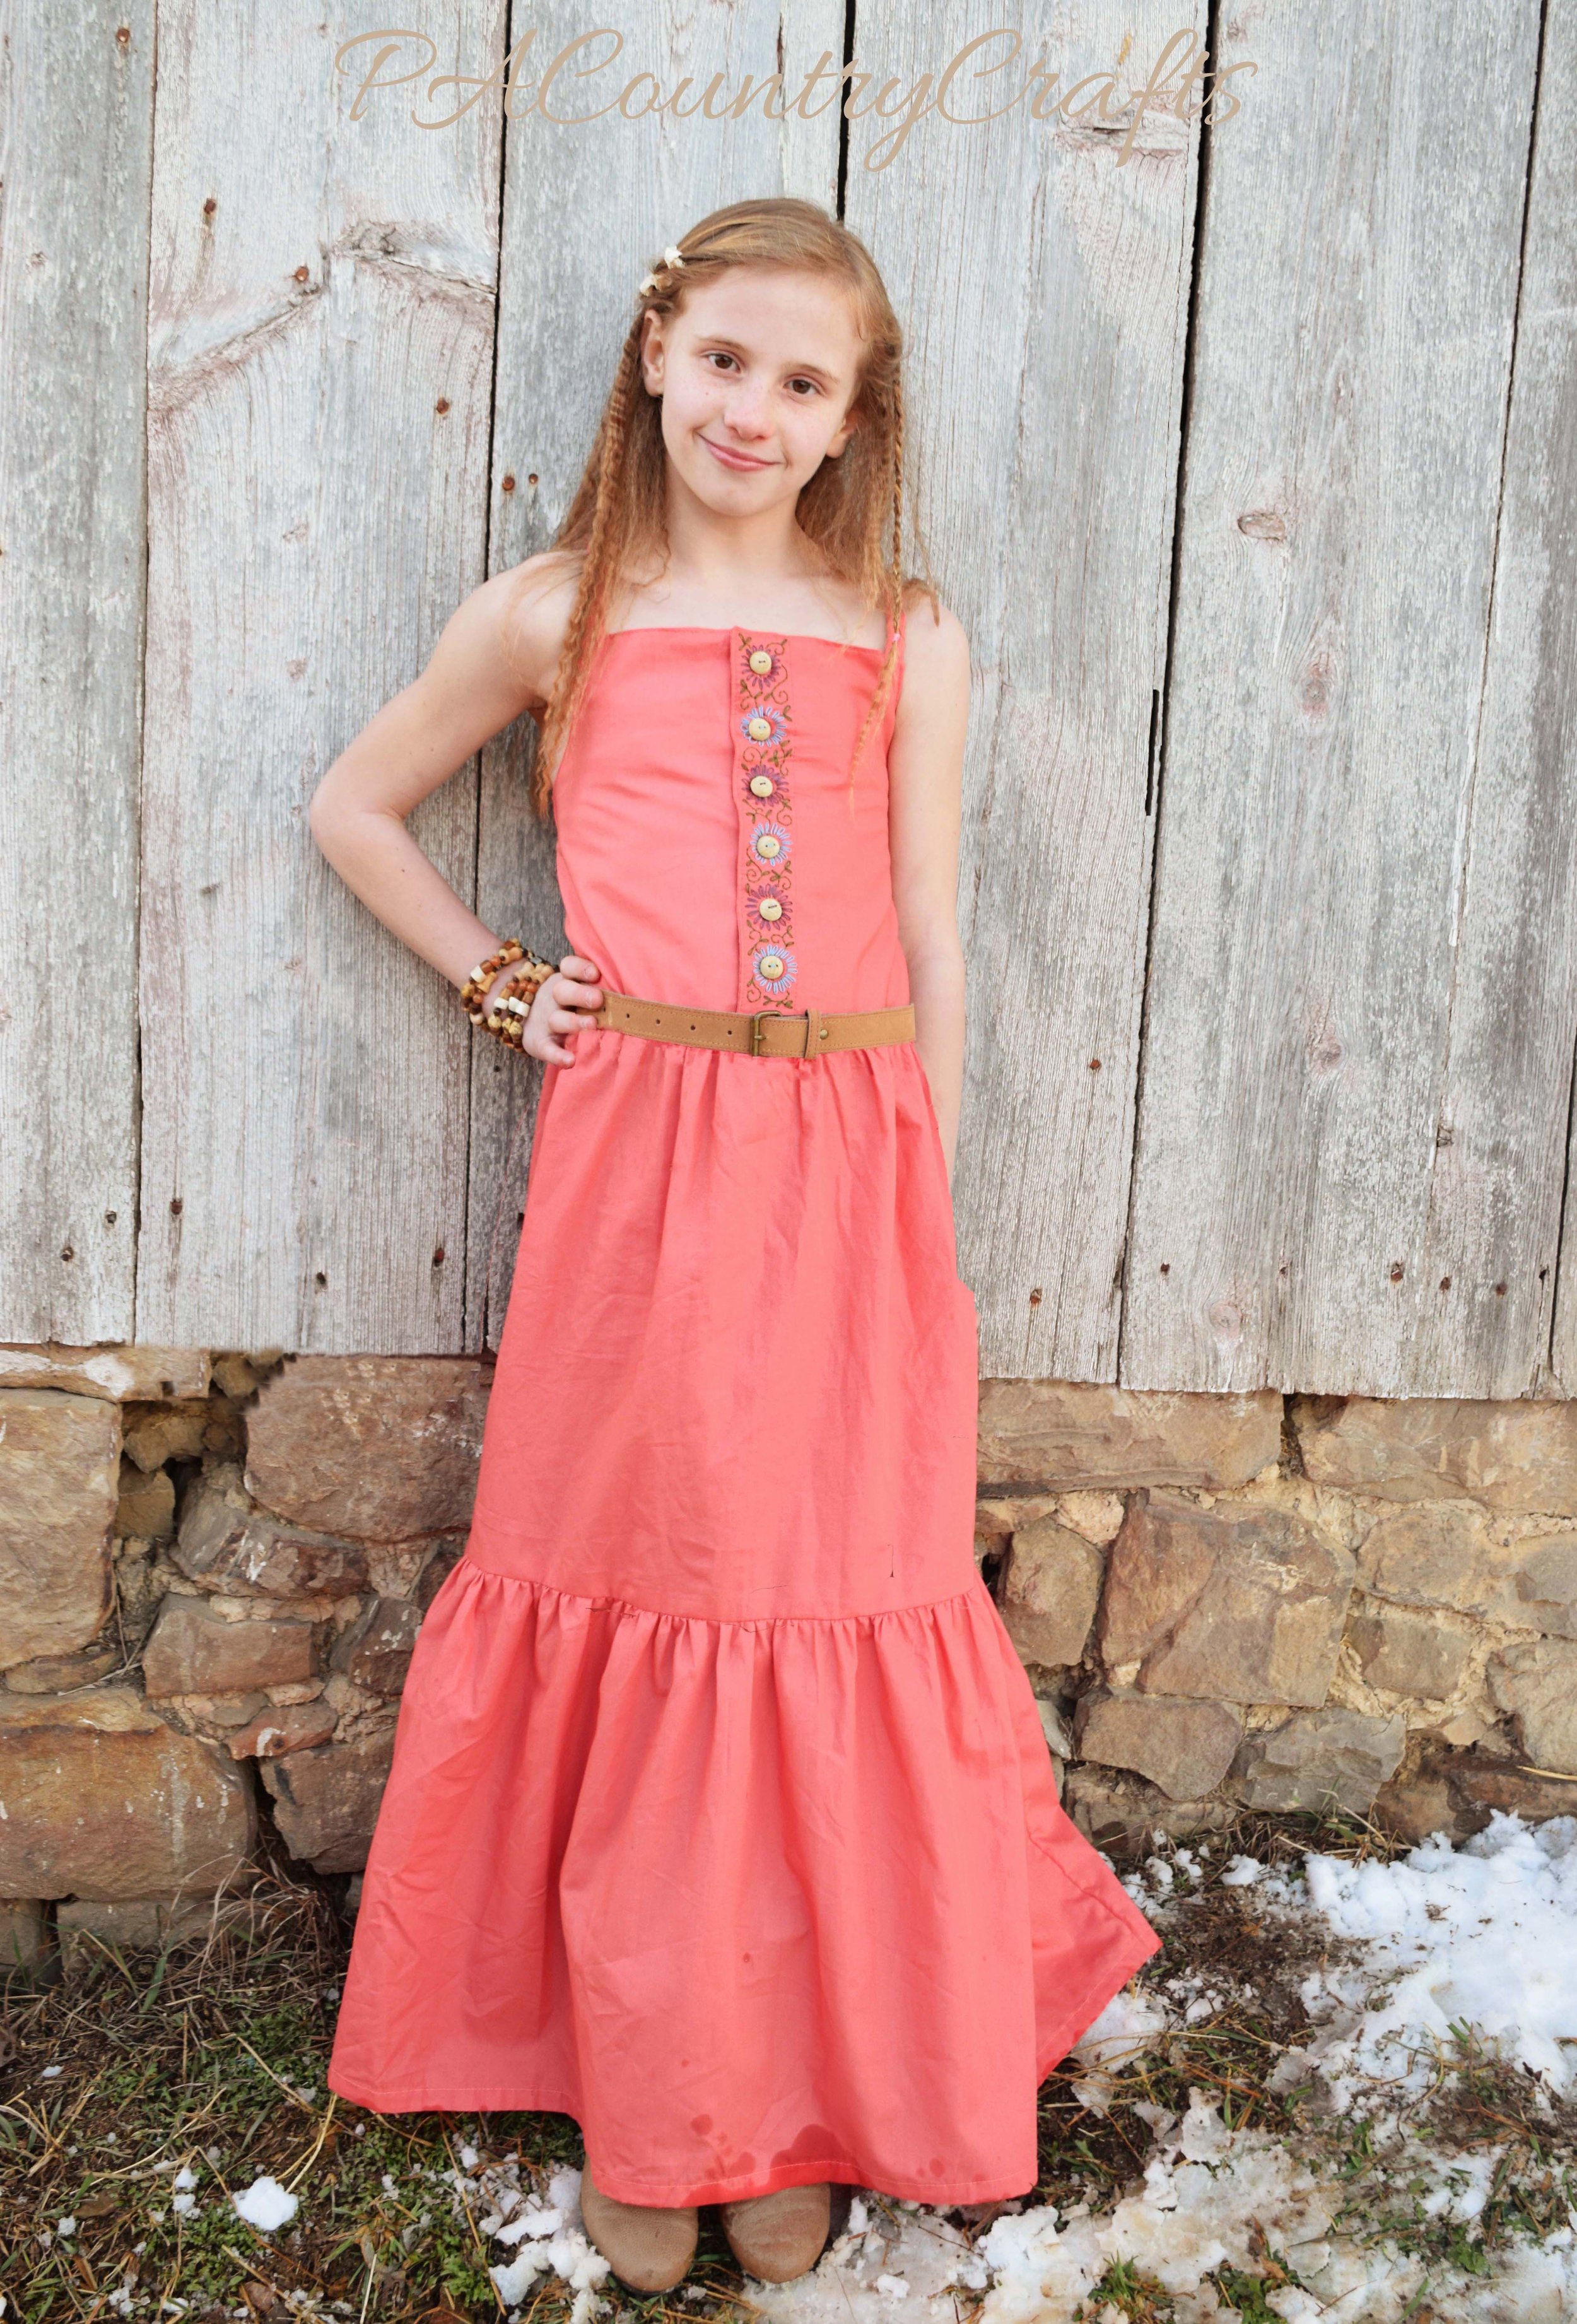
(The really sad part about all of this is that I do not have a single picture of my daughter wearing that dress! It was in the days of 35mm film so either I didn't take one or it didn't turn out. I am certain to do full "photo shoots" when I make dresses for my girls now. I am so thankful for digital cameras!!!!)

Now my oldest daughter is 13. She has outgrown the cute little girl styles and hates pink. My little girl who played in the mud wearing a Cinderella dress is now equal parts fabulous and sporty. She rocks a fashionable ensemble and a soccer uniform. She loves high heels and muck boots. She has reached an age where I don't know that she would want her mom to sew her an Easter dress next year, and she could actually sew her own if she wanted to. I really think this will be the last one I make for her, so I wanted to make it special. Instead of scrambling to make five Easter dresses in a week like I usually do, I decided to concentrate on this one.

ombre chiffon halter dress with a high-low hem

ombre chiffon dress

She chose this beautiful aqua/teal ombre chiffon from Joann's and the lining is a soft aqua rayon. She requested a high-low hem, but she didn't want a circle skirt. This dress felt like a final exam because it combined so many sewing skills. The top is a combination of several of my own tutorials- HERE, HERE, and HERE.  The pleated chiffon overlay was really tricky, but it softens the look of the bodice. The rhinestone ribbon was hand-stitched over the waistband to break things up a bit and match the bracelet (more on that later). Since the top was pleated, I decided to pleat the skirt, too. I used a french seam on one side and even french seamed the lining for bonus points. I actually didn't use my serger at all on this project. Everything was done the hard way, but if you see how smooth and neat the inside is, it is definitely worth it! The overlay has a narrow hem that took forever, but everything had to be done right to keep this chiffon light and flowy. I even redid my french seam to make it 1/8" finished and that piece I trimmed off became a pretty flower hair clip.

chiffon pleated halter dress

chiffon hi low dress

chiffon halter dress

inside-of-dresspleated-chiffon-dressombre halter dresschiffon ruffle flower hair clip

Finally, because I am sappy and sentimental, I got out the scraps from every Easter dress I have made for her and created a charm bracelet. There is a trick to it, so I will try to do a tutorial later. I used glass domes on most of them, but a few were too thick so I just coated them a glaze. I was really sneaky, so I was able to surprise her with the bracelet during the photo shoot! Also, I have just enabled fabric hoarders everywhere because this is another great idea for tiny scrap pieces. You are welcome!

glass charms made from fabric scraps

surprise-bracelet-edited_edited-1fabric scrap charm braceletcharm bracelet made from dress scrapskeepsake bracelet made from fabric scraps

I am a little sad to see my girl so grown up. It is bittersweet. We have both changed a lot.

first-and-last-easter-dresses

first and last easter dresses

https://www.youtube.com/watch?v=clcNB_EUao8

Put away the tissues and go vote HERE for the Project Run and Play Season 13 final round!!!

I am overwhelmed with the amount of support I have received from family and friends during this competition! Thank you so much!!! You are all amazing!!!

Sweet Caroline

sweet-caroline_edited-1-1.jpg

My great-grandmother, Caroline, was Bohemian; so "boho" means a little something different to me because I think of her.  I remember her fierce hugs and the stories of her spunk and determination. Widowed, with three young children, she moved from the city to rural PA and married a bachelor farmer.  I have always thought she was brave, and I wouldn't be here if she hadn't taken a chance. Characteristic of her generation, she was very resourceful.  My baby quilt is pieced from flour sacks and her quilt templates were cut from old cereal boxes. One Christmas, we all got stuffed pigs made from polyester scraps.  She also worked hard and never gave up. She had to quit school to help at home, but got her GED in her 80s because it was something that she had always wanted to do. I still remember her showing us the certificate hanging proudly in the frame on her living room wall. She made the best out of any situation with creativity and determination. That is a bit of what I tried to do this week. We had 2 feet of snow and 3 snow days, so I had to "make do" with what I had on hand, although it meant a lot more work. In the end, both outfits cost less than $5 to make and all that I had to purchase when I finally was able to leave the house was some thread, embroidery floss, and buttons.

Boho week for Project Run and Play!

I still tried to incorporate the modern "boho" style in my designs. First, I made a tunic from an old shirt that was given to me. I loved the color (with a slightly uneven dye effect) and it was a thin, flowy fabric perfect for what I had in mind. I removed the bottom ruffle (the open part was badly torn) and the bottoms of the sleeves. Then, I carefully cut the rest of my pieces from what was left of the shirt. I drafted a bodice with a curved front and trimmed the front of the bottom skirt portion a bit to create a high-low effect. The original ruffle was resized and sewed onto the bottom of the tunic. I embroidered the neckline with some simple flowers and vines. It took awhile, but it was definitely worth it to add some lovely detail. The top is lined with remnants of a really soft sheet I used to line THIS dress and I understitched along the inside neckline. I reshaped the sleeves to create a loose, flutter sleeve with a bit of gathering at the top. Then, I sewed it to the bottom and added buttons on the back. I also made a pair of leggings from some olive green knit fabric that I found in a tote after digging a path to my storage shed.

Before...

before-picture-of-shirt

After...

hand embroidery and understitching

buttons on the back of a flowy, boho tunic

butterfly sleeve boho tunic

double needle hem leggings

hi-low hem tunic upcycled from a womens shirt

purple hi-low tunic refashioned from a womens shirt

Hand embroidered girls boho tunic

My other daughter wanted a maxi dress and I found a dusty coral sheet I had purchased years ago on clearance at Target and stuffed under my fabric table. I only used about half of the sheet to make this dress. I drafted the pattern to have a drop waist and long, gathered tiers. I was careful in my cutting and able to use the original sheet hem, too! Yay! This time, I put the buttons in the front and hand embroidered the button placket in the same intricate flowers and vines. Oh, and those buttons? My husband made them from a dowel rod! He sanded them on the belt sander to make them round and carefully sliced them off of the dowel. I sanded them by hand to smooth and even them out. After a last-minute trip for 1/16th inch drill bits, he drilled holes in them for me. The straps are made from braided strips folded like bias tape and sewn together. They cross in the back and I added an elastic casing so that it would fit well and not gap in the back.

Some more before pictures...

dowel-buttons     flat-sheet

After...

Girls boho maxi dress made from a sheet

embroidered flowers

braided crossing straps

boho style maxi dress from a sheet

braided straps

Elastic casing to keep the back of the dress from gapping!

handmade wooden button

We tried to do a farm themed photo shoot, but it is hard because our options right now are: a) snow or b) mud. At the end, I decided to try to take some pictures with our new chicks, but it was clearly a bad idea. Let's just say that this was the second week in a row that an outfit had to be washed right after the pictures. Ew!!!

peeps_edited-1

peep-pooping

You can vote for your favorite "boho" look HERE over at Project Run and Play!

Thank you again to all of those who have voted and shared and supported me!!! Thank you to Aunt Karen for the purple shirt. A very special thank you to my sisters this week! Loni, you did an awesome job as my hairstylist and ironer. (Also, thank you for returning my vintage crimping iron.) Thank you to my husband for those awesome buttons and for carrying girls over the mud for pictures! Thank you most of all to my grandmother and other family members who pass down stories and leave a legacy to inspire future generations.

Boho style outfits made from a sheet and an old shirt!