

Football Beanie Pattern
/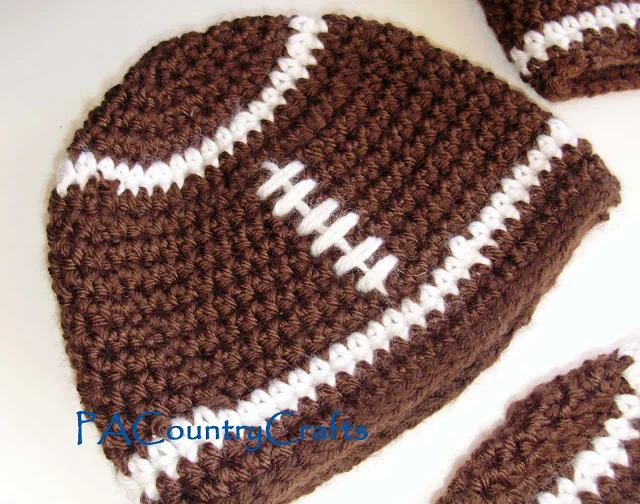
Crochet football beanie pattern in several sizes- easy and fast!
Read MoreCrochet football beanie pattern in several sizes- easy and fast!
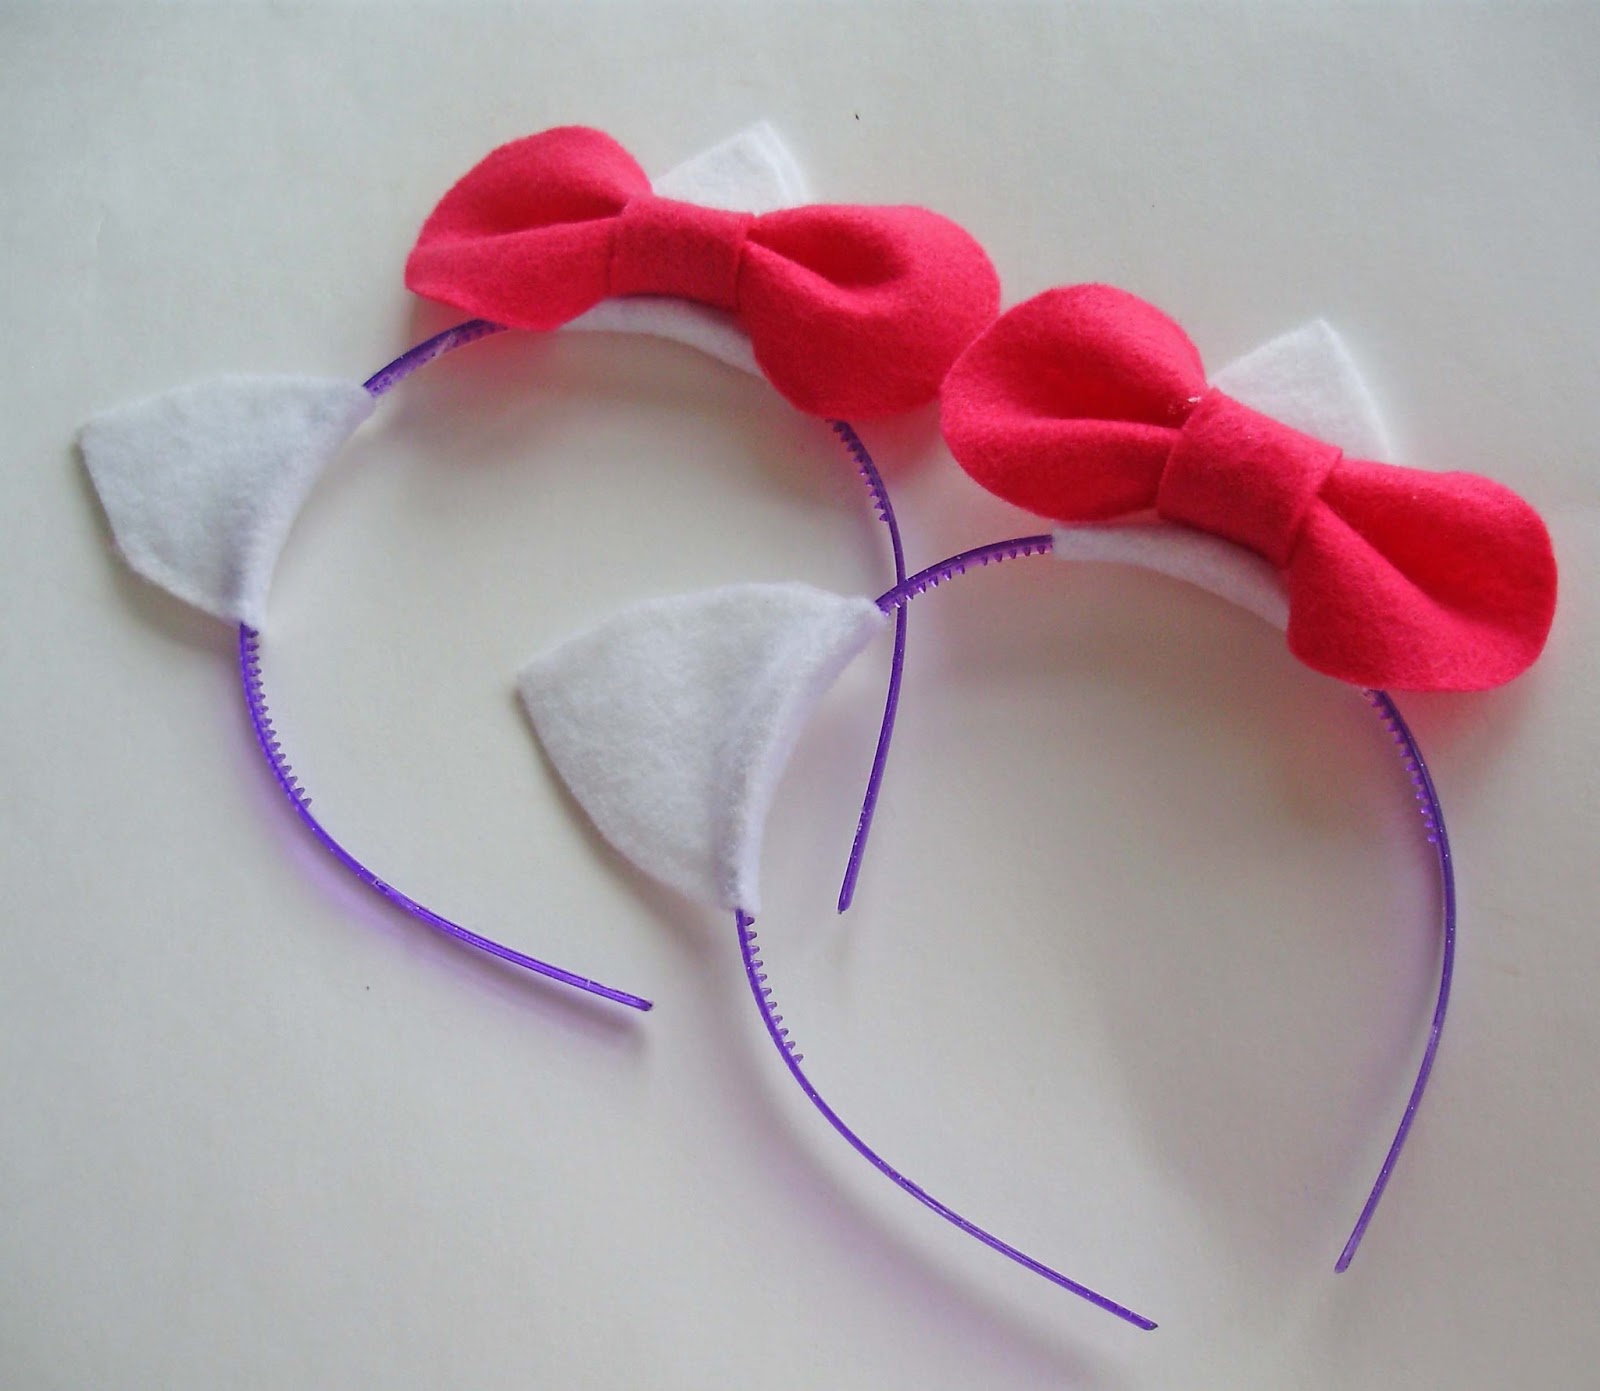
Read MoreI am back-tracking a little bit here, since I finally got all of my Christmas pictures off of the camera card. :) Right before Christmas, we celebrated Isabelle's 7th birthday and she wanted Hello Kitty again. Just for fun, I made a dozen or so of these Hello Kitty ear headbands.


To make things a little different, I went with cookies and cupcakes instead of the Hello Kitty cake like I made a few years ago (seen HERE). I bent a metal cookie cutter in the shape of Hello Kitty's head and made cut-out sugar cookies. I made lots of them for her to take into school, so these are the not-as-cute leftovers. If I had had more time, I would have made them all glazed over in white icing first, but the rest of the decorating is icing and melted chocolate for the eyes. It made them in the last-minute-right-before-Christmas-good-enough stage.
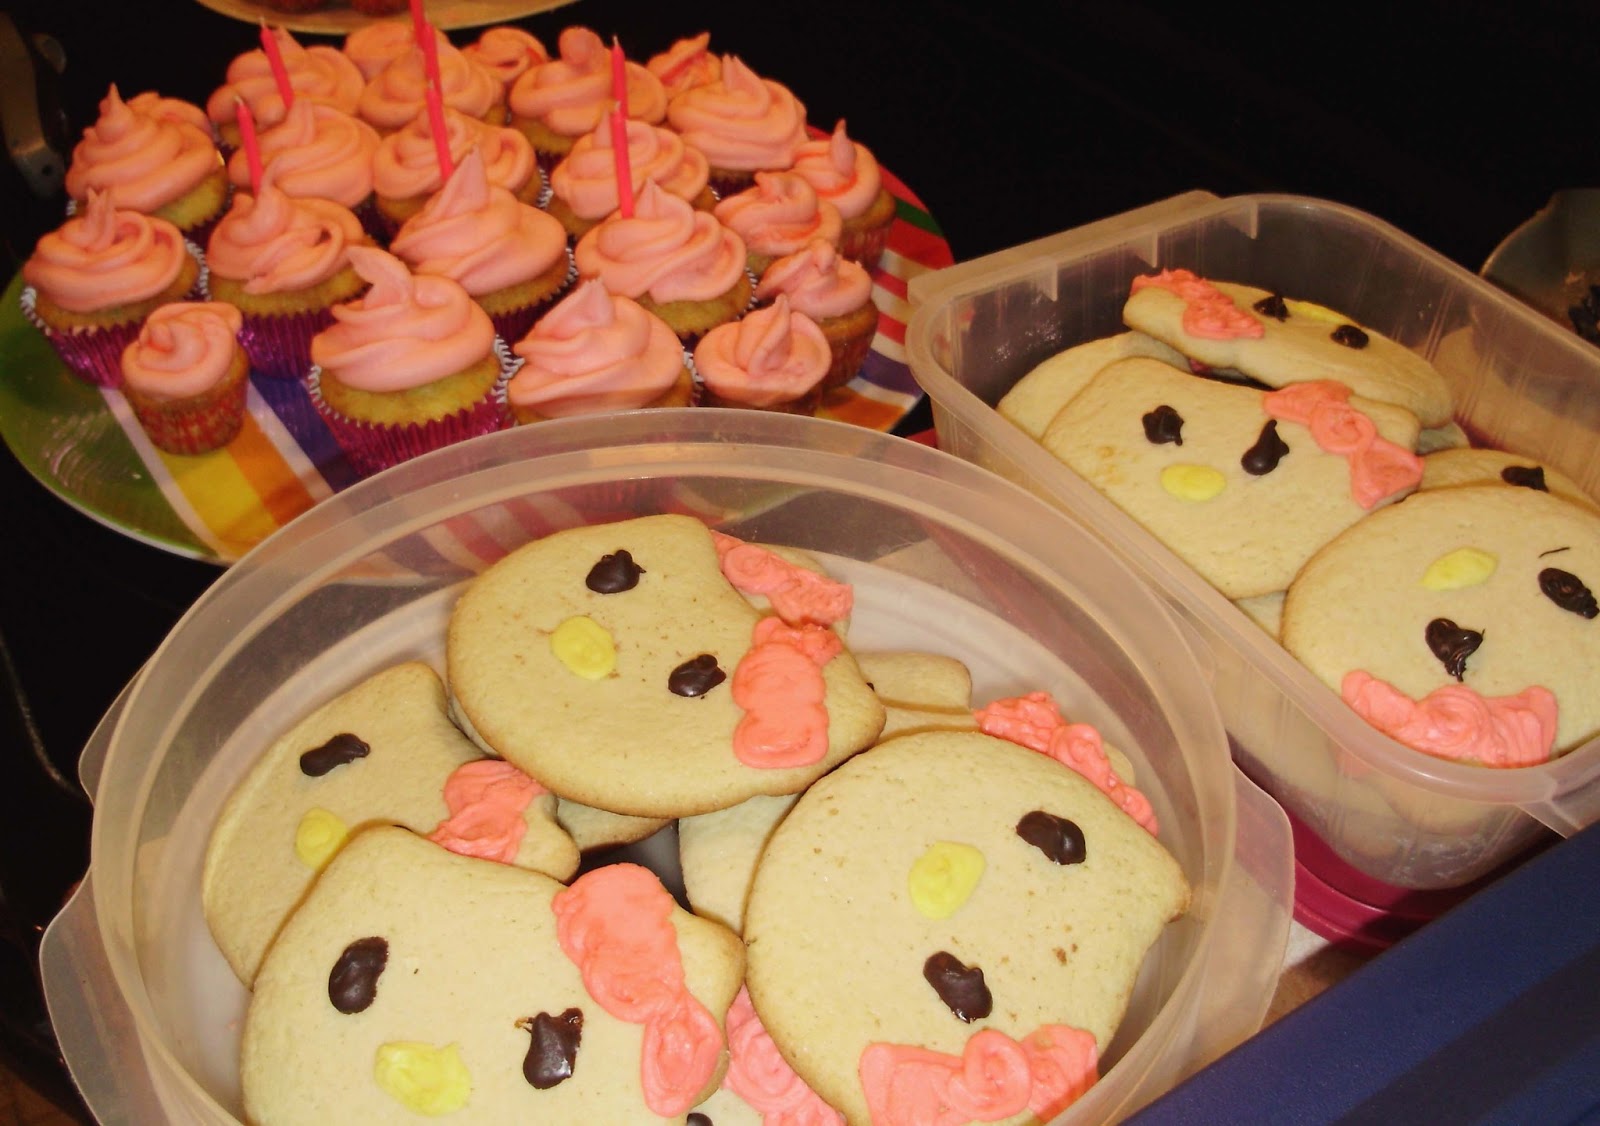
It made for a Happy Birthday for Isabelle, so that is what matters! :)

.jpg)


Step 2:
This one was already started, so ignore the "bel" there.
Poke your needle up through where you want to start.

Step 3:
To begin... JUST this time... take a regular stitch.

Step 4:
Pull that through all the way and then comes the tricky part. Poke the needle back up through about the same distance ahead as your first stitch. You want to keep them as even and as close in size as possible. There will be a little gap between where you are pulling the thread back up and the first stitch.

Step 5:
Now, put the needle back in at the end of the first stitch you took.EXACTLY at the end of that stitch or else you will have gaps and it won't look as nice.

Step 6:
Pull the thread all the way through, and then come back up again a stitch-width in front of the one you just did. Just keep going backwards like this, keep the stitches as close in size as you can, and don't leave gaps between your stitches. Pretty easy once you get the hang of it!
.jpg)
I have also been using this technique to hand embroider Easter basket liners. I love the way this one turned out (she chose great colors).

I hope you found this tutorial at least a little helpful. Now I have to get back to weaving. Hippity hoppity, Easter's on its way!
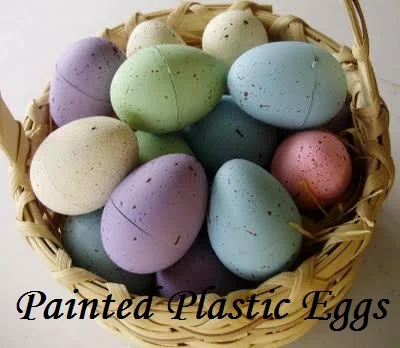
Paint plastic eggs with regular acrylic paint- step by step tutorial with pictures!
Read MoreSewing, crafts, tutorials, recipes, and a little look at our life in the country - raising half a dozen children.

Hi! Thanks so much for stopping by! My name is Lindsay and on this blog you will find sewing, crafts, decorating, recipes, and tutorials with a little bit of honesty and encouragement.


