

Rustic Winter Tree
/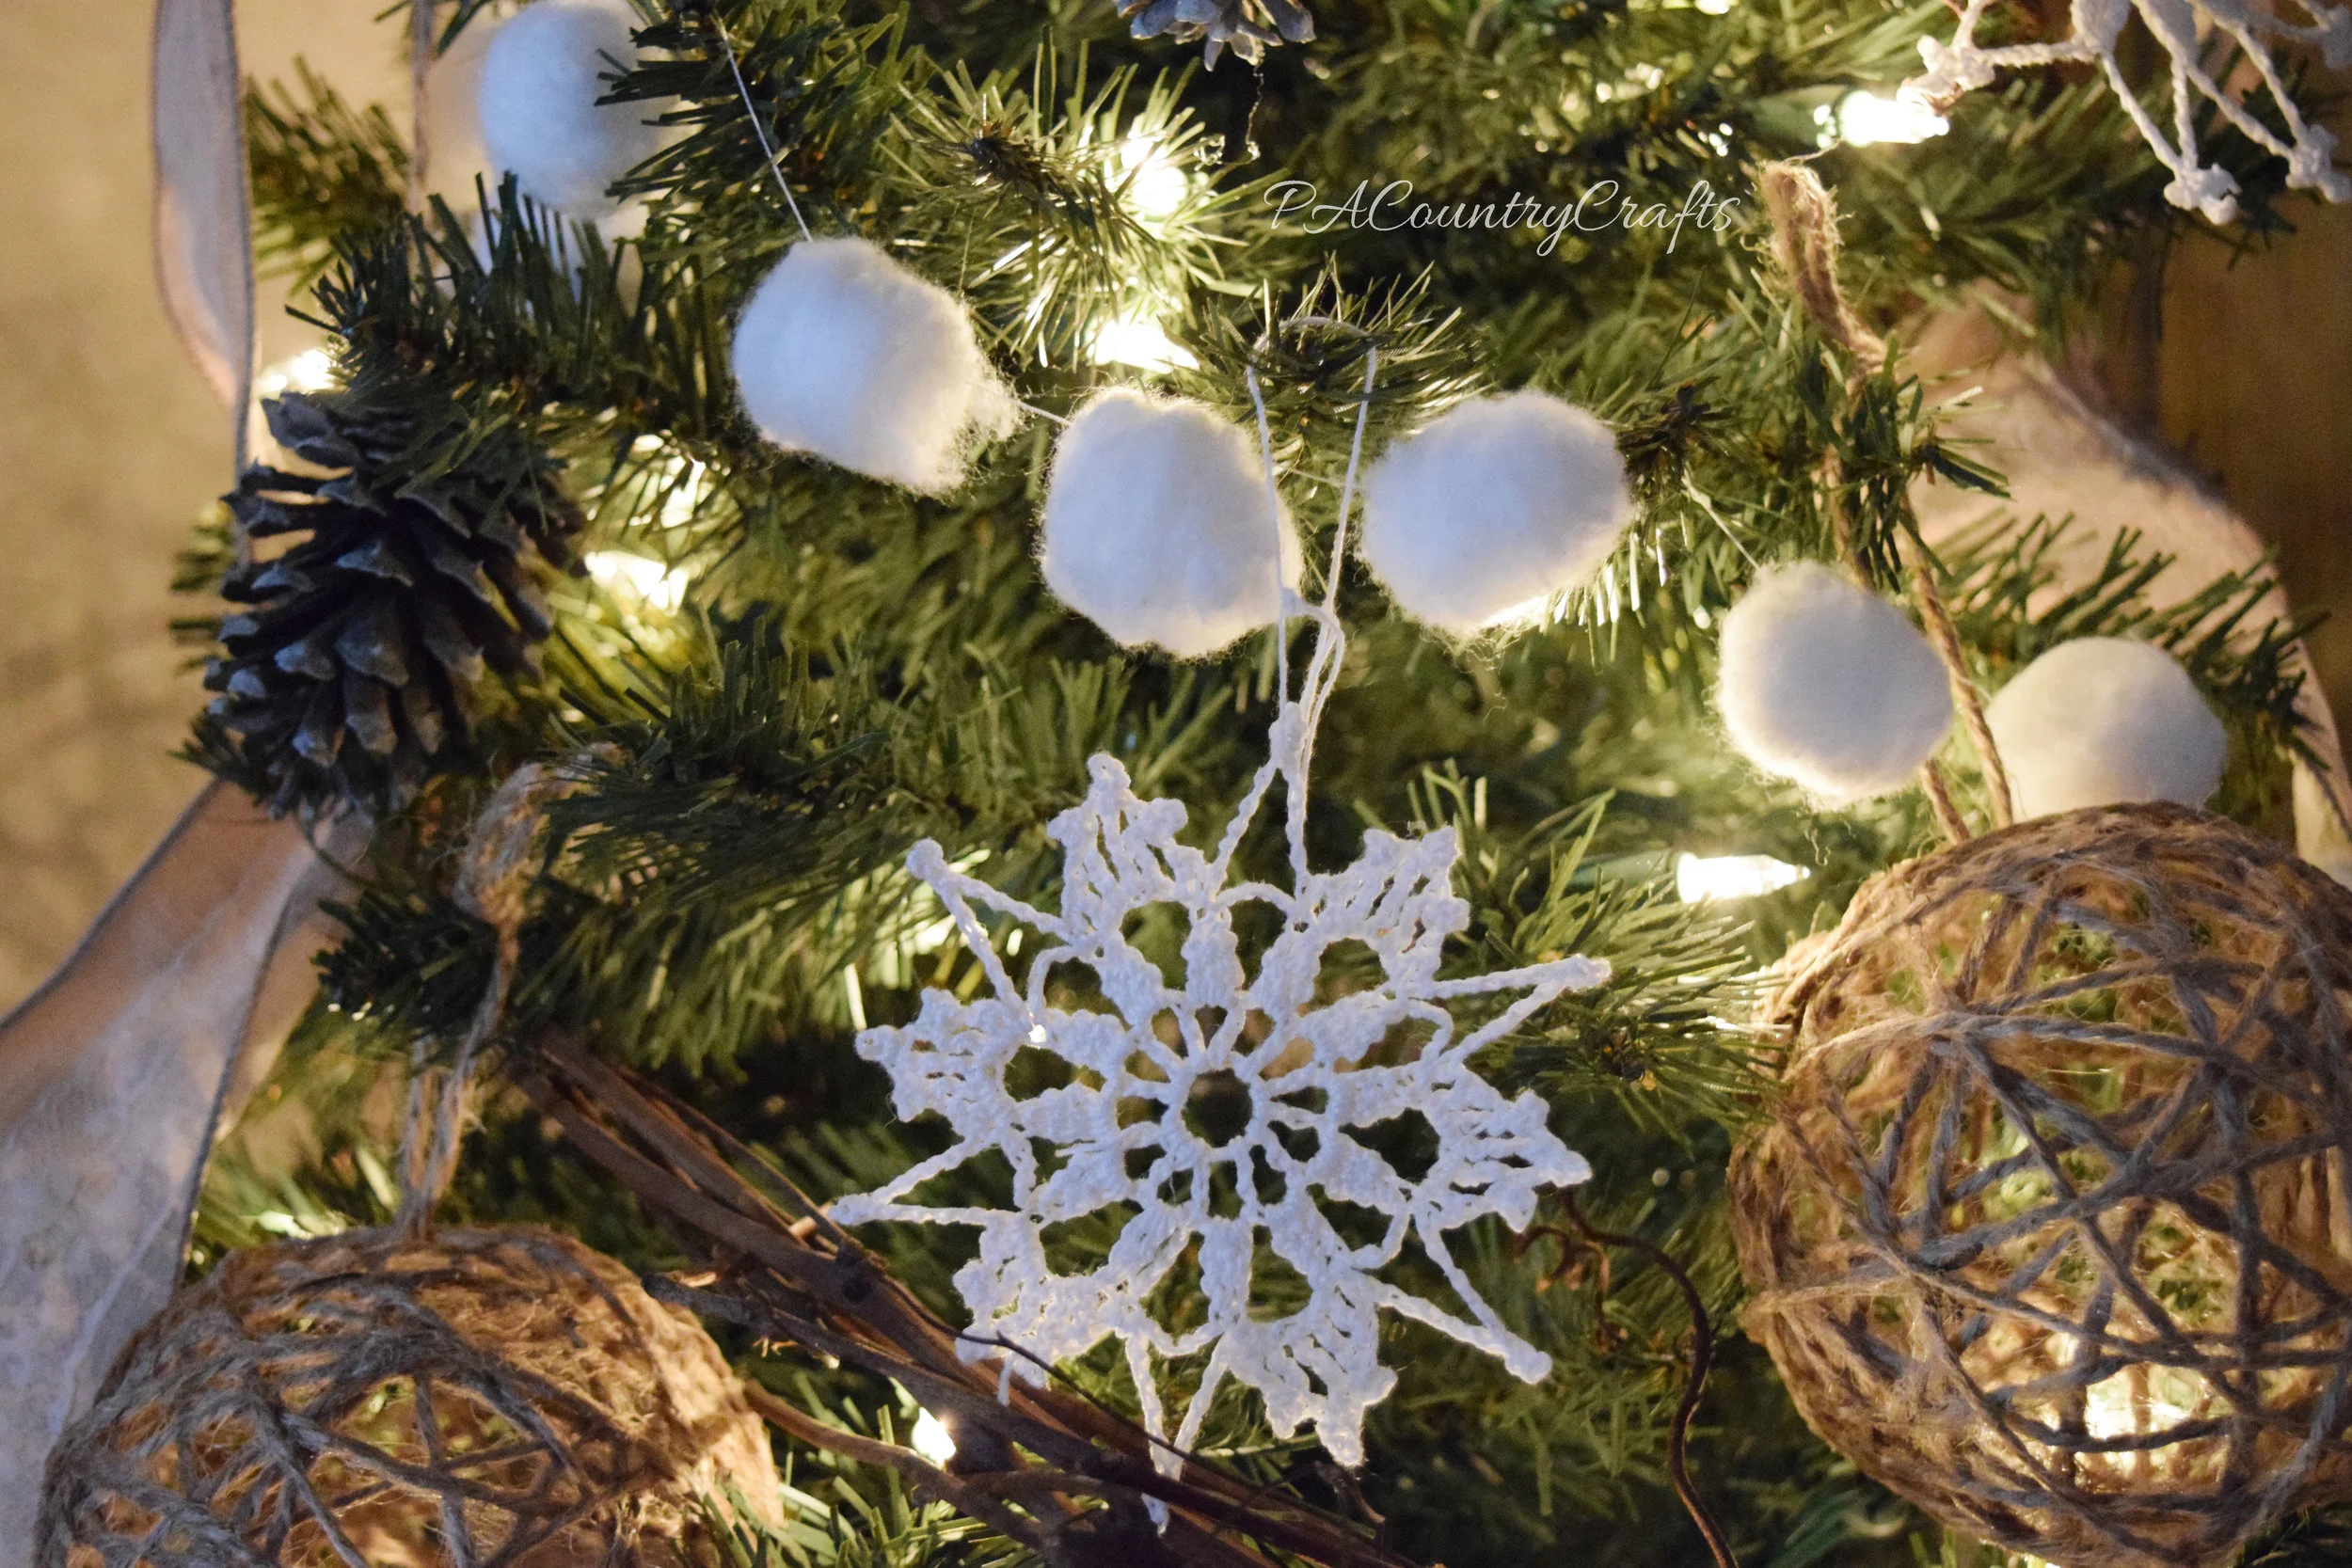
Decorate a tree with rustic, winter decor to leave up all winter! Crochet snowflakes, cotton ball and grapevine garlands, pine cones, and twine balls make a simple, natural theme.
Read MoreDecorate a tree with rustic, winter decor to leave up all winter! Crochet snowflakes, cotton ball and grapevine garlands, pine cones, and twine balls make a simple, natural theme.
Read MoreI procrastinate. Especially with my craft projects.
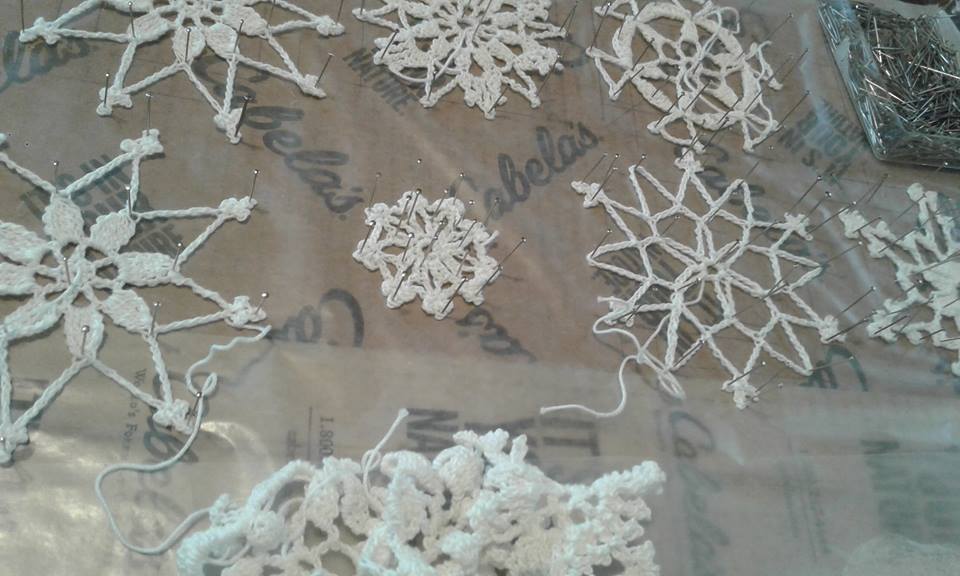
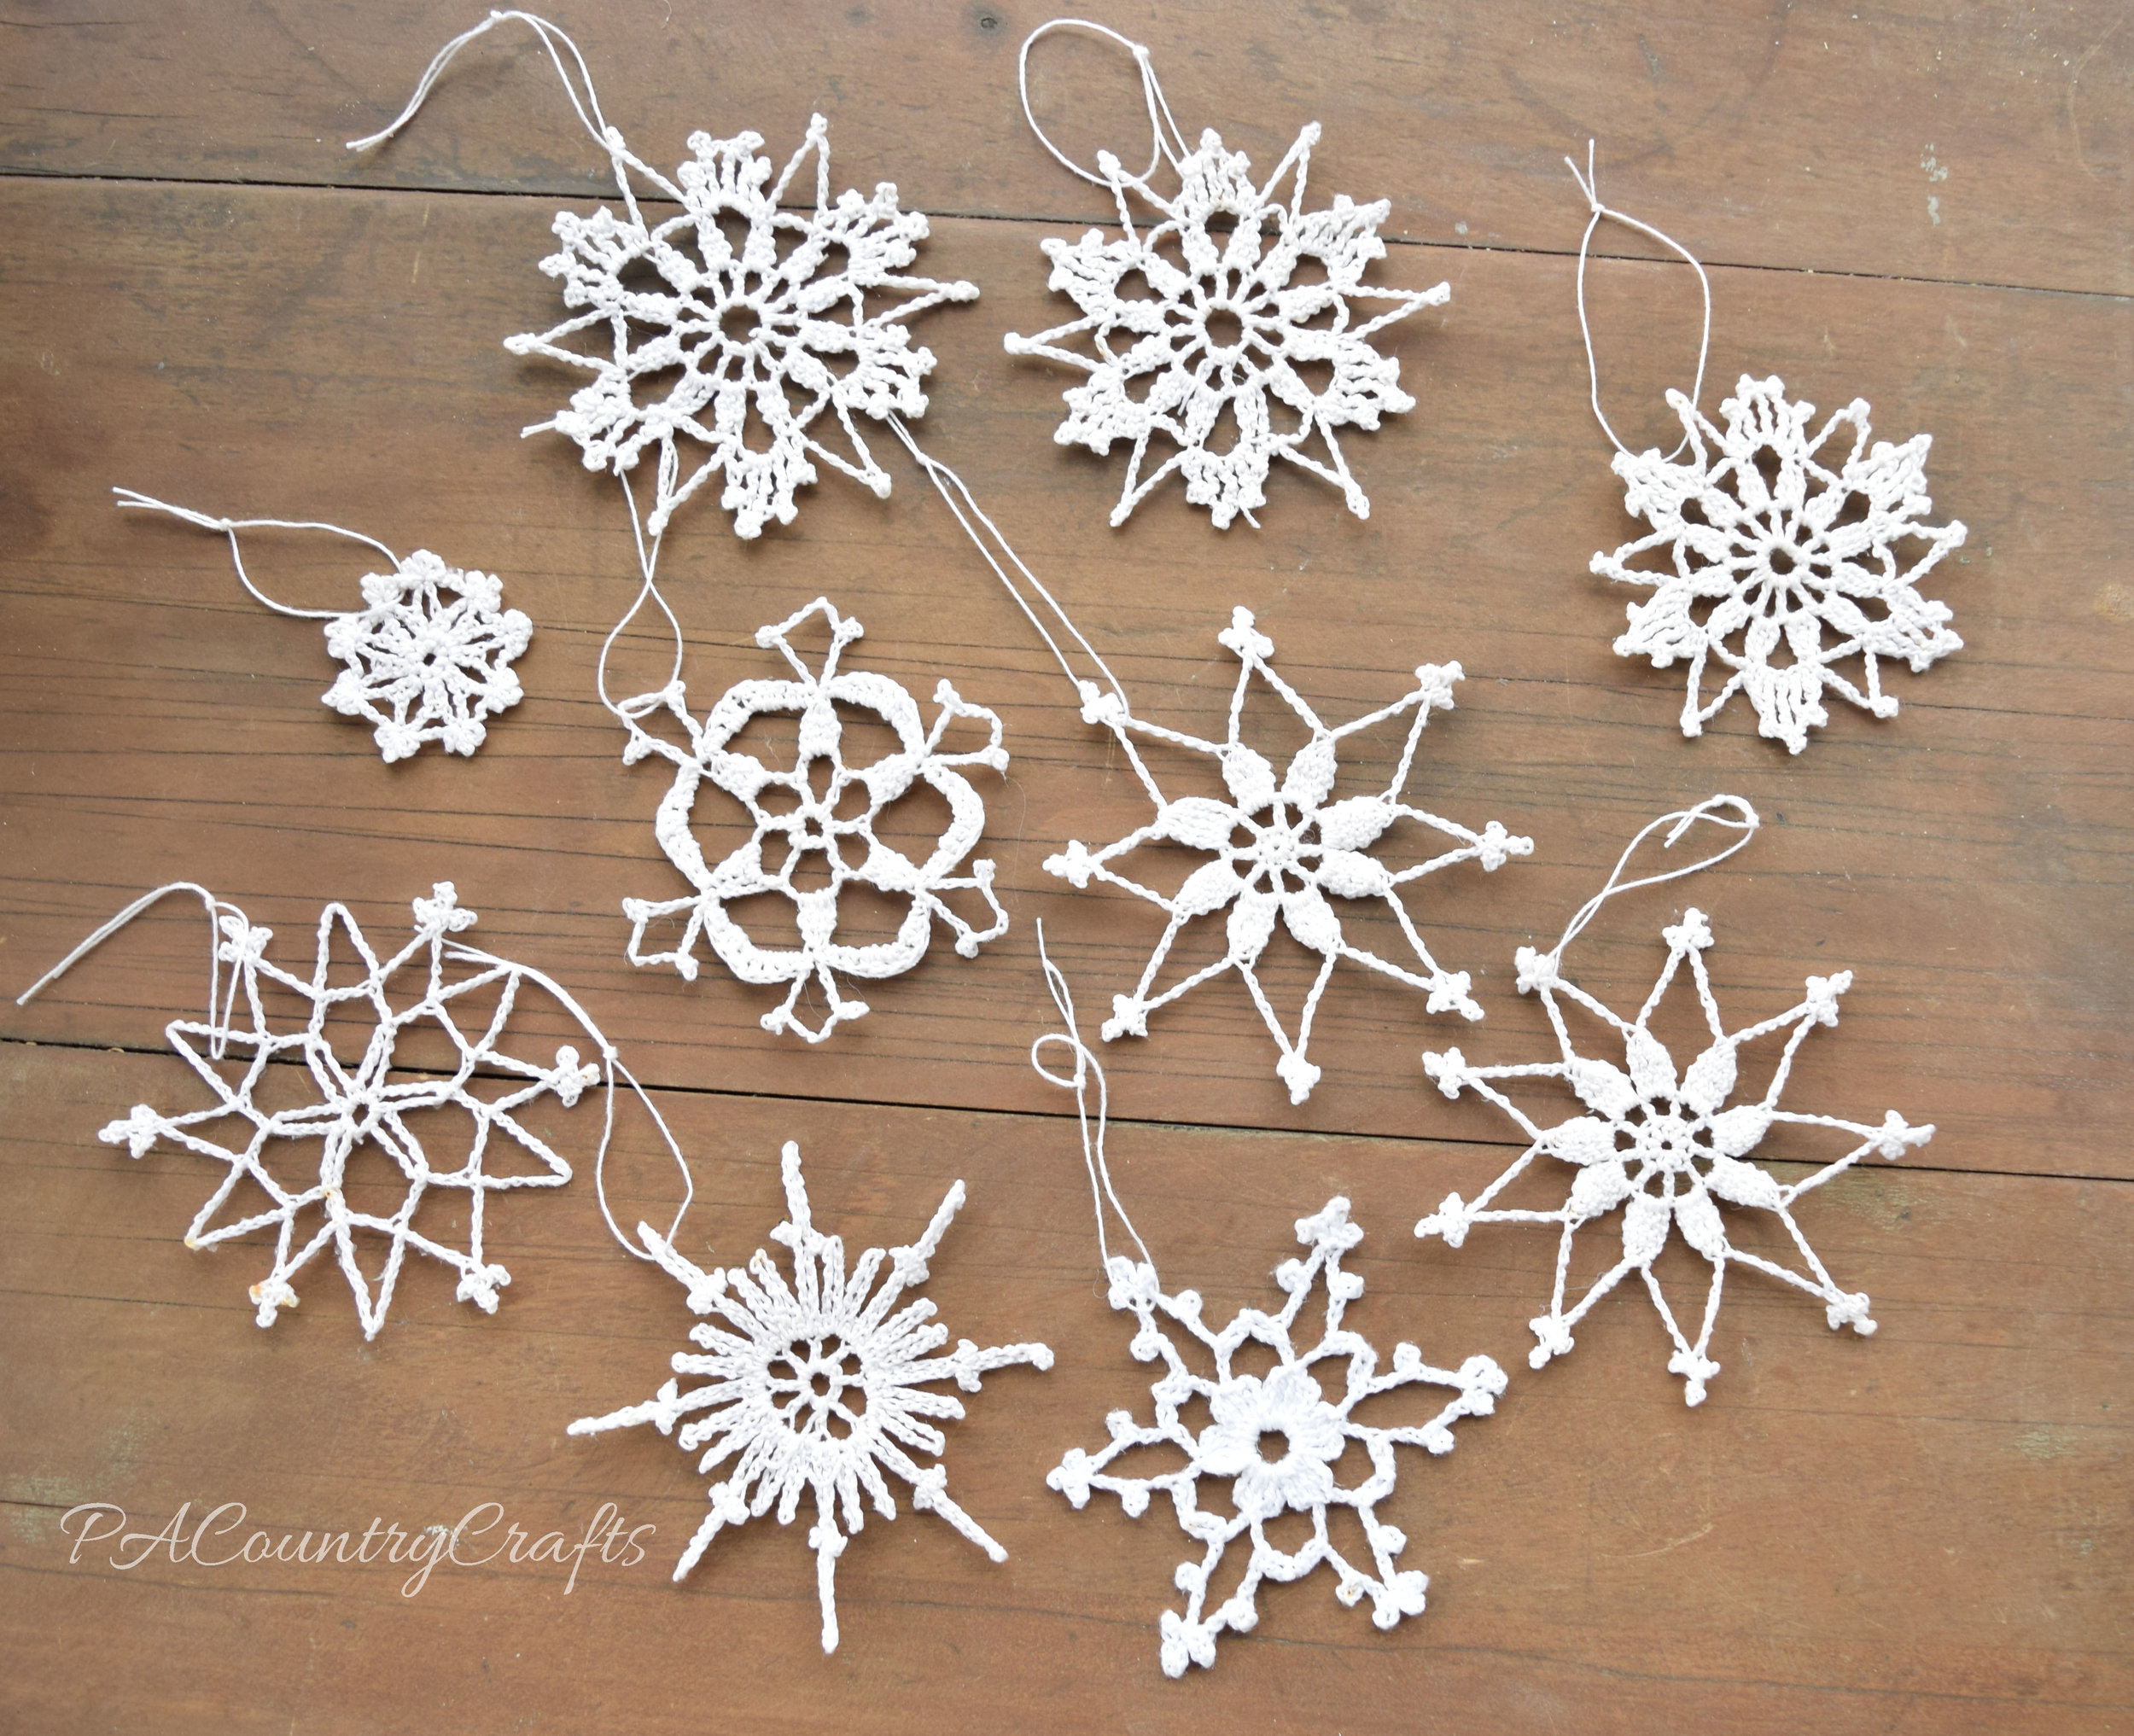
If it doesn't have a deadline, who knows when it will be finished? I started crocheting snowflakes a really long time ago. It was at least 10 years, but some of them could be older.

I don't know what is wrong with me, but all of these unfinished projects make me feel like a failure. That is not at all what crafting is supposed to be like. I don't need any guilt or stress added to my life over something so silly.
Someone challenged me to think of a focus for my life for the year 2017. I have never really tried that sort of thing, but I think my goal for this year is best summed up by this: I want to get my act together! I got a planner (LOVE IT!!!) and I want to be more organized. I want to keep my home managably clean and clutter free. I want to finish projects I have started. I want to do all of this so that I can bless my family and bring more peace to my home. (Now, there wasn't a lot of peace in my Momma-flip-out-moment over intentionally-made messes yesterday, but that is another story).
So, these may just look like little crocheted snowflakes, but they mean more than that to me. I mean, I like them, but it is more about the tiny sense of accomplishment.


I don't have patterns for these. Most of them came from a very old book that my mom gave me that was made on a typewriter. A few I might have found online back in the days of dial-up internet. I guess everything about these is old in some way. It is fitting. They look sort of vintage.
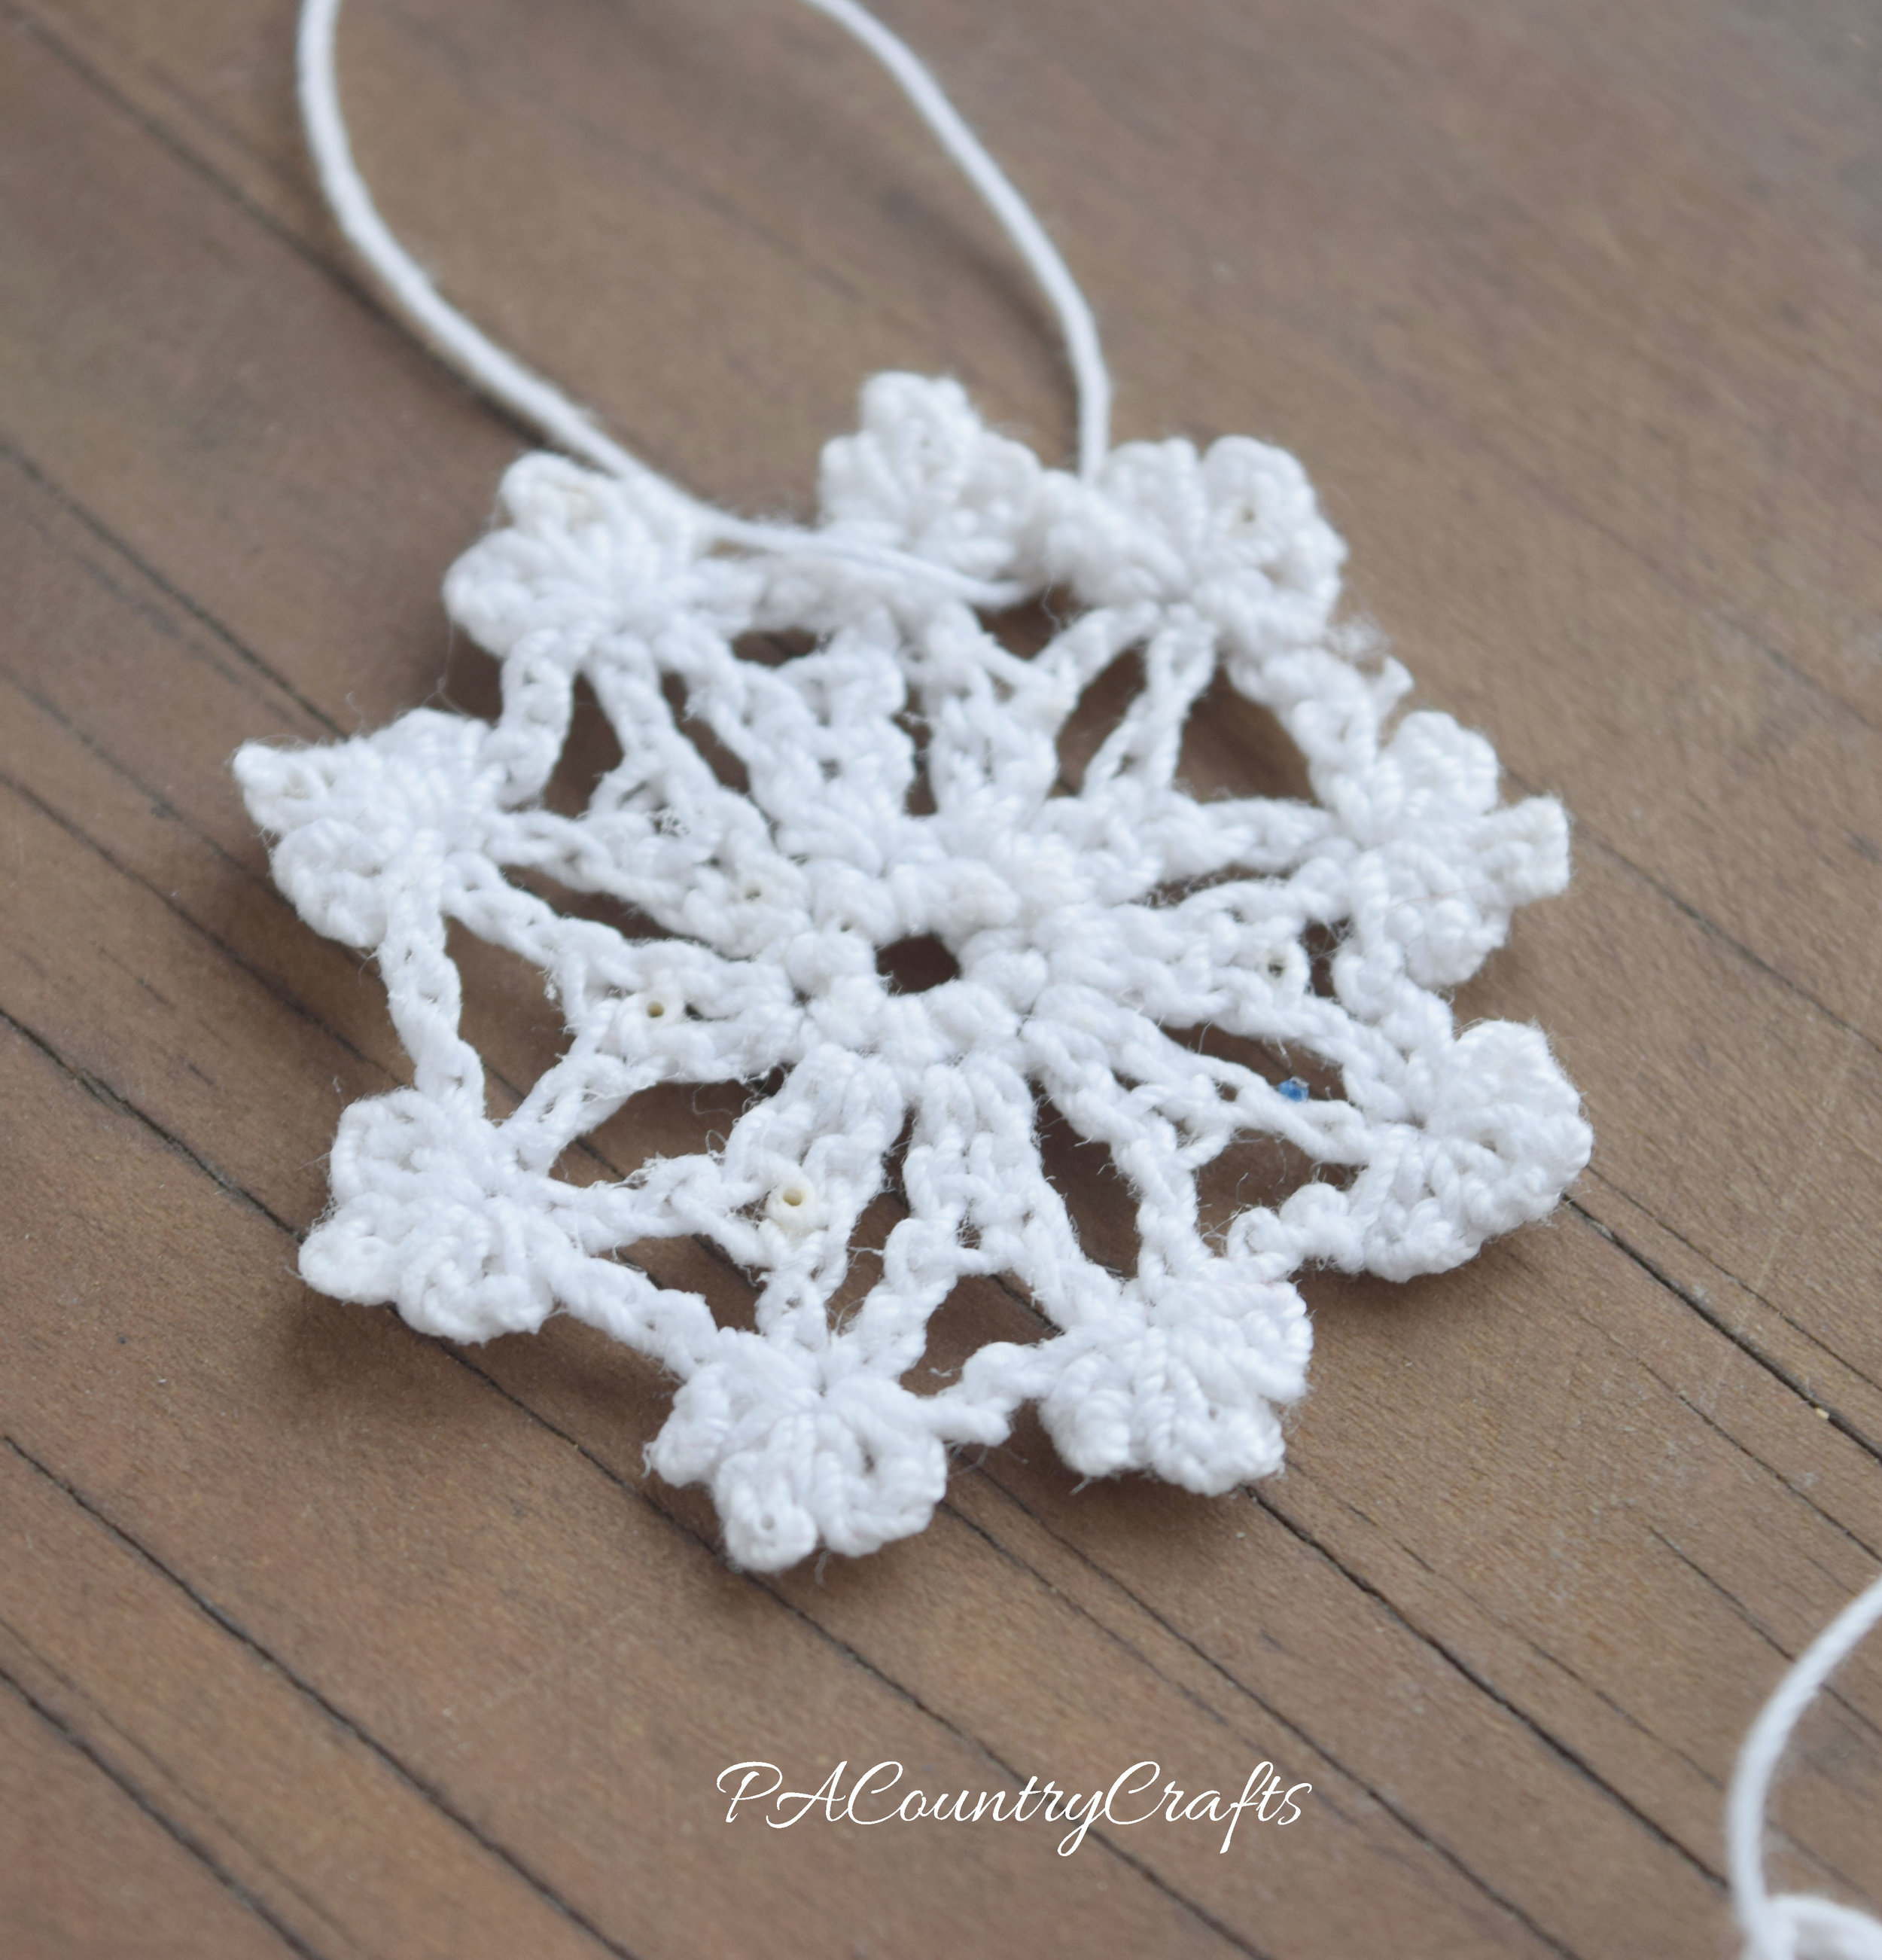
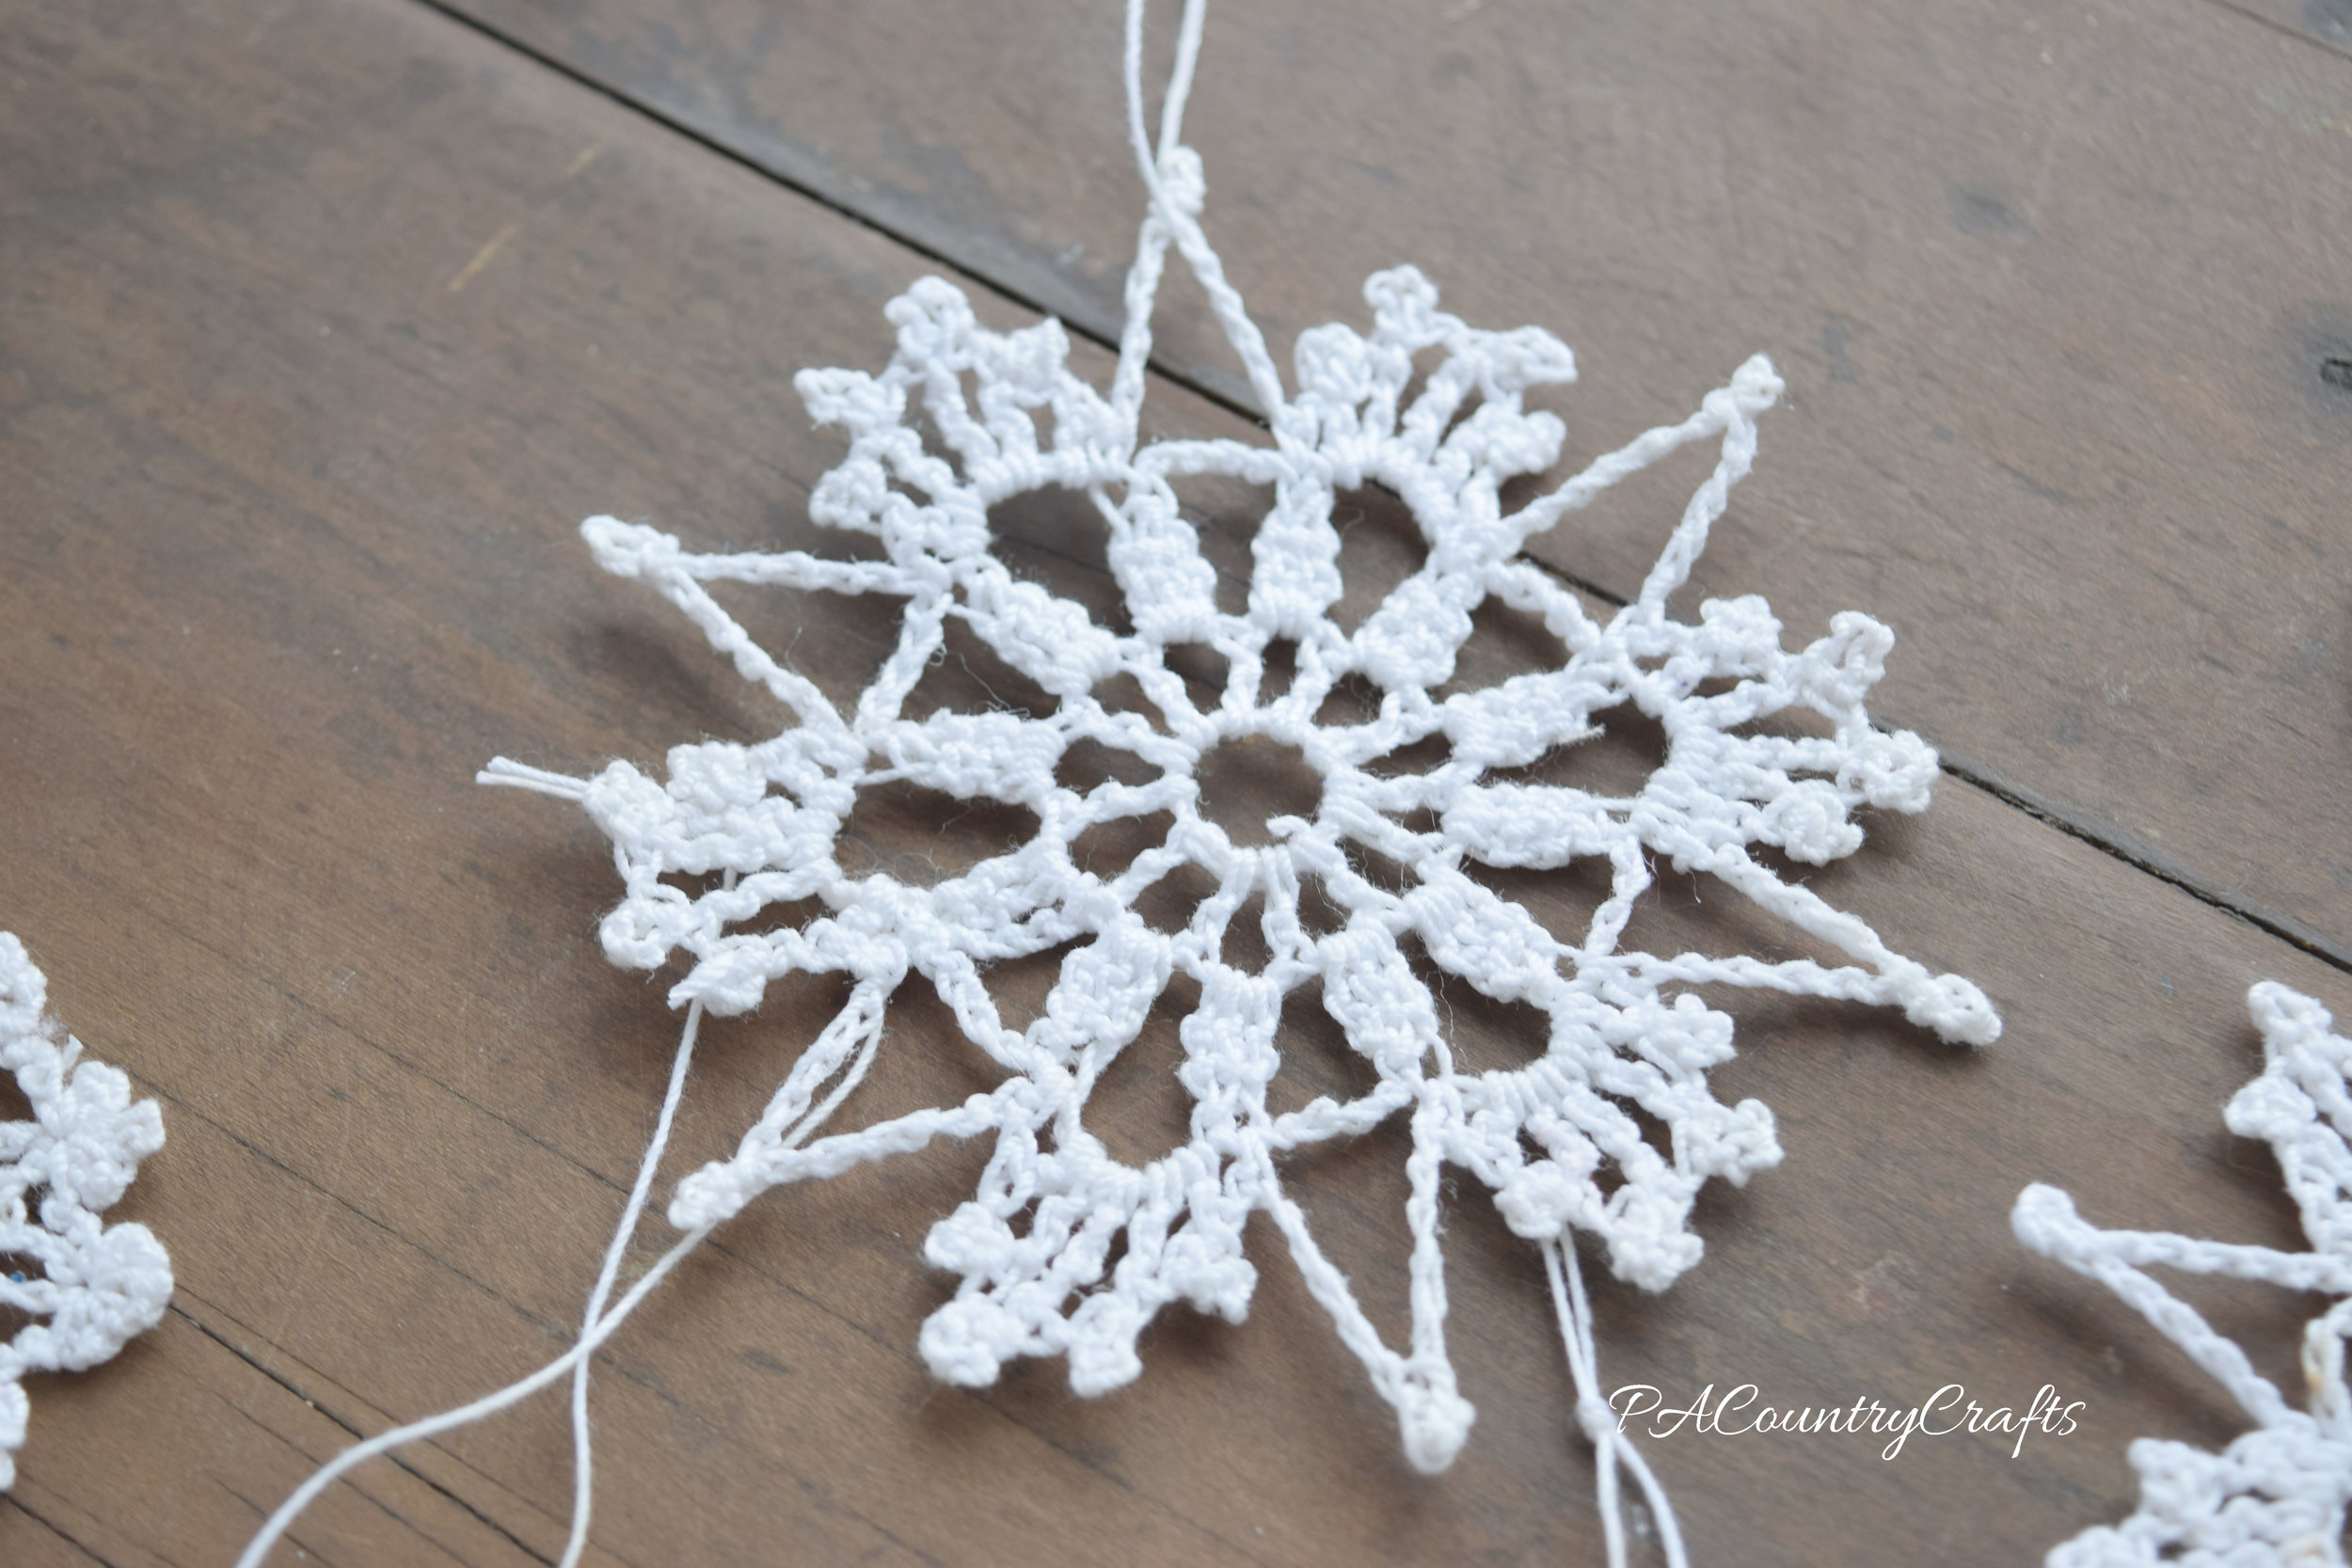
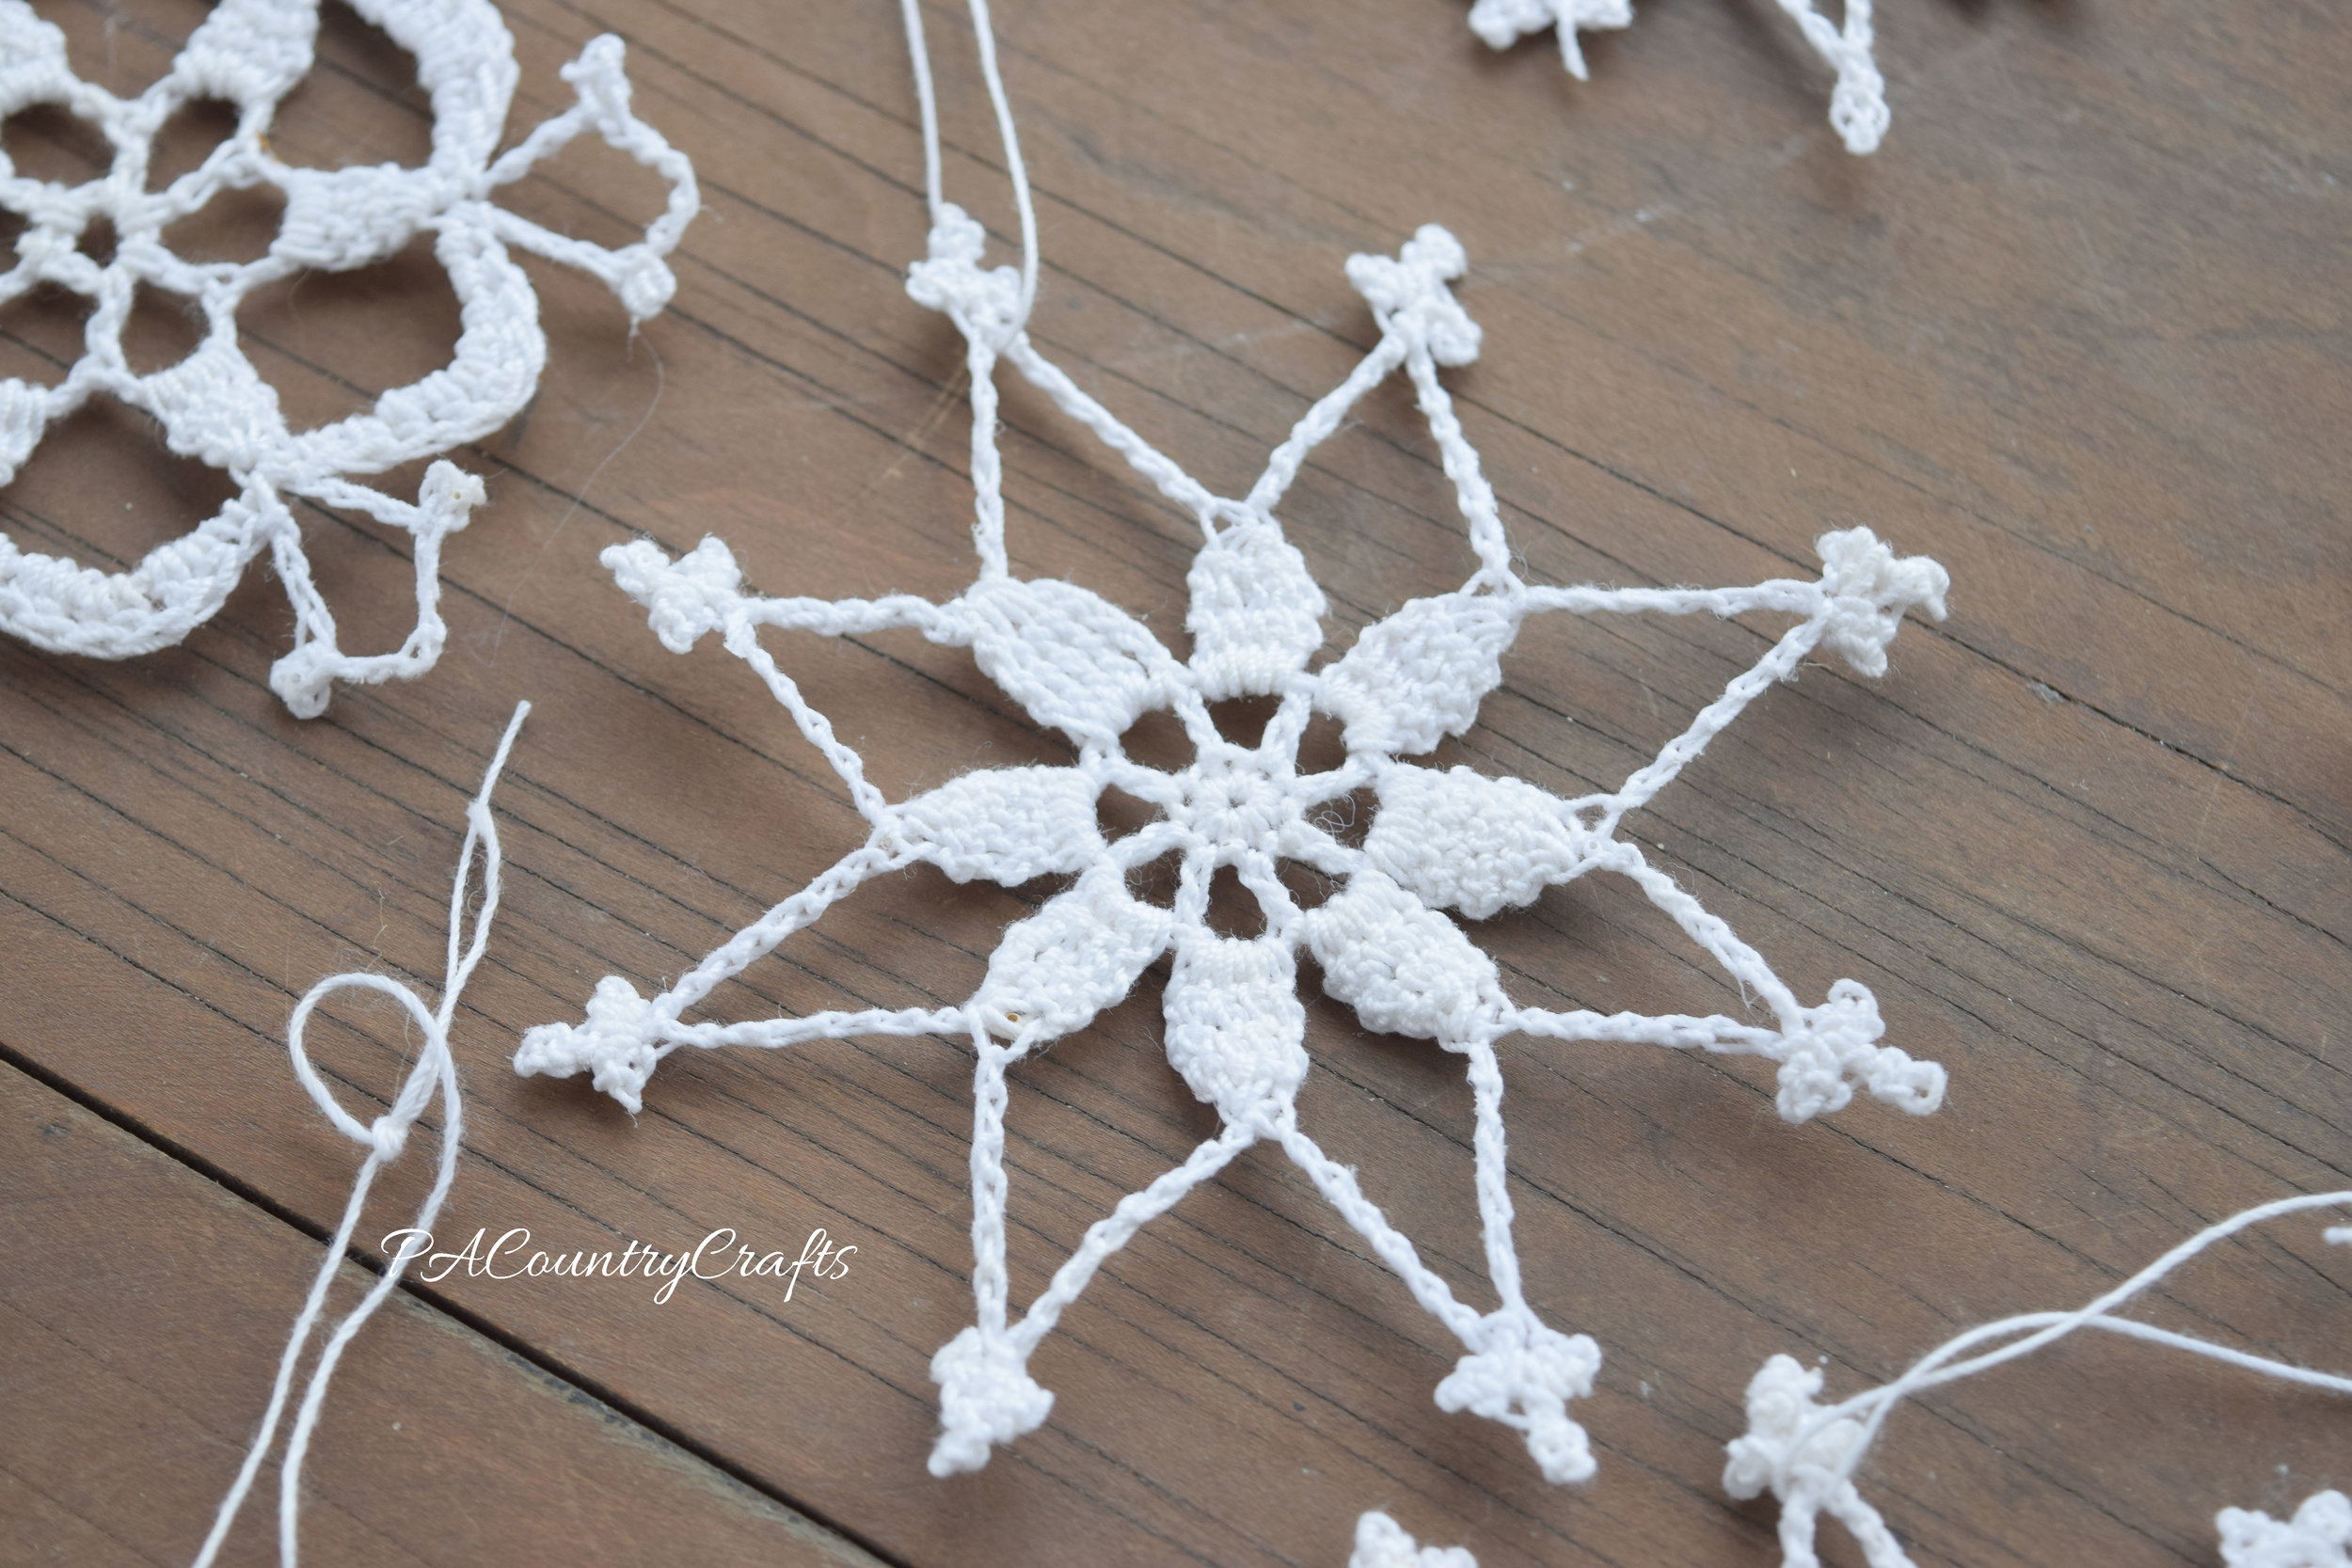
All I had to do to finish them was to block them. I put wax paper on a box and pinned them fast. Then, I watered down glue and painted it on them. (My daughters helped, too.) We took them off when they were dry the next day. It definitely wasn't hard or worth procrastinating for a decade.
I am heading somewhere with all of these little projects from our craft day and you won't want to miss the final result!!! If you missed the last few posts, you can click on the pictures below to see more...


I really didn't think these were going to work! On Martin Luther King, Jr. Day the girls and I had a "craft day" on their day off of school. We occasionally have themed days like this with special projects. (They have requested a baking day next time!) We had a craft day over Christmas break and made mason jar snow scenes, baked pine cones, and painted ornaments. This time, we worked on winter decor for our home.
I had seen twine balls on Pinterest, looked at several different tutorials, and then did my own thing anyway. I am kind of stubborn like that. I wasn't sure that it would work and after I shared it on facebook, several friends told me that theirs failed, so I was not very optimistic.
However, they turned out great!
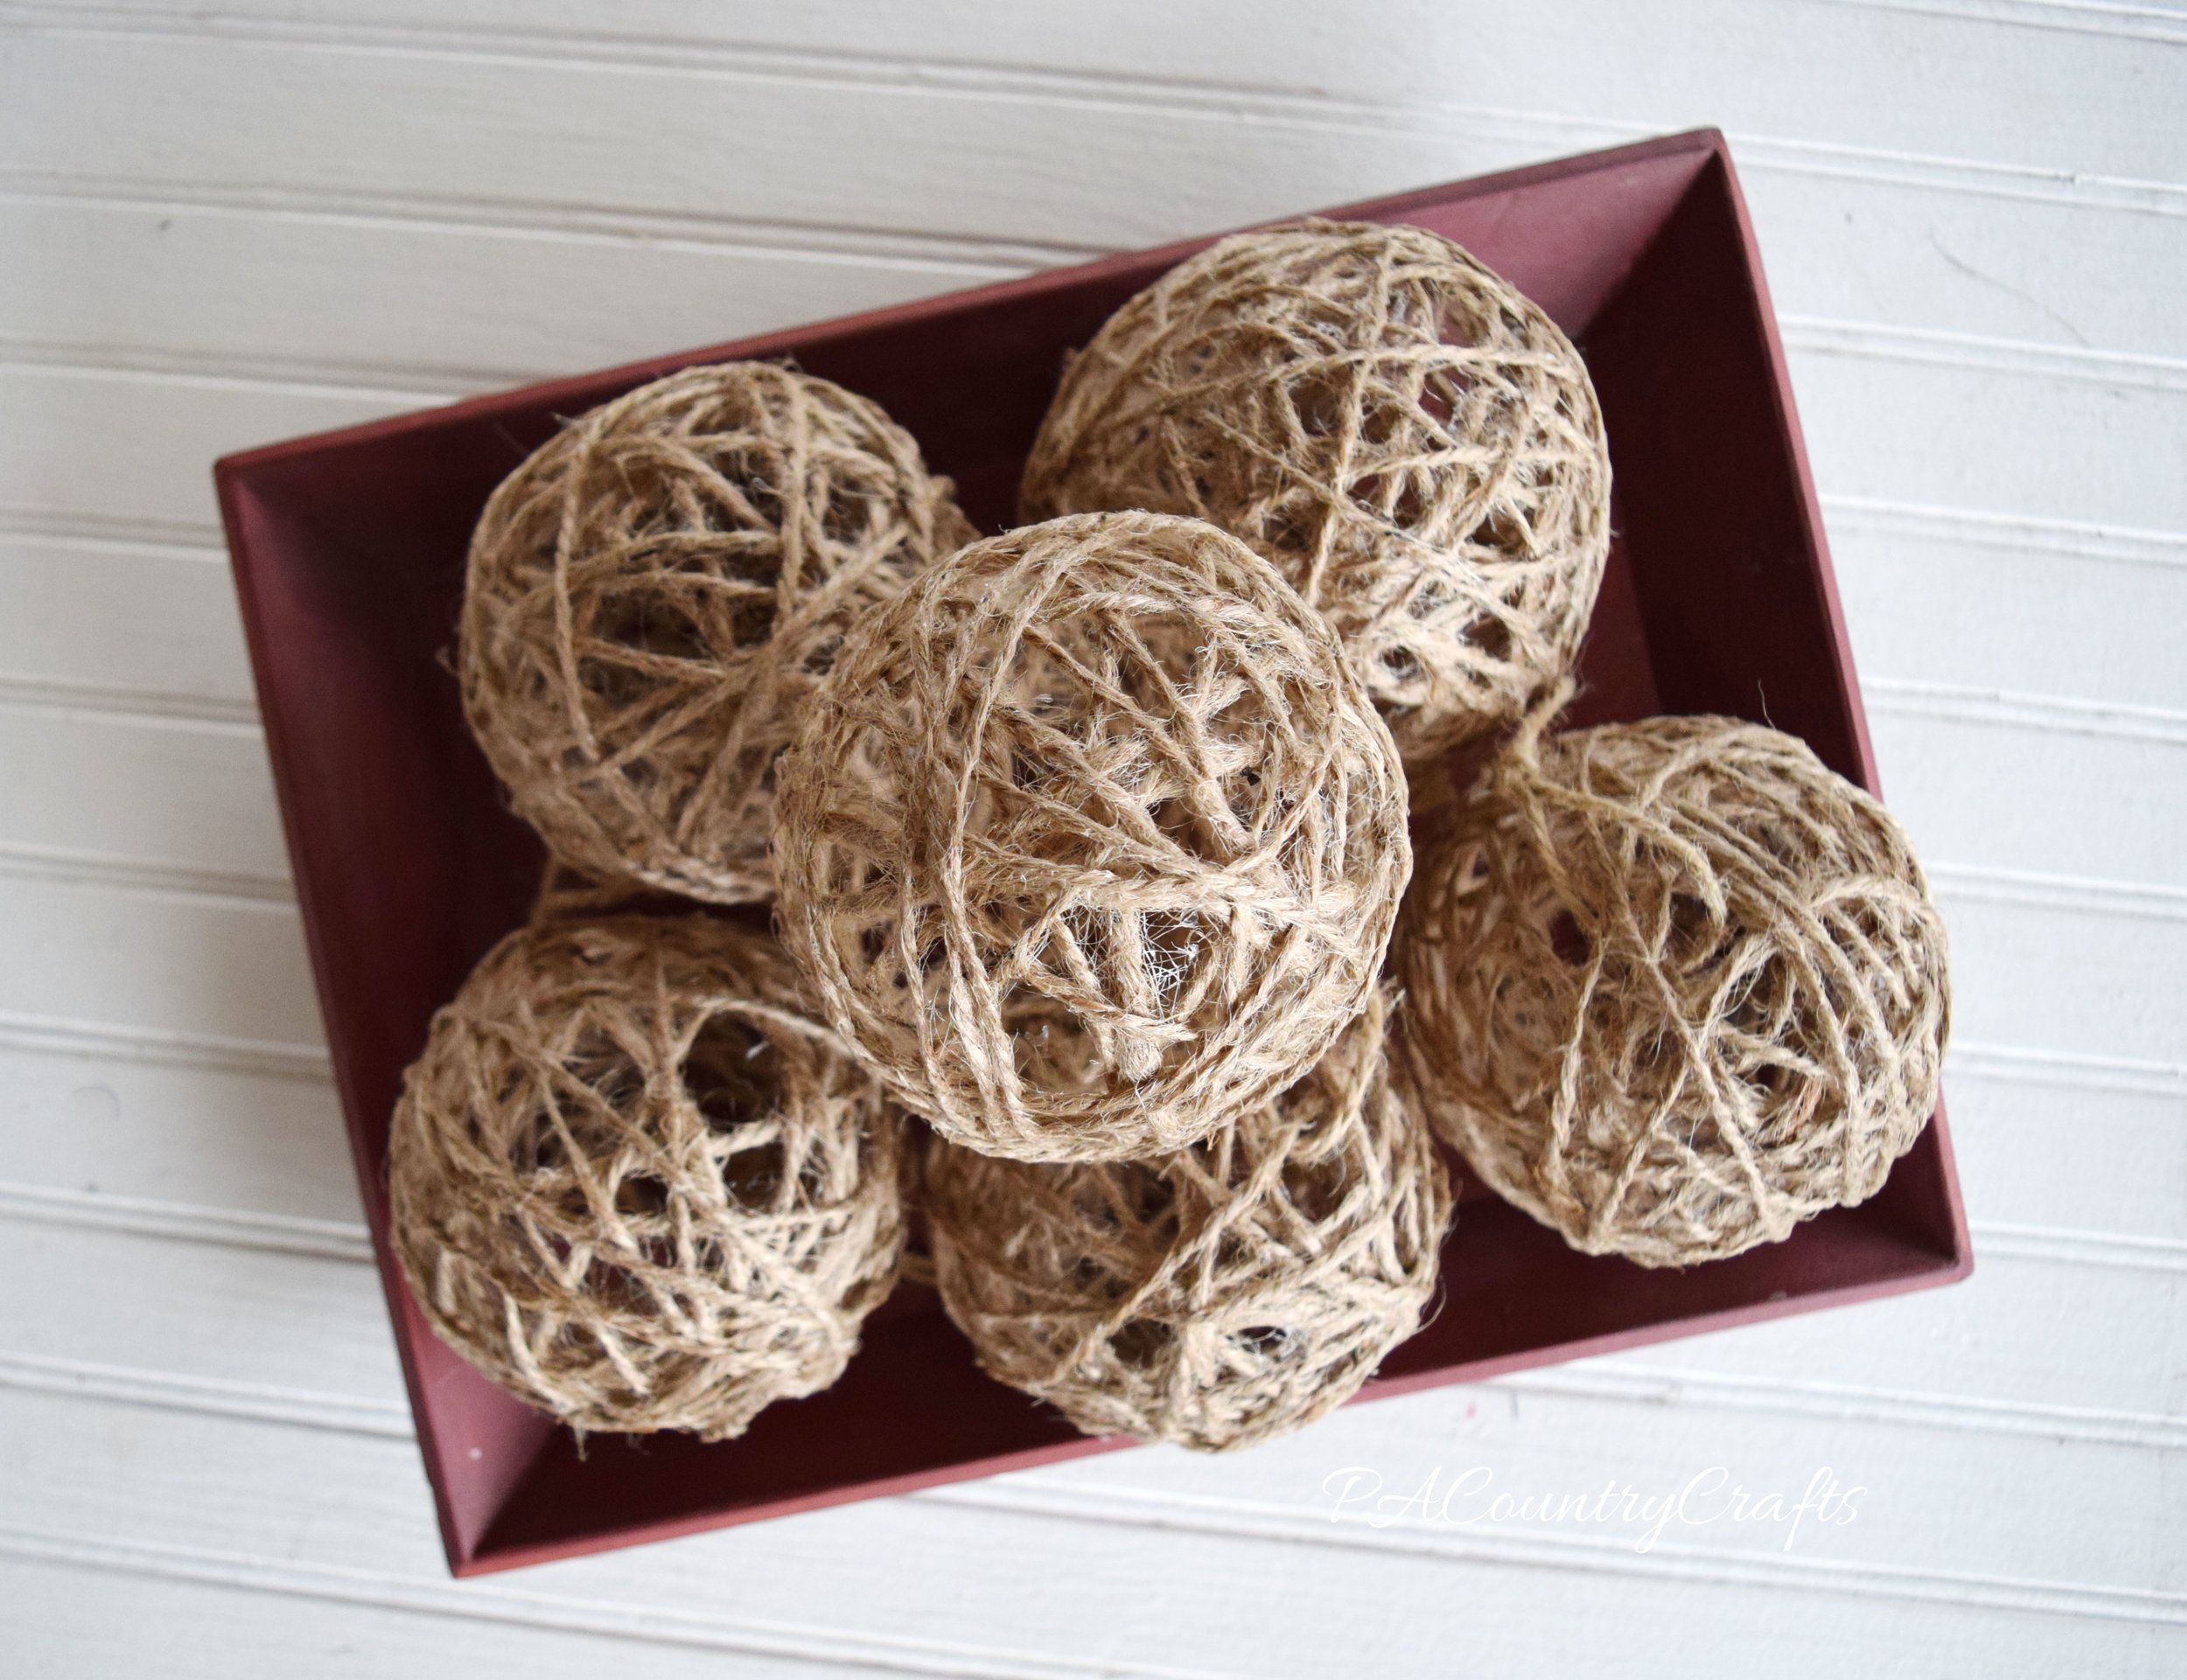


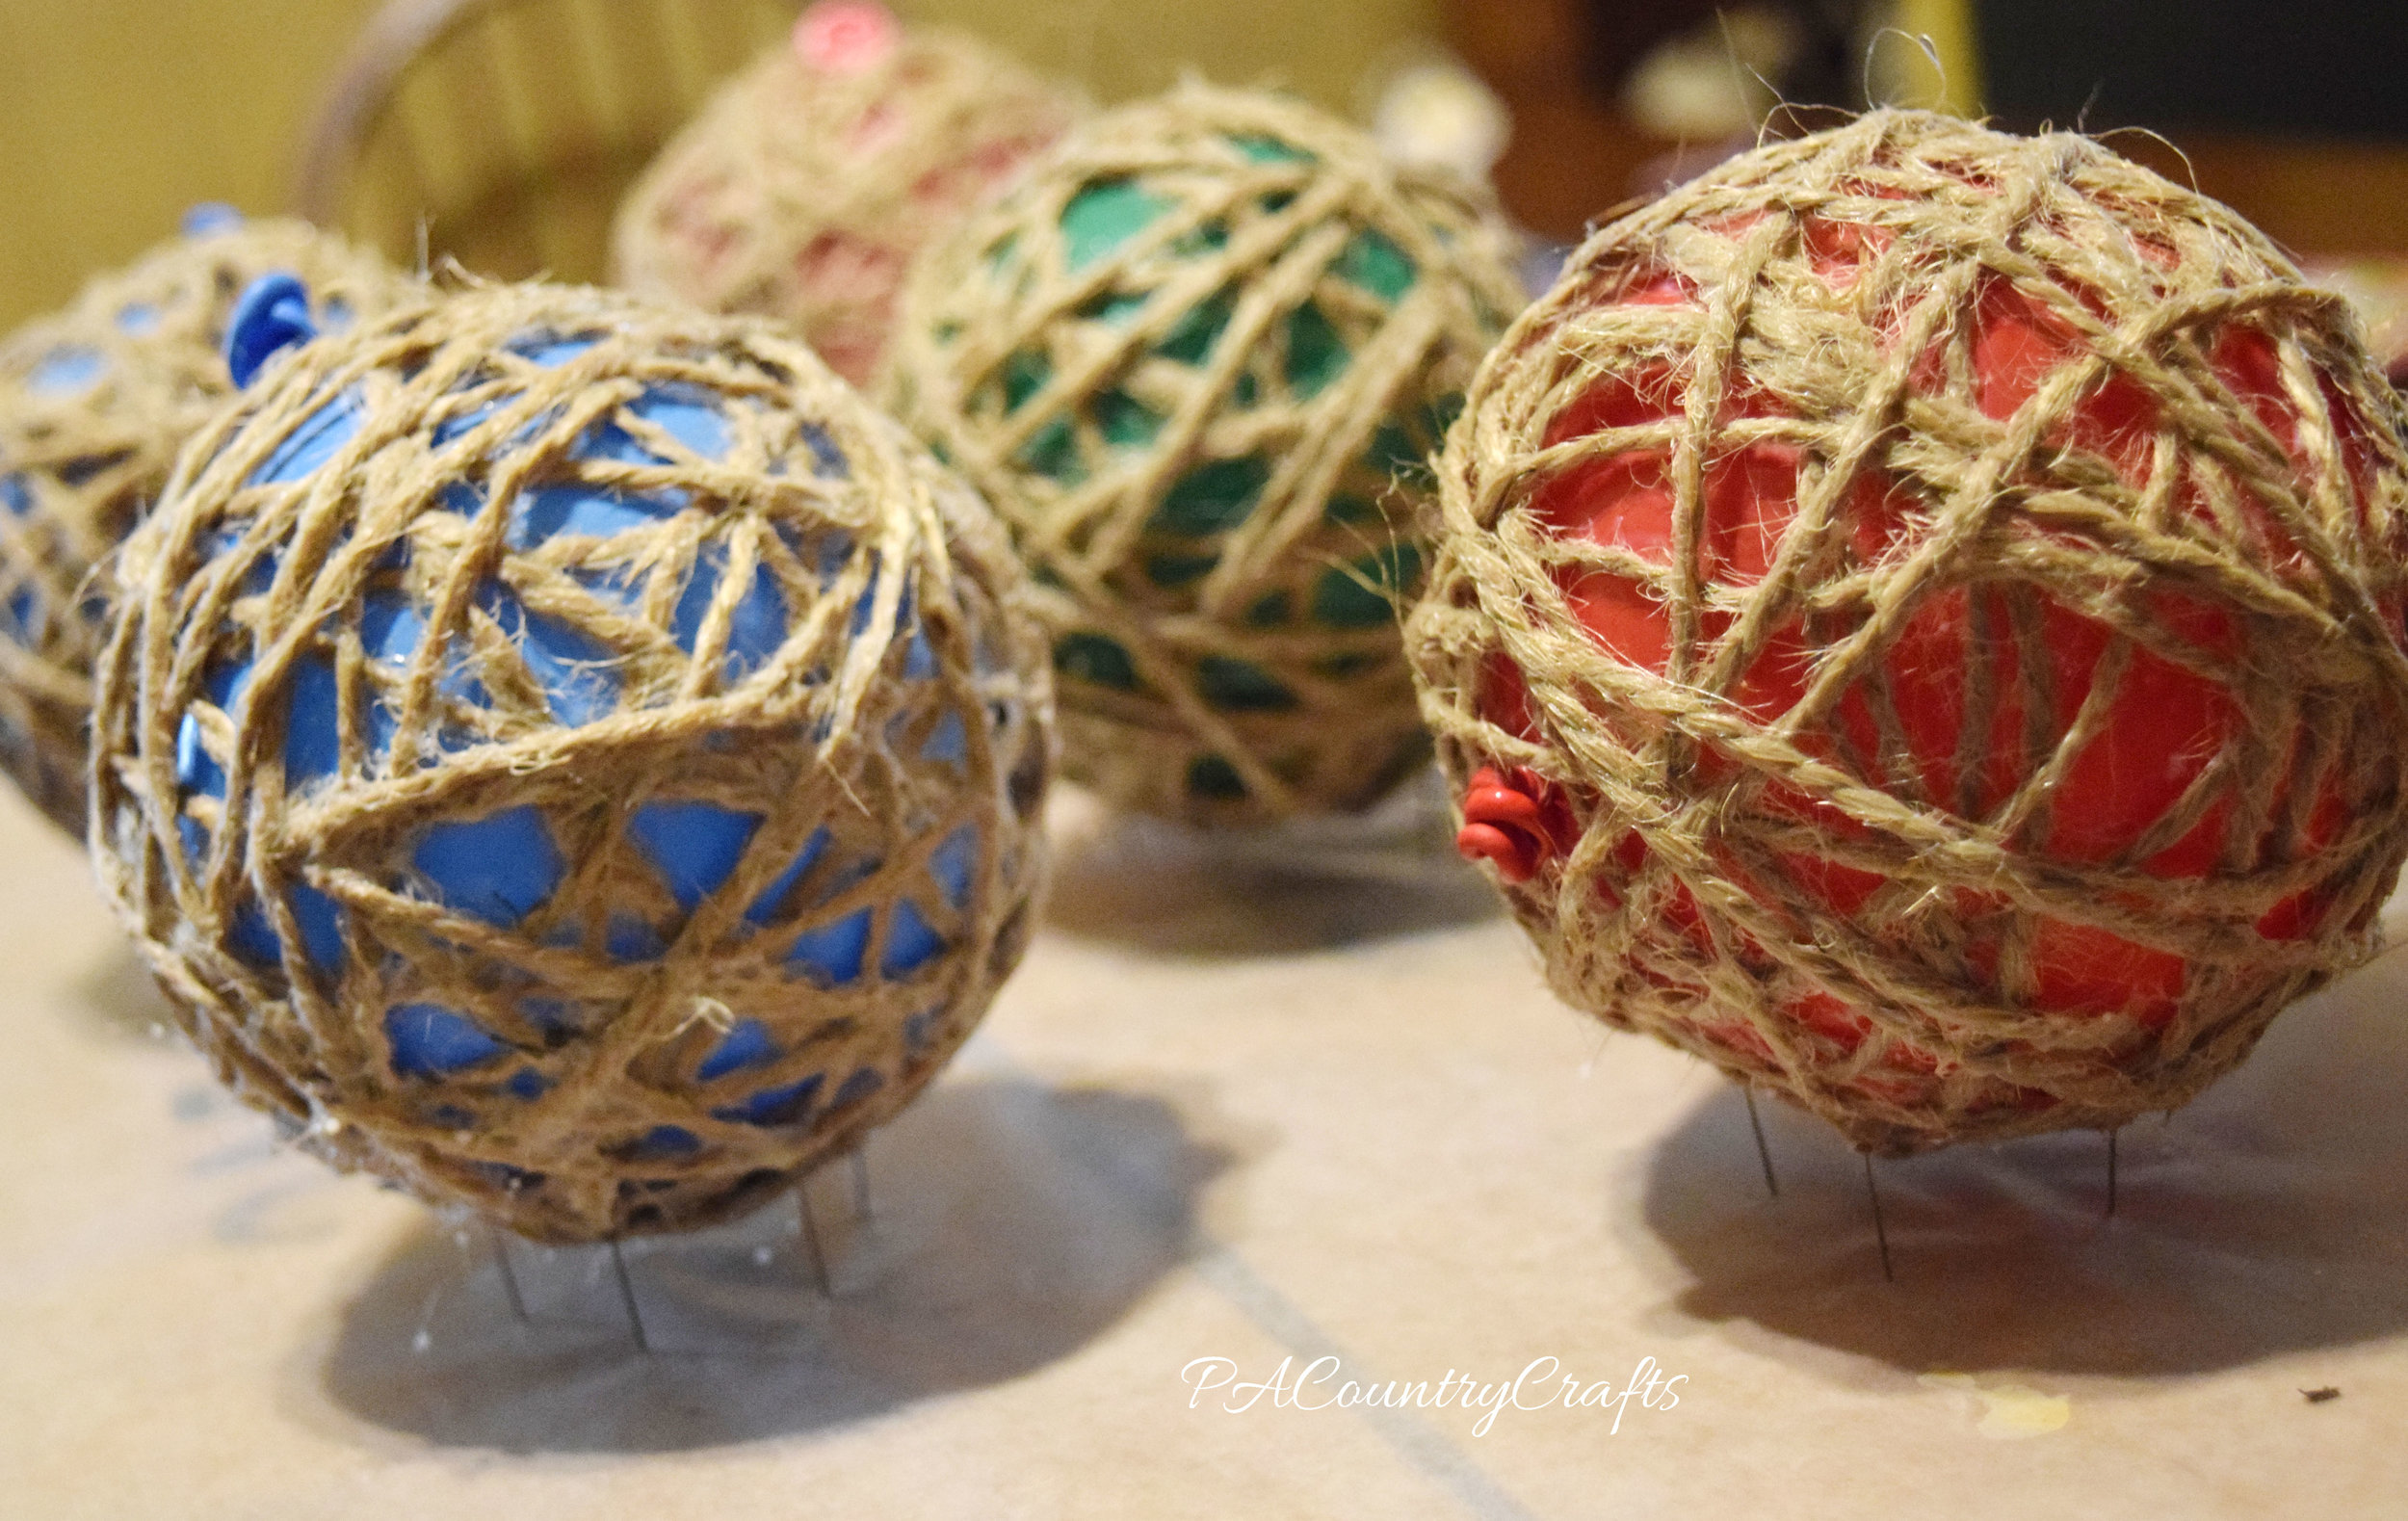
I just blew up some balloons to a small size and wrapped twine around them. We painted watered down glue all over the twine and let them dry for a day. So that they would get air flow all the way around, I covered a box with wax paper and pushed pins partway into the cardboard to set them on. The next day, we used the pins to pop the balloons (holding onto the balloon end) and just pulled the deflated balloon out. Some tutorials called for cooking spray on the balloons, but I didn't like the thought of greasy twine decorations.

These were really simple and inexpensive to make. They definitely fit with the rustic, natural winter look I was going for. I can't wait to show you the rest of the decorations!

You can see more of our winter decorations here…


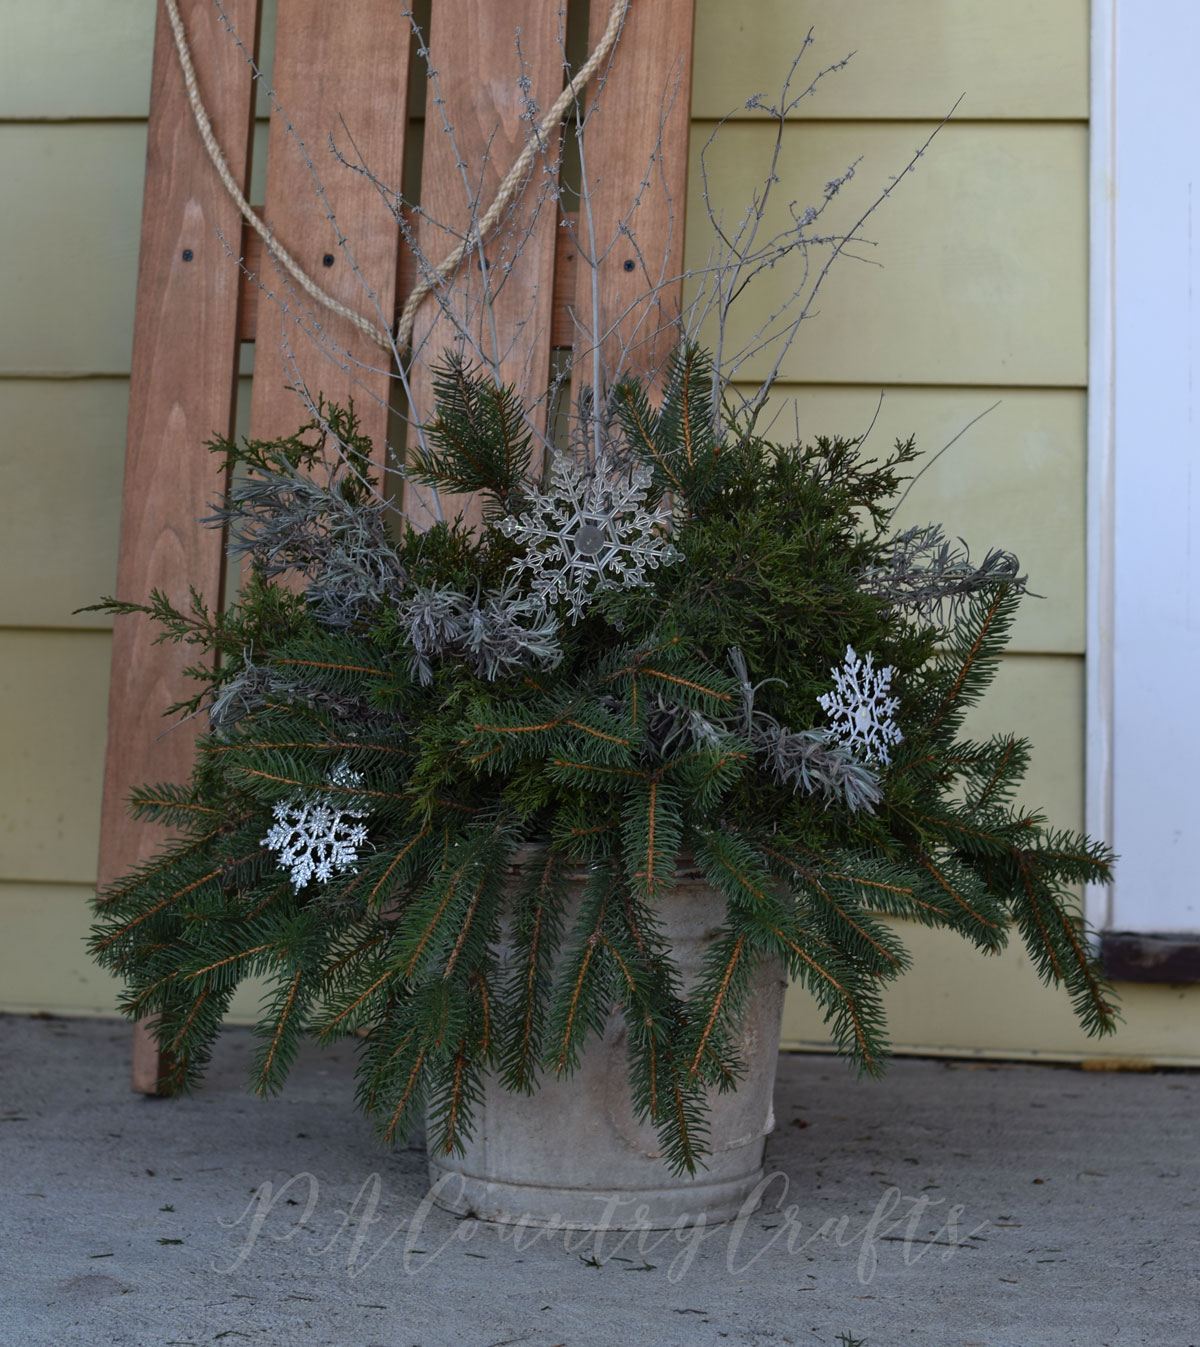
After all of the Christmas decorations are put away the house can seem a little cold and empty. I wanted to create some neutral, rustic, winter decor to fill the gap a bit. I have a few Valentine's Day decorations, but if I put pink all over the place I would start a pretty big fight in this house since we have strong opinions on both sides about that color. Instead, I went with more natural elements (free stuff I gathered outside) for sort of a rustic, winter look.

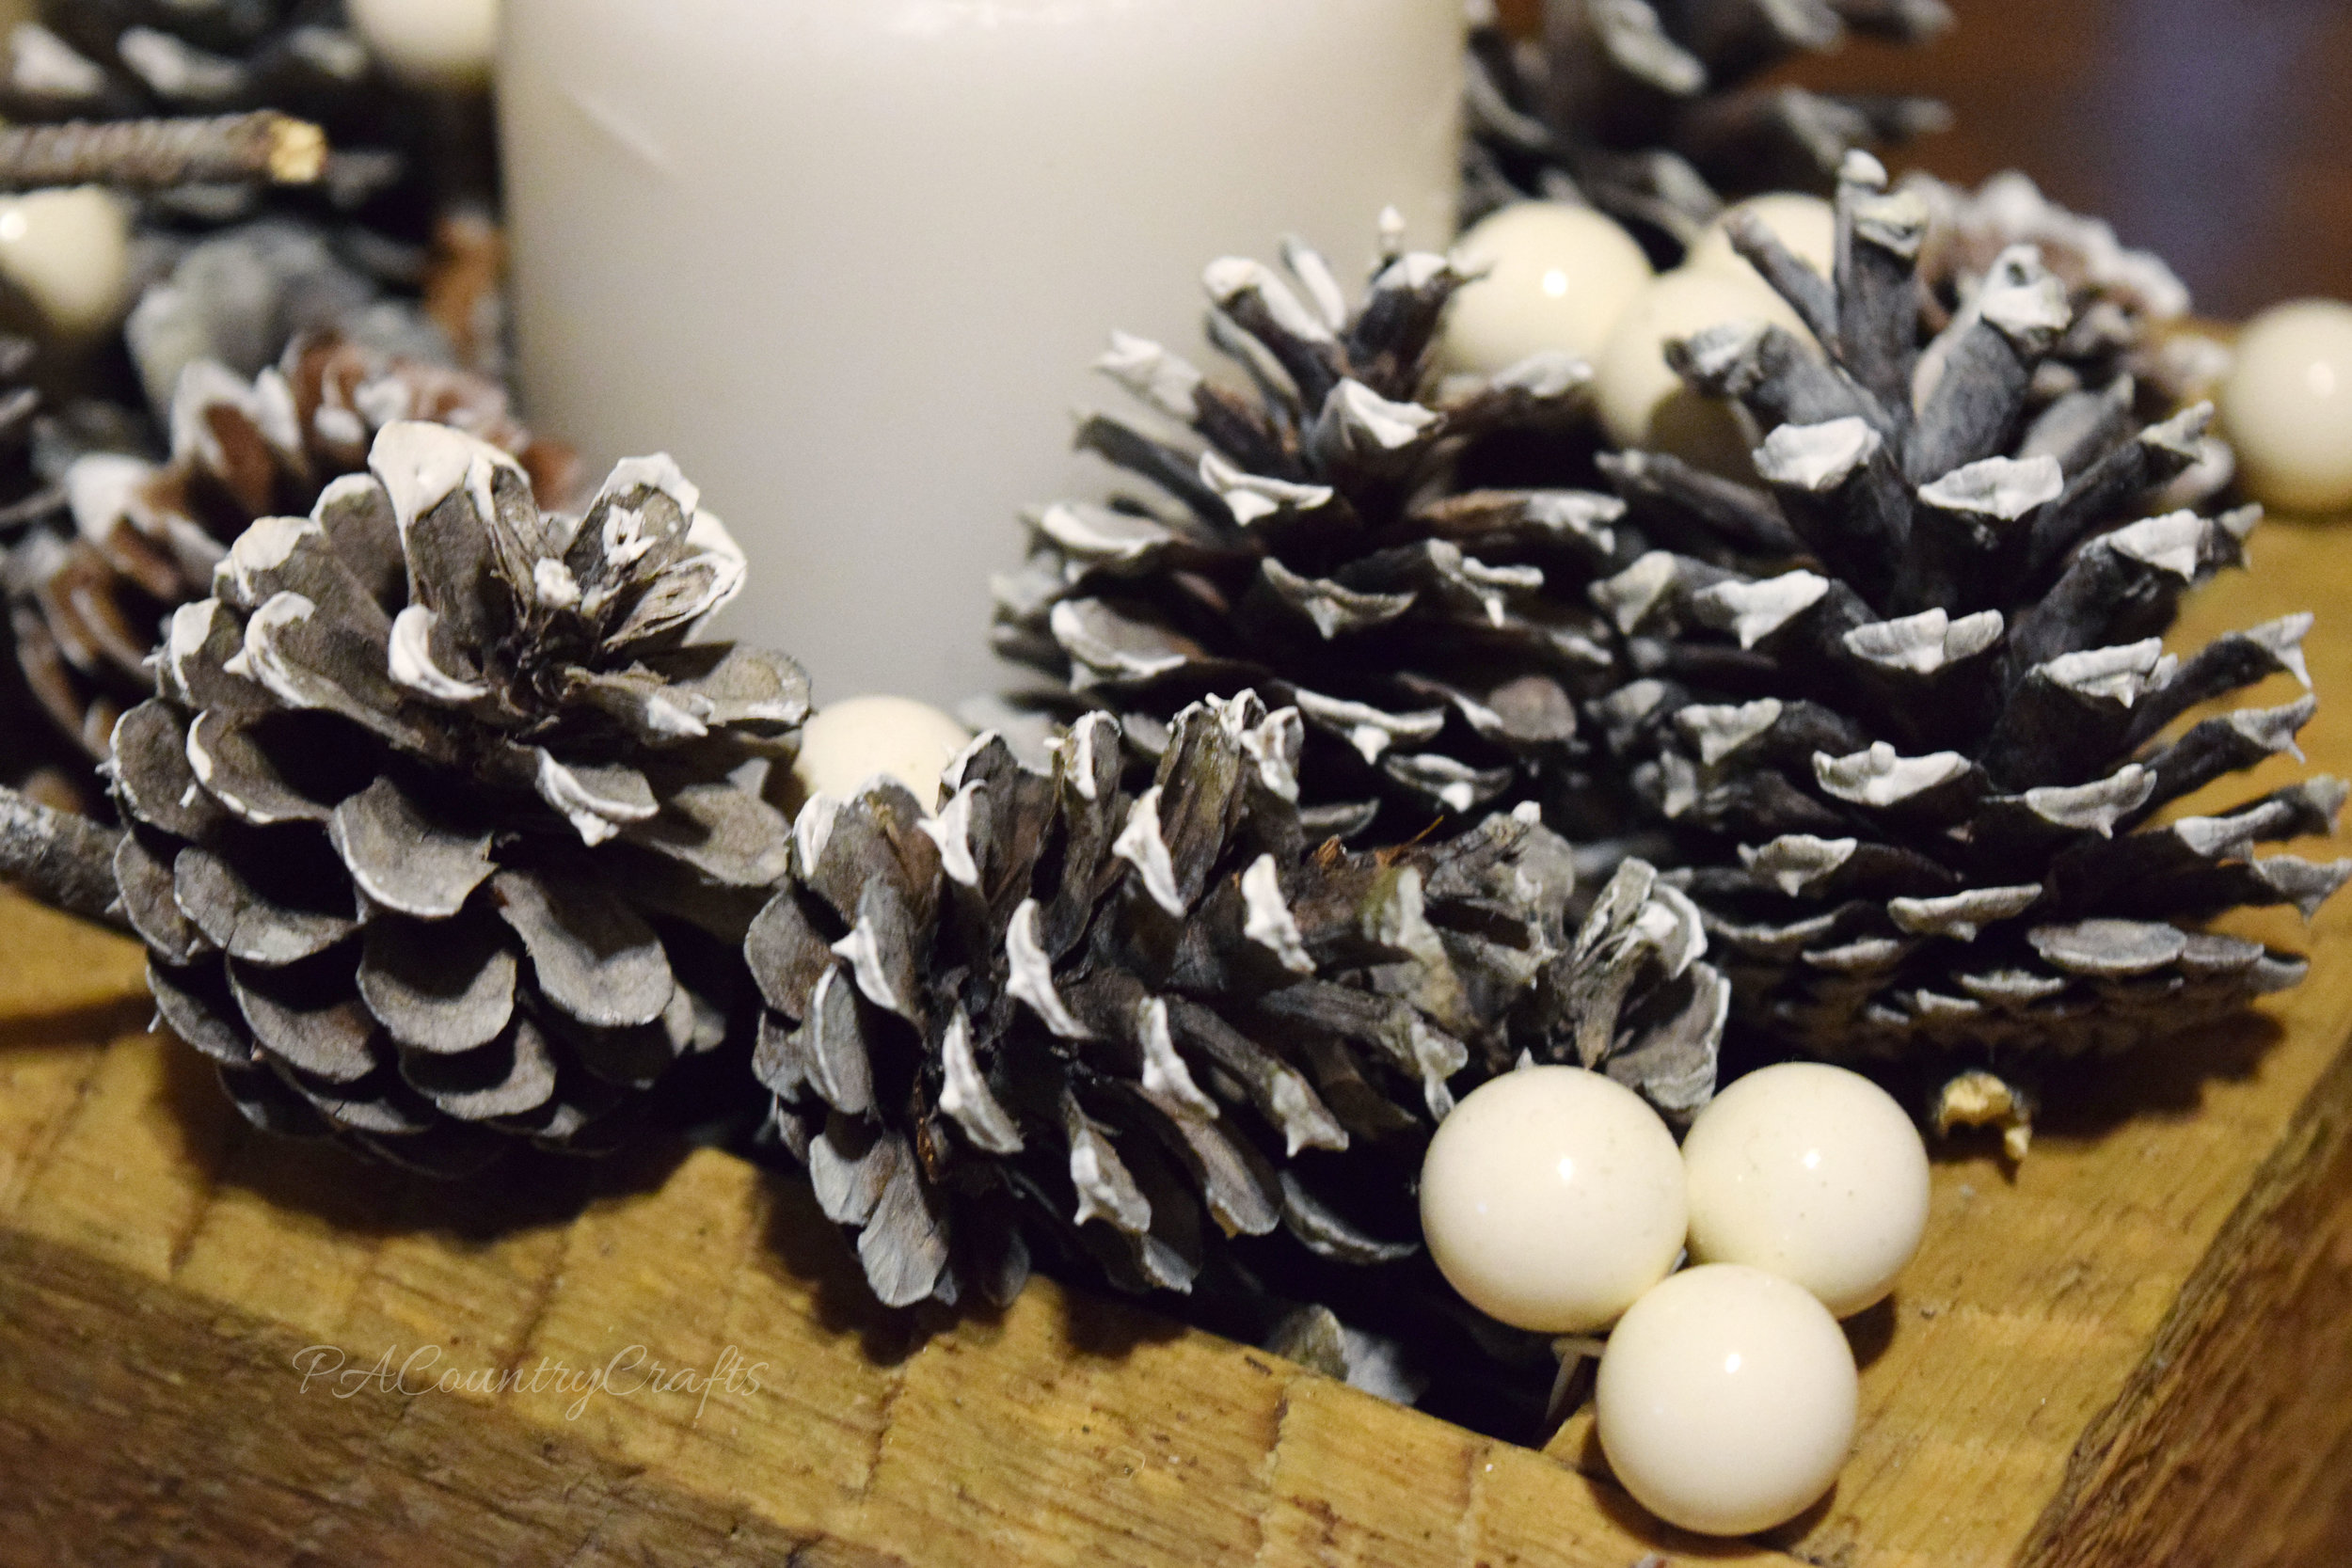
The first thing I made was this pine cone centerpiece. My husband had built me a box that will hold mason jars for a centerpiece. I had yet to fill it with anything and I was inspired by a centerpiece on Pinterest that has a bad link. I stained my box with a weathered gray stain and topped it with dark walnut antiquing wax.

I found two pillar candles in a cupboard. They aren't even the same color, but I don't care.

Next, my daughter and I went for a walk and collected pine cones. They were wet from being outside, so we baked them in the oven at 200 degrees Fahrenheit for an hour or two on a foil lined cookie sheet. This makes them open up and draws out the sap and bugs. I spray painted them with a little ivory just to dust them and give them a frosty coating.


Finally, we arranged everything in the box with some white berry picks. Those were on clearance after Christmas and the only thing I had to actually buy for this project. I really think arranging everything in the box was the hardest part. I also dabbed a bit more white paint on the edges of the pine cones for more contrast. Some of the pine cones went missing before I took these pictures, too. ;)

I like my little box and it will be fun to change it out with the seasons. It isn't perfect, but the girls got to help and we made do with what we could find.
I have a few more rustic, winter decorating projects that I will blog about later this week!
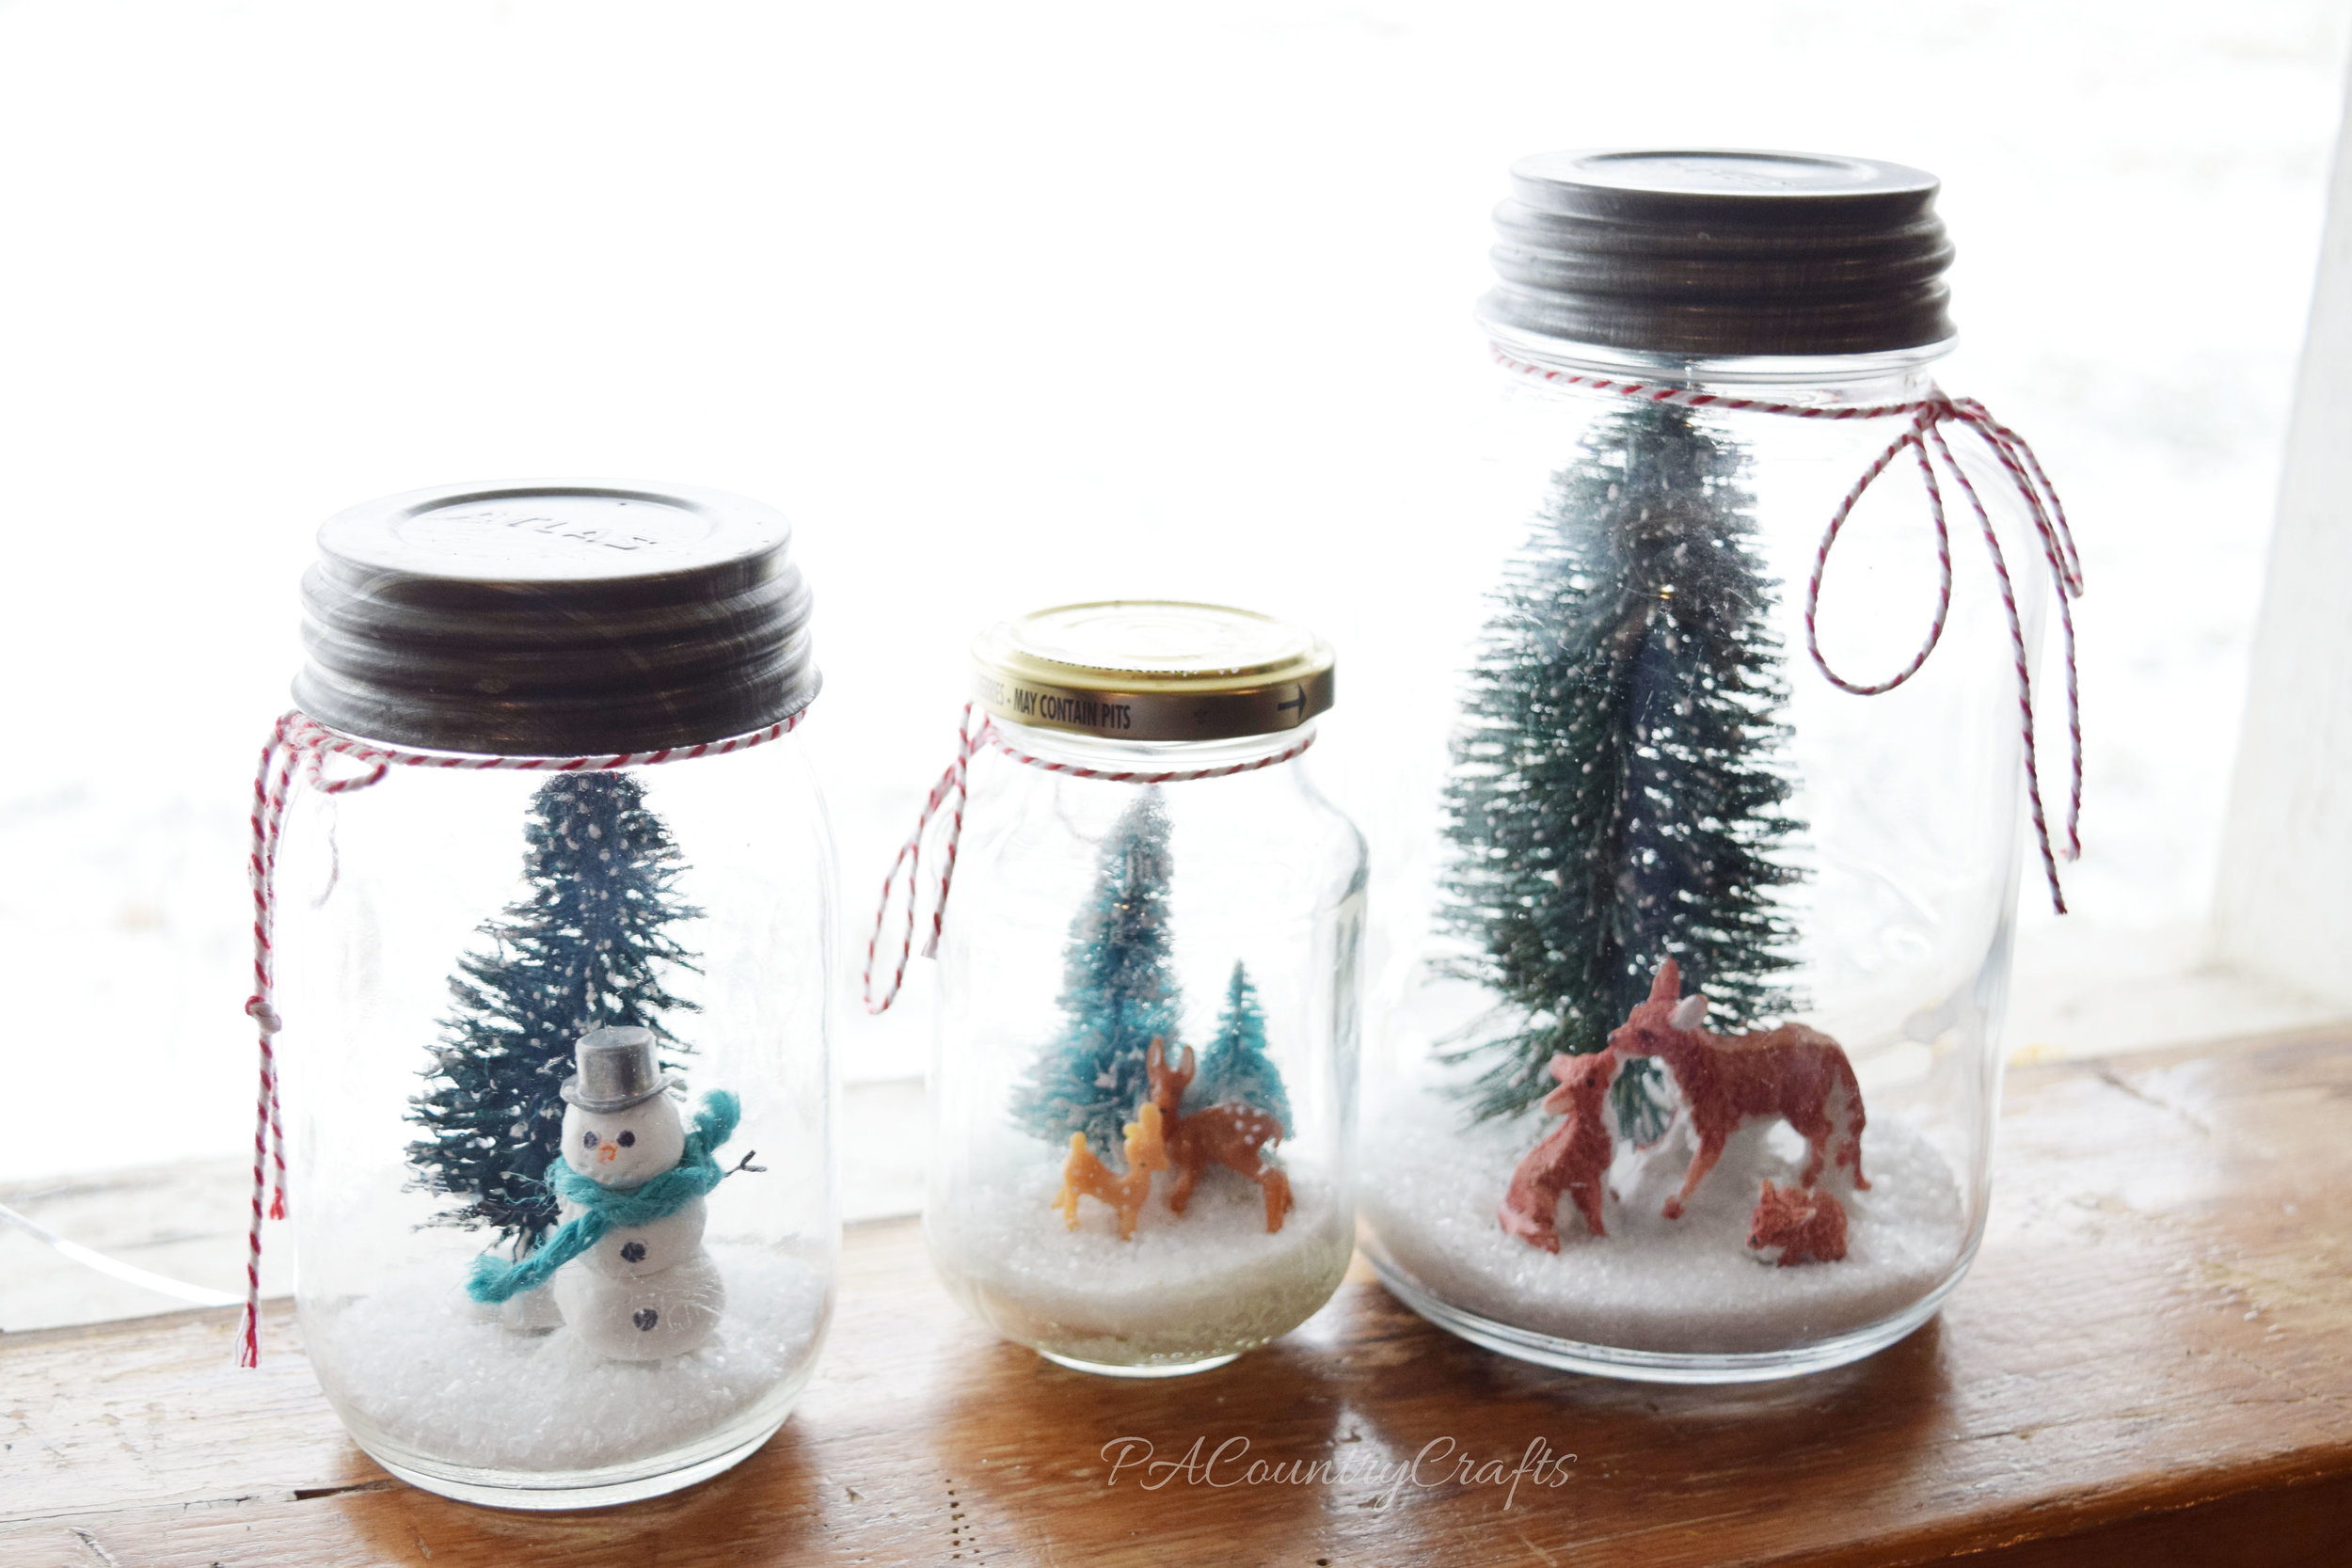


The girls and I had a "craft day" over winter break. Christmas flew by in a blur and we still had a lot of craft projects that were still just big ideas and a pile of supplies. Honestly, some of the supplies were several years old because this seems to happen every year. One of the things that I wanted to make was a "waterless" snow globe decoration. The little plastic deer and bottle brush trees kept disappearing on me over the past year or so. Some of the deer didn't make it because their legs were chewed on. :( I picked up a few more things when Christmas shopping in early November, so before we had any more casualties, I wanted to make this one a priority.

We used some "mason-type" jars. The "real" mason jars I use for canning, but there were some smooth sided jars mixed in my supply I didn't mind forfeiting.
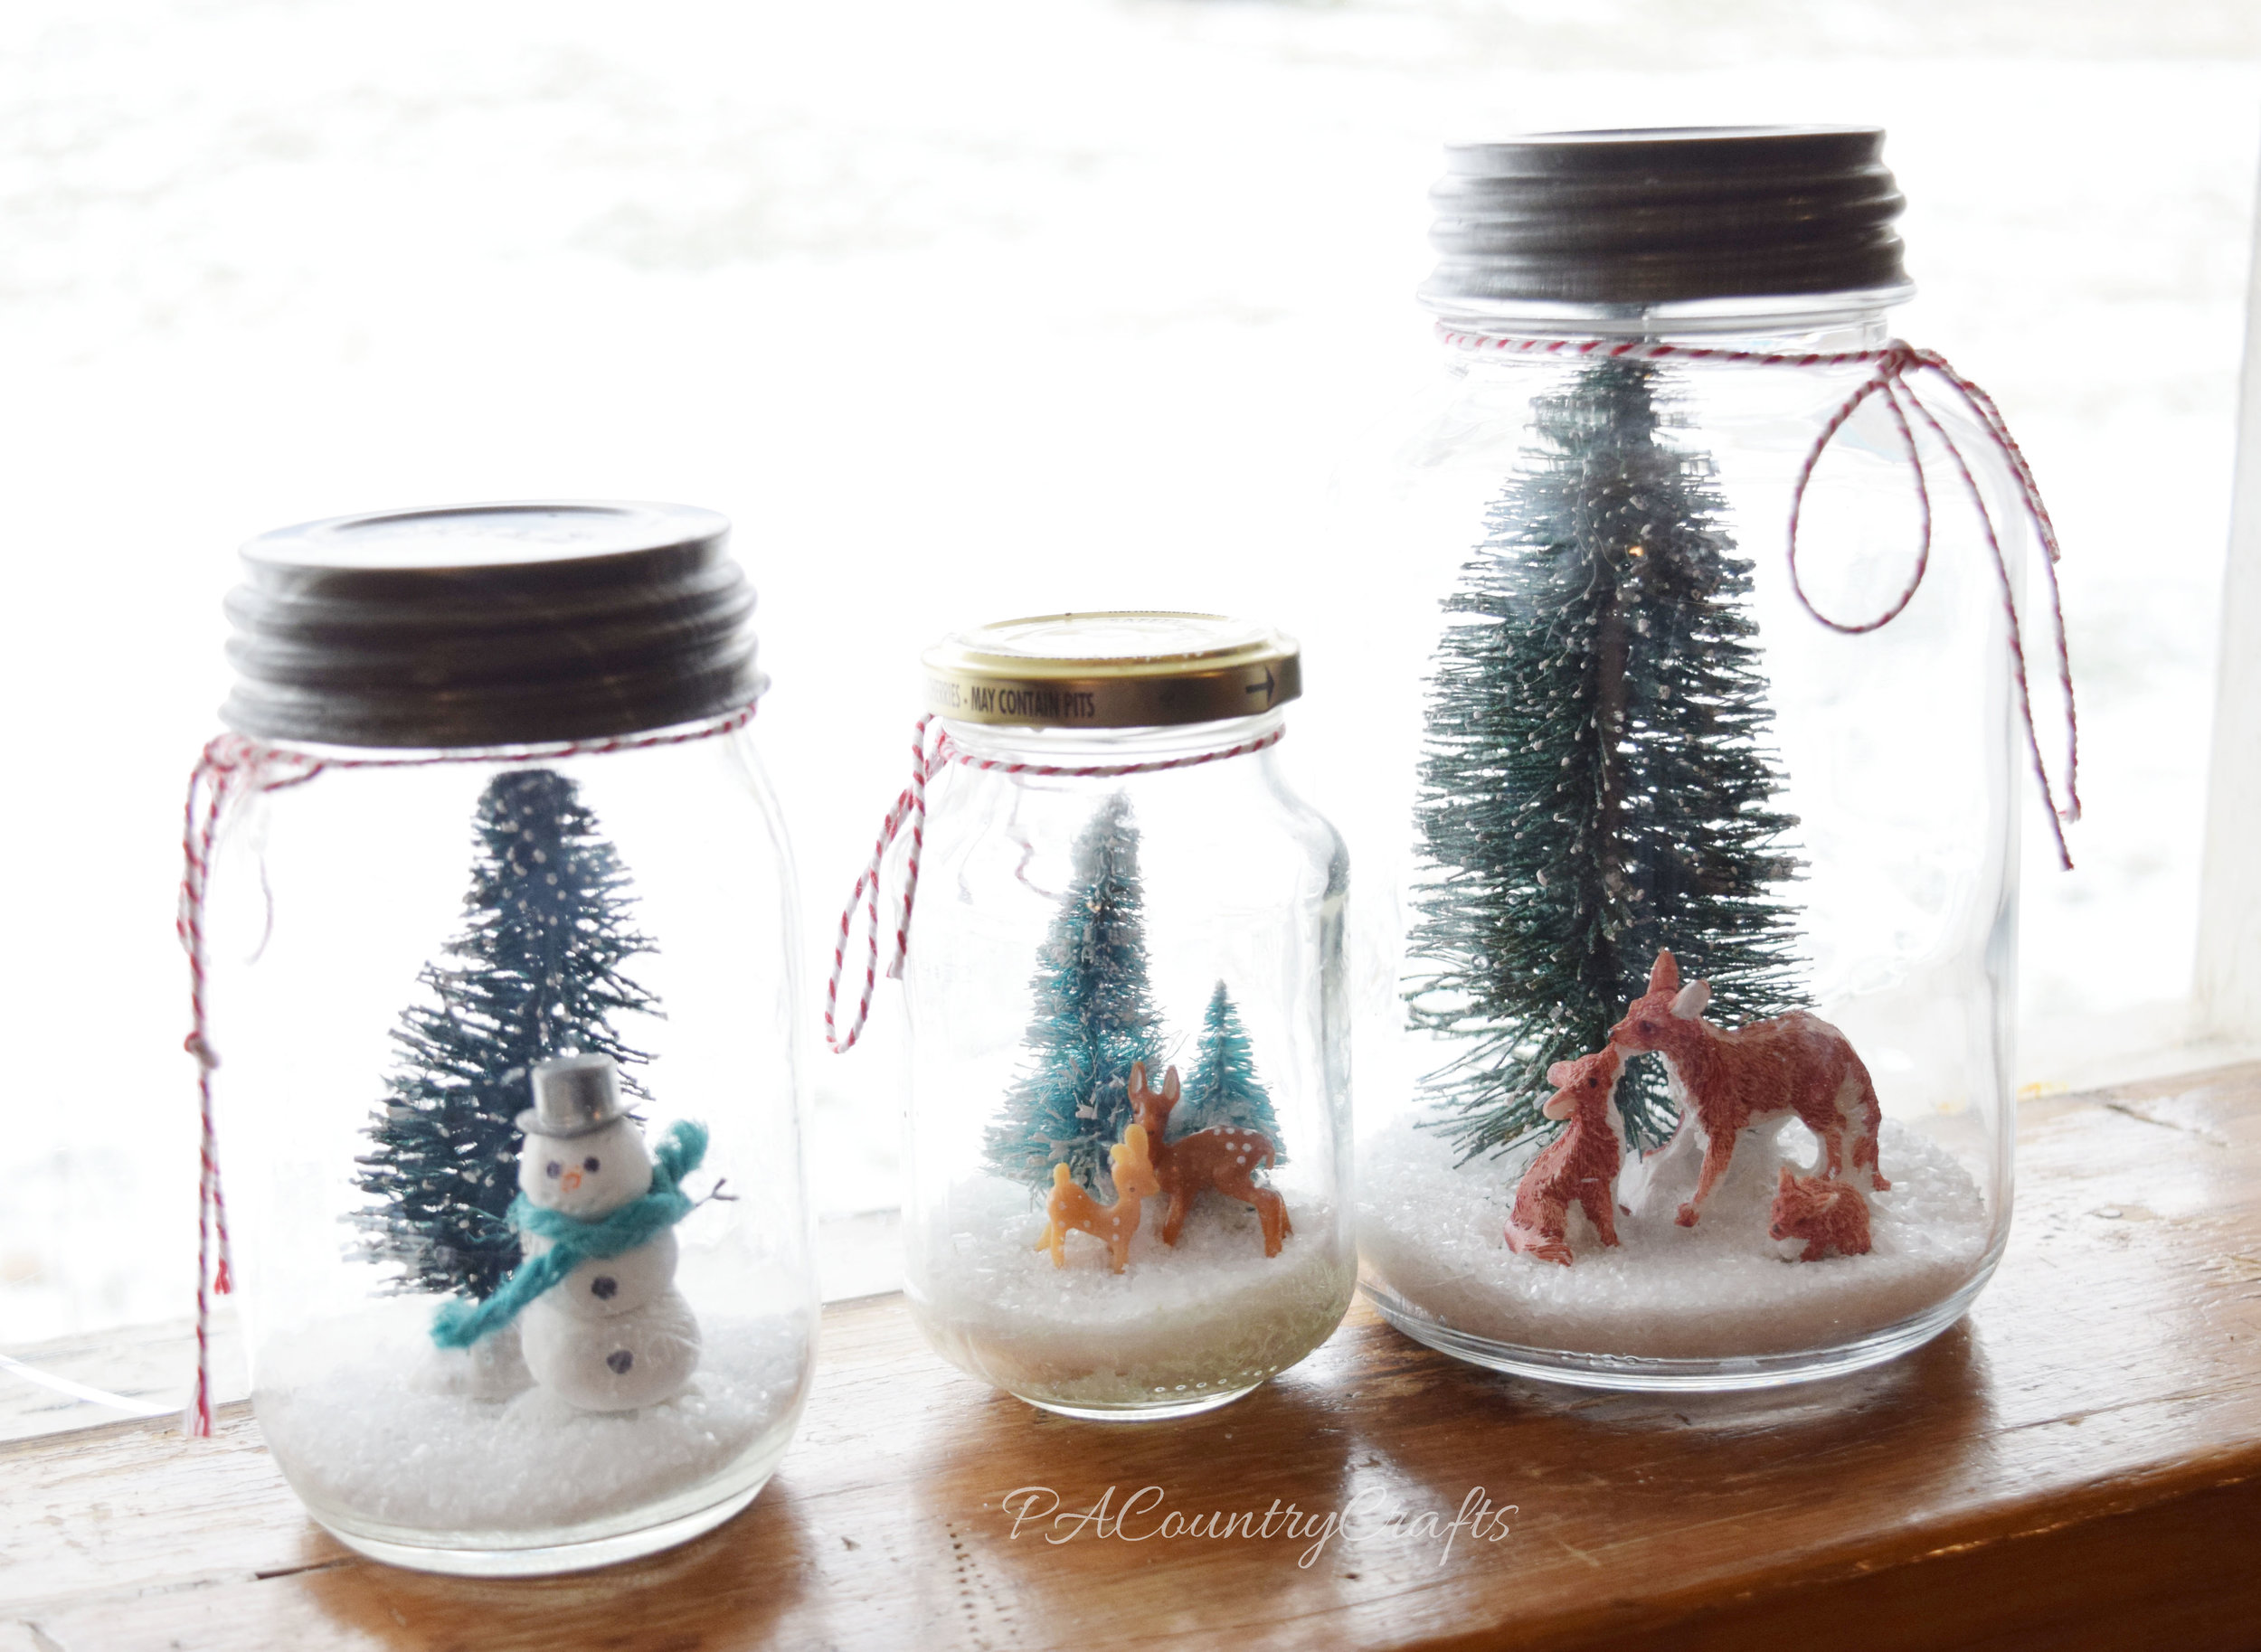
The first one was the easiest. It is a little ceramic fox family and bottle brush tree from the Christmas village section at Walmart. I just stuck them in the jar and my 5yo added epsom salts. I did use a vintage lid and tie some baker's twine around the neck of the jar just to add a little more detail.

The deer scene was probably the hardest. The supplies came from Michaels last year, so they were not in good shape. I made a snow mound out of clay and stabbed the trunkless trees and plastic deer into it. Getting those deer to stay in place was a pain and I needed pliers to push them down in firmly. Then, we also poured in some epsom salts, but I should have let the clay dry first.

The snowman was made out of clay with wire arms, a play-doh orange nose that fell off, a jute scarf, sharpie dotted buttons, and a hat borrowed from our Monopoly game. There is a lollipop stick (unused) to hold all of the layers together, including a rounded base underneath the snowman. Unfortunately, I did not let the clay dry first and the moisture as it dried caused the epsom salts to crystallize up the sides of the jar. I had to take the whole thing apart and redo it. So, if you are making these, have a little patience and wait a few days for the clay to dry.

These were really simple to make and the kids like them! It is a nice decoration that I can leave out all winter long.


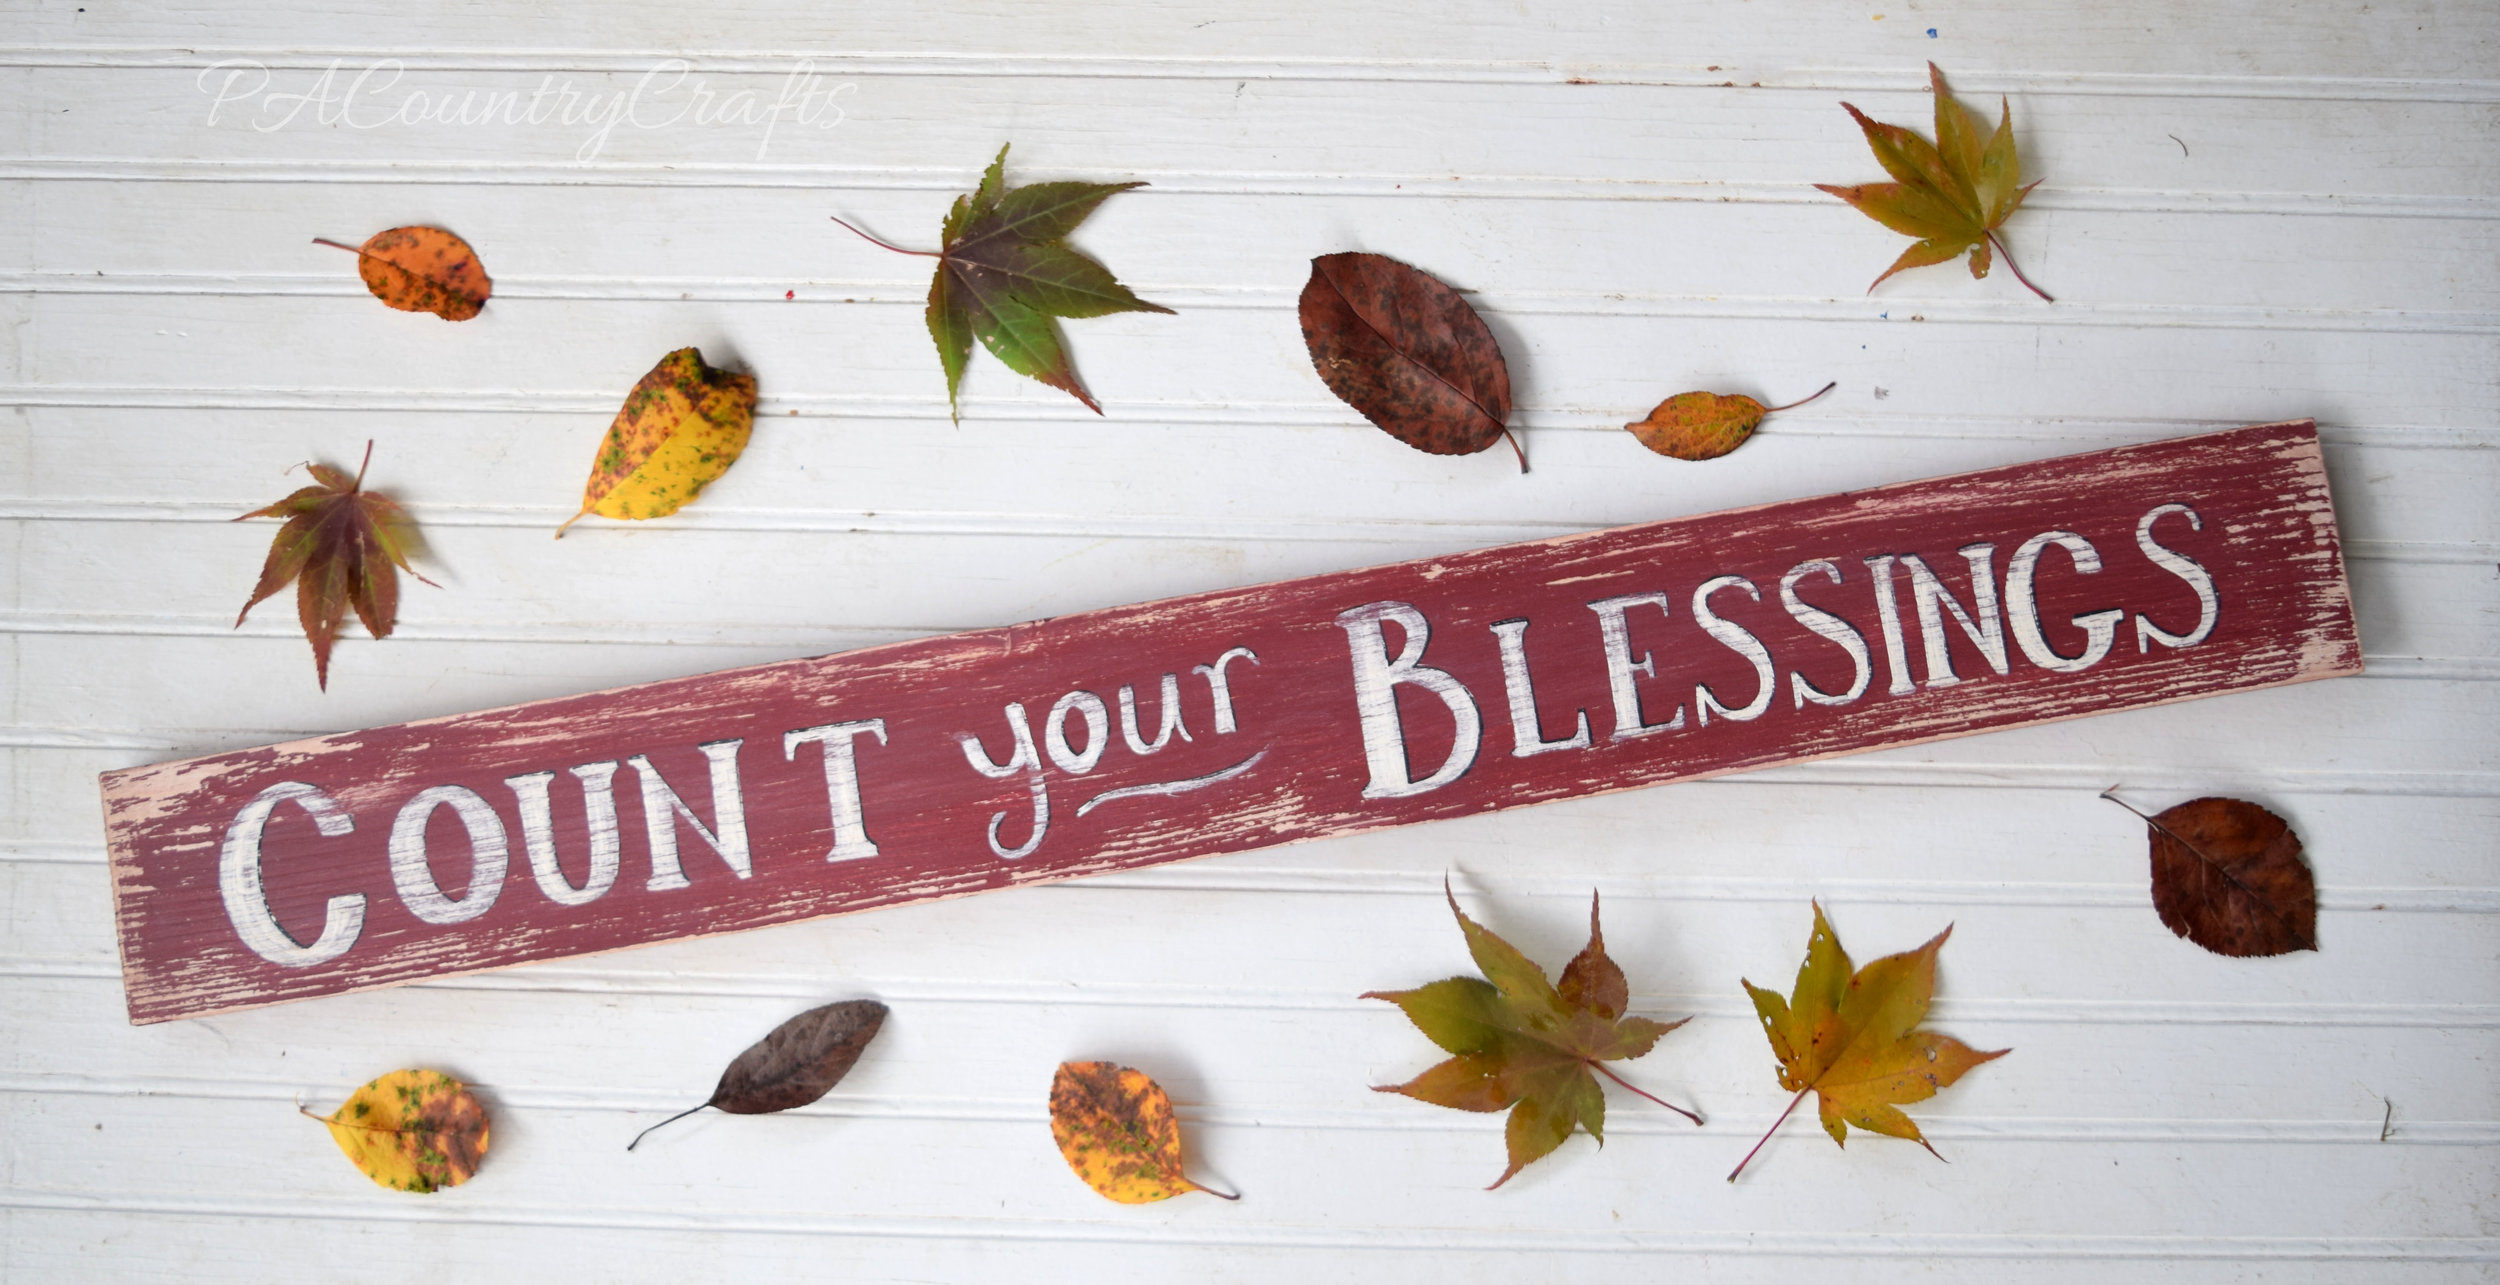
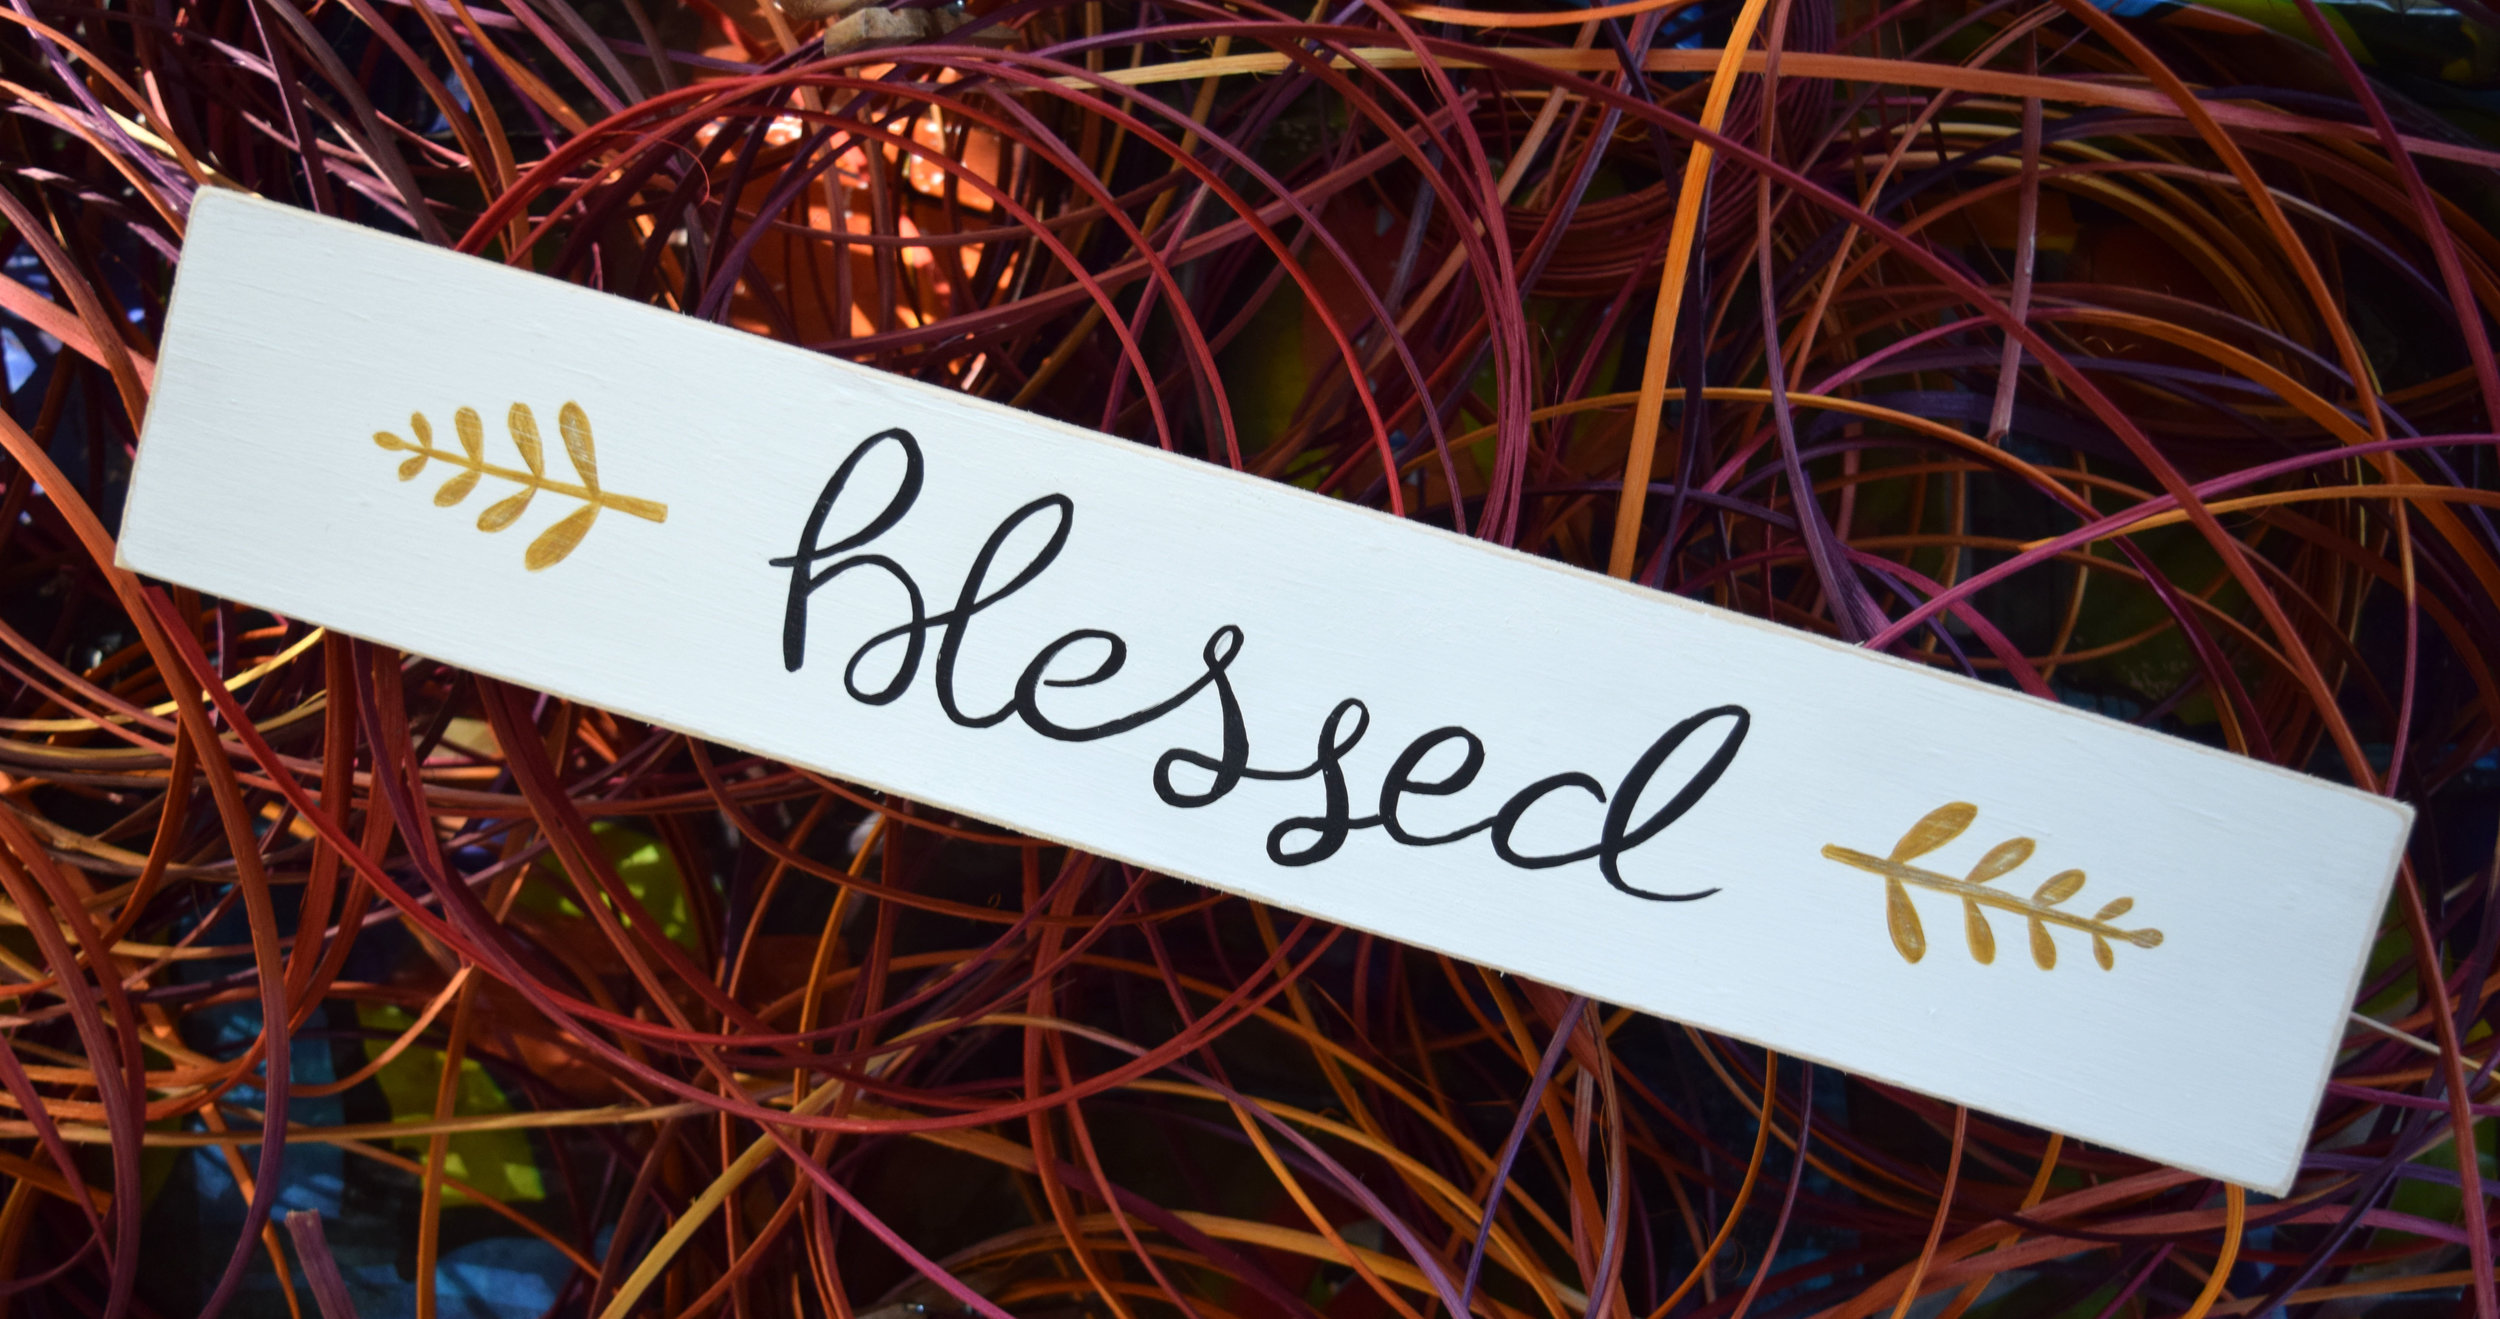
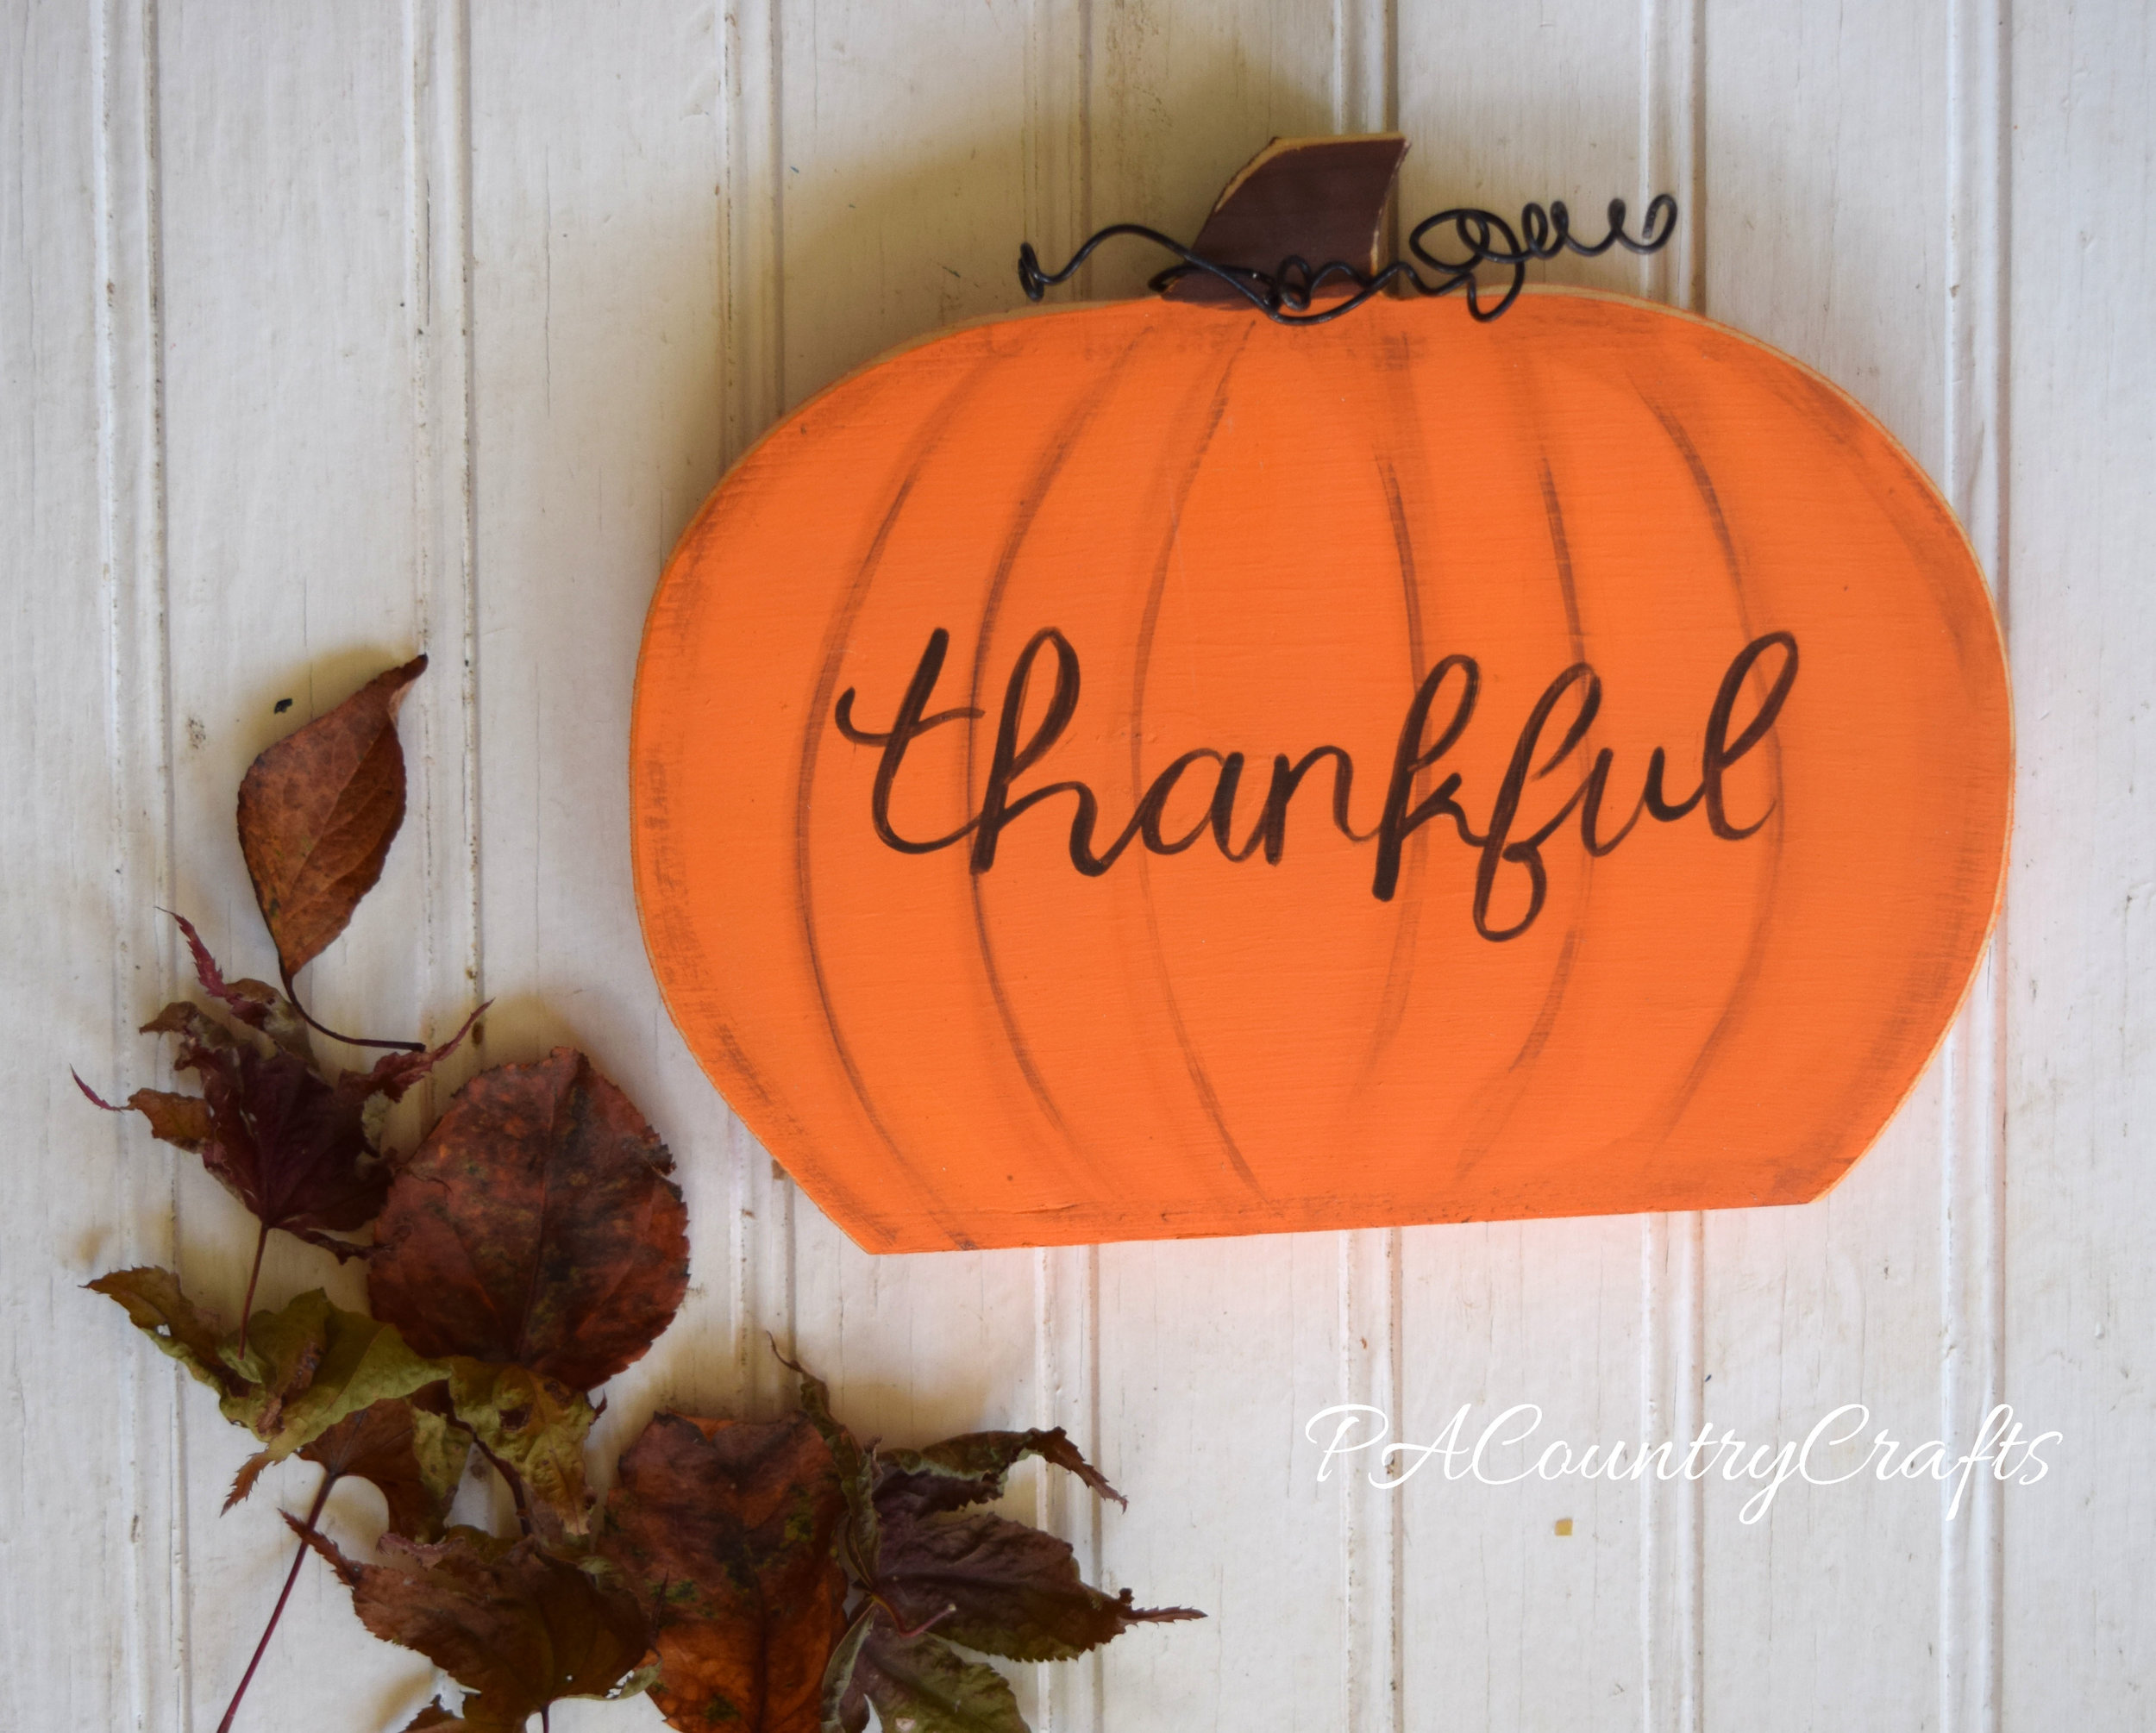
When I have make some spare time to create, I will occasionally have a seasonal sale. Today, I began my fall limited edition sale. There are a lot of rustic, fall signs, and some of my best-selling products from past years.

I always start out a sale on my facebook page to give my friends over there first chance. You can "like" my page HERE. Some items are already sold and I am trying to list the rest in my new online shop.
I love the fall season and I am really looking forward to it!

I haven't fallen off of the face of the earth or anything. We are just in a busy season. This spring, we had girls on 2 softball teams and a soccer team, plus all of our regular work and farming stuff to do. It has been C R A Z Y!!! So, as far as crafting goes, I am on a little bit of a painting kick. I got my sunroom all cleaned out and it is nice to hang around in there on sunny days- and the paint dries quickly! When I paint, I sneak away for a few minutes to put a coat on or do a few more details. I paint in little spurts and, unless I mess up, it is like a relaxing escape.
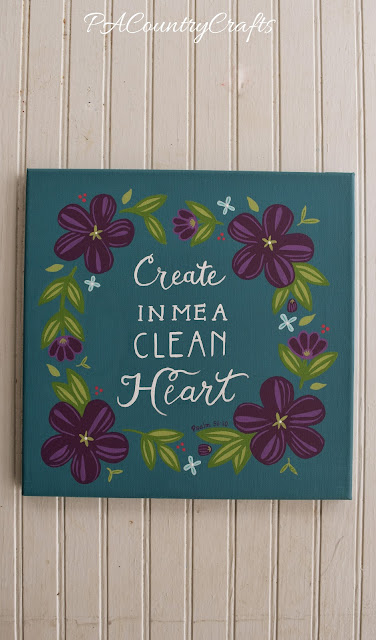
I am also focusing on decorating my own home right now! I have been in the process of changing my bathroom color scheme for a very long time. (Wow. I just thought about it and it has been about 3 years!) It used to be a hunter green color, but I couldn't find bath rugs or shower curtains to match. An older lady working at Boscov's told me that color was "out" so I figured I should change it up. I will try to do a full reveal when it is finished, but my towels are in a deep teal and dark plum color.

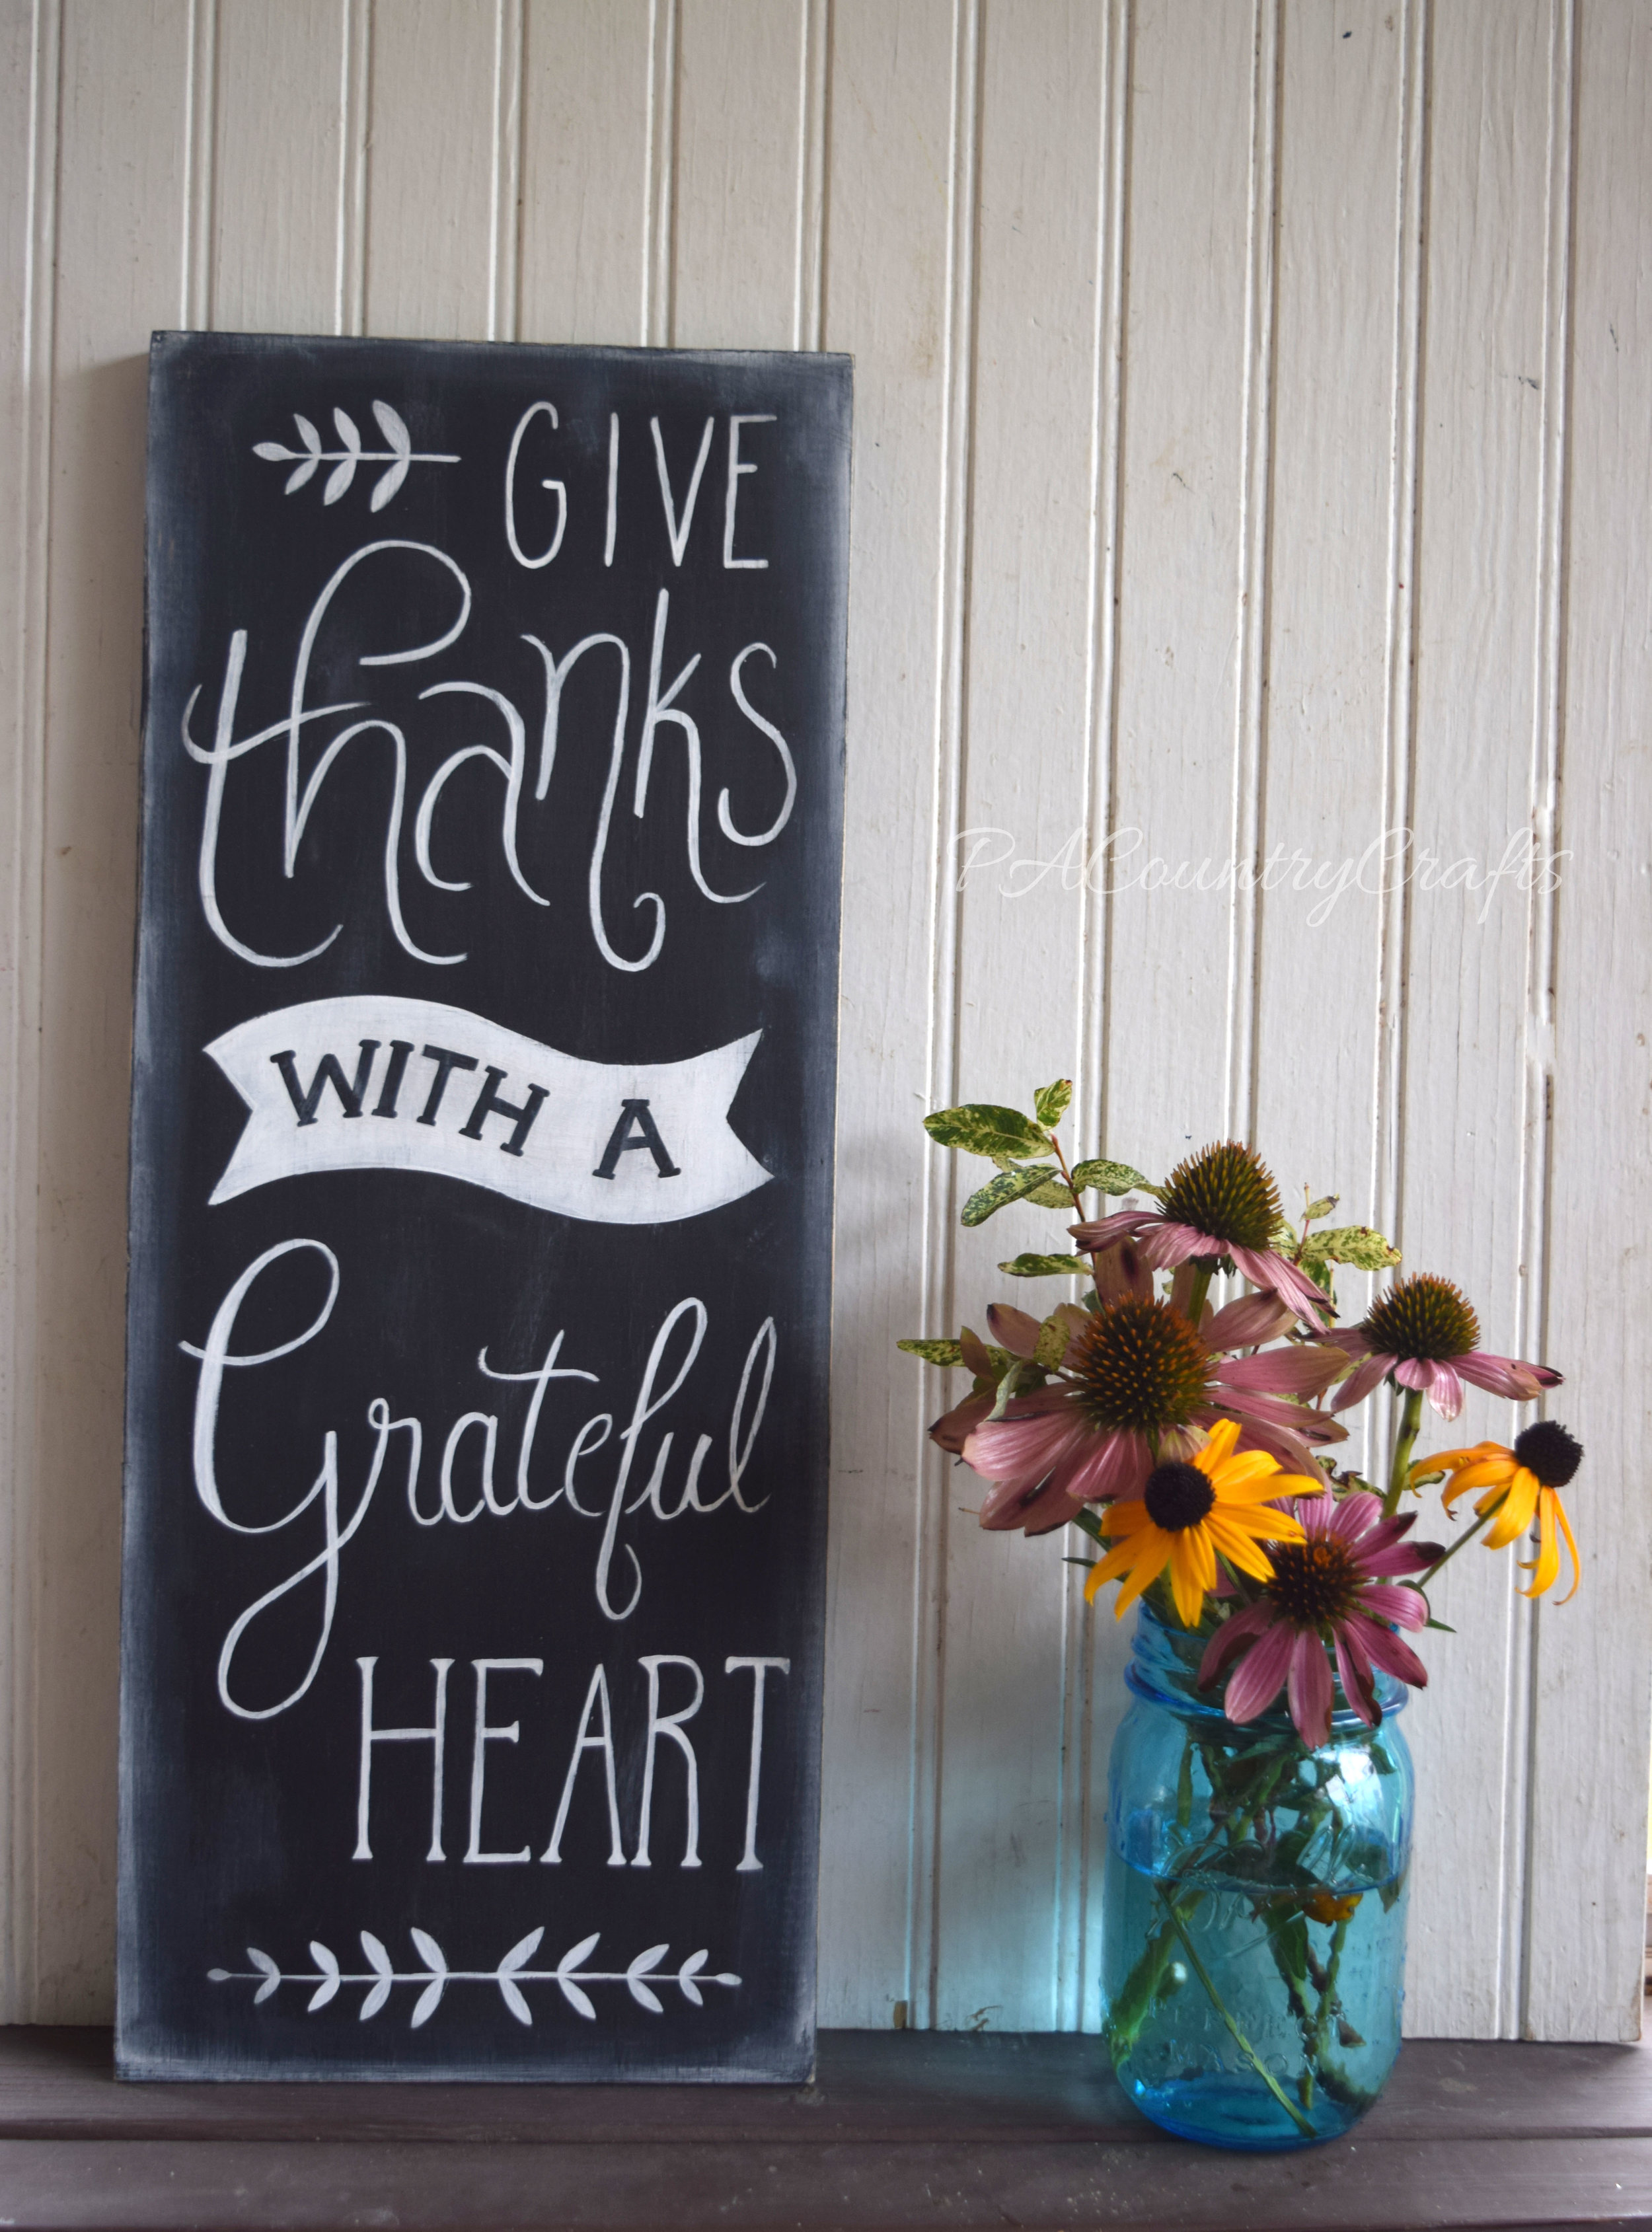
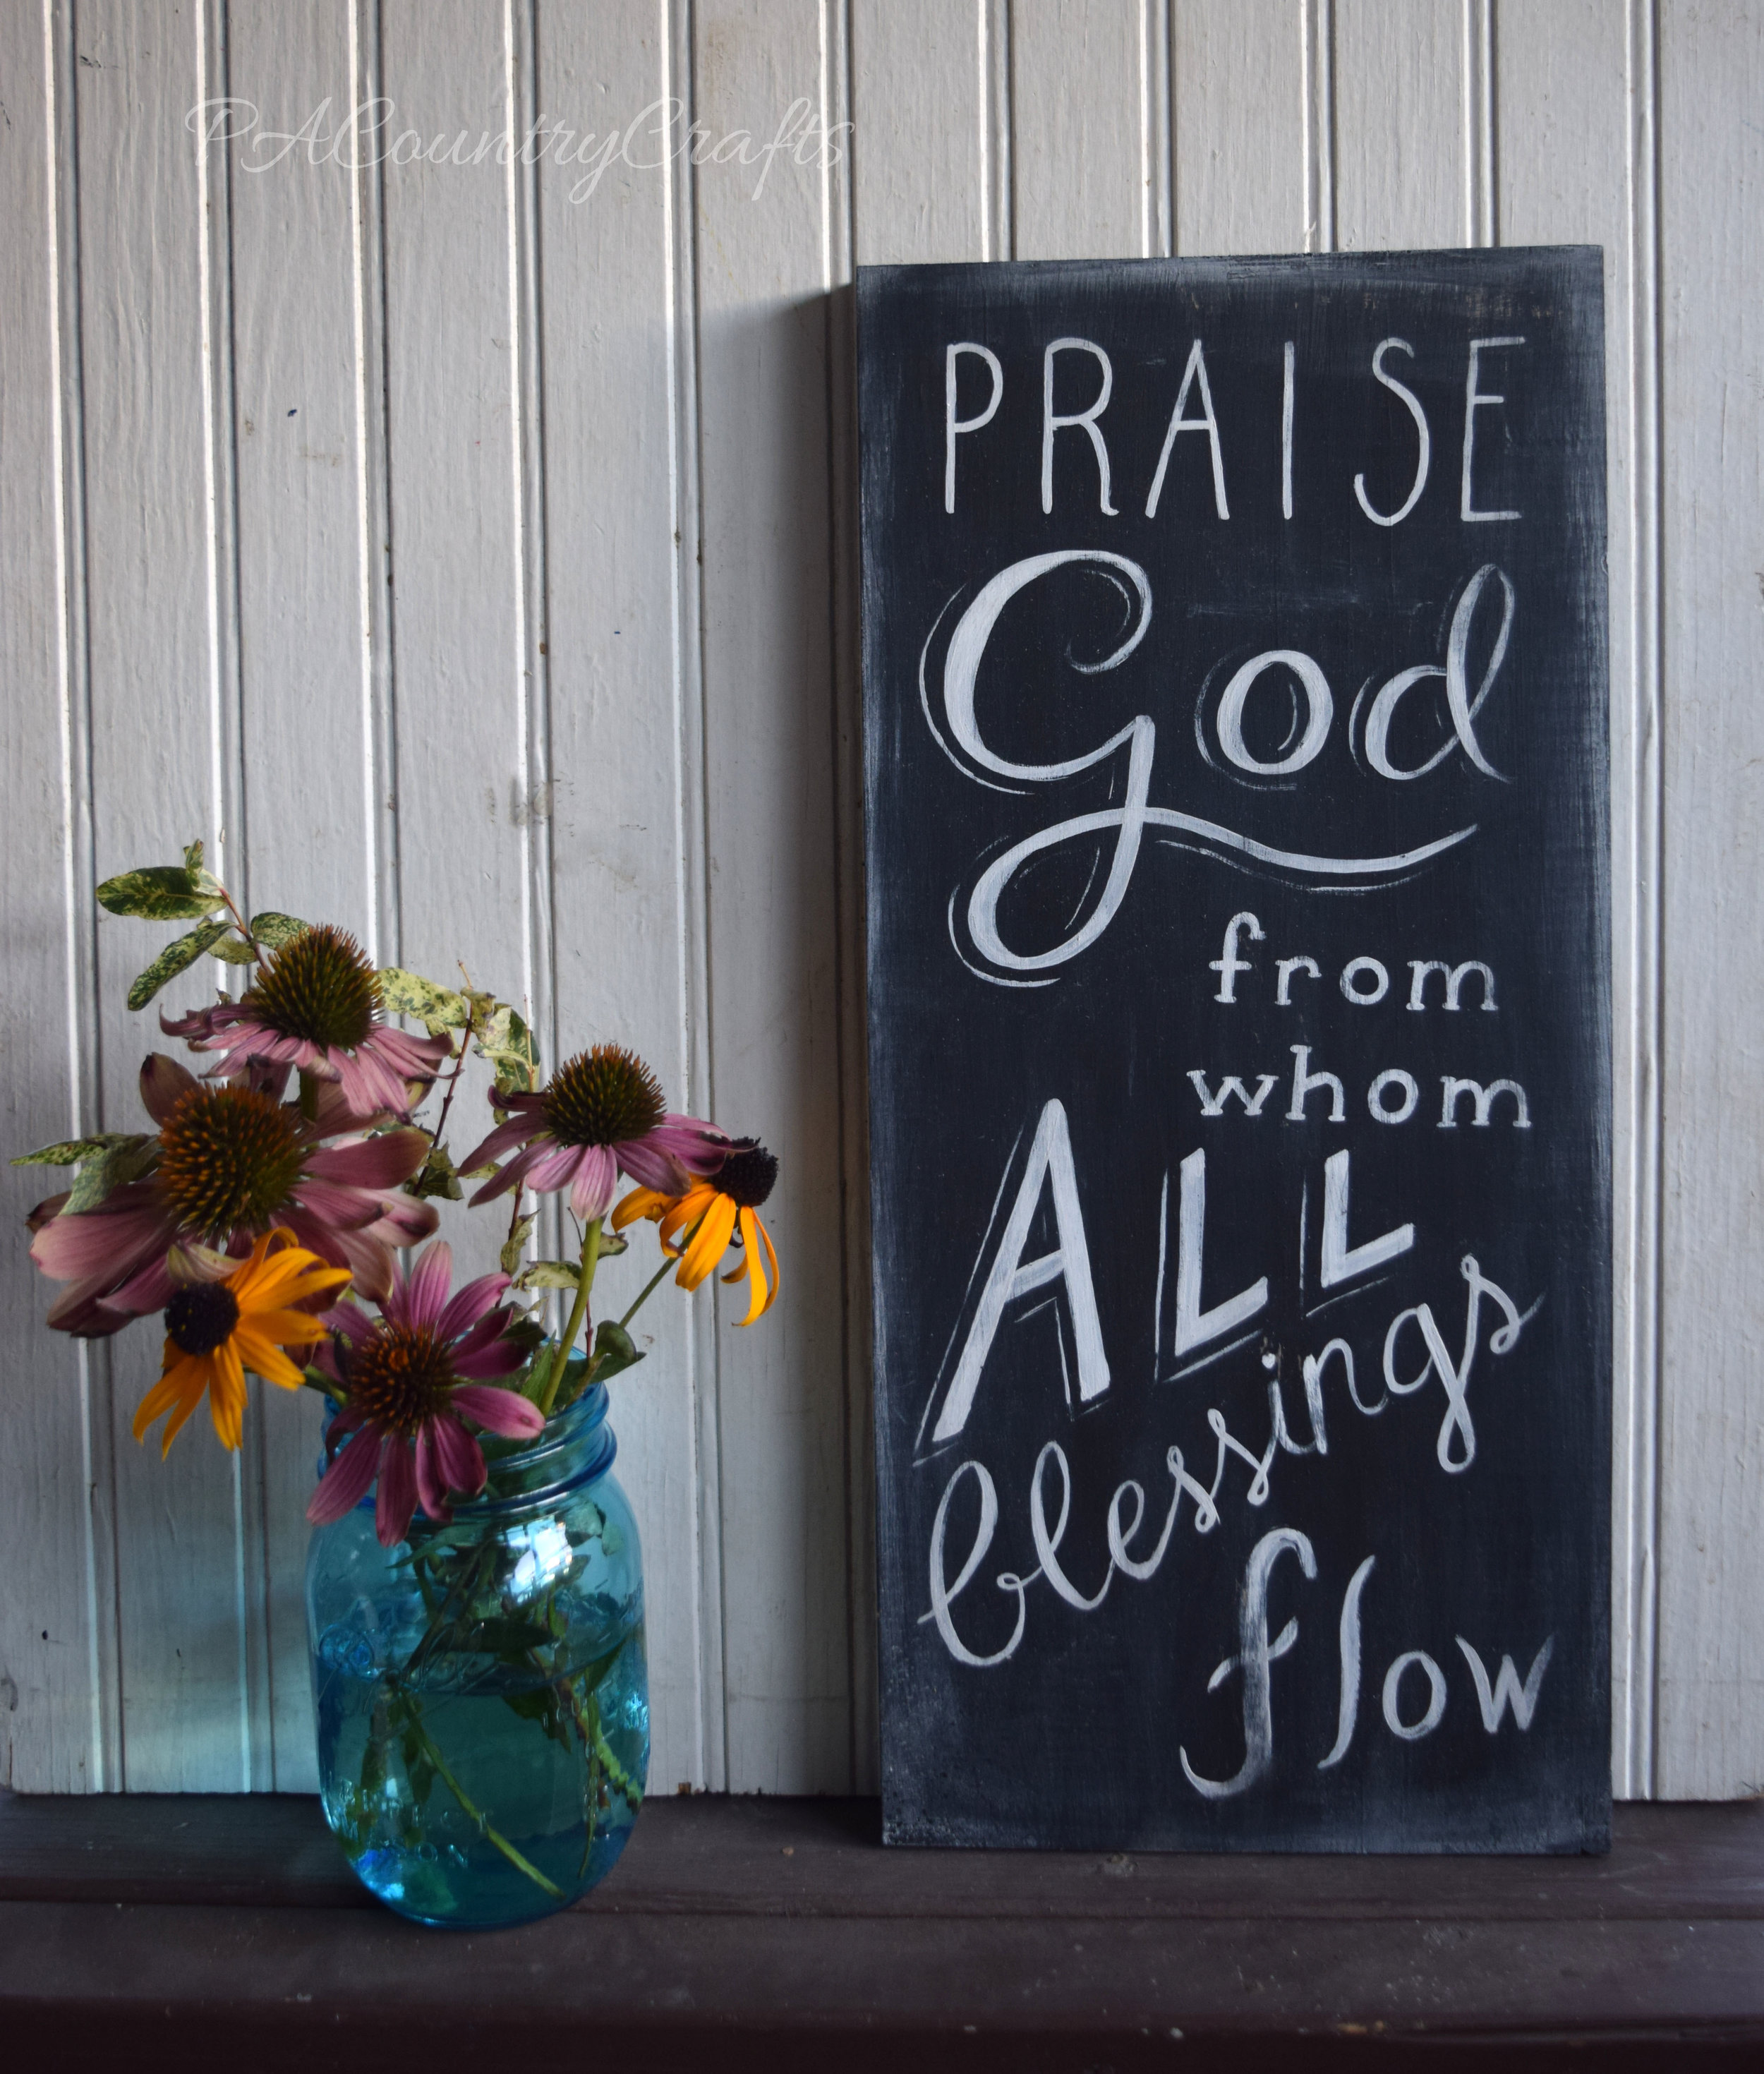
I used a 12" square canvas and painted on a portion of an appropriate verse:

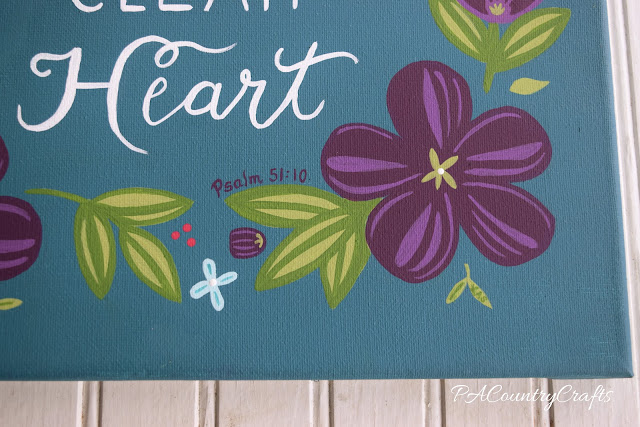
My painting matches perfectly with my bathroom and I am happy with how it turned out. :)

Sewing, crafts, tutorials, recipes, and a little look at our life in the country - raising half a dozen children.

Hi! Thanks so much for stopping by! My name is Lindsay and on this blog you will find sewing, crafts, decorating, recipes, and tutorials with a little bit of honesty and encouragement.


