

Painted Bug Rocks
/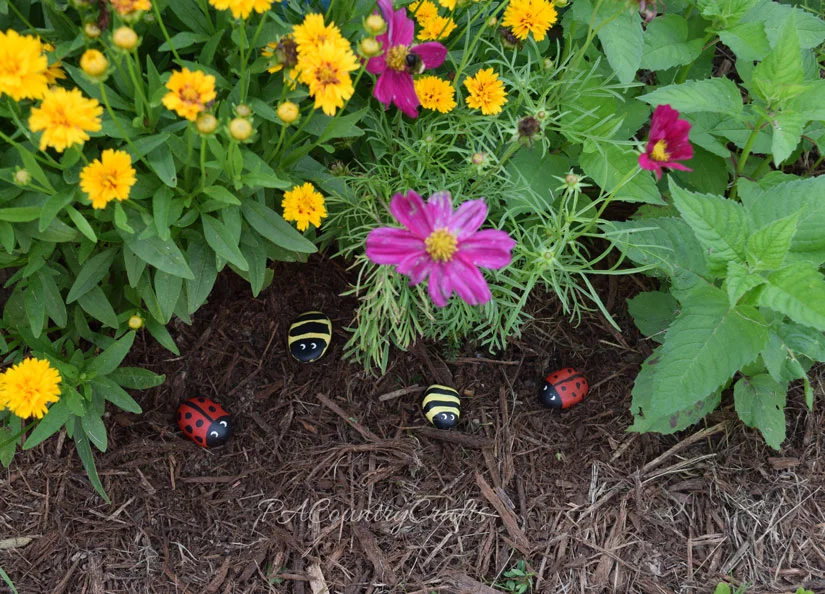
Paint rocks to look like ladybugs and bumblebees as a simple kids’ craft. They can be used to decorate gardens or play tic tac toe.
Read MorePaint rocks to look like ladybugs and bumblebees as a simple kids’ craft. They can be used to decorate gardens or play tic tac toe.
Read More

24 jalapeno peppers
12 oz. softened cream cheese
2 cups shredded cheddar cheese
1/4-1/2 cup crumbled, cooked bacon or bacon bits
2 cups milk
1 cup flour
2 cups bread crumbs

Put on some gloves if you know what is good for you. Cut off the tops.

Slice 'em down the middle.

Scoop out the seeds.

Look how pretty!

Mix up softened cream cheese, cheddar cheese, and crumbled bacon or bacon bits.

Fill each pepper half with the cheesy mixture.

Lay them all out on a cookie sheet covered with paper towels.

Now, here is the secret to these... a triple dipping process! It gives them a lovely coating. So... dip in milk...

...then flour.

Here they are all spread out on the cookie sheet to dry a bit.

Dip in milk again...

...then bread crumbs.

This is how they look after one bread crumb coating.

Not good enough. When they are dry, do it again. Milk, then bread crumbs.

Much better.

Then, just pack them in freezer bags. All done!

Yes, the triple dipping is tedious, but worth it. When you want to cook them, just throw 'em in the deep fryer until they are golden brown and crispy. We have tried grilling and baking them, which is OK, but frying works best.
It is so nice to have something quick and easy to make in my freezer (which is not often the case since most of our food is home-grown) and these are much, much, much cheaper than the store bought ones!
One of these days, when I fry some up, I will take a post-cooking picture and update this post. Right now, I am too busy holding this sweet little baby!


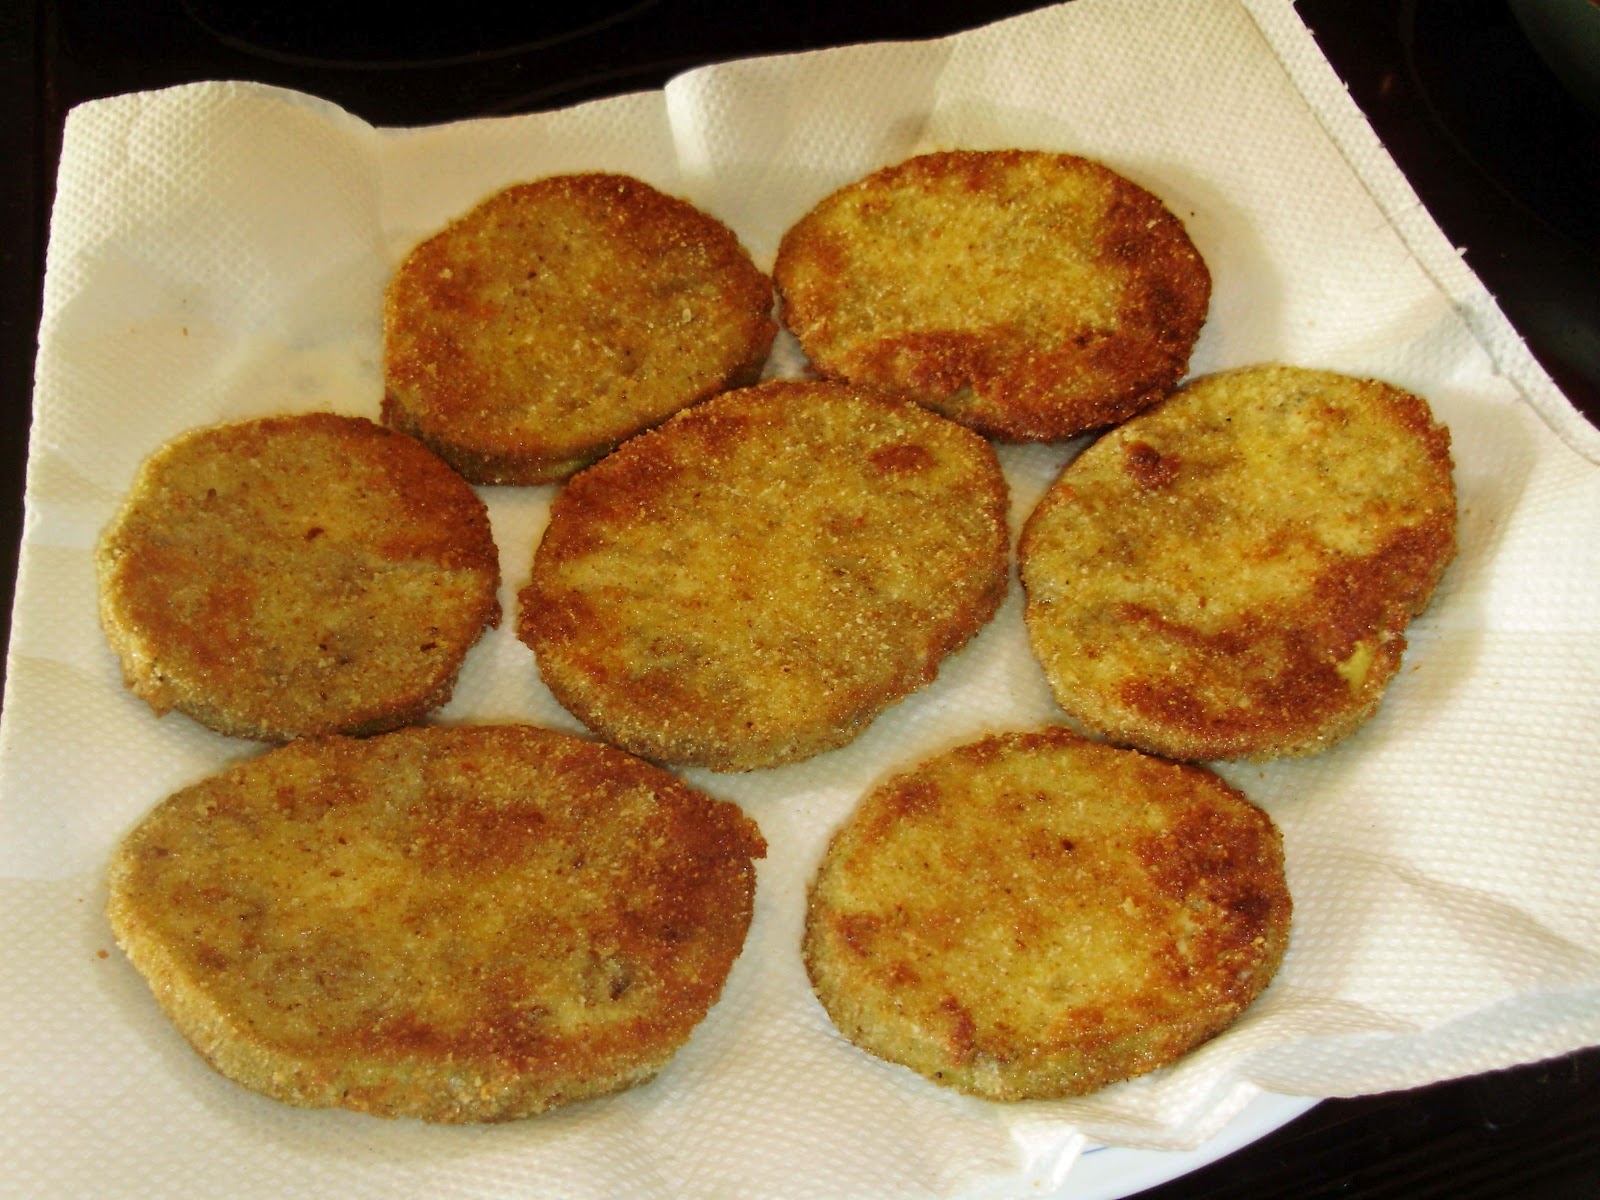
Fry in oil until golden brown, flipping them to cook each side, of course. The oil will get all yucky and bubbly after a few batches, so you might need to add/change oil partway through cooking.

Place the cooked slices on a paper towel covered plate to absorb the grease.
When they cool off, you can lay the fried eggplant slices flat in a freezer bag and save them for later. When I cook them, I place the frozen eggplant in a baking dish that has a little tomato sauce spread on the bottom and spread a little more on top of the eggplant. I bake it at 350 degrees for 30-40 minutes or until it is thoroughly cooked and soft (if you don't cook it long enough it will be bitter). I sprinkle mozzarella on top for about the last 10 minutes and serve it with spaghetti.

Here is how I prepared it fresh, though! I took a tomato from our garden and put thick slices on top of the eggplant, topped with a little oregano (I just used sauce on half of them for those of us who are a little bit picky).

I baked it for a half hour and then added mozzarella.

Here was the final result...
Doesn't it look pretty?
I know a lot of people that say they have never eaten eggplant- to be honest I was intimidated by it at first, too. If you are brave enough to give this a try, let me know how it turns out!

Well, since I have been so very busy lately, this post is a little late in its usefulness, but if you don't have any late tomatoes hanging on yet, you can bookmark it for next year!
I have a great homemade pizza recipe and I like to can my own sauce for it. This is how I do a small batch- if I am doing a lot of tomatoes, I use different equipment and such.
I start out with some tomatoes from our garden and wash them off- Mom's scrubbies work so great for scrubbing those dried on leaves and dirt off of them without roughing them up! If I have Roma's, I just take off the tops and, if they are big, I cut them in half. Then I cook them until they are soft, adding only enough water that they don't stick to the bottom.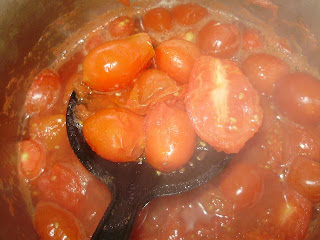
When they are ready, I use a big, strainy spoon to scoop them into my food mill which is placed over a pot.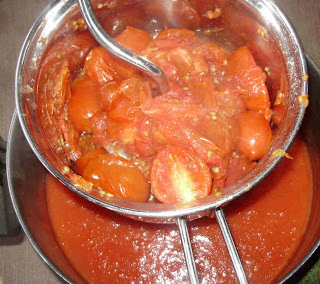.jpg)
Then, I crank that handle around and reverse and turn some more until just the skin and seeds are left. Kids also come in handy in this step!
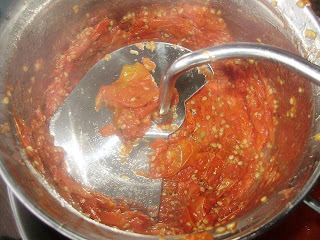 This is what comes out the bottom!
.jpg) I cook that down for a loooooooong time until it is about halfway.
I cook that down for a loooooooong time until it is about halfway..jpg) Then I add, for every one cup of sauce I estimate is in the pot...
Then I add, for every one cup of sauce I estimate is in the pot...
1 tsp .oregano
½ tsp. marjoram
½ tsp. basil
½ tsp. garlic salt
I use my canning funnel to ladle it over into clean jars, leaving about 1/2" head space.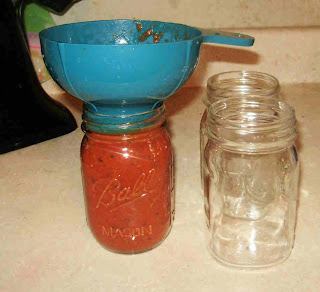.jpg)
.jpg)
.jpg)
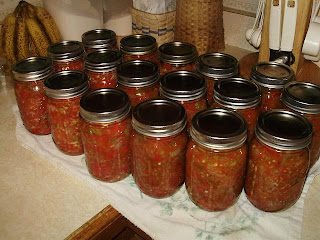
 See? Only 3 jars- this is a very small batch!
Take them out and let them cool on a towel on the counter. After about 24 hours, remove the bands and wipe them down.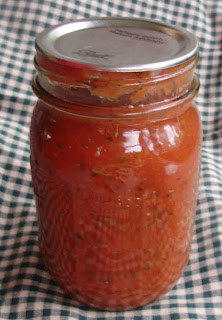.jpg)
Now, I skip some things like I said before. I don't keep my jars hot until I fill them, and I don't keep my lids in warm water until I am ready to put them on. But I do try to make sure that the filled jars and the water in the canner are close to the same temperature when I put them in. I have blown out the bottoms on many jars to learn this well. So, don't put cool sauce into boiling hot water or vice versa.

.jpg)
Seriously. The zucchini thing is getting a bit out of hand. So, here is another creative recipe -this one I got from Meemaw!
.jpg)
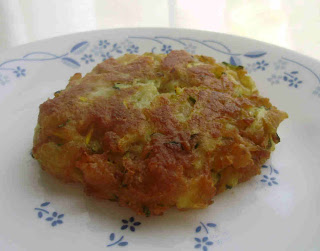
Zucchini Mock Crab Cakes
Mix well; shape into cakes. Fry in oil until golden brown.

The zucchini continues….
I am picking over two dozen a day! It is quite ridiculous!
So, today I give you, zucchini bread. Not an original idea for zucchini, but it is devoured quickly year-round in my house! When I have zucchini coming out of my ears like I do right now, I shred the zucchini and put it in freezer bags to freeze for later use. Just thaw and drain the water off when you make it.

Zucchini Bread
2 eggs
1 cup sugar
1/2 cup vegetable oil
1 cup grated zucchini
1 tsp. vanilla
1 1/2 tsp. cinnamon
1 1/2 cups flour
1/2 tsp. baking soda
1/8 tsp. baking powder
(I don't have an 1/8 tsp. measuring spoon so I always guess or double the recipe)
Beat eggs. Beat in sugar. Stir in oil, vanilla, and zucchini. Mix well. Add dry ingredients. Pour into a greased loaf pan. Bake at 350 degrees for one hour.
Sewing, crafts, tutorials, recipes, and a little look at our life in the country - raising half a dozen children.

Hi! Thanks so much for stopping by! My name is Lindsay and on this blog you will find sewing, crafts, decorating, recipes, and tutorials with a little bit of honesty and encouragement.


