

Easy Banana Bread
/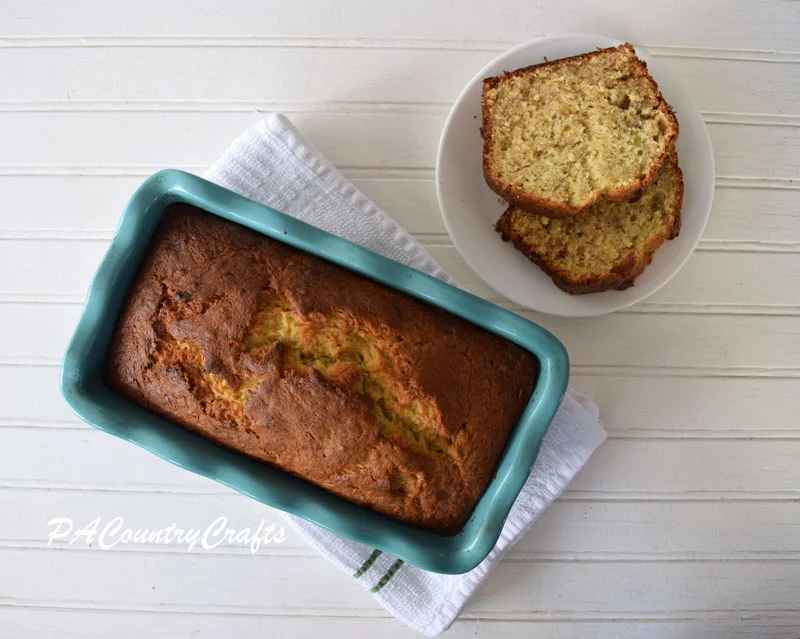
This banana bread recipe is so easy! Just put everything in one bowl, mix, and bake!
Read MoreThis banana bread recipe is so easy! Just put everything in one bowl, mix, and bake!
Read MoreMake these cute and tasty no bake cookie bird nests- the kids love to help with this Easter treat!
Read More
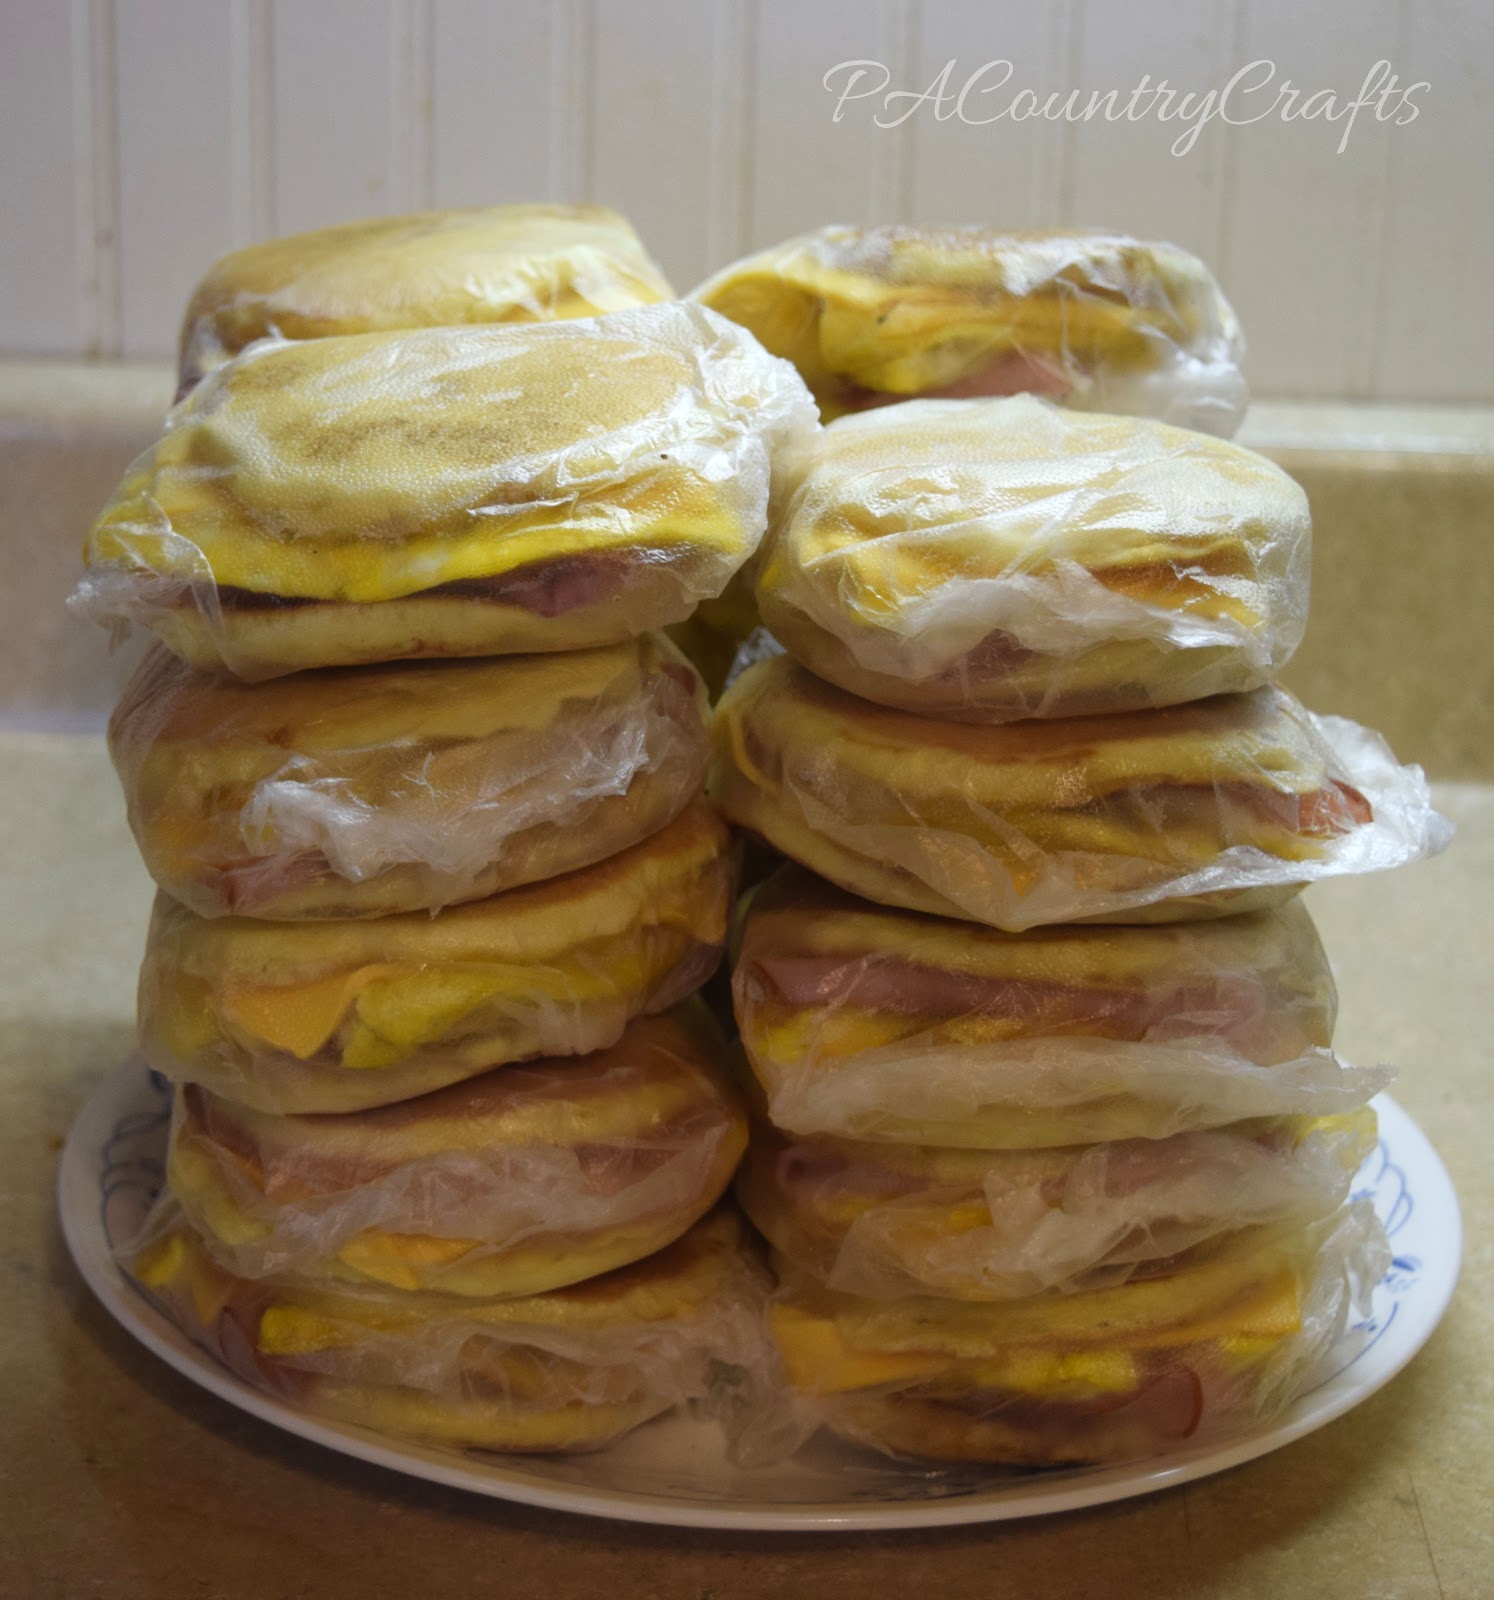
I am not really a morning person.
My husband gets up really, really early for work and knows better than to try to wake me up lets me sleep. In appreciation for this, I try to make sure that he has something that he can grab for breakfast. These pancake breakfast sandwiches are his favorite! It is basically like a McGriddle from McDonald's. Except I know what is in these.

I like to make a big batch of them at once and put them in the freezer so that he can microwave them before he leaves for work. I do a lot of multitasking so it saves on cooking time, too.
Here are some of the things that I do to make this work:


24 jalapeno peppers
12 oz. softened cream cheese
2 cups shredded cheddar cheese
1/4-1/2 cup crumbled, cooked bacon or bacon bits
2 cups milk
1 cup flour
2 cups bread crumbs

Put on some gloves if you know what is good for you. Cut off the tops.

Slice 'em down the middle.

Scoop out the seeds.

Look how pretty!

Mix up softened cream cheese, cheddar cheese, and crumbled bacon or bacon bits.

Fill each pepper half with the cheesy mixture.

Lay them all out on a cookie sheet covered with paper towels.

Now, here is the secret to these... a triple dipping process! It gives them a lovely coating. So... dip in milk...

...then flour.

Here they are all spread out on the cookie sheet to dry a bit.

Dip in milk again...

...then bread crumbs.

This is how they look after one bread crumb coating.

Not good enough. When they are dry, do it again. Milk, then bread crumbs.

Much better.

Then, just pack them in freezer bags. All done!

Yes, the triple dipping is tedious, but worth it. When you want to cook them, just throw 'em in the deep fryer until they are golden brown and crispy. We have tried grilling and baking them, which is OK, but frying works best.
It is so nice to have something quick and easy to make in my freezer (which is not often the case since most of our food is home-grown) and these are much, much, much cheaper than the store bought ones!
One of these days, when I fry some up, I will take a post-cooking picture and update this post. Right now, I am too busy holding this sweet little baby!


I save them to make filling! I get a lot of compliments on my filling and it is so moist! It is really simple to make, too. Here is what you need:
6-7 loaves of white bread
3-4 medium onions
3-4 stalks celery
8 sticks margerine

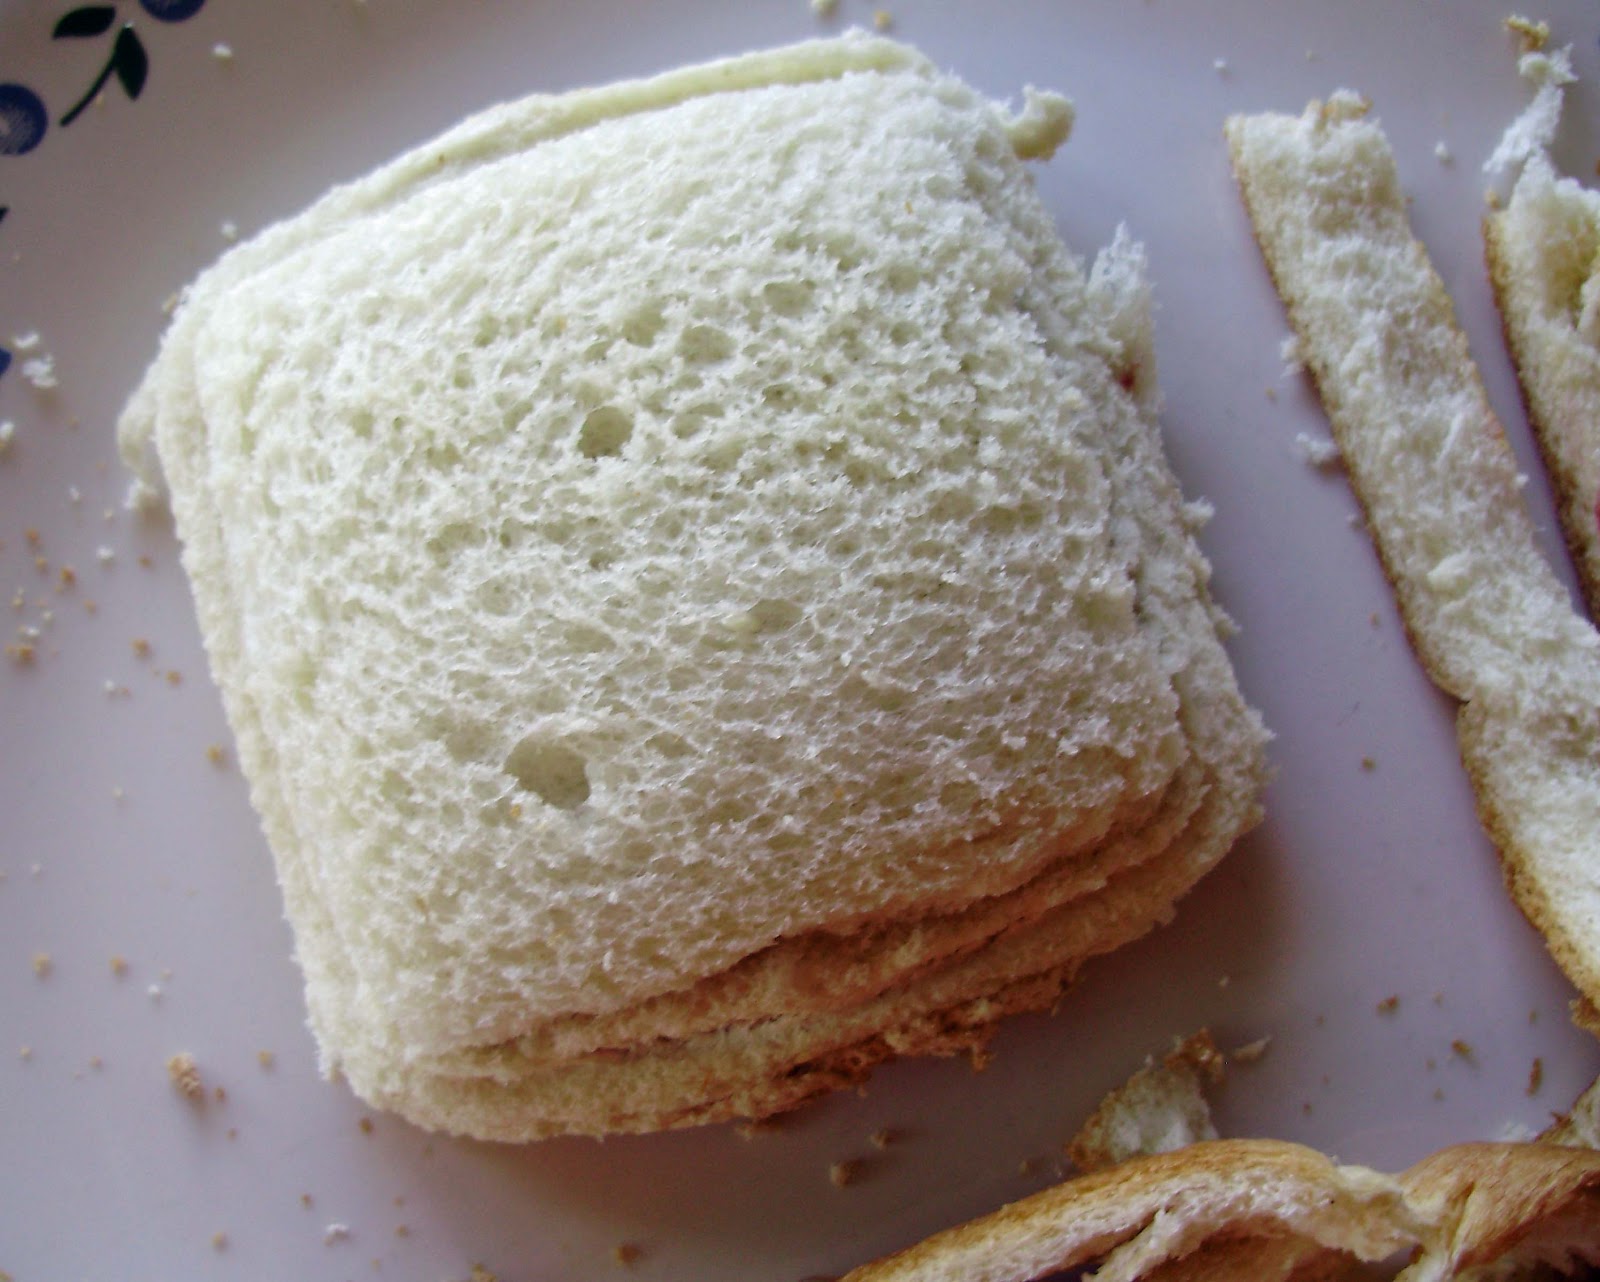
I get to work (and put the kids to work) cutting the bread into cubes - it does not always fit in the roaster. I let it sit out for awhile so that the cubes are not so soft. If I am making a large noon meal, I will cut it in the evening and let it sit out overnight with the lid cracked a bit to let some air into the roaster. You can cut up those leftover crusts, too!

Then I cry my eyes out and peel the onions. I cut the onions and celery into big chunks...

...and my trusty, old food processor chops it all up for me!

This is probably how a normal person would chop them.

I don't like onions. Or celery. So I practically puree it to disguise them.

In my big skillet, I melt 8 sticks of margarine


I mix in my veggies and let them simmer for a few minutes.


I give it a good stir. It doesn't seem like it coats every bread cube, but it works out just fine. I cook it at 200 degrees for 2-3 hours, stirring occasionally. Do NOT crank that temperature up. Trust me. It burns.

It cooks down quite a bit, so you should be able to add any extra bread that didn't fit in no time. All of the bread in that first picture cooked down to this:

Oh, it is so yummy and delicious! You can eat it right away...

...or freeze it for later. It is a quick side dish- just pull it out of the freezer and warm it up! I like to use the microwave to get it thawed and then I pop it in the oven in a baking dish at 350 for 10-15 minutes just to make the edges a little crispy (but if you leave it in the oven too long it will dry out and you'll need lots of gravy). I have also squished it into filling balls to freeze. This would be great to pull out just a few at a time for smaller households.


Then I wrap them up in plastic wrap and store them in the freezer. It makes a nice snack or saves the day in frantic last-minute lunch packing.


Fry in oil until golden brown, flipping them to cook each side, of course. The oil will get all yucky and bubbly after a few batches, so you might need to add/change oil partway through cooking.

Place the cooked slices on a paper towel covered plate to absorb the grease.
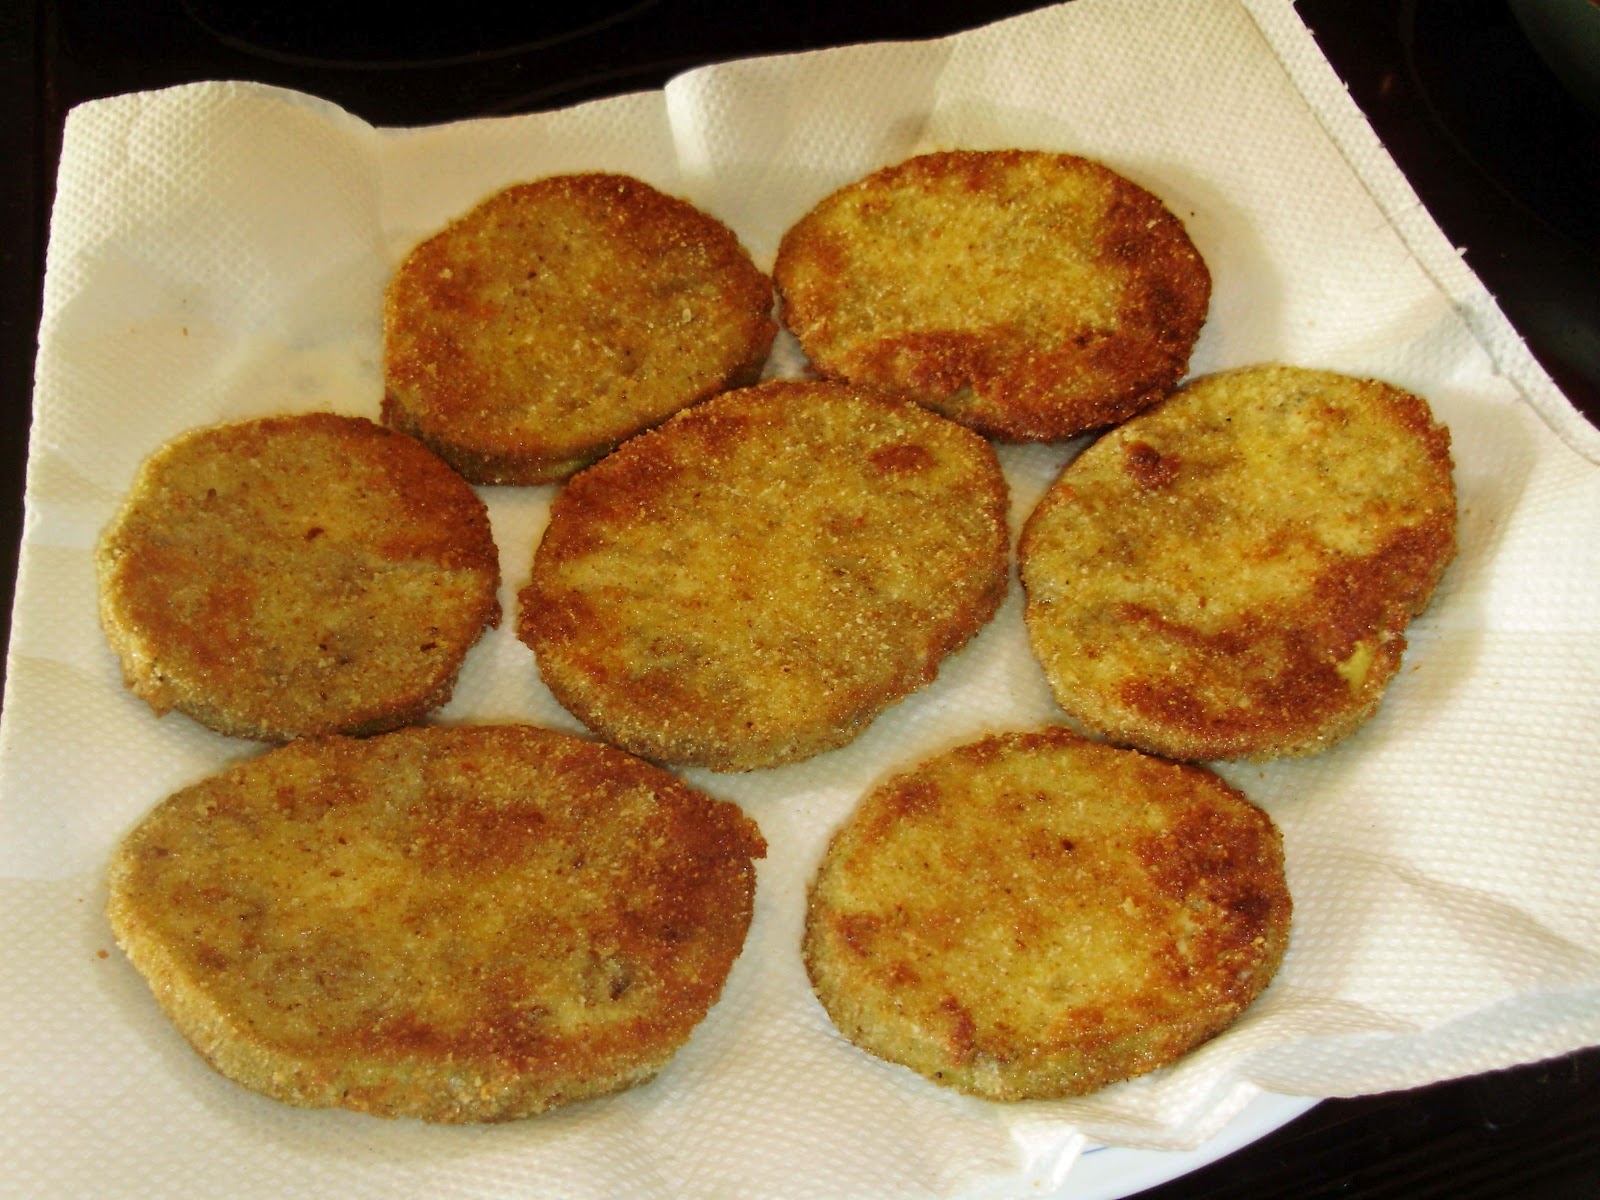
When they cool off, you can lay the fried eggplant slices flat in a freezer bag and save them for later. When I cook them, I place the frozen eggplant in a baking dish that has a little tomato sauce spread on the bottom and spread a little more on top of the eggplant. I bake it at 350 degrees for 30-40 minutes or until it is thoroughly cooked and soft (if you don't cook it long enough it will be bitter). I sprinkle mozzarella on top for about the last 10 minutes and serve it with spaghetti.

Here is how I prepared it fresh, though! I took a tomato from our garden and put thick slices on top of the eggplant, topped with a little oregano (I just used sauce on half of them for those of us who are a little bit picky).

I baked it for a half hour and then added mozzarella.

Here was the final result...
Doesn't it look pretty?
I know a lot of people that say they have never eaten eggplant- to be honest I was intimidated by it at first, too. If you are brave enough to give this a try, let me know how it turns out!
Sewing, crafts, tutorials, recipes, and a little look at our life in the country - raising half a dozen children.

Hi! Thanks so much for stopping by! My name is Lindsay and on this blog you will find sewing, crafts, decorating, recipes, and tutorials with a little bit of honesty and encouragement.


