Pantone Party: Peach Fuzz
/
I sewed a boys outfit with Boho Fabrics for the Project Run and Play Peach Fuzz Pantone Party!
Read MoreI sewed a boys outfit with Boho Fabrics for the Project Run and Play Peach Fuzz Pantone Party!
Read MoreThis is all very unusual for me. First of all, I actually finished not just one, but two quilts!
Second, they are made for boys!
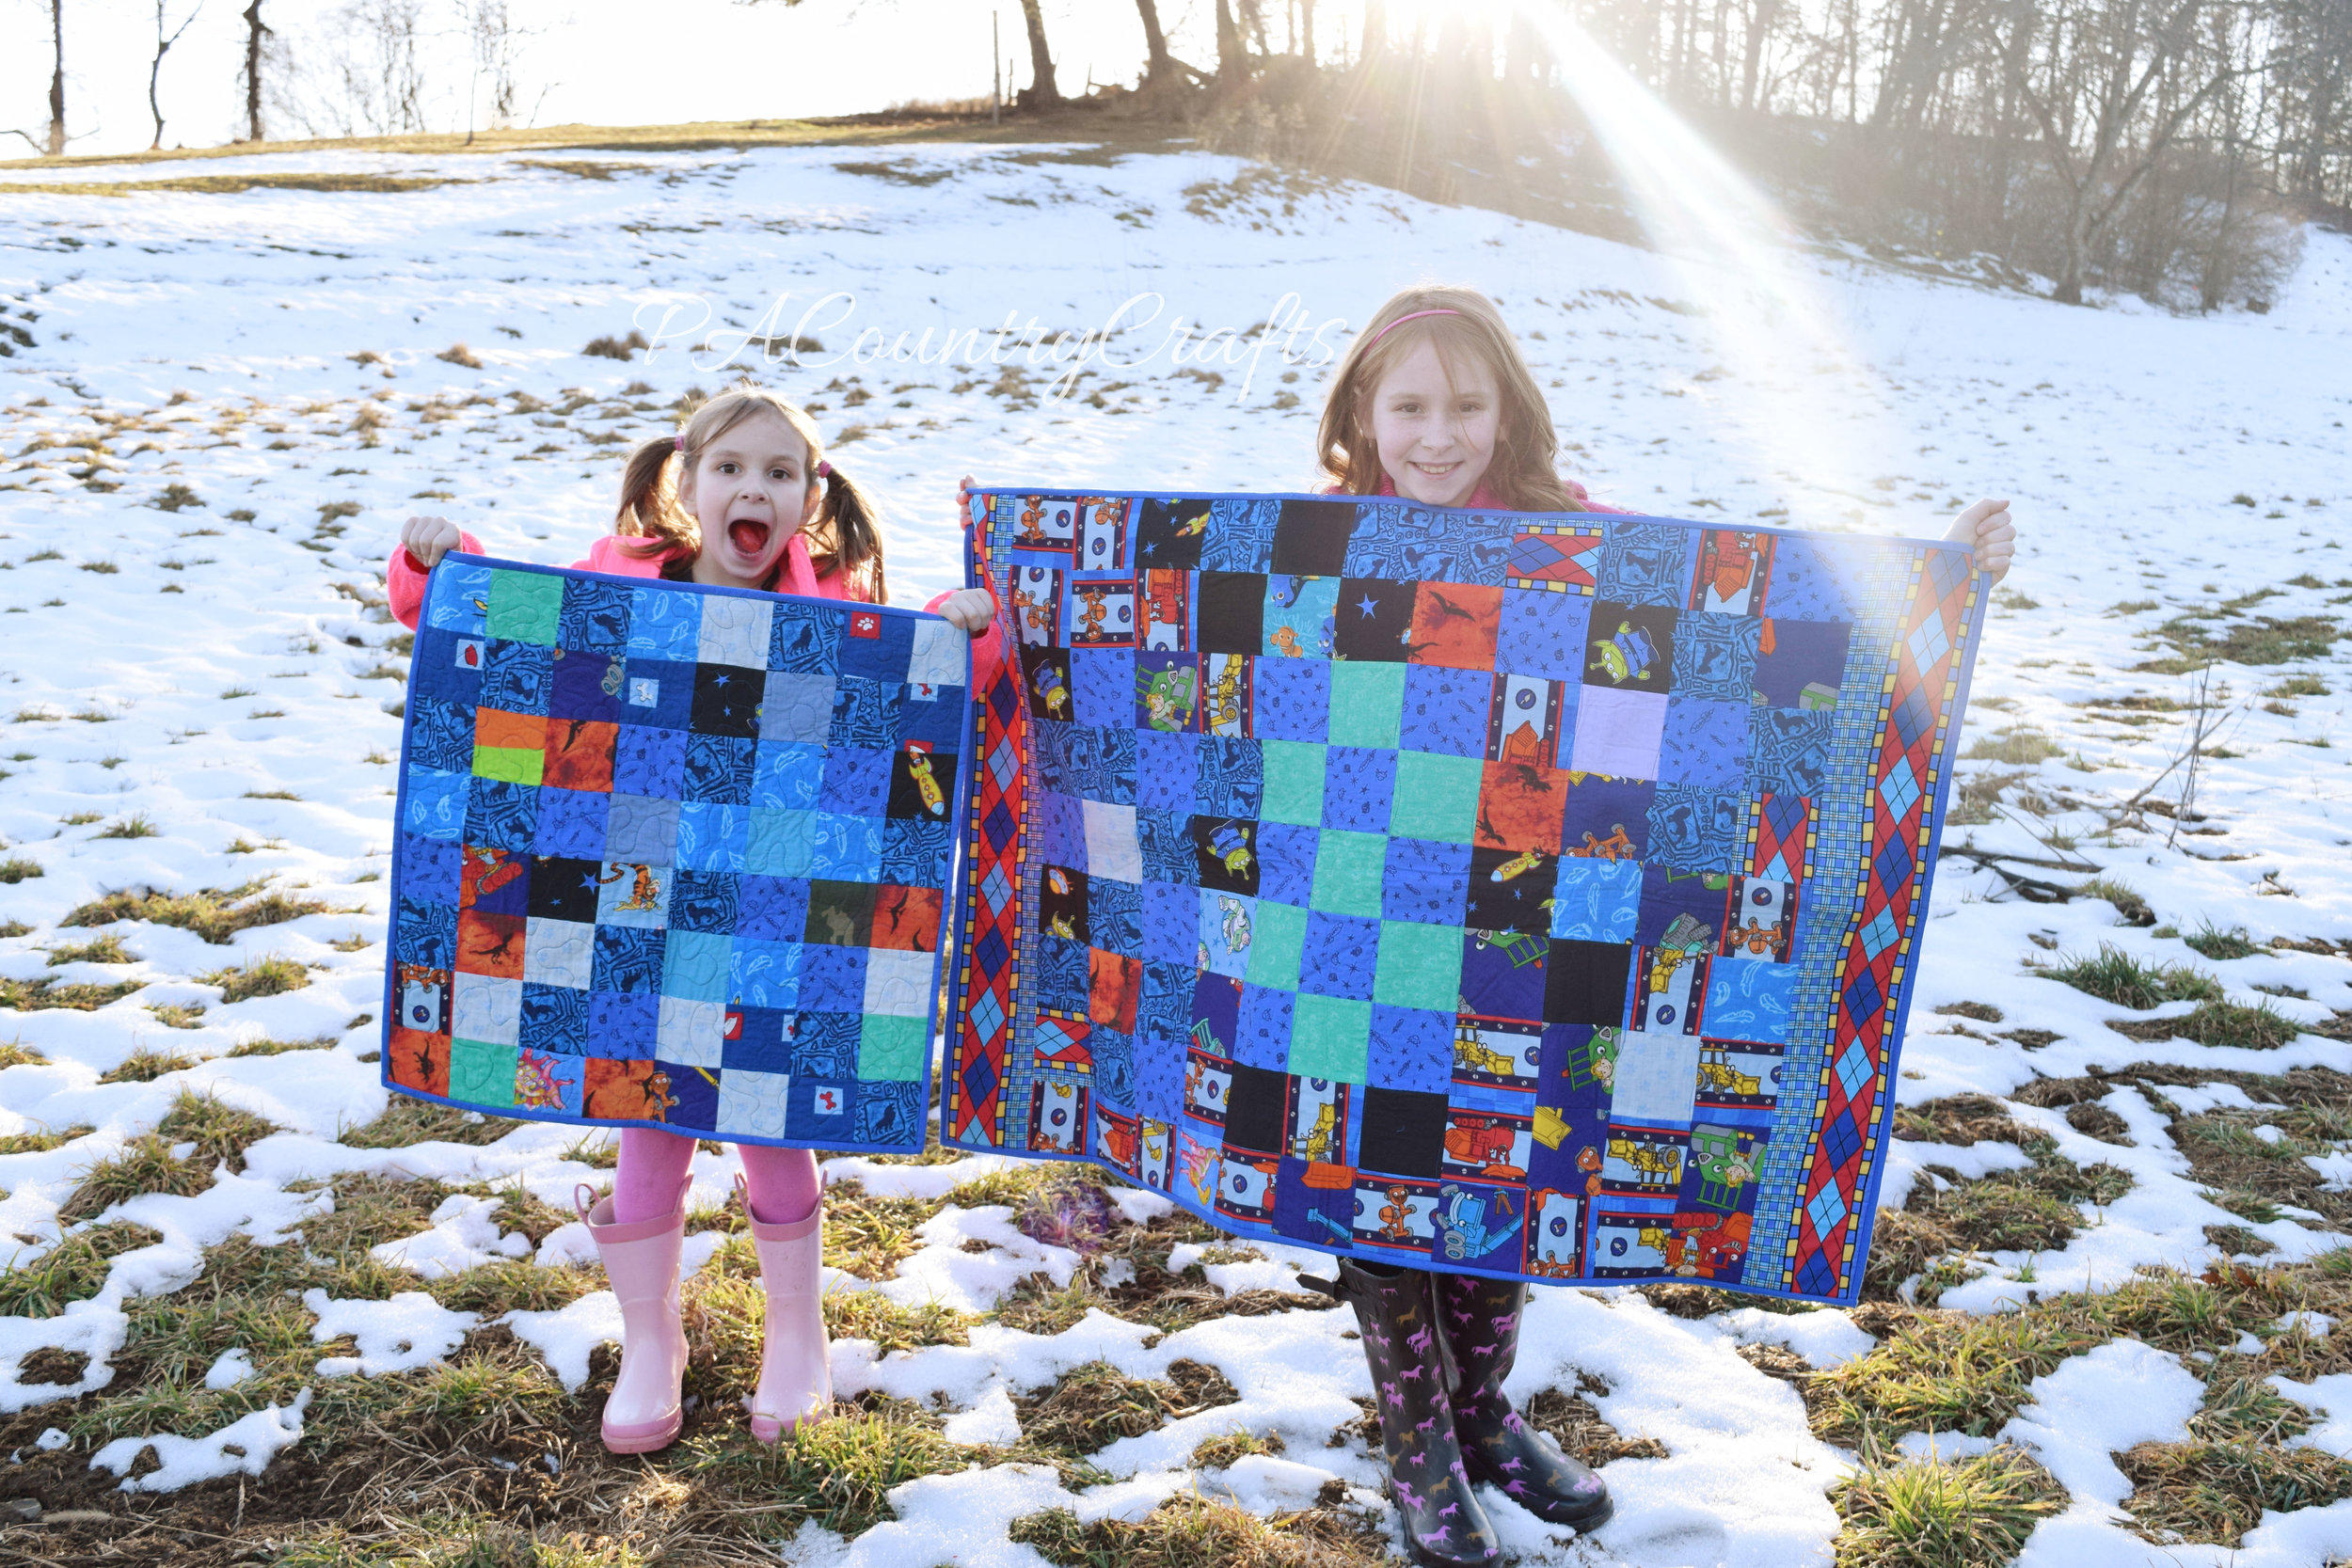
I bet you didn't think I even owned boy fabrics. Well, that just goes to show how old these quilt squares are. Some of them were cut over 10 years ago. These are almost my oldest unfinished quilts, but sadly, not quite.
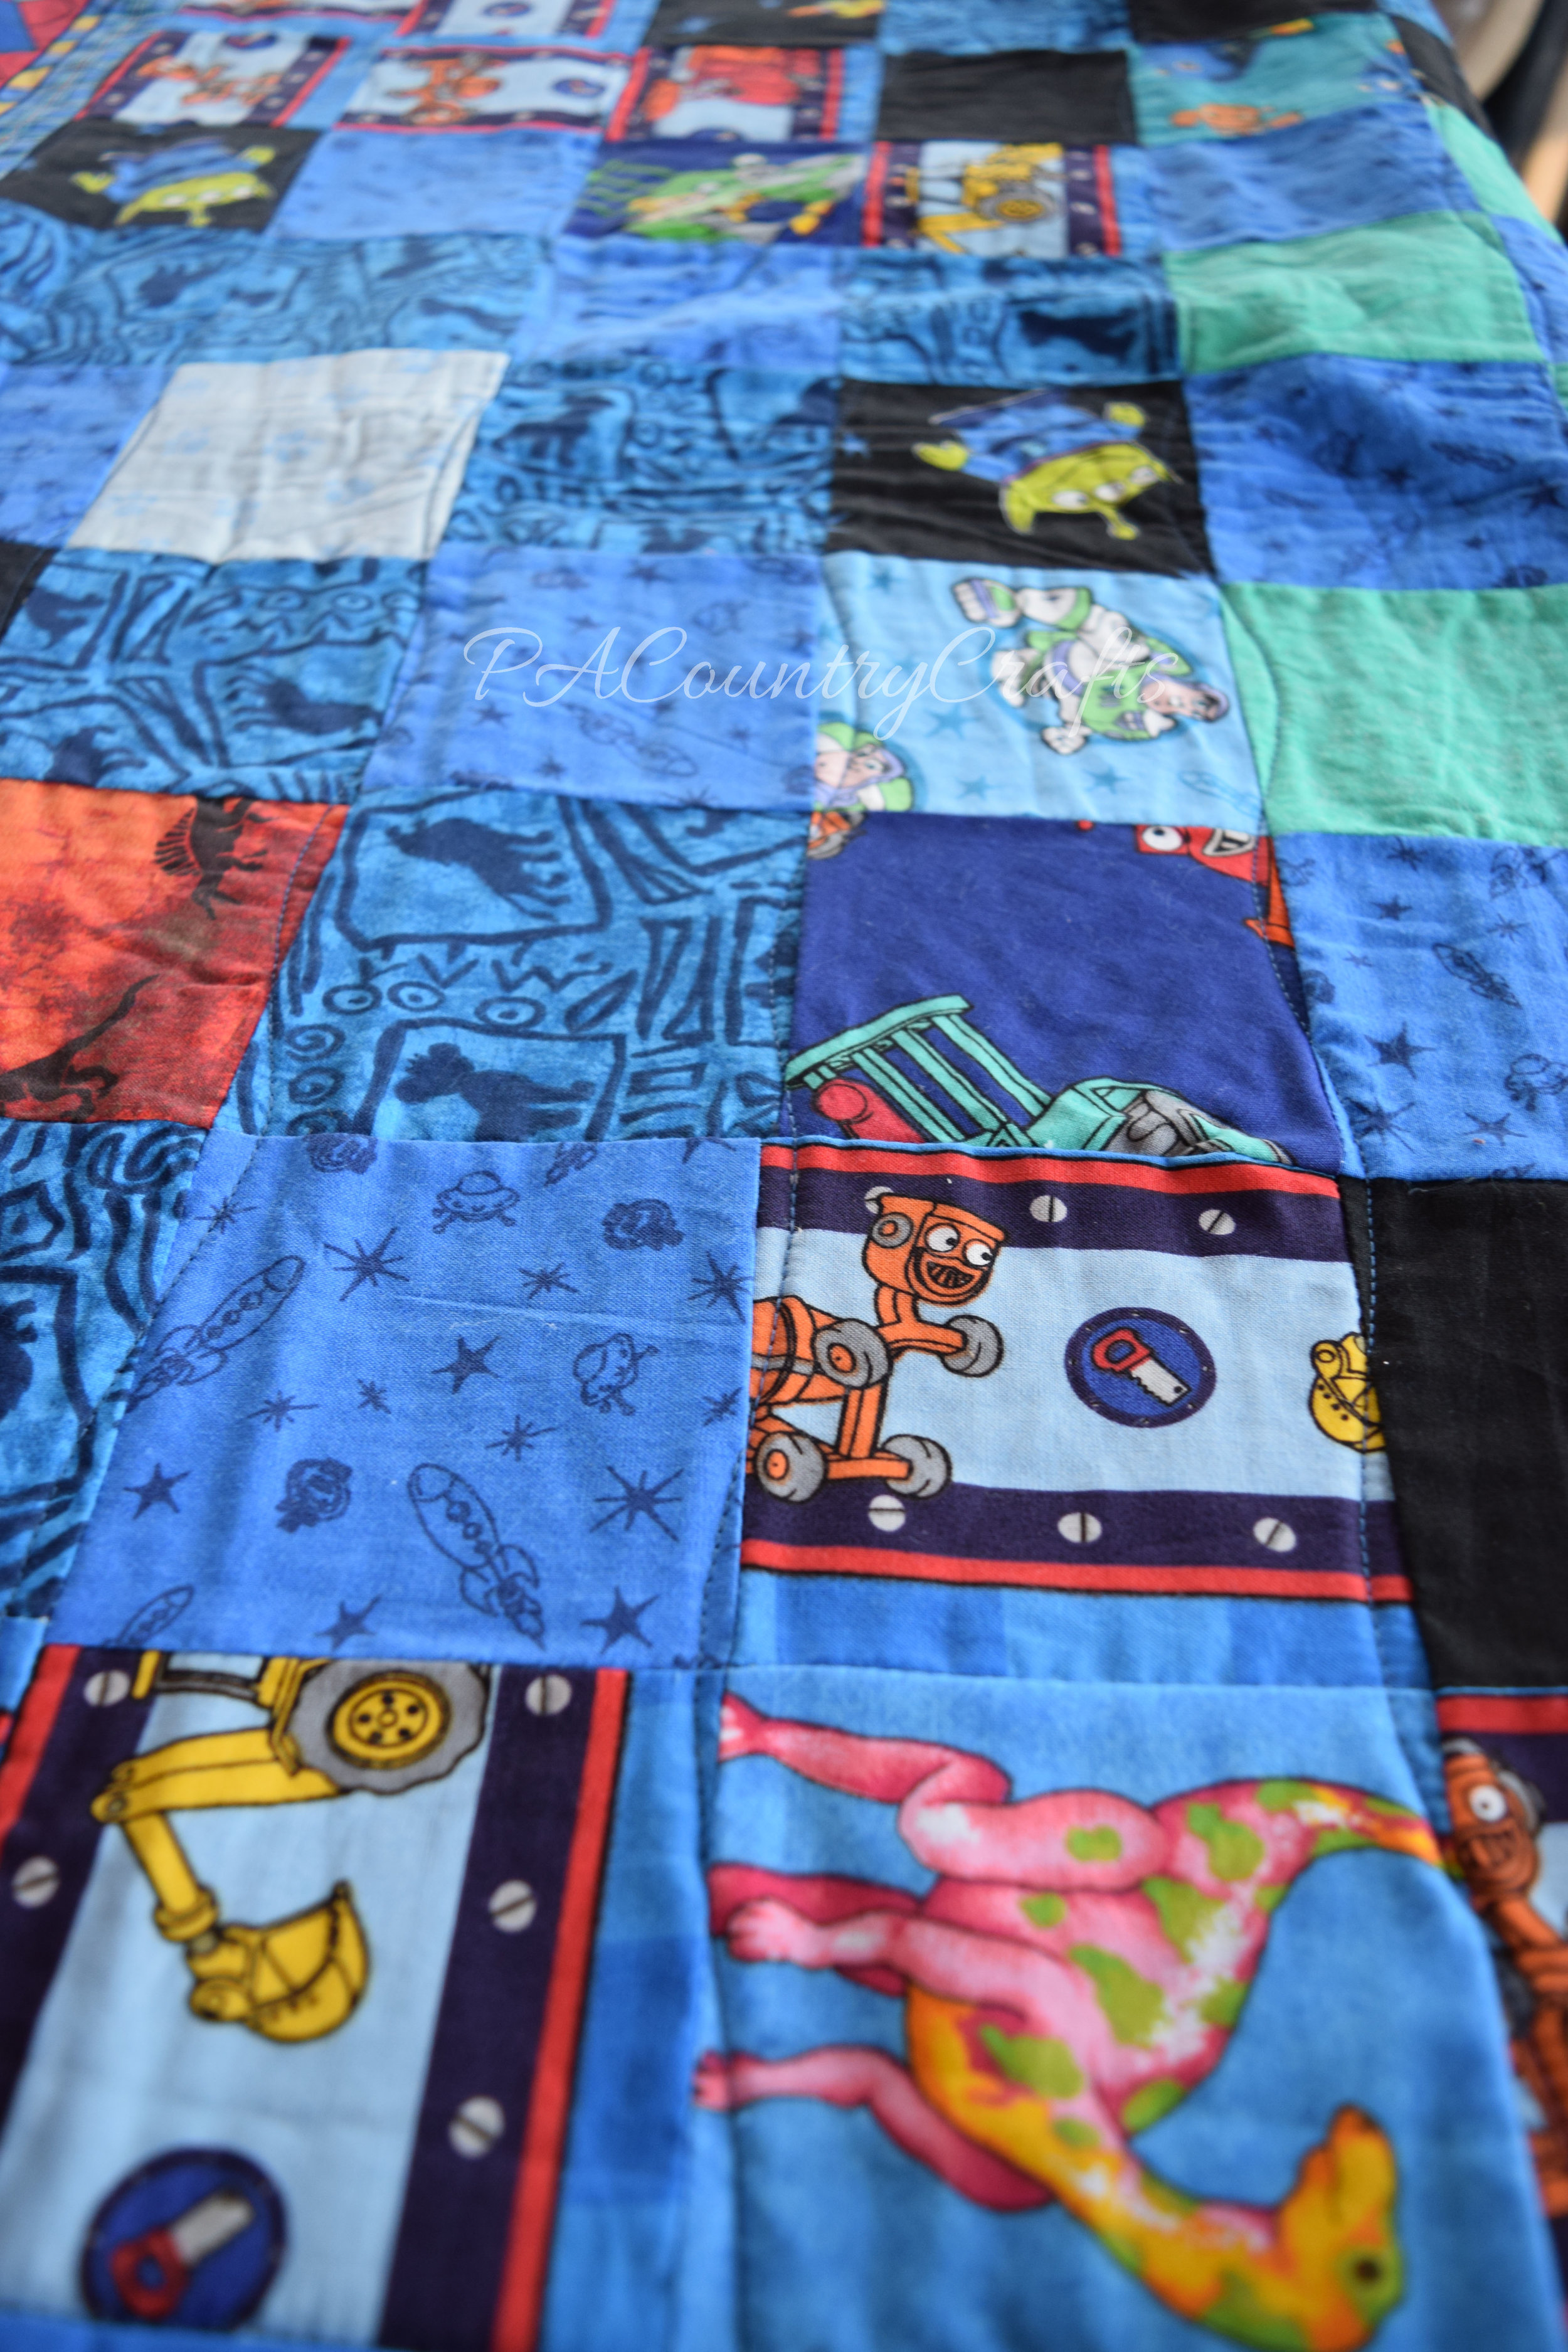
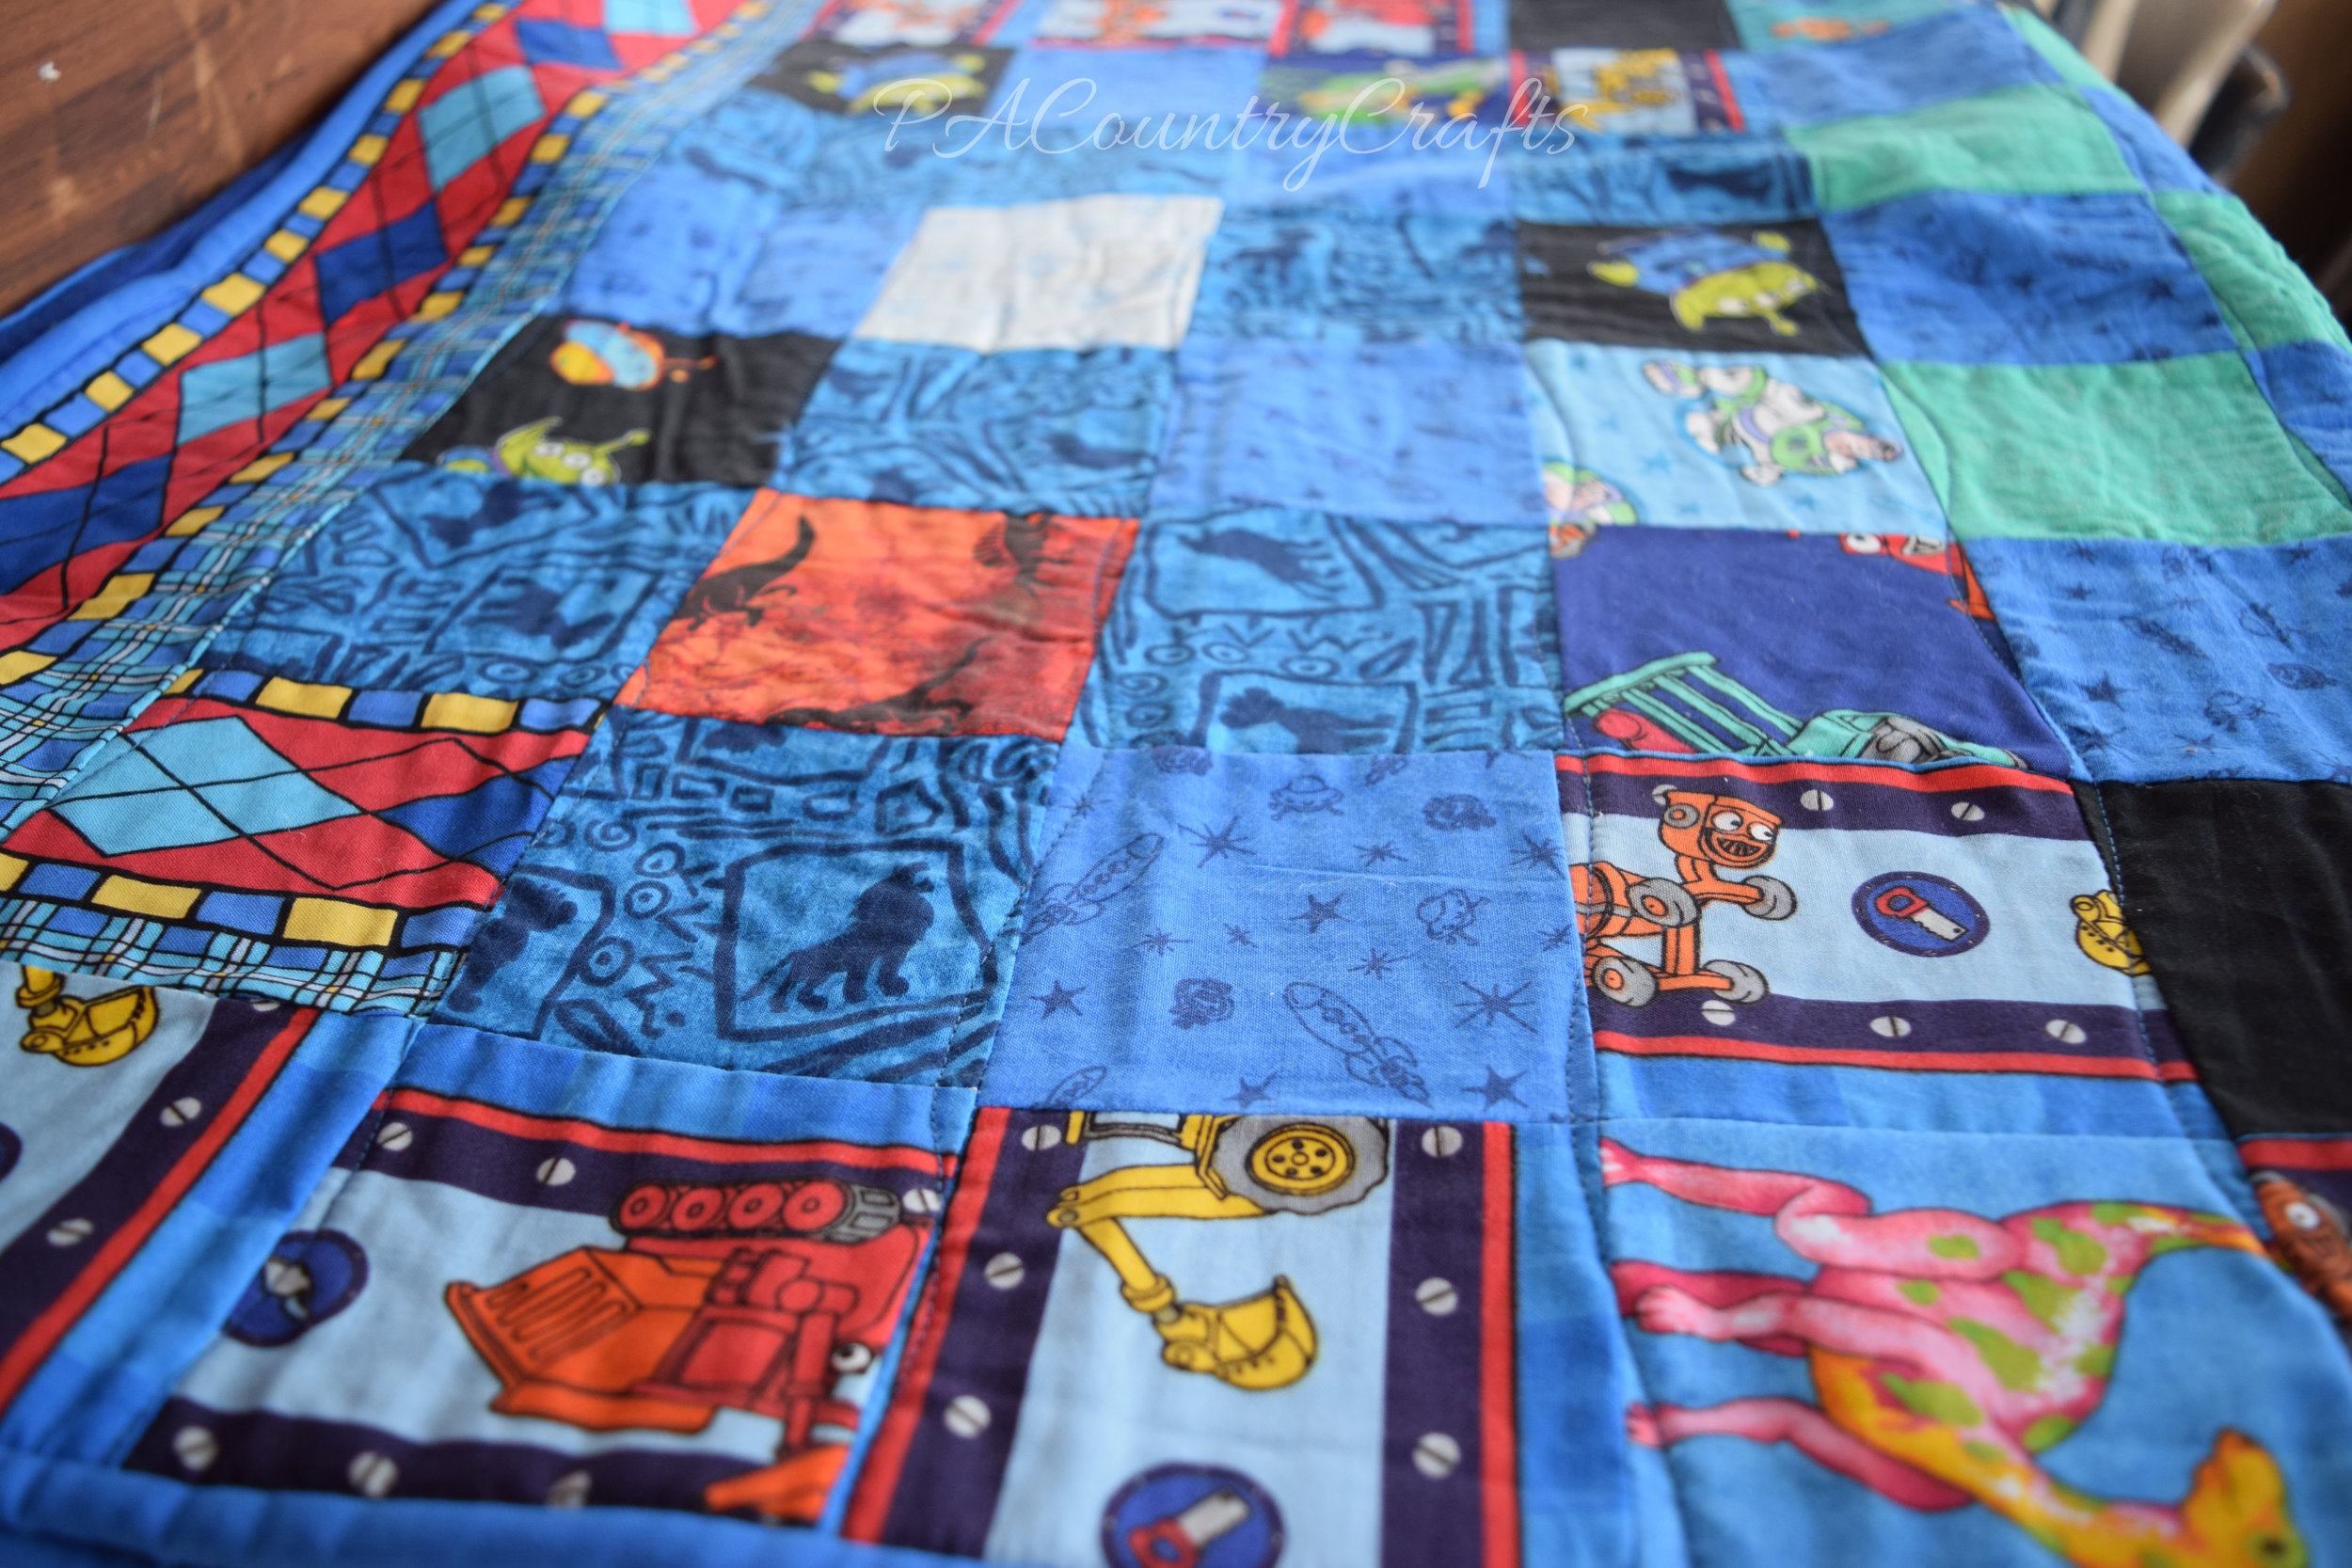
I used to make a lot of pillows from character fabrics - Toy Story, Jurassic Park, The Lion King, Rugrats, Clifford, and Bob the Builder, etc. - and these are some of the scraps. The ends are even borders from some Clifford pillow panels.
I remember one time when my son was little, he helped me to put some of these squares together. I let him arrange them and I sewed them together. I am pretty sure he is too cool for that now. So, these quilts are nearly the last of my little boy fabrics. Also, my little boy isn't little. sniff sniff
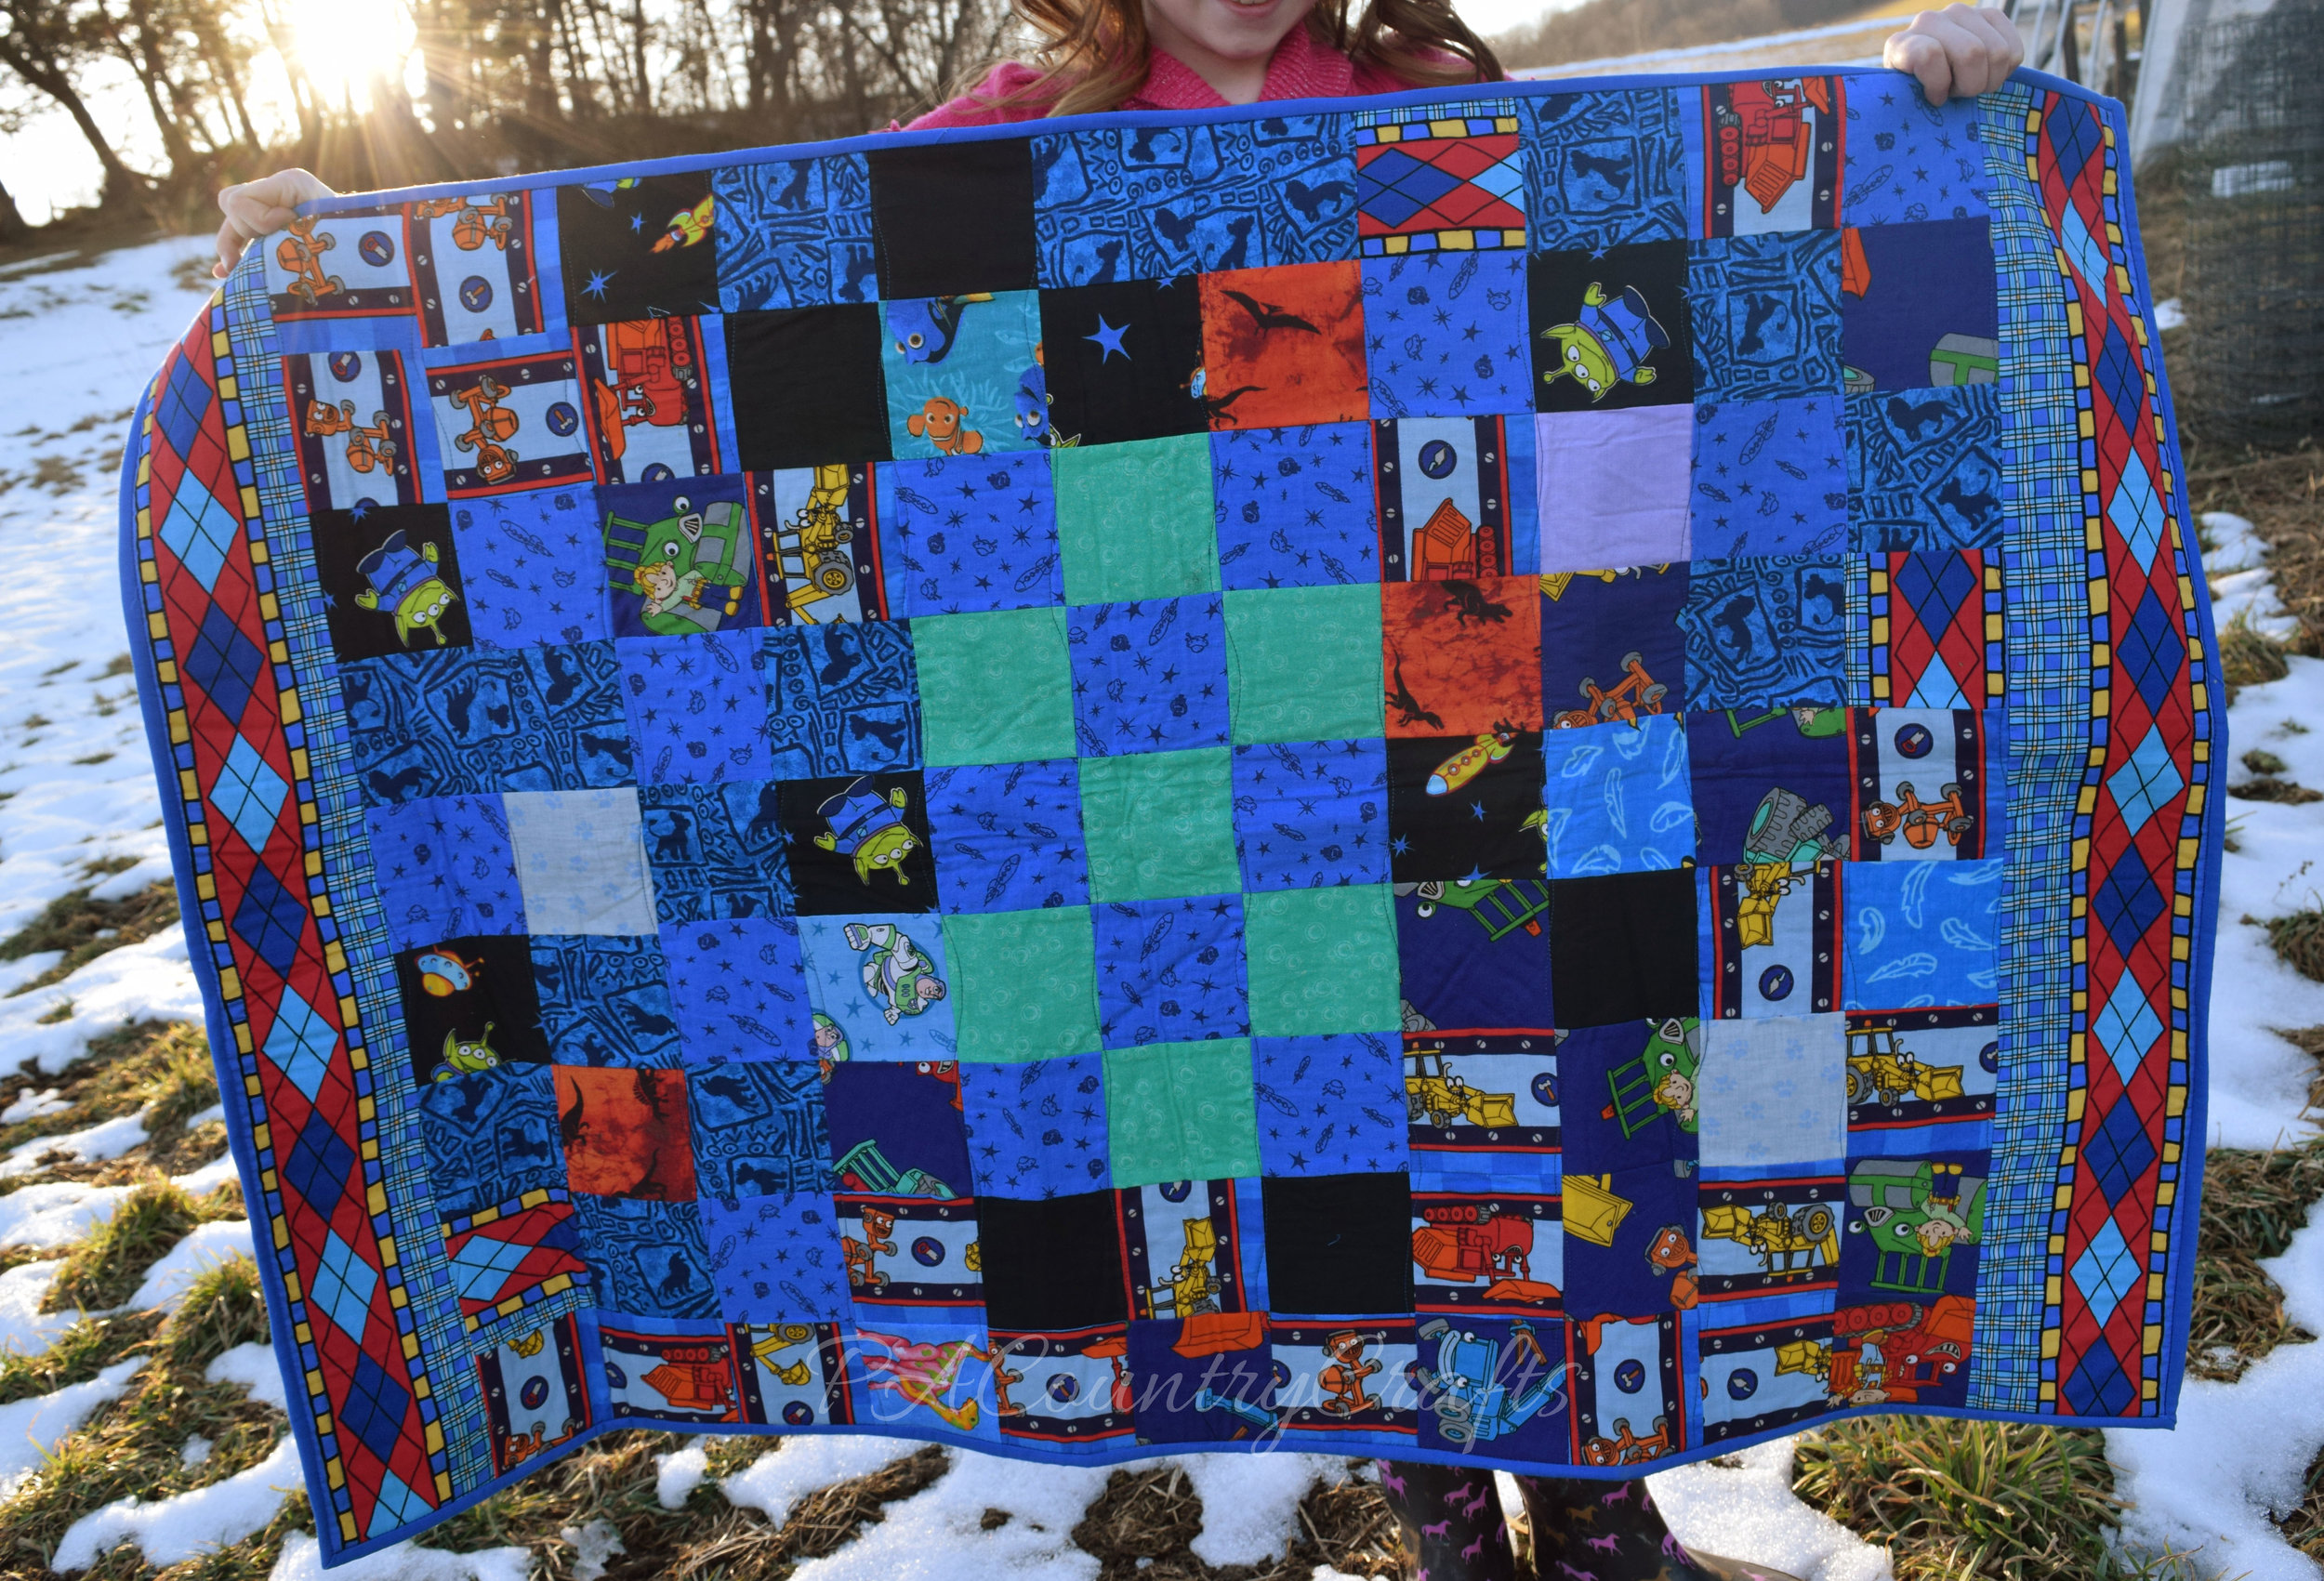

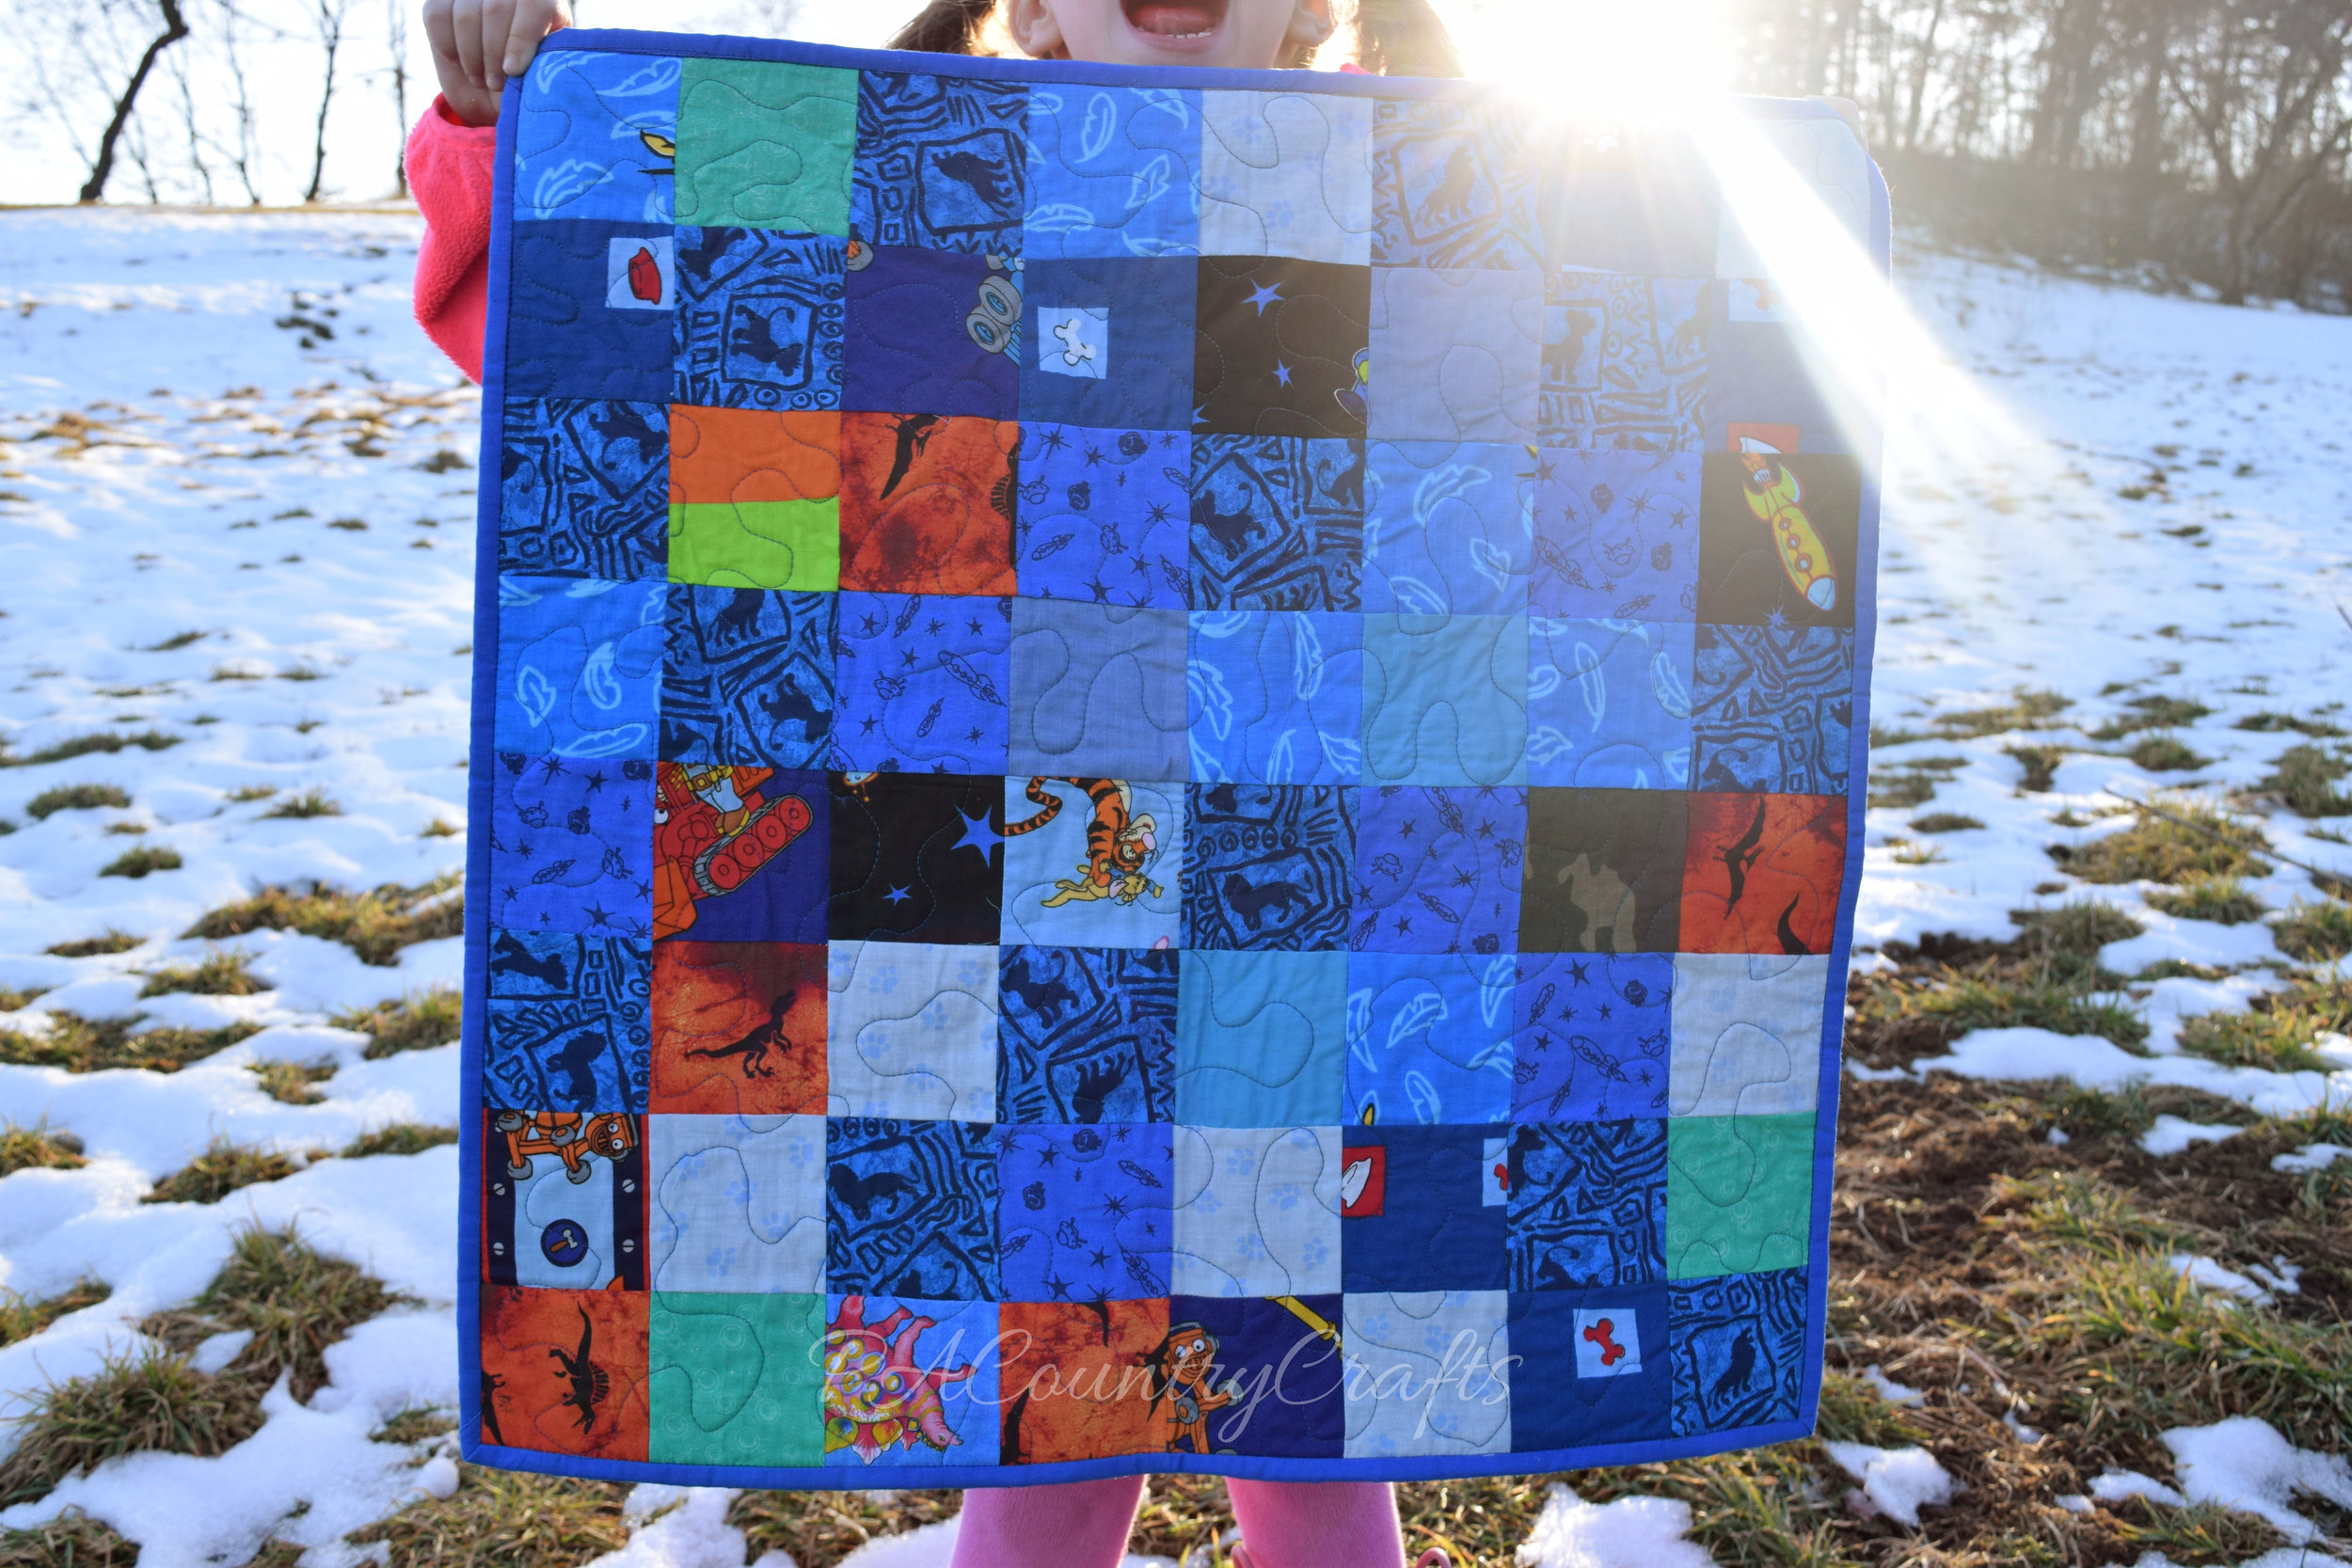
I backed them with fleece instead of using batting, so I hope they hold up OK.
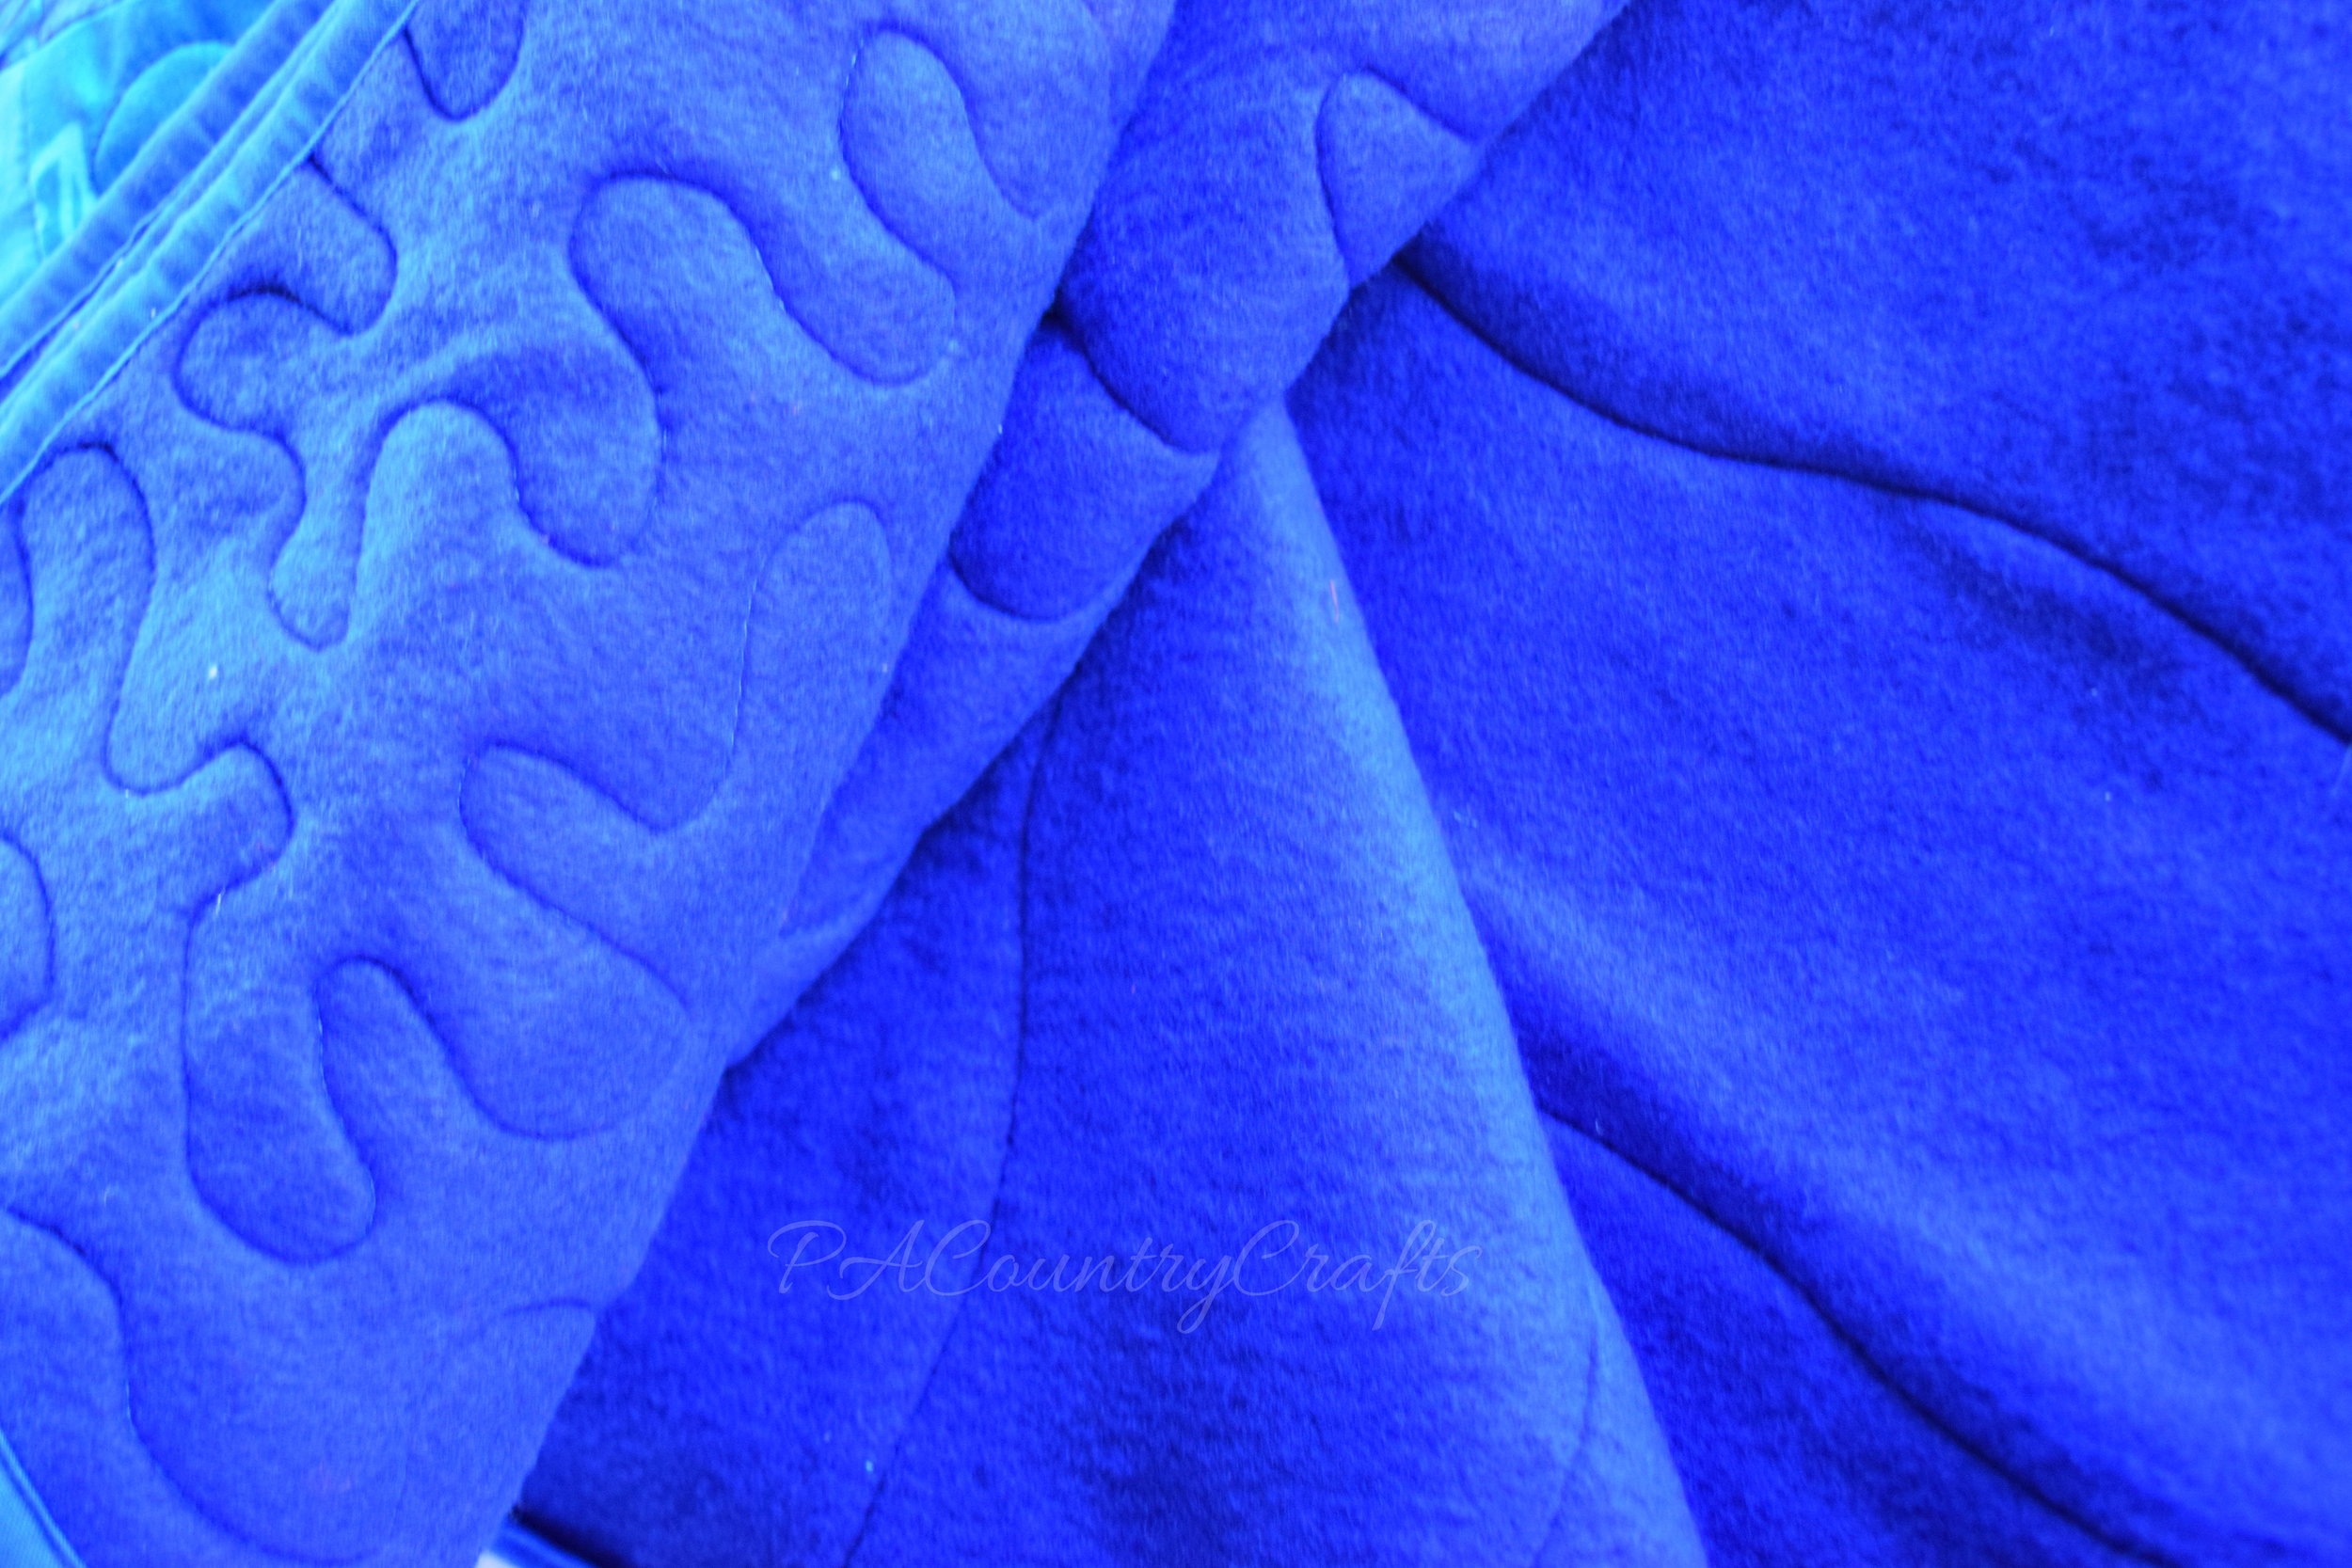
On the smaller one, I did a little more practice with free motion quilting. I have a long way to go, but it is getting better.

On the larger one, I did wavy line quilting, which is the easiest way for me to machine quilt.
I machine stitched the binding because of the fleece backing. That was the hardest part. I would rather sew it by hand. Hesitation to do the binding accounts for several months of the procrastination to finish these. I plan on donating the larger one to Project Linus or the local NICU, but I haven't figured out what to do with the small one just yet. I am just glad that they are finished and I hope that they will go on to bless someone else's little boy.

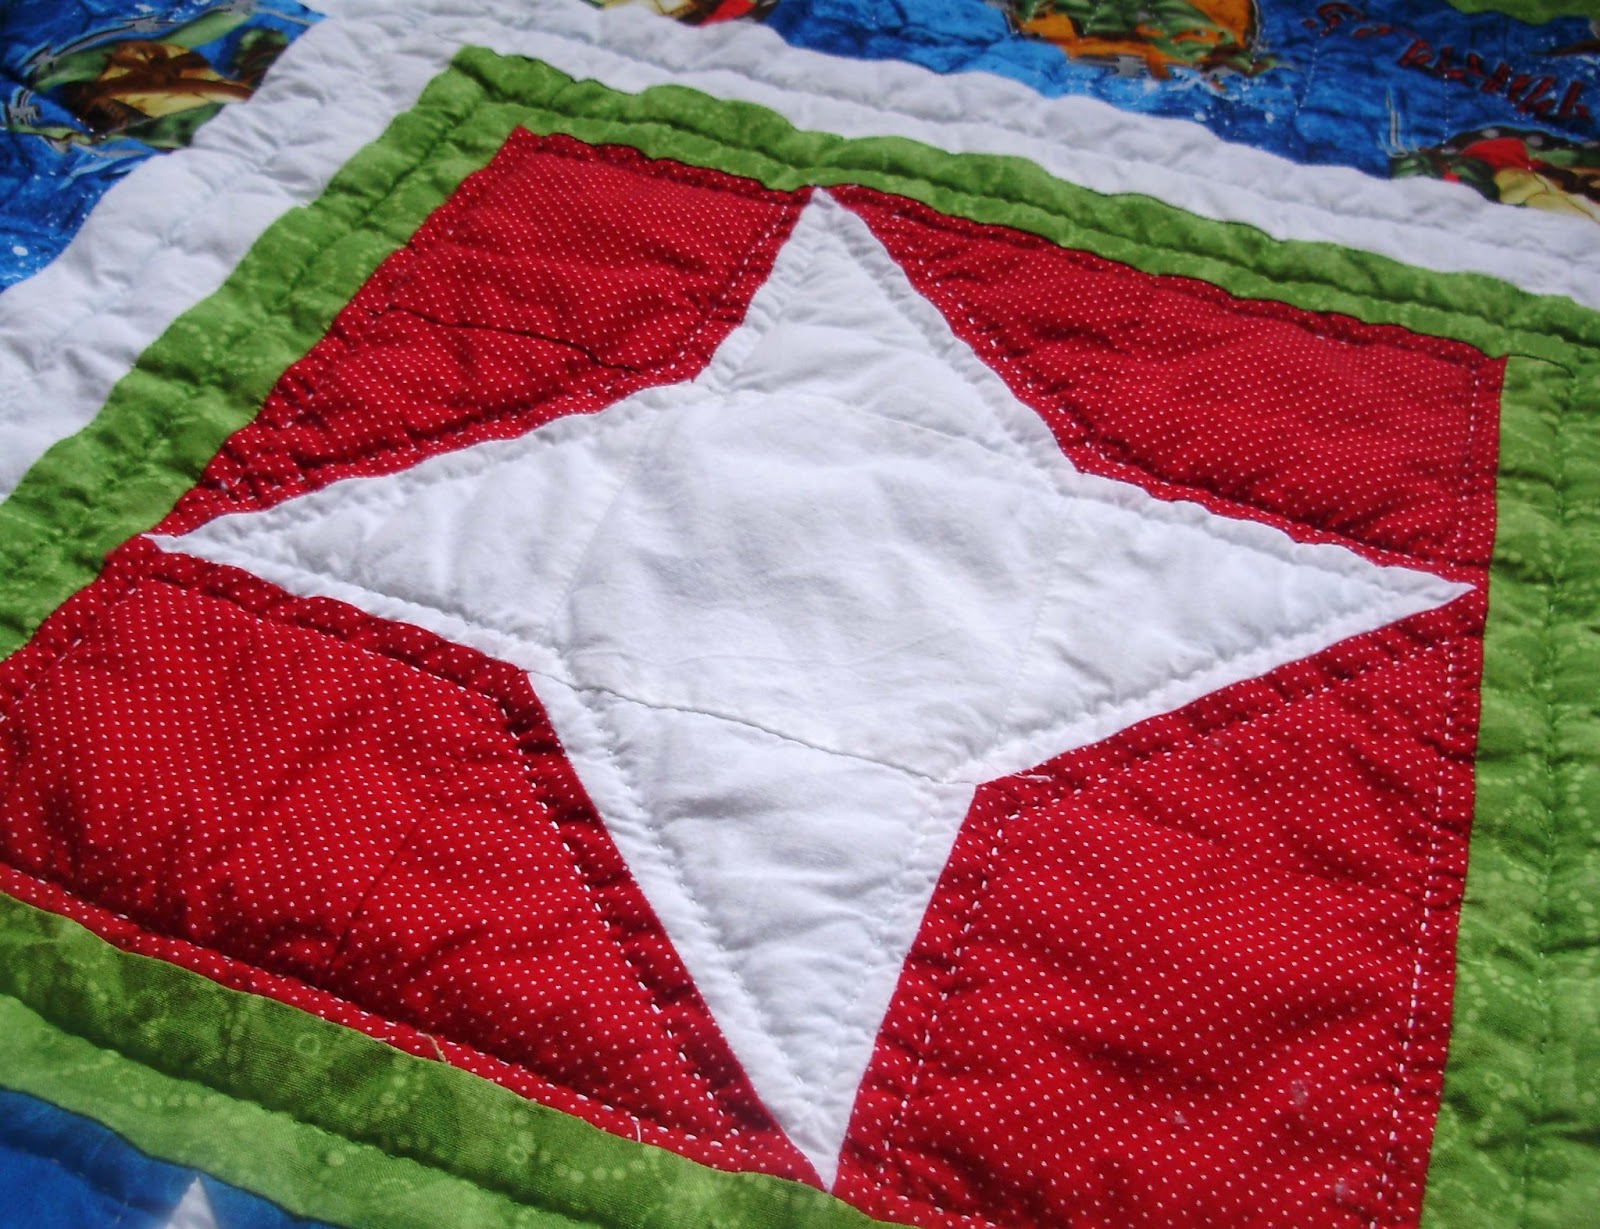


On the wider borders with the Ninja Turtle fabric, I quilted in some of their catchphrases: "Cowabunga, Awesome, and Turtle Power." On the remaining side, I quilted in my nephew's name.
Now, only one more nephew to go and I am caught up!
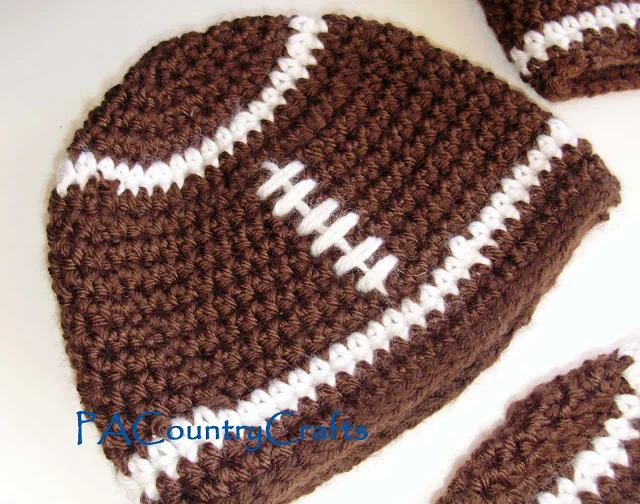
Crochet football beanie pattern in several sizes- easy and fast!
Read More
I let my brother-in-law choose the colors for my nephew's baby quilt and he really likes the old school Phillies stuff. To be honest, I had no idea what "throwback" meant, but I googled it.

Using the 1980's Phillies jerseys as my inspiration, I designed this strip quilt- very different than anything I have made before. The maroon and white stripes remind me of the sleeves of the jerseys and just look plain ol' sporty! I got the Robert Kauffmann baseball fabric on a little expedition to a fabric store trip last fall and the rest is just any blue fabrics I could find that resembled the old Phillies colors but did not have flowers.

To try something new, I machine appliqued the baseball bat. It went OK (I only had to seam-rip and redo half of it), but I would do it differently next time.

I hand appliqued and embroidered the little baseball. I was going to do more, but I ran out of ambition and thought that one ball made more sense with one bat. One thing I really like, though, was the quilting on the baseball fabric. I stitched in the old Phillies logo and on the other strip of baseball fabric, I replicated the lettering to make my nephew's name.

It is not the best quilt I have ever made, but at least it is finally finished (Woohoo! Check one off for the Finish-a-Long!) I started it all the way back in November. I embroidered the back with all of his birth info and a special verse:
So appropriate. That is my favorite part of this quilt. =)

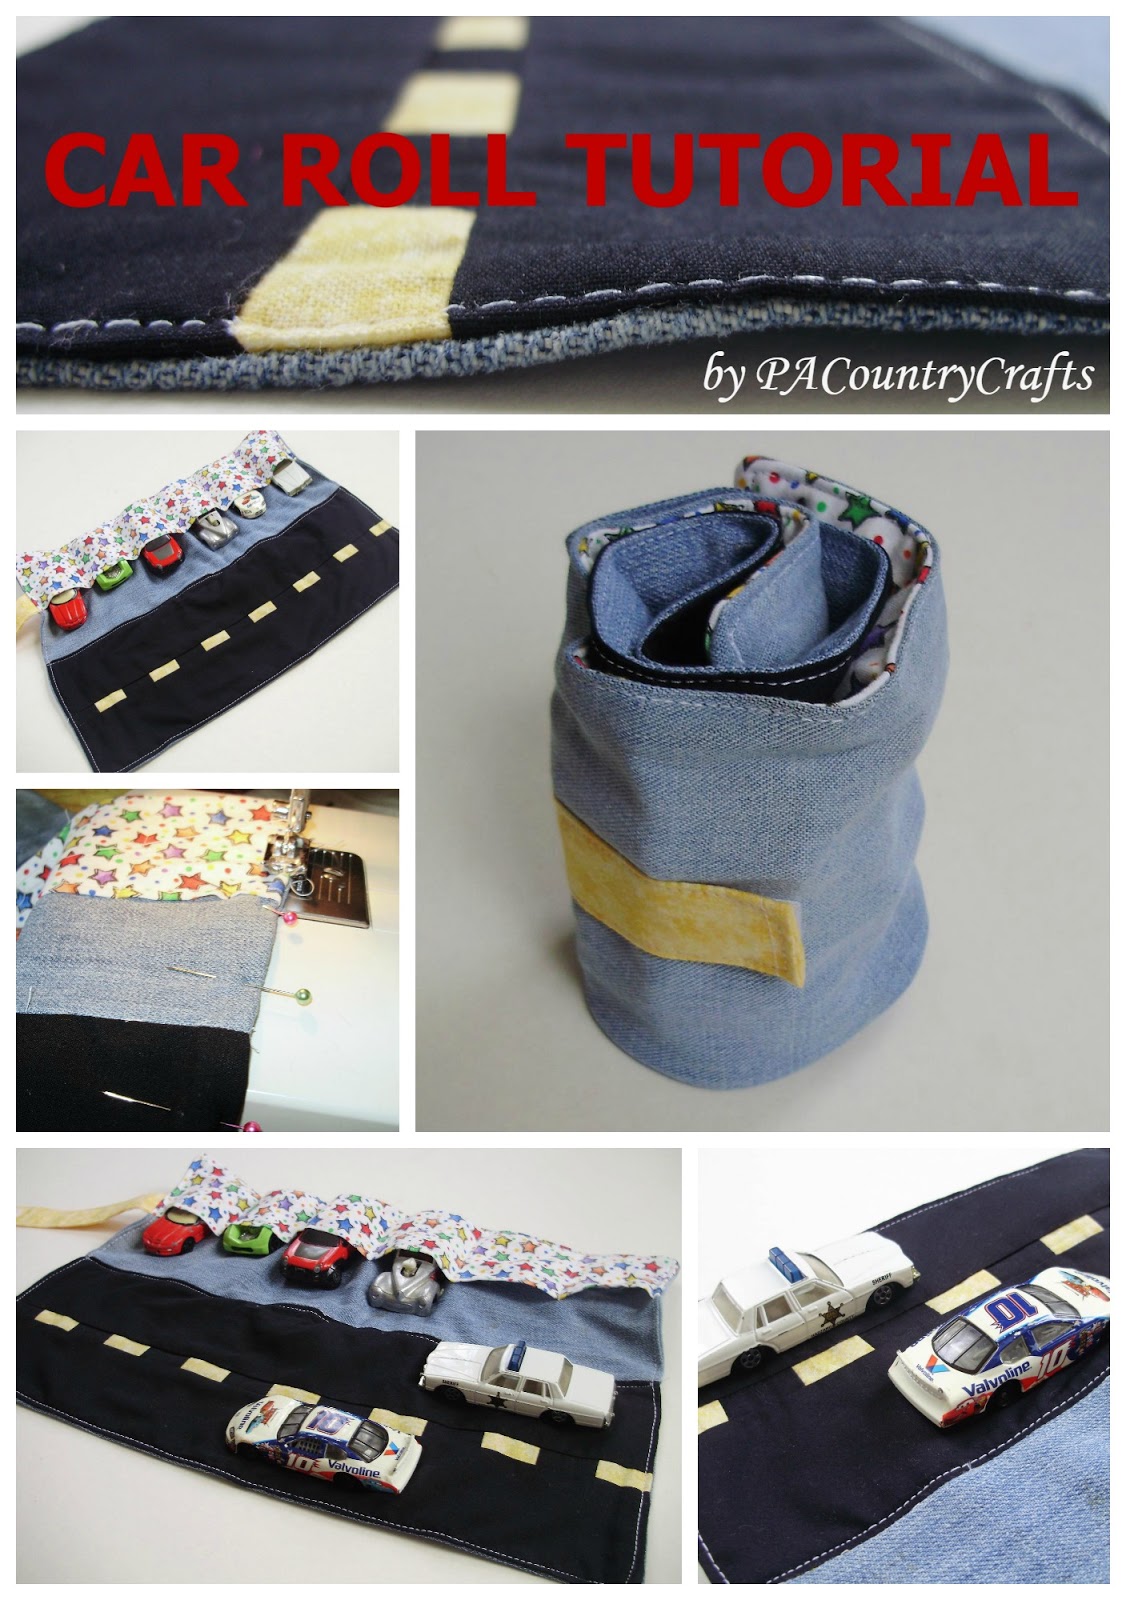
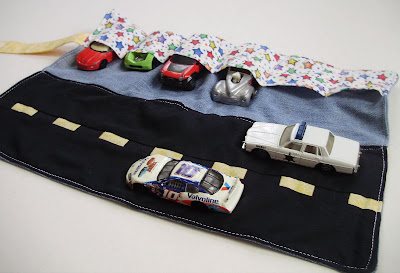 In my attempt to be the coolest aunt ever (I have 22 nieces and nephews so far!), I made this cute little car roll. It is made from some fabric I had on hand (it’s hard to find non-girly stuff in this family!) and some size 4T jeans that were headed for the garbage.
 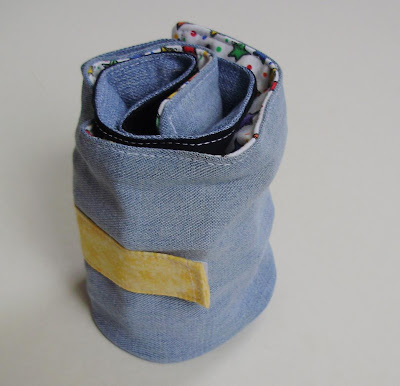 I was inspired by THIS tutorial, but I wanted to do a few things differently:
a) I don’t have duck cloth and I don’t know where to get it. Hence the denim.
b) Sewing on little bitty pieces of yellow felt didn’t sound like fun. So I channeled my inner quilter and made the road that way.
c) I rolled it instead of folding so I didn’t go all fancy on the outside and I skipped the stenciling cause I didn’t feel like it.
d) I made my own strap to velcro on from fabric.
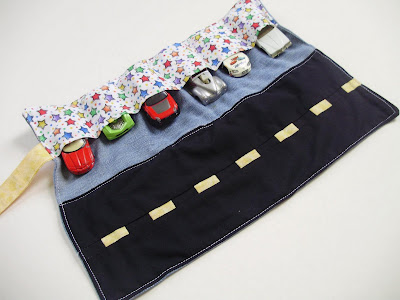
 Look at that- a title photo just for this post! I am going all fancy here (OK, so I just got a cool close up and wanted to use it). I took the best pictures that I could get since PA is seeming more like Seattle these days. Of course, the sun came out when I was done, but I am not complaining ‘cause I missed it sooooo much! So forgive all of the poor quality pics. I tried.
Materials:
Black cotton
Yellow cotton
Any cotton for the pocket
1 ½ legs from an old pair of kids’ jeans
3/4" piece of Velcro
Thread
Part 1: The Road
Do all the cutting first and get it out of the way. You will need 2 pieces of black cotton measuring 2 3/4" by 14" for the "lanes" and for the "dashes" in the middle, you will need one piece EACH of black and yellow measuring 1 1/2" by 14". Sew the 2 small strips of black and yellow together lengthwise, then cut into 1" strips.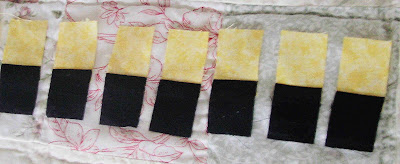 Sew them all short ends together, alternating yellow and black.
 Then sew this row between the strips and press towards the "lanes" and you are all done with the road! EASY!
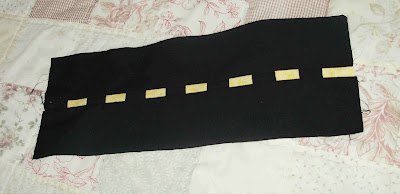
Part 2: The Velcro Strip
You will need a piece of cotton measuring 4" by 6" ( I just used yellow cause it was already 4" wide). Lots of ironing here- press in half lengthwise, open, and then press the edges in toward the center. Open it all up, hem in the end 1/4", and then sew your loopy velcro on one side just after the hem so the little box will be hidden.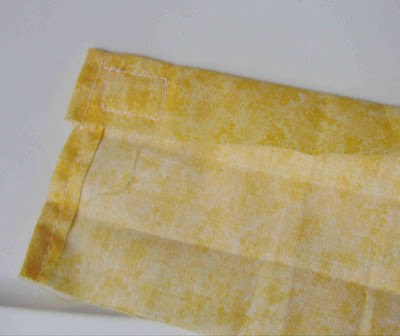 Fold the sides toward the center...
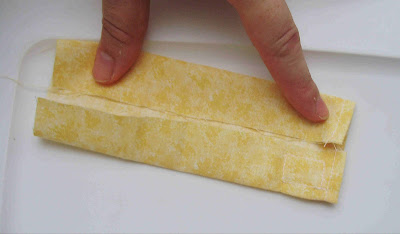 ...and press it half.
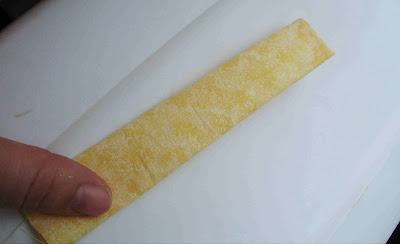 Then topstich around three sides, leaving the non-velcro side alone.
 See? No box on the other side.
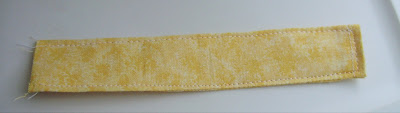
Part 3: The Pockets
Now we are getting into the denim. Cut one piece from the pants 14" by 5 1/2" and from your other cotton cut a piece 14" by 6". Press the cotton in half, wrong sides together, and sew the raw bottom edges of the denim and cotton together (Good way to cover up a few stains here!)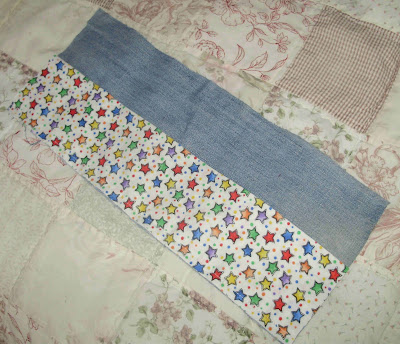 Topstitch the folded edge of the cotton just to keep it in place better.
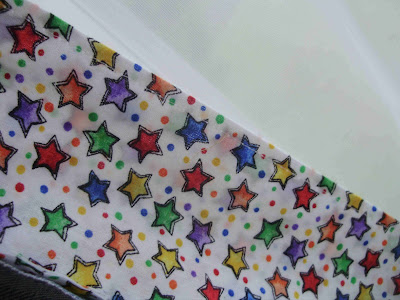 Then sew lines for pockets - mine were at about the the following intervals: 2 5/8", 4 7/8", 7", 9 1/8", and 11 1/4"
Part 4: The Outside
Take the remaining 2 pieces of denim, cut them to 14" by 5.5", and sew them together lengthwise and press the seams open.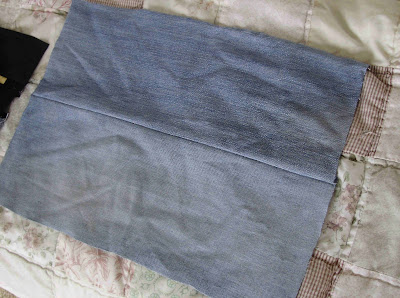 Sew the fuzzy piece of velcro on at 6" from the left end of the bottom piece and about 2 1/2" from the bottom edge.
Part 5: Assembly
Sew the two inside pieces together. Sew the raw-edge end of the velcro strip to the bottom, velcro up, lined up with the edge of the pocket. Go over it a bajillion times.
Sew the outside and inside together, right sides together, leaving the non-velcro end open, and flip (push those corners out real good!)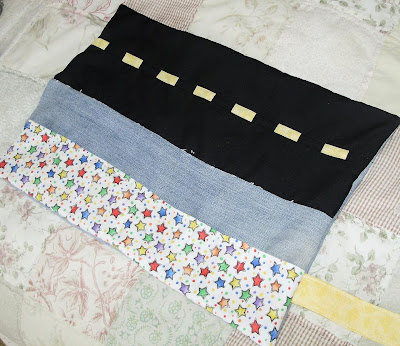 Fold the opening edges in and topstitch the whole way around and down the middle, too.
 I used white thread cause I didn't feel like changing it, but I like it! It's kind of like road edges.
Part 6: PLAY!
I was so disappointed that I could only find Sheriff Rosco's car and not the General Lee. :( But Rosco always loses! 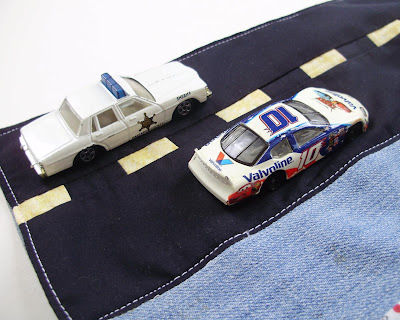 Fold.
Fold.  And roll. Secure with velcro.
  Perfect to tuck away in Mom's purse or a backpack!
Sewing, crafts, tutorials, recipes, and a little look at our life in the country - raising half a dozen children.

Hi! Thanks so much for stopping by! My name is Lindsay and on this blog you will find sewing, crafts, decorating, recipes, and tutorials with a little bit of honesty and encouragement.