

Upcycled Bridesmaid Dress ~ An Uptown/Downtown Dress Pattern Hack
/
The next Easter dress I made cost me absolutely NOTHING to make! Sweet!

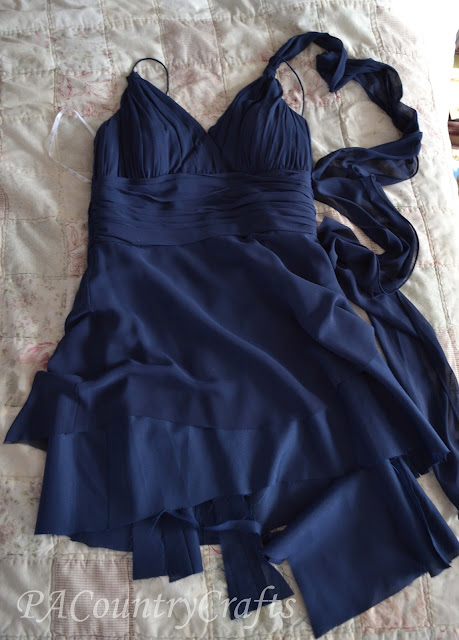
Does anyone else save old bridesmaid dresses? I am pretty sure I am not the only one. I mean, you spend a ridiculous amount of money on them so it seems a shame to throw them in the donation bin. Even if you HATED the dress! (Sorry, Sis!) It wasn't an UGLY dress. It just wasn't flattering on me. (I have wide ribs.) Then, they ordered the wrong size and my other sister and I got in a big fight when she made a joke about mine not fitting. I really just hated everything about this dress. So, naturally, I hung it in my closet for 6+ years where I could see it every day.
Well, now it is not in my closet. Now, it looks like this:
The rest of it has been transformed to create several of this years' Easter dresses including this one.
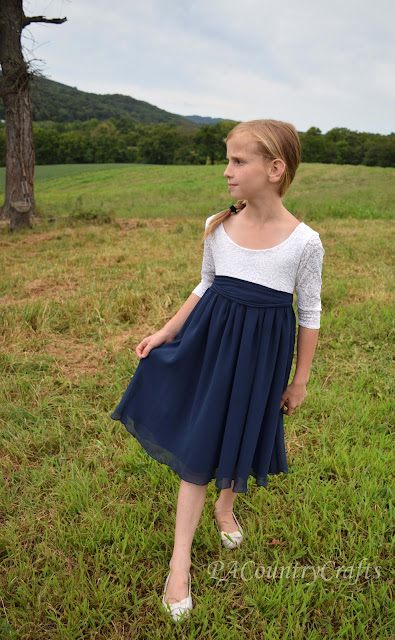
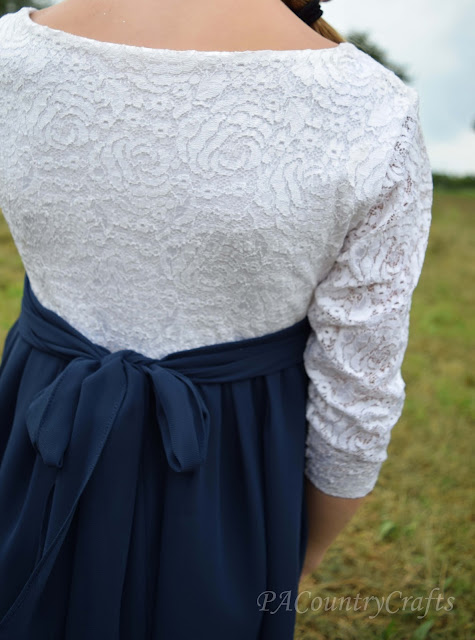
The bottom of the dress is made from the top two layers of the bottom of the bridesmaid dress. The sash is made using the strap from one side. The hardest part of making this dress was cutting the slippery, chiffon fabric to make it straight. The full skirt with lightweight fabrics makes for lovely twirling, though. The twirl factor is always appreciated by the girls.

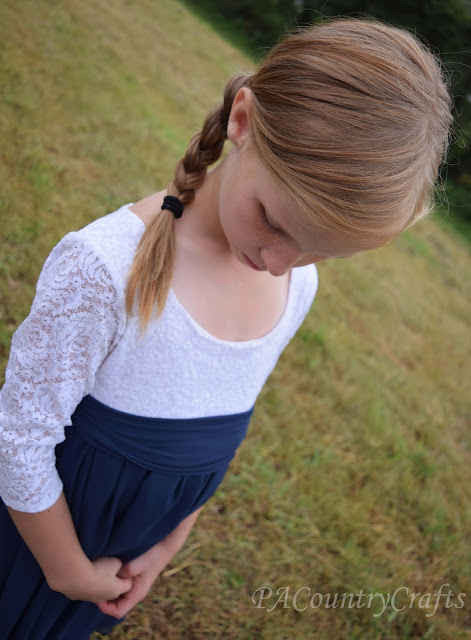
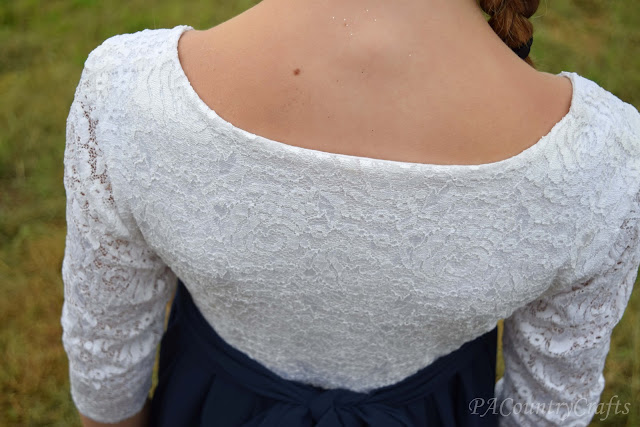
Isabelle drew me a picture of the dress she wanted. The sleeves were such an issue of contention between us. I didn't want to make long, 3/4 length sleeves from sheer lace. I really don't like to do sleeves. I ended up making the top out of some stretch lace from a friend and an old white T shirt.
I used the
to create the bodice.
It was actually very easy!
The pattern is on sale right now. I know, I usually talk about how I hate patterns, but
has so many variations and it is so versatile that it is worth it. I am not being compensated in any way for this endorsement.
Directions were included for a lace overlay version, which is mostly what I used. I just altered it to let the sleeves unlined. I hemmed the sleeves by hand sewing them.
There was no hemming required around the neckline because of the lining.
The trick to this dress was attaching the bodice to the skirt. I wanted to maintain the stretch of the fabrics so that it would easily slip over her head. So, I got some 1" elastic from my stash, sewed it in a loop and made Isabelle try the loop on to be sure the elastic would stretch enough to get the dress on. Then, I sewed each piece -top and bottom- to the elastic. Here is what the inside of the dress looks like.
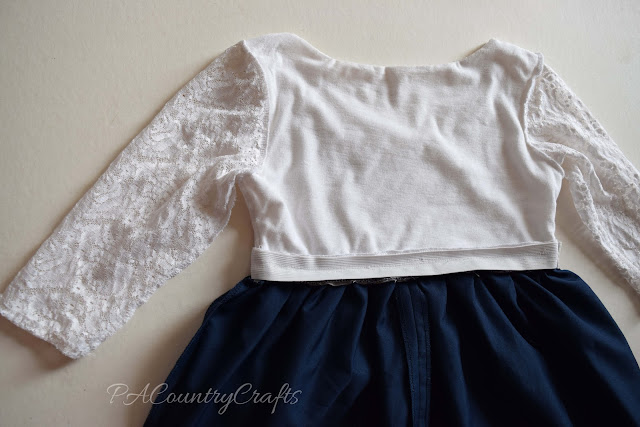
One of the shoulder straps from the bridesmaid dress was converted to a sash to tie around the waist.
Now I have one less bridesmaid dress in my closet and my daughter has a lovely dress! Win win!

I used more of the bridesmaid dress on the next Easter dress I made, but we haven't had a "real" photo shoot yet. Right now I am super busy canning tomatoes and chasing the last bit of summer. So, when I get around to it I will show you that one, too. :)


