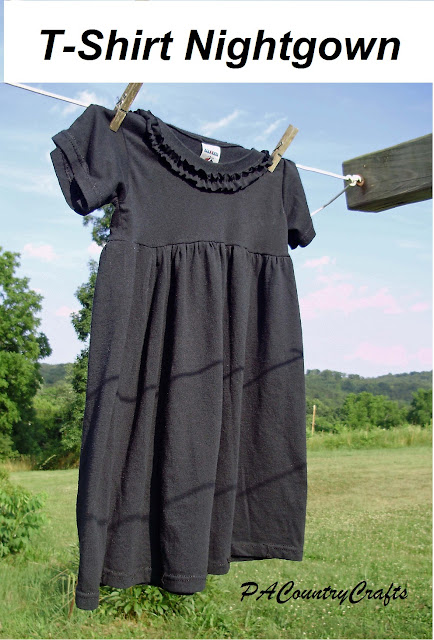
T-Shirt Nightgown Tutorial
/
Last summer, I did a guest post over for CraftyTammie's Sew Full of Summer series, so I thought I would share it over here on my blog, too. Girls nightgowns are awfully pricey in the stores, for what they are, but my girls were in need of some. I have made a few here and there, but as I was gradually attempting to conquer my fear of knits last summer, I converted some old Tshirts into nightgowns for the girls. I wanted to try something a little bit different (read: fancier to make the girls happy) and this is what I came up with...
Ready for a tutorial? Great! Go grab a T-shirt. (I apologize in advance- my camera does not like photographing black.) I had this old XL men's shirt laying around that someone had given to us- it was free and I didn't want to use something really good in case this didn't work out like I planned in my head. I was making it for my 6yo and you could probably use a smaller one for a smaller girl. First, just chop off the bottom below the armpits to get your skirt.
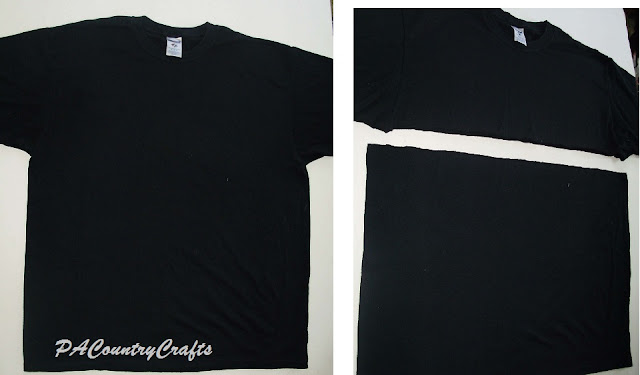
Then, fold what is left of your shirt in half and trace around a shirt that you know already fits well to get the curve of the arm and the width (leave about 1/2" seam allowance, too!) I wanted a high waist, so I cut the bottom a few inches below the arm opening. One last cut for the sleeves- line up the bodice piece you just cut a few inches from the edge of the T-shirt sleeve and leave a few inches extra at the (folded) top to give the sleeve a little "pouf" later.
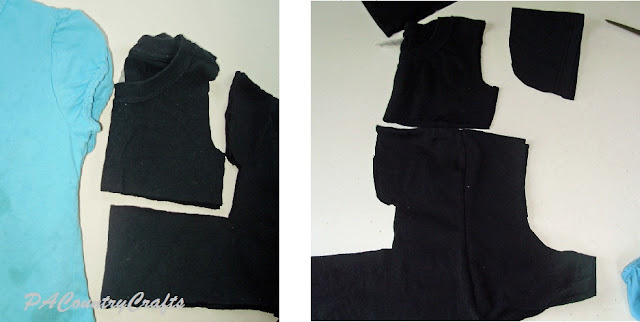
You should have one skirt, one bodice piece, and two sleeves.

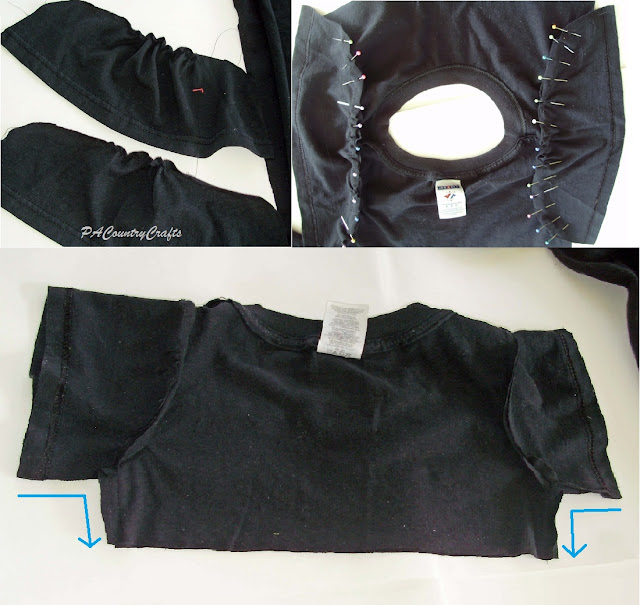
OK- lets take care of the top! On the sleeves, 1/4 inch from the raw edge, sew a gathering line stretching about 1/3 of the way from each end and pull to gather and make the sleeves a little more feminine. Pin in place and sew to the arm openings in the bodice using a 1/2" seam allowance. Now that the sleeves are attached, just sew under the arms and down the sides (follow the blue arrows).
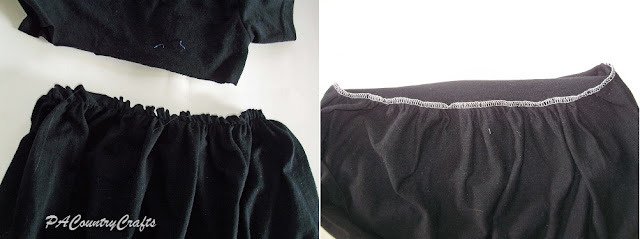
To attach the skirt, just sew a long gathering stitch about 1/4" from the edge and pin to the top. Use a zig-zag or stretch stitch or a serger to attach it to the top with a 1/2" seam allowance.
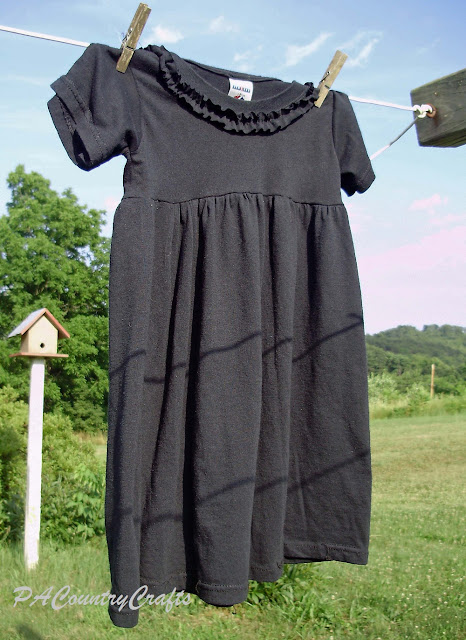
Finally, I took a one inch strip of scraps leftover and sewed a gathering stitch to make a ruffle. I used a zig-zag stitch to attach it below the neckline. I think it takes away from the gloomy blackness of a free T-shirtmakes it a little more girly!
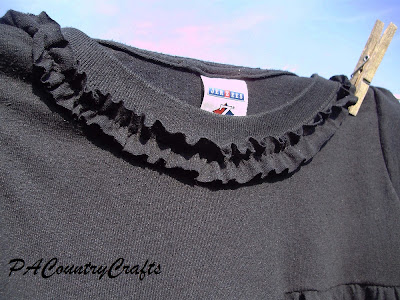
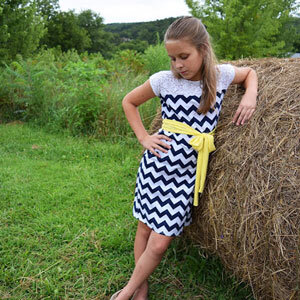
Ta da!!! It was pretty easy and I think there would be so many cute ways to embellish. If I had a really cute T-shirt I think this would even make a cute dress, although I would probably add a sash at the waist to make it more fitted. Oh well, you can't beat free, right? :)
You may also like…