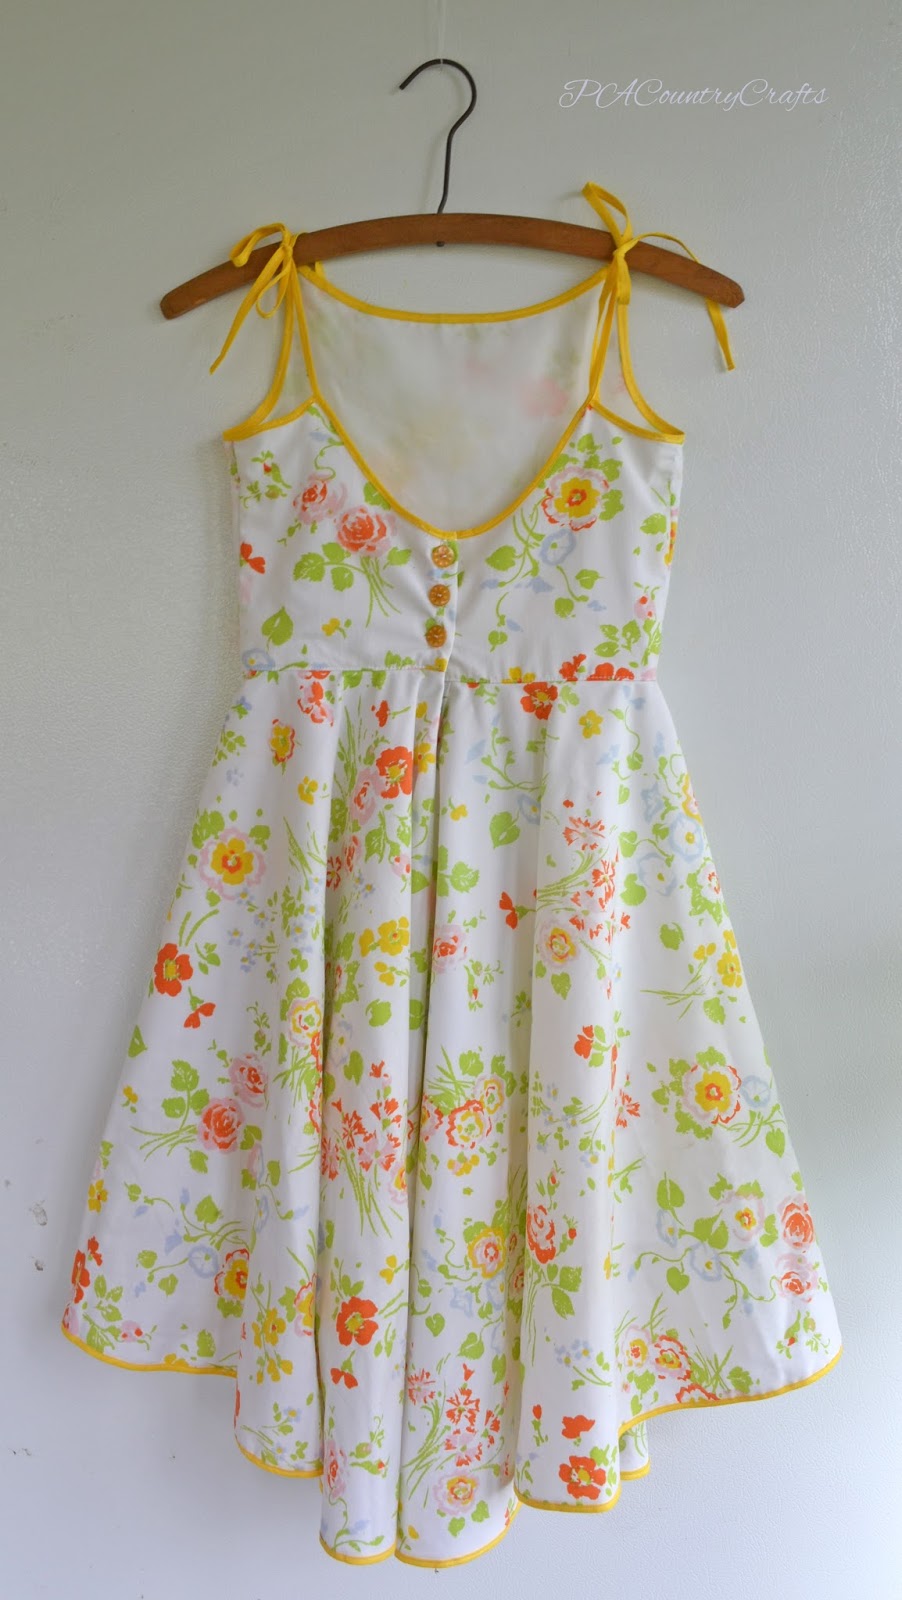
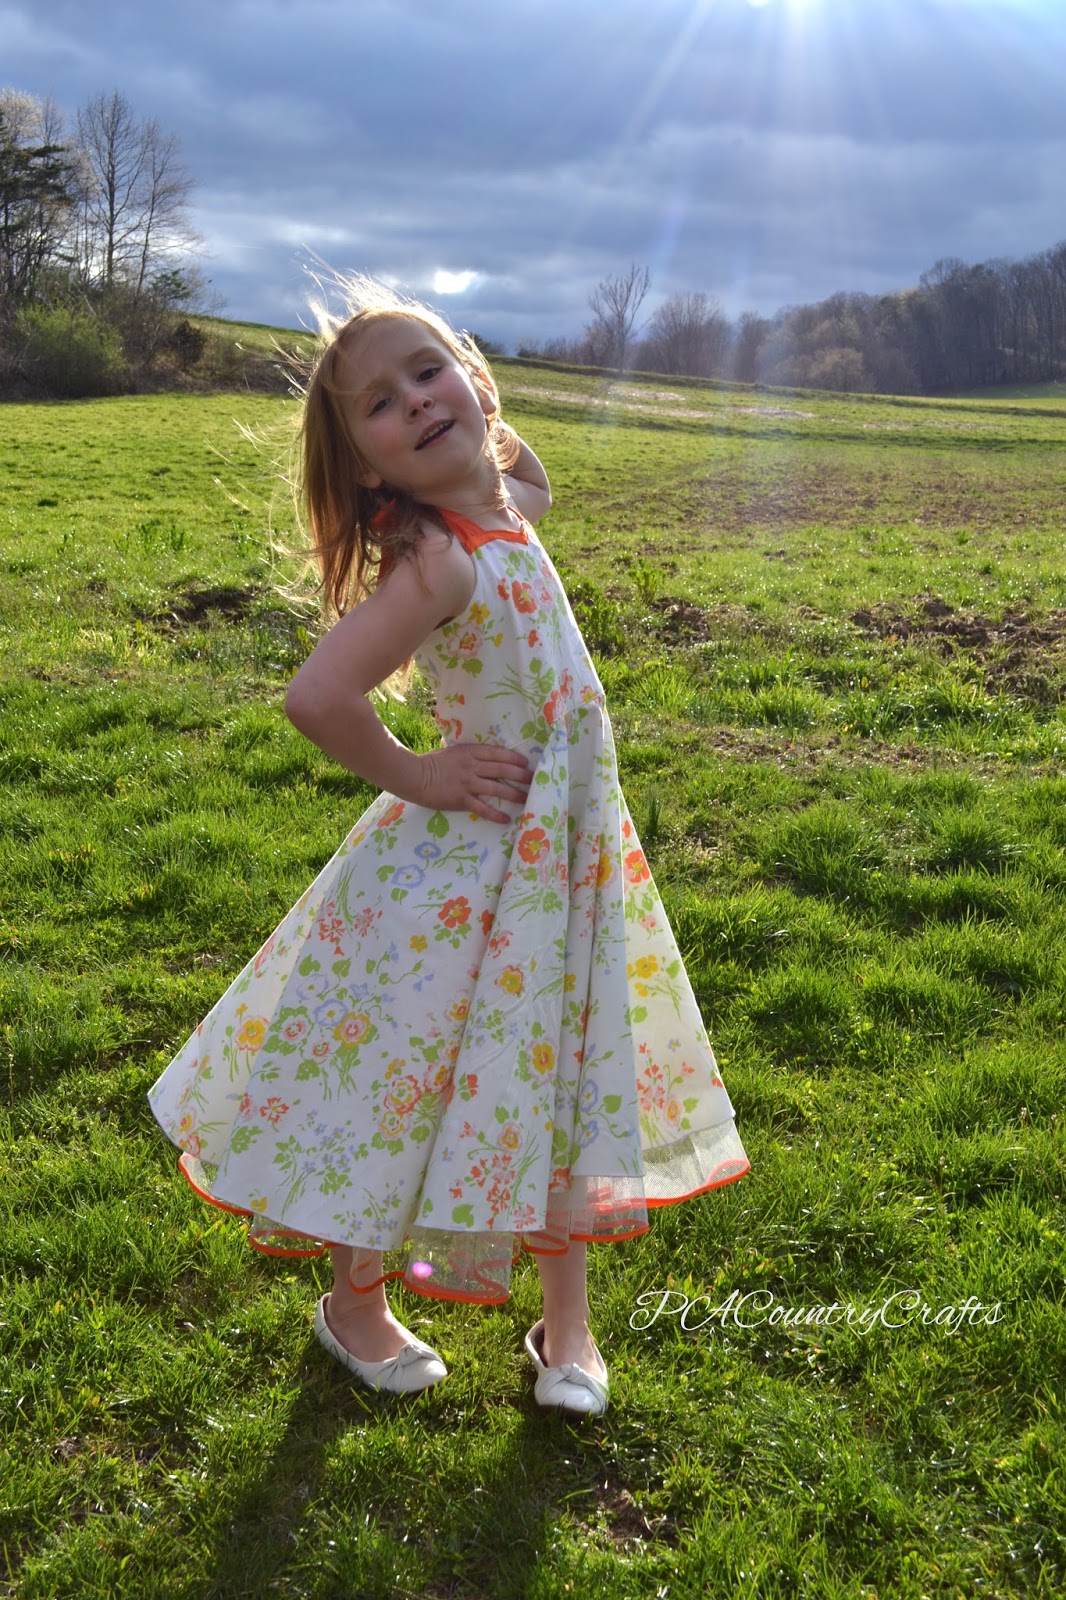
Lydia's Sweetheart Dress Tutorial
/These girls love to twirl in pretty dresses!


(Taking a break with the one who can't twirl yet!)
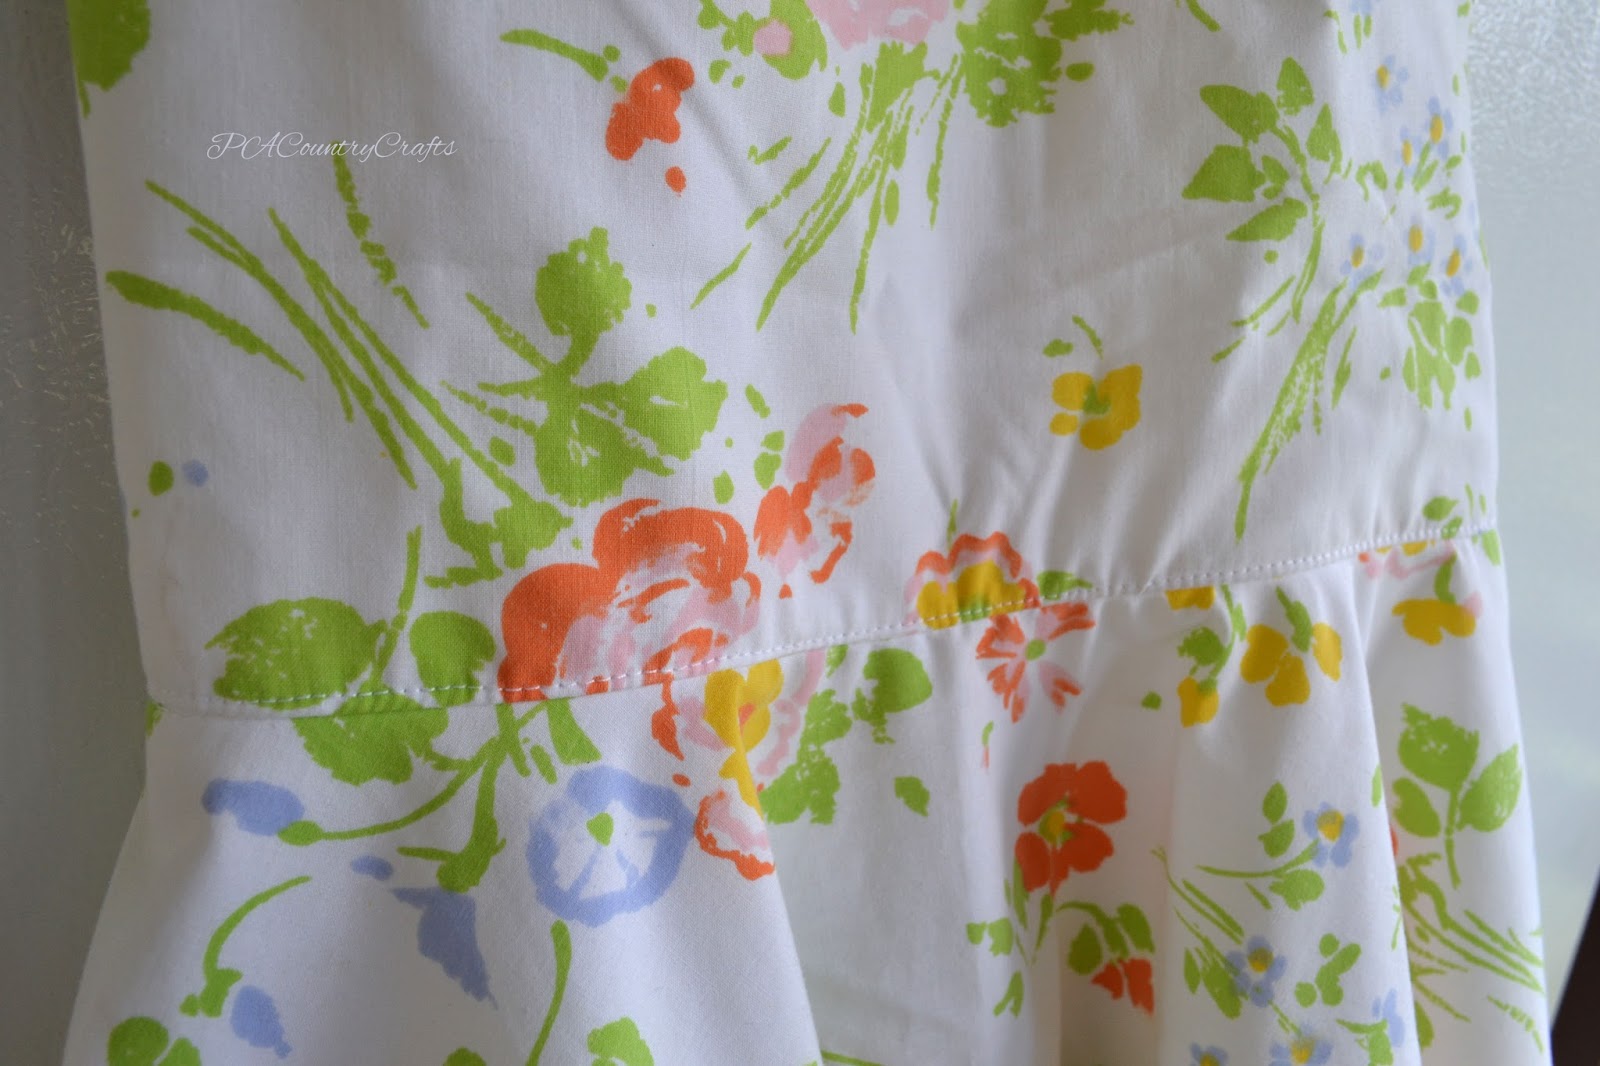
This dress features a halter top and sweetheart neckline with a pop of orange trim,...


...a button halter back,...

...a twirly circle skirt (of course!),...

...and another little pop of orange on the petticoat lining.

This dress was the most 1950s-ish of all of the dresses I made. I can convince a 5yo a little easier than the older ones when we are choosing dress styles.


I am putting together a tutorial, but a lot of this dress was trial-and-error. So, I may not have pics for everything. If you have any questions, just ask. OK? Here we go...

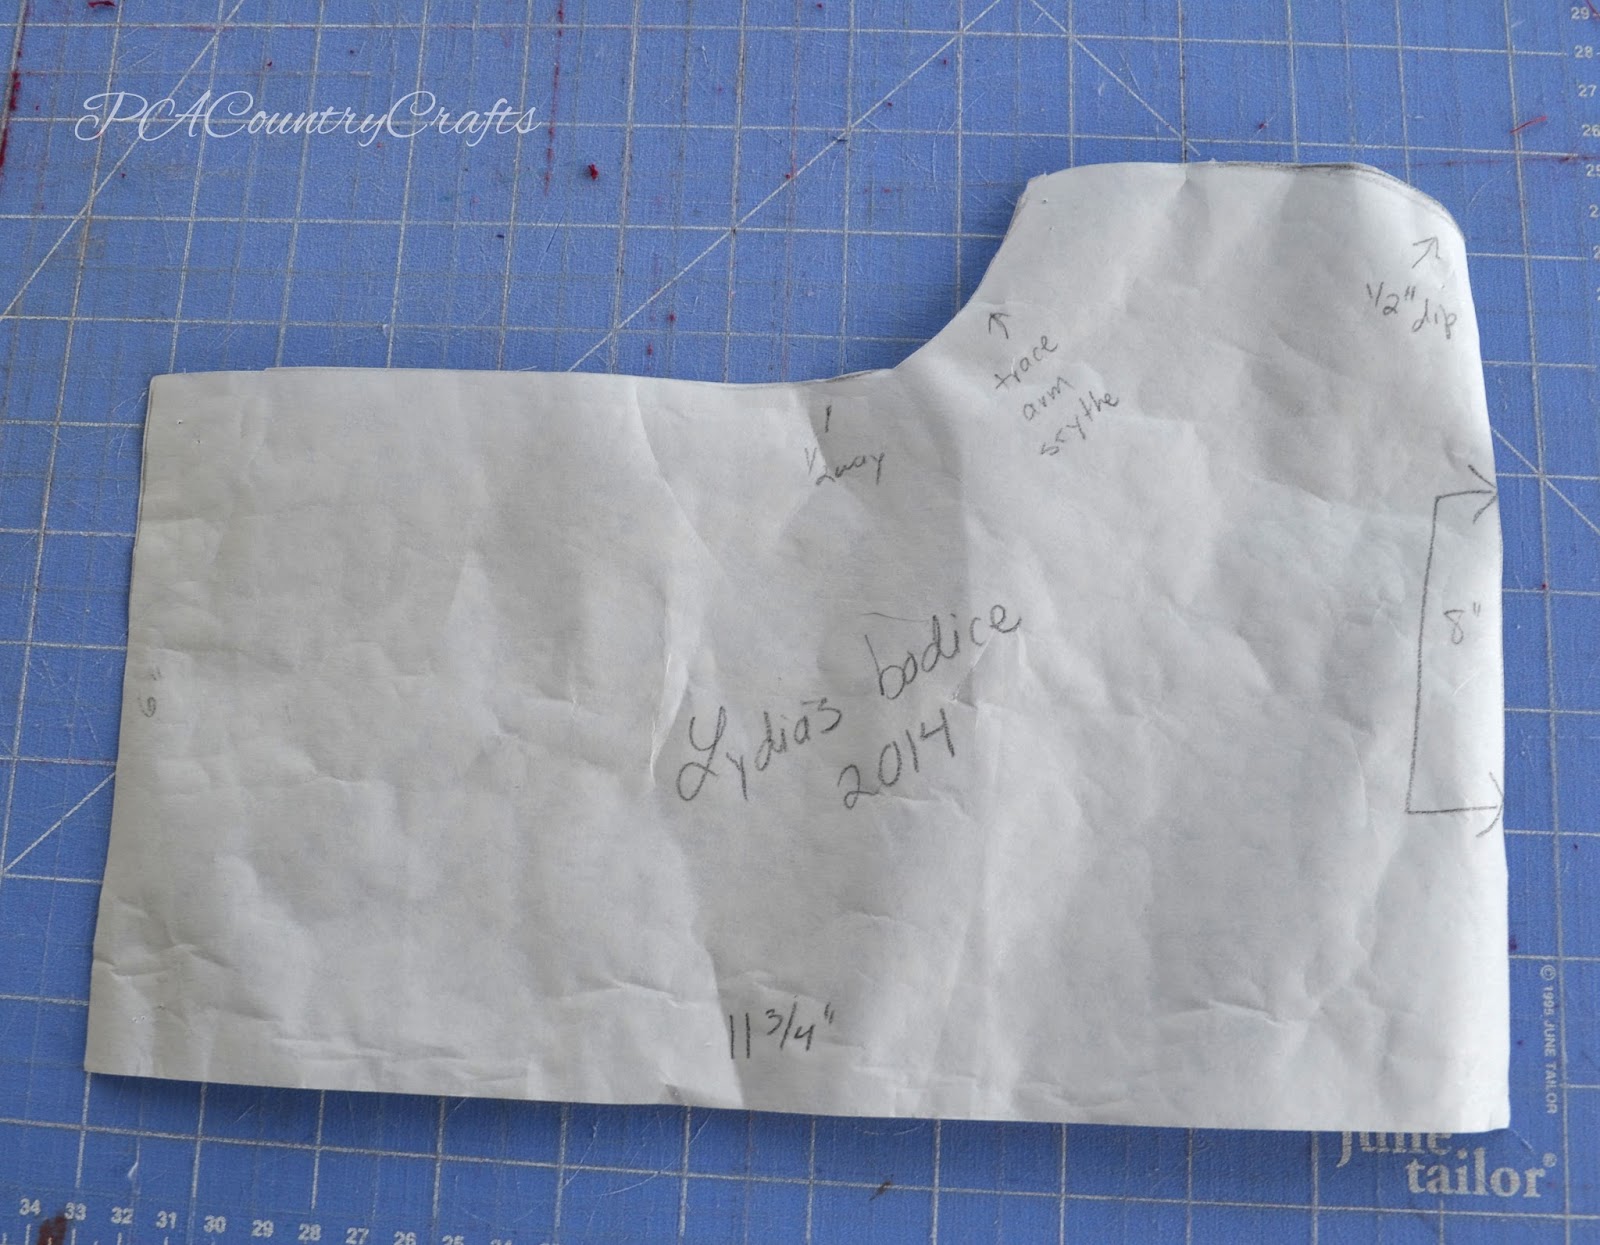
Trace a shirt that fits, folded in half, to get the placement of the arm scythe.
Divide the waist measurement in half and then add an inch and a half for the buttons and some wiggle room- it may be a little long, but we will tidy that up later! That will be the width of the pattern. Decide how high you want the bodice to be in the front and the back and add 3/4" for seam allowances. Free-hand a little dippy curve in there for a sweetheart neckline. I hope this isn't too confusing...
Cut out one bodice from the main fabric and one from the lining- both on the fold of the fabric with the stretch widthwise. For the skirt, you will need a basic circle skirt. I discussed how to get your waist radius measurement HERE. Cut a square of fabric measuring the desired length of your skirt plus the waist radius. Fold the fabric in half twice and cut the waist. Then, cut an arc for the bottom of the skirt (more on how to do that HERE.) It really isn't hard once you figure it out.

You will need a lining for the skirt, too. Cut it exactly the same as the outer skirt, but make it 2" shorter. Remember the length of that folded square! You need it later!
Also, you will need some matching bias tape, petticoat netting (not shown- a yard should be plenty), buttons, and two contrasting straps measuring about 3" by 18" (depending on the size.)

The contrasting edge on the bodice was the trickiest part. I had to redo this so many times! So, feel free to skip it if you want. I like the look of it with this dress and the straps because I was trying to use more orange accents, but it isn't necessary at all. Mark 3/8" away from the top edge of the bodice and open up your single fold bias tape Stitch the tape to the bodice along the fold line on the line you just drew. Stop at the center and fold it on an angle before starting to sew again from the center point.

Fold the straps in half and sew in a long tube with the right side facing inward. Flip, press, and topstitch along the edges. Fold one end in and hem as you are topstitching around the strap. Insert the straps at an angle between the right sides of the outer bodice and lining. (They aren't topstitched in this pic, though. Just pretend. OK?)

Fold the bias tape out of the way and stitch the tops together. Clip the seam allowance at the little dip of the neckline and flip it. Press. Fold the bias tape upwards and carefully stitch about 1/8" from the edge. In the center, it will fold over similar to a mitered corner on a quilt.

Fold the bodice with the right sides to the inside again and sew the rest of the bodice together along the arms and around the back. Clip the curves, flip it right side out, press, and topstitch along the edge. I have a thing for topstitching. It is just so neat and tidy!

The top part is just about done, so move on to the skirt. Finish the raw edge of the bottom of the lining. I ran it through my serger, but a small hem would work, too. I hate hemming curves. You also need to finish the raw edge of the outer skirt fabric. I did a rolled hem on my serger. 'Cause I really, really hate hemming curves. Have I mentioned that before?
For that awesome petticoat ruffle, cut strips of netting 5" wide with a total length of at least twice the bottom edge of the lining. That requires a little math or a little measuring. I like math. Remember that square that you cut the lining for the circle skirt out of? I told you to remember it! Multiply that times 6.28. Mine was 20 inches, so I got 125.6 inches. Cut enough strips to equal that length and sew them together. Take the bias tape and fold it over the bottom edge of the netting. Carefully stitch the tape to the netting along one edge. It is tedious, but it makes for a great little detail on the dress!

Then, draw a line on the bottom edge of the lining (just like I showed in THIS tutorial) and sew the petticoat to the lining using a ruffler foot. You want it set up to gather in approximately a 2:1 ratio. If you don't have a ruffler foot go get one. Or you can gather it by hand with the old "sew two basting lines and pull the bobbin threads and then stitch it on" method.

Almost done- I promise!
Make 3-4" slits at the back center of the outer skirt and lining pieces.

Make a button placket like I showed in THIS tutorial and THIS tutorial. Sew the bodice to the skirt, right sides together. Make sure the centers line up. The back may be a little bit off- remember that I said we would tidy the bodice up later? Now is when we do that. Wrap the ends of the bodice over the plackets about an inch, trimming if needed. (Serge or zig zag or hem the raw edge of those center bodice sides before you actually sew it all together.)You want the button placket to fold over and you also want enough fabric folded over in the bodice to make nice buttonholes. (This is an "after" picture.)

After you sew the bodice and skirt together, overlock or zig zag over the seam edges. Topstitch the bodice to hold the skirt seam upwards in place underneath. Love topstitching!
Now, just make your buttonholes and sew on the buttons! TADA!!!
I hope everything is clear. If I missed something, let me know. My brain is going mushy these days. I need some sleep.
Two more to go! Stay tuned!!