Lace Top Box Dress Tutorial
/If you "like" my facebook page, you would have seen that I did, in fact, make my girls Easter dresses this year. Yes, I know that was soooo 4 months ago. I am not so patiently waiting on some photo prints to arrive in the mail so that I can finish and show you my current project, so I thought I would do a little backtracking for now.
These pictures are more recent than Easter. A few days ago, the oldest two girls and I had fun doing a little photo shoot. :)
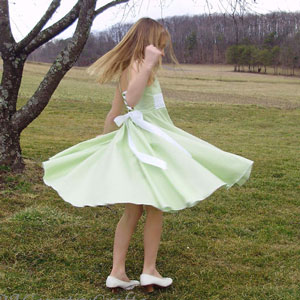
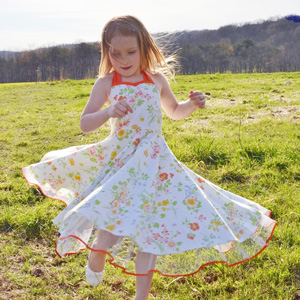
I let the girls choose their styles, as long as I can coordinate them somehow. This year, I really wanted to make them all lace dresses, but the lack of color caused a mutiny. In the end, I made an executive decision and went with navy and white, pairing them with brightly colored accessories.
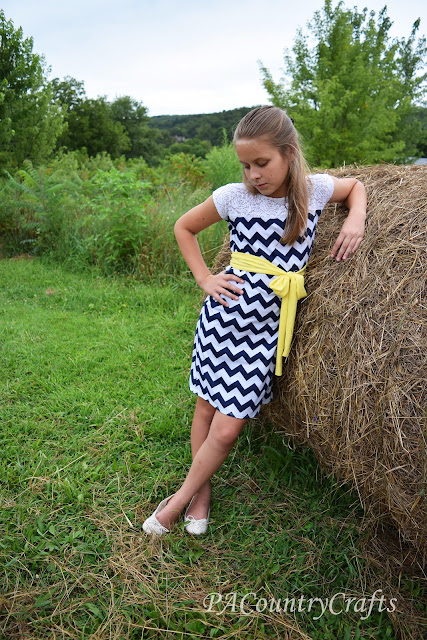
Halley's dress was her own, original design. She wanted it to be more modern and casual than the dresses I usually make. She is getting older and, ahem, more mature I suppose. I wasn't sure about the lace at the top, but I think it really breaks up the chevron nicely. She wins. Again.

The back is solid chevron without the lace.


Like every year, I waited until a week or so before Easter to begin. I work best under pressure. This dress was so fast and easy! I was not blogging at the time, but I like to take a few pictures when I am sewing something new so that I can remember what I did later. So, I will share it with you for a tutorial.

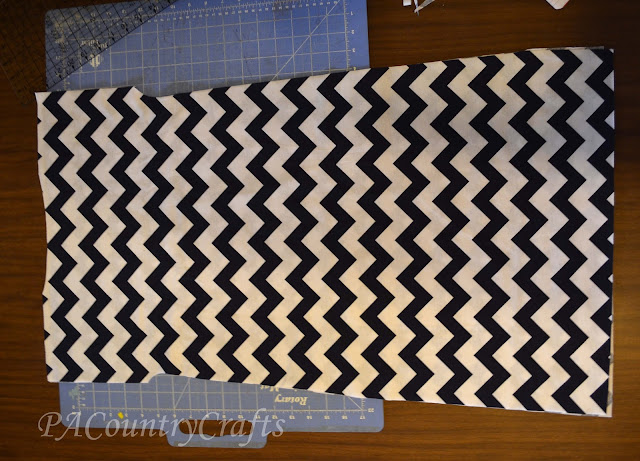
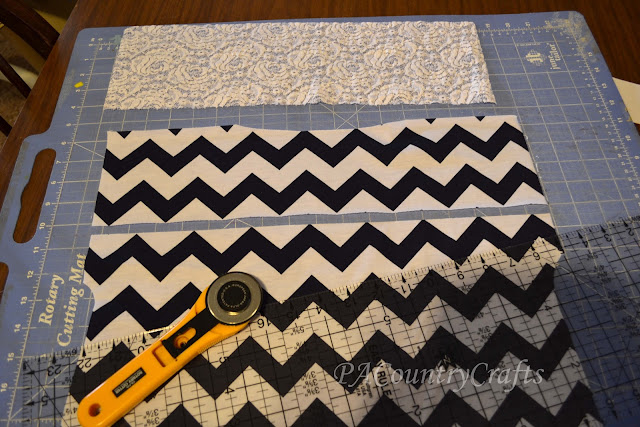
I ordered oxford blue chevron jersey knit from Girl Charlee. (I was so happy with all of the knit fabric I ordered and they have great prices!)
My daughter wears a size 10-12 right now so those are the measurements I am giving. Cut two pieces of knit fabric 20" wide by 32" long. The stretch should go across the width of the fabric.

Next, keeping both the front and back pieces stacked together, trim an inch from the top 6" on each side, then cut in a little curve for the armpits and flare it back out to the full width. I think the picture shows this a little better than I can explain.
Put the back of the dress aside for now. Take the front of the dress and cut off the top 4 1/2".
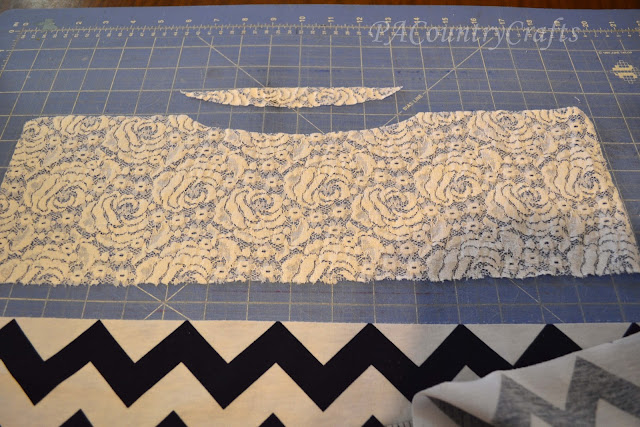
Cut a piece of lace 5" high and 16" wide for the top of the front dress piece. Cut a little curve out at the neck.
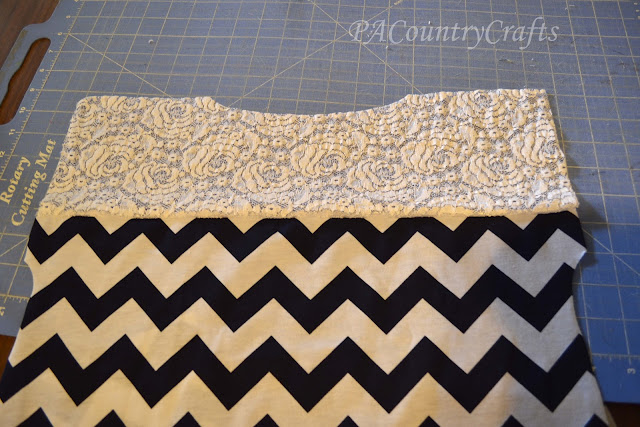
Sew the lace to the top of the dress. I did mine on the serger. You could also use a stretch stitch and zig zag the edges. Be careful when sewing- the lace tends to shift. It would also work to make the lace a little wider and trim the edges and neck after sewing.
Then, just sew the front and back of the dress together at the shoulders and sides (right sides together, of course). Finish the raw edges at the neckline and arms by turning under and sewing with a double needle. I used Wash Away Wonder Tape and it worked great for holding everything in place! I know I already showed this picture above, but I love how neat and tidy those edges turned out!
I did the bottom hem by turning under and sewing with a double needle. I actually had to redo it because the first time I used regular thread and it snapped when she squatted in her dress. (Um, hello? Do we need lessons in how to act like a lady while wearing a dress? Apparently.) I bought some wooly nylon thread and it seems to have much more stretch now.
Oh, and that yellow sash? That is the bottom of a dress I hemmed for myself. It is currently the one in my profile picture over on the right sidebar at the top. :)

Eventually I plan on blogging about the other 4 dresses, so hang in there. OK? In the meantime I have A LOT of sweet corn to freeze!