Isabelle's Bubble Dress Tutorial
/

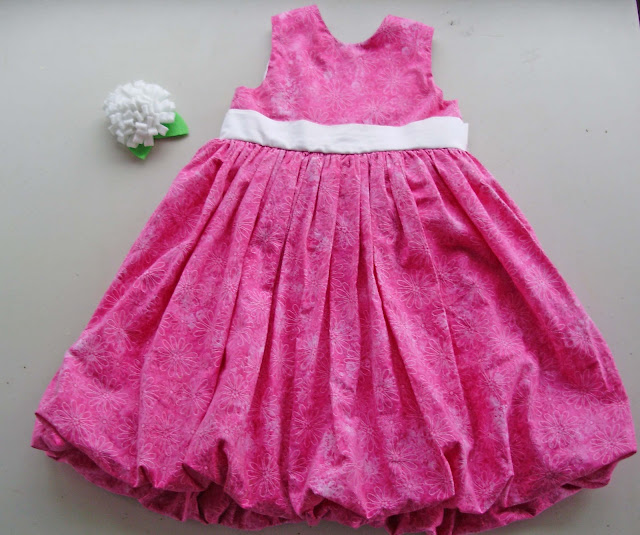
As promised, I am showing you all how I made Isabelle's Easter dress. I talked her into a bubble dress, but she chose the high bodice style with a highish waist and wide sash part herself.

And she picked the buttons out, too.

(Yes, it is missing one- I forgot the buttons when I used Mom's machine to make the holes and didn't listen to her when she said she thought the pack only had three buttons. I'll add another one later.)
As soon as she saw the bubble skirt finished, she got so excited that I didn't even have to give her the bribe I had promised her to let me make it!
It was a lot of work, but I was really happy with the finished result.

I thought I would try to put together a tutorial of how I made this dress. It was not super easy, so this isn't a beginner project. In advance, I apologize if my pictures are not all that great- I was sewing whenever I could get a spare minute over several days. This is also long, and picture heavy, consider yourself warned...


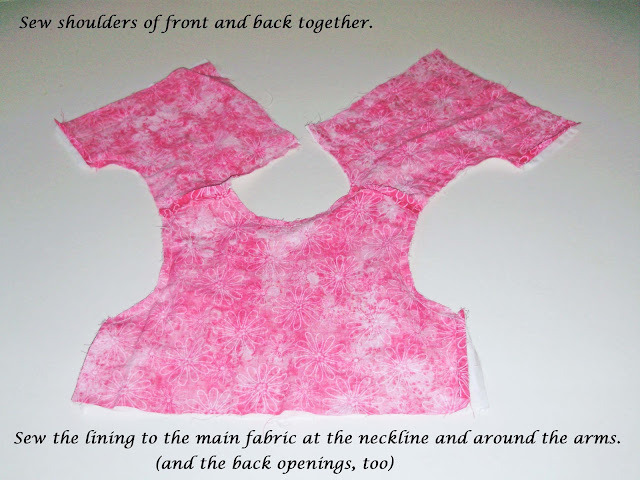
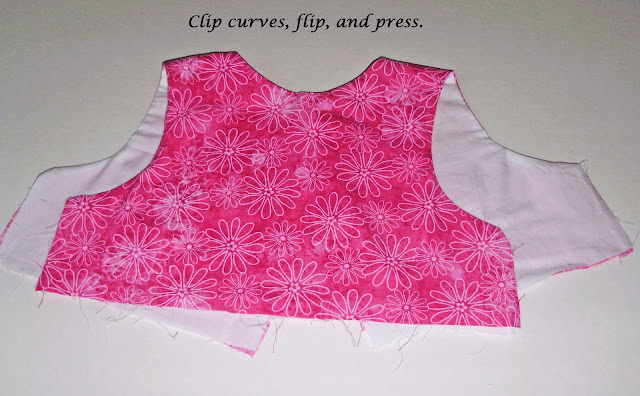
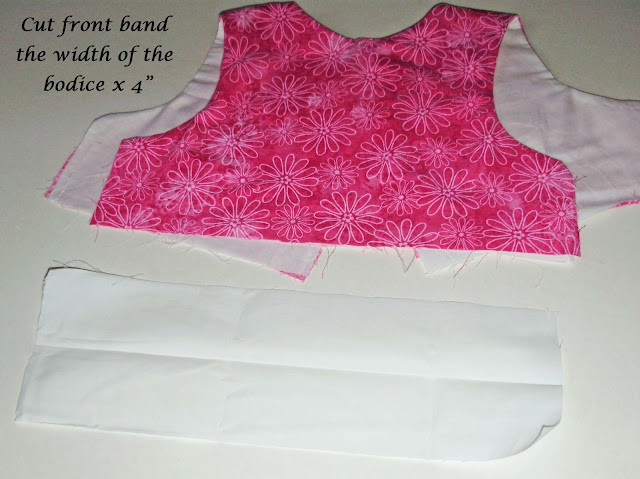
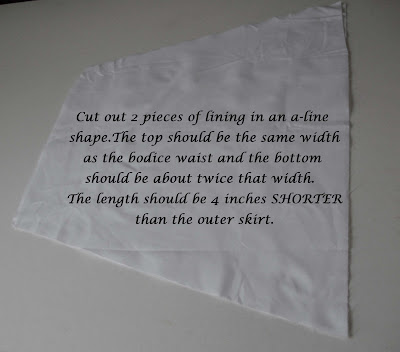
As it says on the pattern pieces, for the front bodice cut one out of the main fabric and one out of the lining on the fold, and for the back cut two each out of the main fabric and the lining.
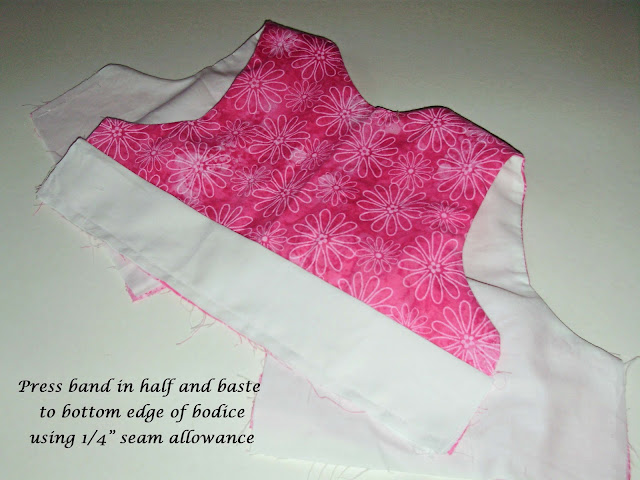
The raw edge is against the bottom, just to be clear. You could topstitch the top of the band here if you wanted to. I didn't feel like it.
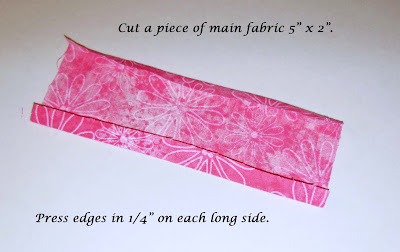
I used a slightly different technique to make my ties, but this is how I should have done it (hence, no pictures of that step).

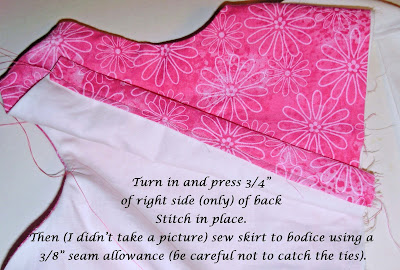
(Sew the right sides together at the sides- just to clarify.)
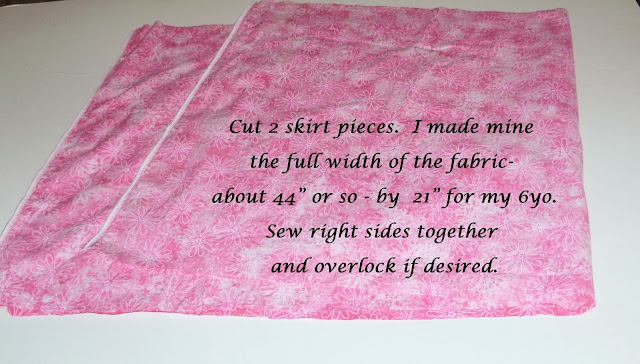
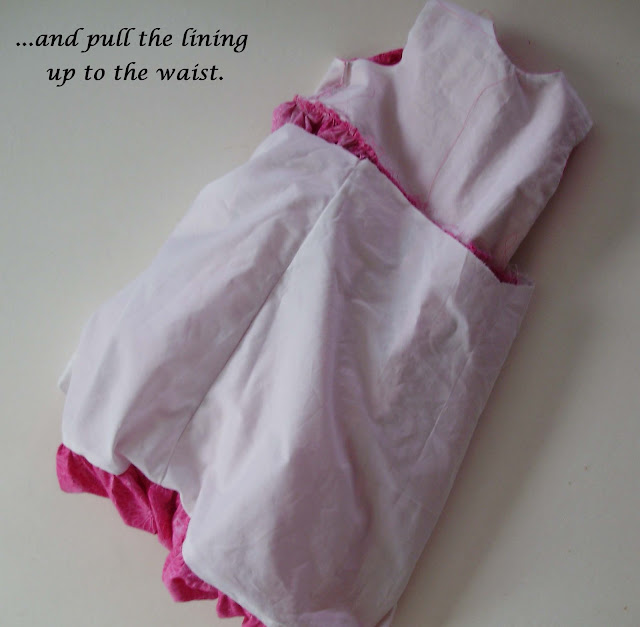
Now, moving on to the skirt...

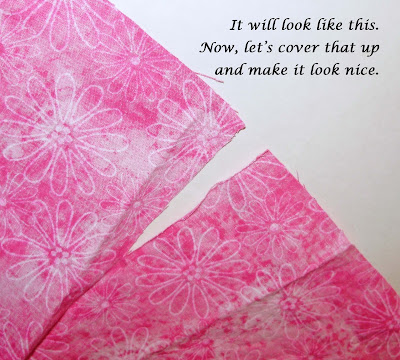

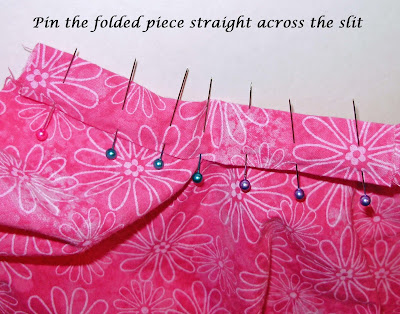
This is a little tricky because obviously the slit does not want to open up straight... just do your best to make it work!

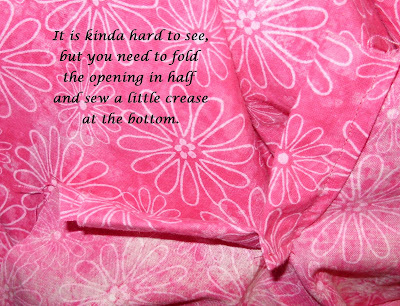
This crease will make it fold over and overlap flat like it is supposed to. If it does not look perfect below this piece, it is not a really big deal because the skirt is so full and bubbly that you will not notice.

Now, let's make it bubble! I was making this up as I went along. You could cut the skirt out in three pieces (two for the back and one for the front), but I didn't think that far ahead.


This is where I realized that it would probably have been better to cut the back in two pieces and make an extra seam, but it really doesn't matter. Whatever...


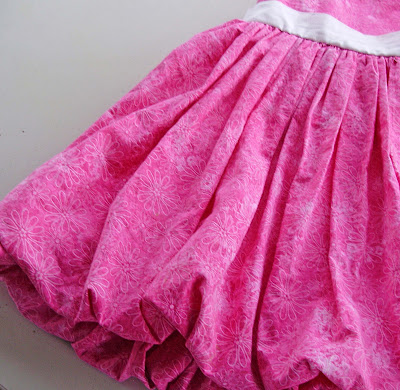
TA DA!!! You are done!


She insisted on posing this way holding a tiny flower...
If anything is unclear, please let me know so that I can fix it! Thanks!!!
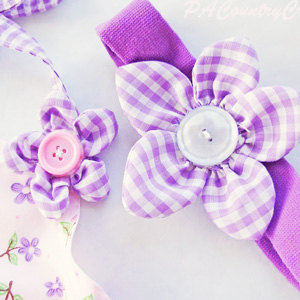
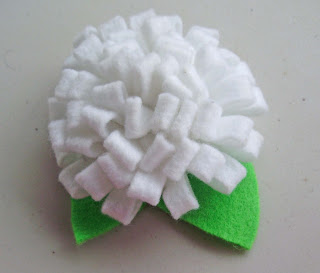
One more quick shout-out to Jess at craftinessisnotoptional for this cute felt flower tutorial found HERE. I used extra felt, so it is extra big, but I love how this turned out!
One more dress left to show you!