How to Tuck Serger Threads into the Seam
/I absolutely LOVE my serger! I have the Brother 1034D, which seems to be a very popular model. I have had it for 7 years and sewed hundreds of dresses with it (FOR REAL!) Today I thought I would share how I tuck in all of those thread ends when finishing a seam with the serger or overlock machine. Maybe it is just common sense stuff that everyone who uses a serger knows, but at one point I did not. It makes everything more secure, can help even out slightly uneven edges, and produces a nicer finish.
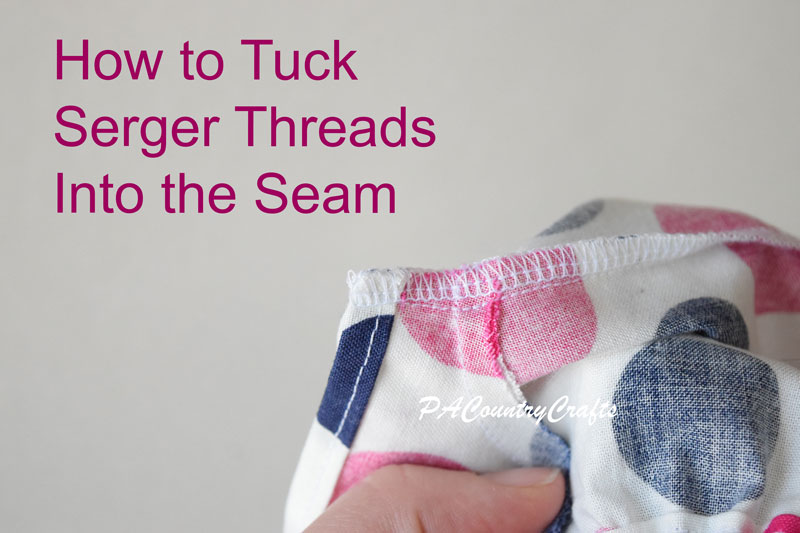
When you plan on tucking the loose ends into the seam, you have to leave a "tail" of serger threads after you sew. About 3 inches will usually work well. I start by gently sliding the threads between my fingers to even them out. The tail will start to stretch out, but two of the threads will be much longer. You want them all to be trimmed close to the same length so that they don't get bunched up. It will look something like this:

Trim off the two longer threads and thread the remaining section through a darning needle. My daughter calls this particular one the "magic needle" because it is a short needle with a wide eye. It works great!

Next, insert the needle into the seam, preferably between the fabric.
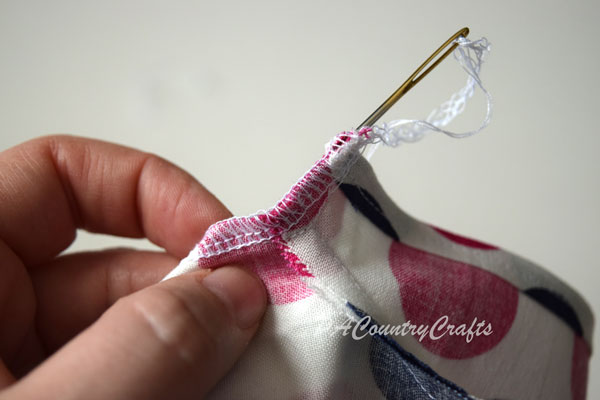
Push it through about an inch or so into the seam (more if you would like).
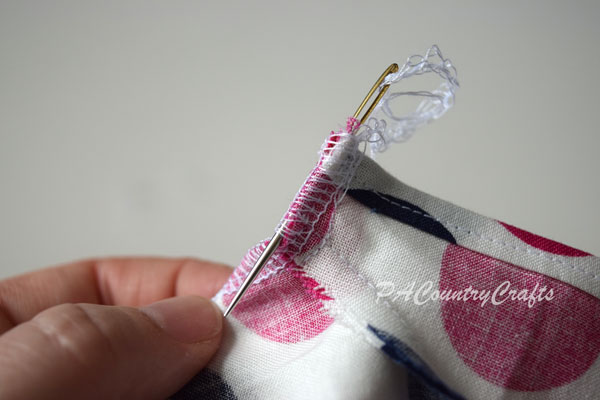
Pull the needle all the way through.
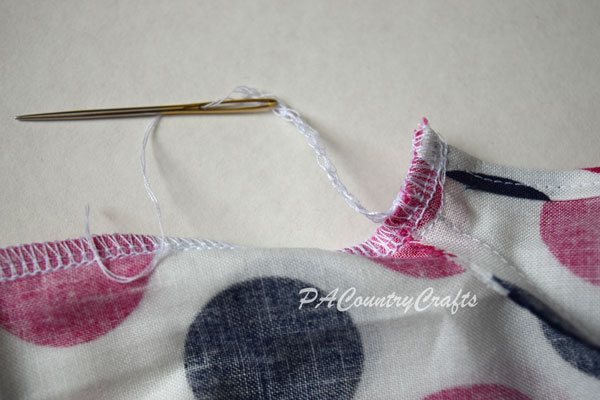
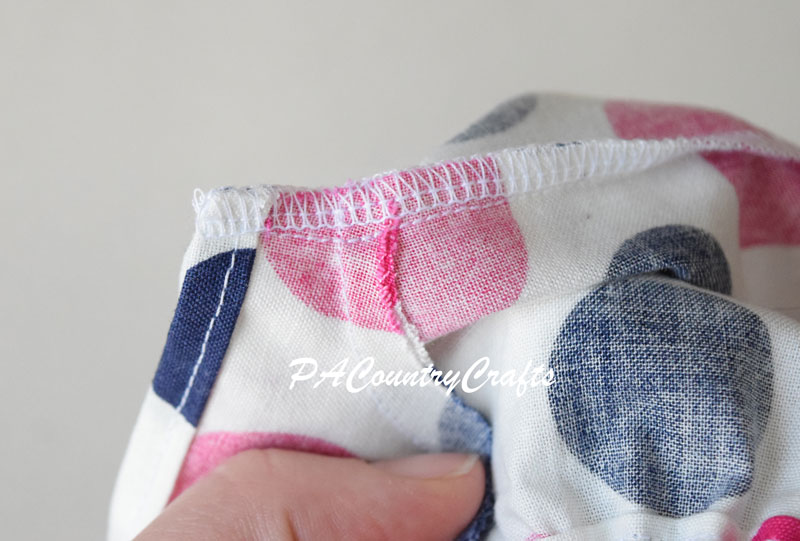
Finally, just trim the ends.
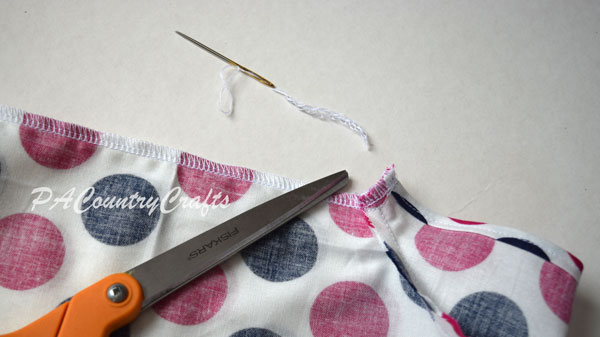
It really is a simple, little trick! It makes things look a lot neater, though!
If you forget to leave a tail for tucking, don't panic. You can trim the ends off and use fray check. It is not as good of a finish, but it is better than nothing.


