Grace's Quiet Book ~ Introduction
/Grace's quiet book was inspired by THIS one. I like the "shabby chic" look and I made this book entirely from my stash. The pages are all very "girly" and things that I thought she would like. I was going to put it into one big blog post, but it would be super duper long. I am breaking it up so that I can describe how I made each page and help anyone else who is looking to make a quiet book. I will warn you that they are a lot of work. It was really fun, though, and I think she really likes it.
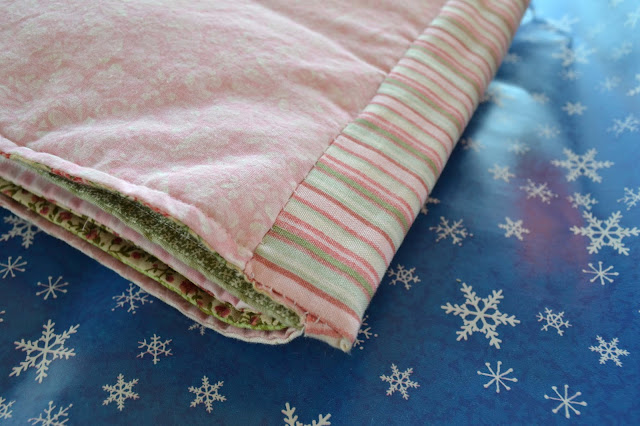
For the binding of the book, I just used that striped fabric to sew it on like quilt binding, but wider (although it doesn't have to be.) At the ends, I left the binding about a half inch longer than the book and folded the fabric in before hand stitching it in place so it is all neat and tidy.
So, that is a bit about the basic construction of the book. For the next few weeks, whenever I get an opportunity, I am going to post about the individual pages. I am super happy with how they turned out and hopefully they will be helpful to someone else looking to make a quiet book. If you have any questions, just let me know!
UPDATE: You can see the first page, Weave Pie Crust, HERE.


