Girls Ruffle Apron Pattern and Tutorial
/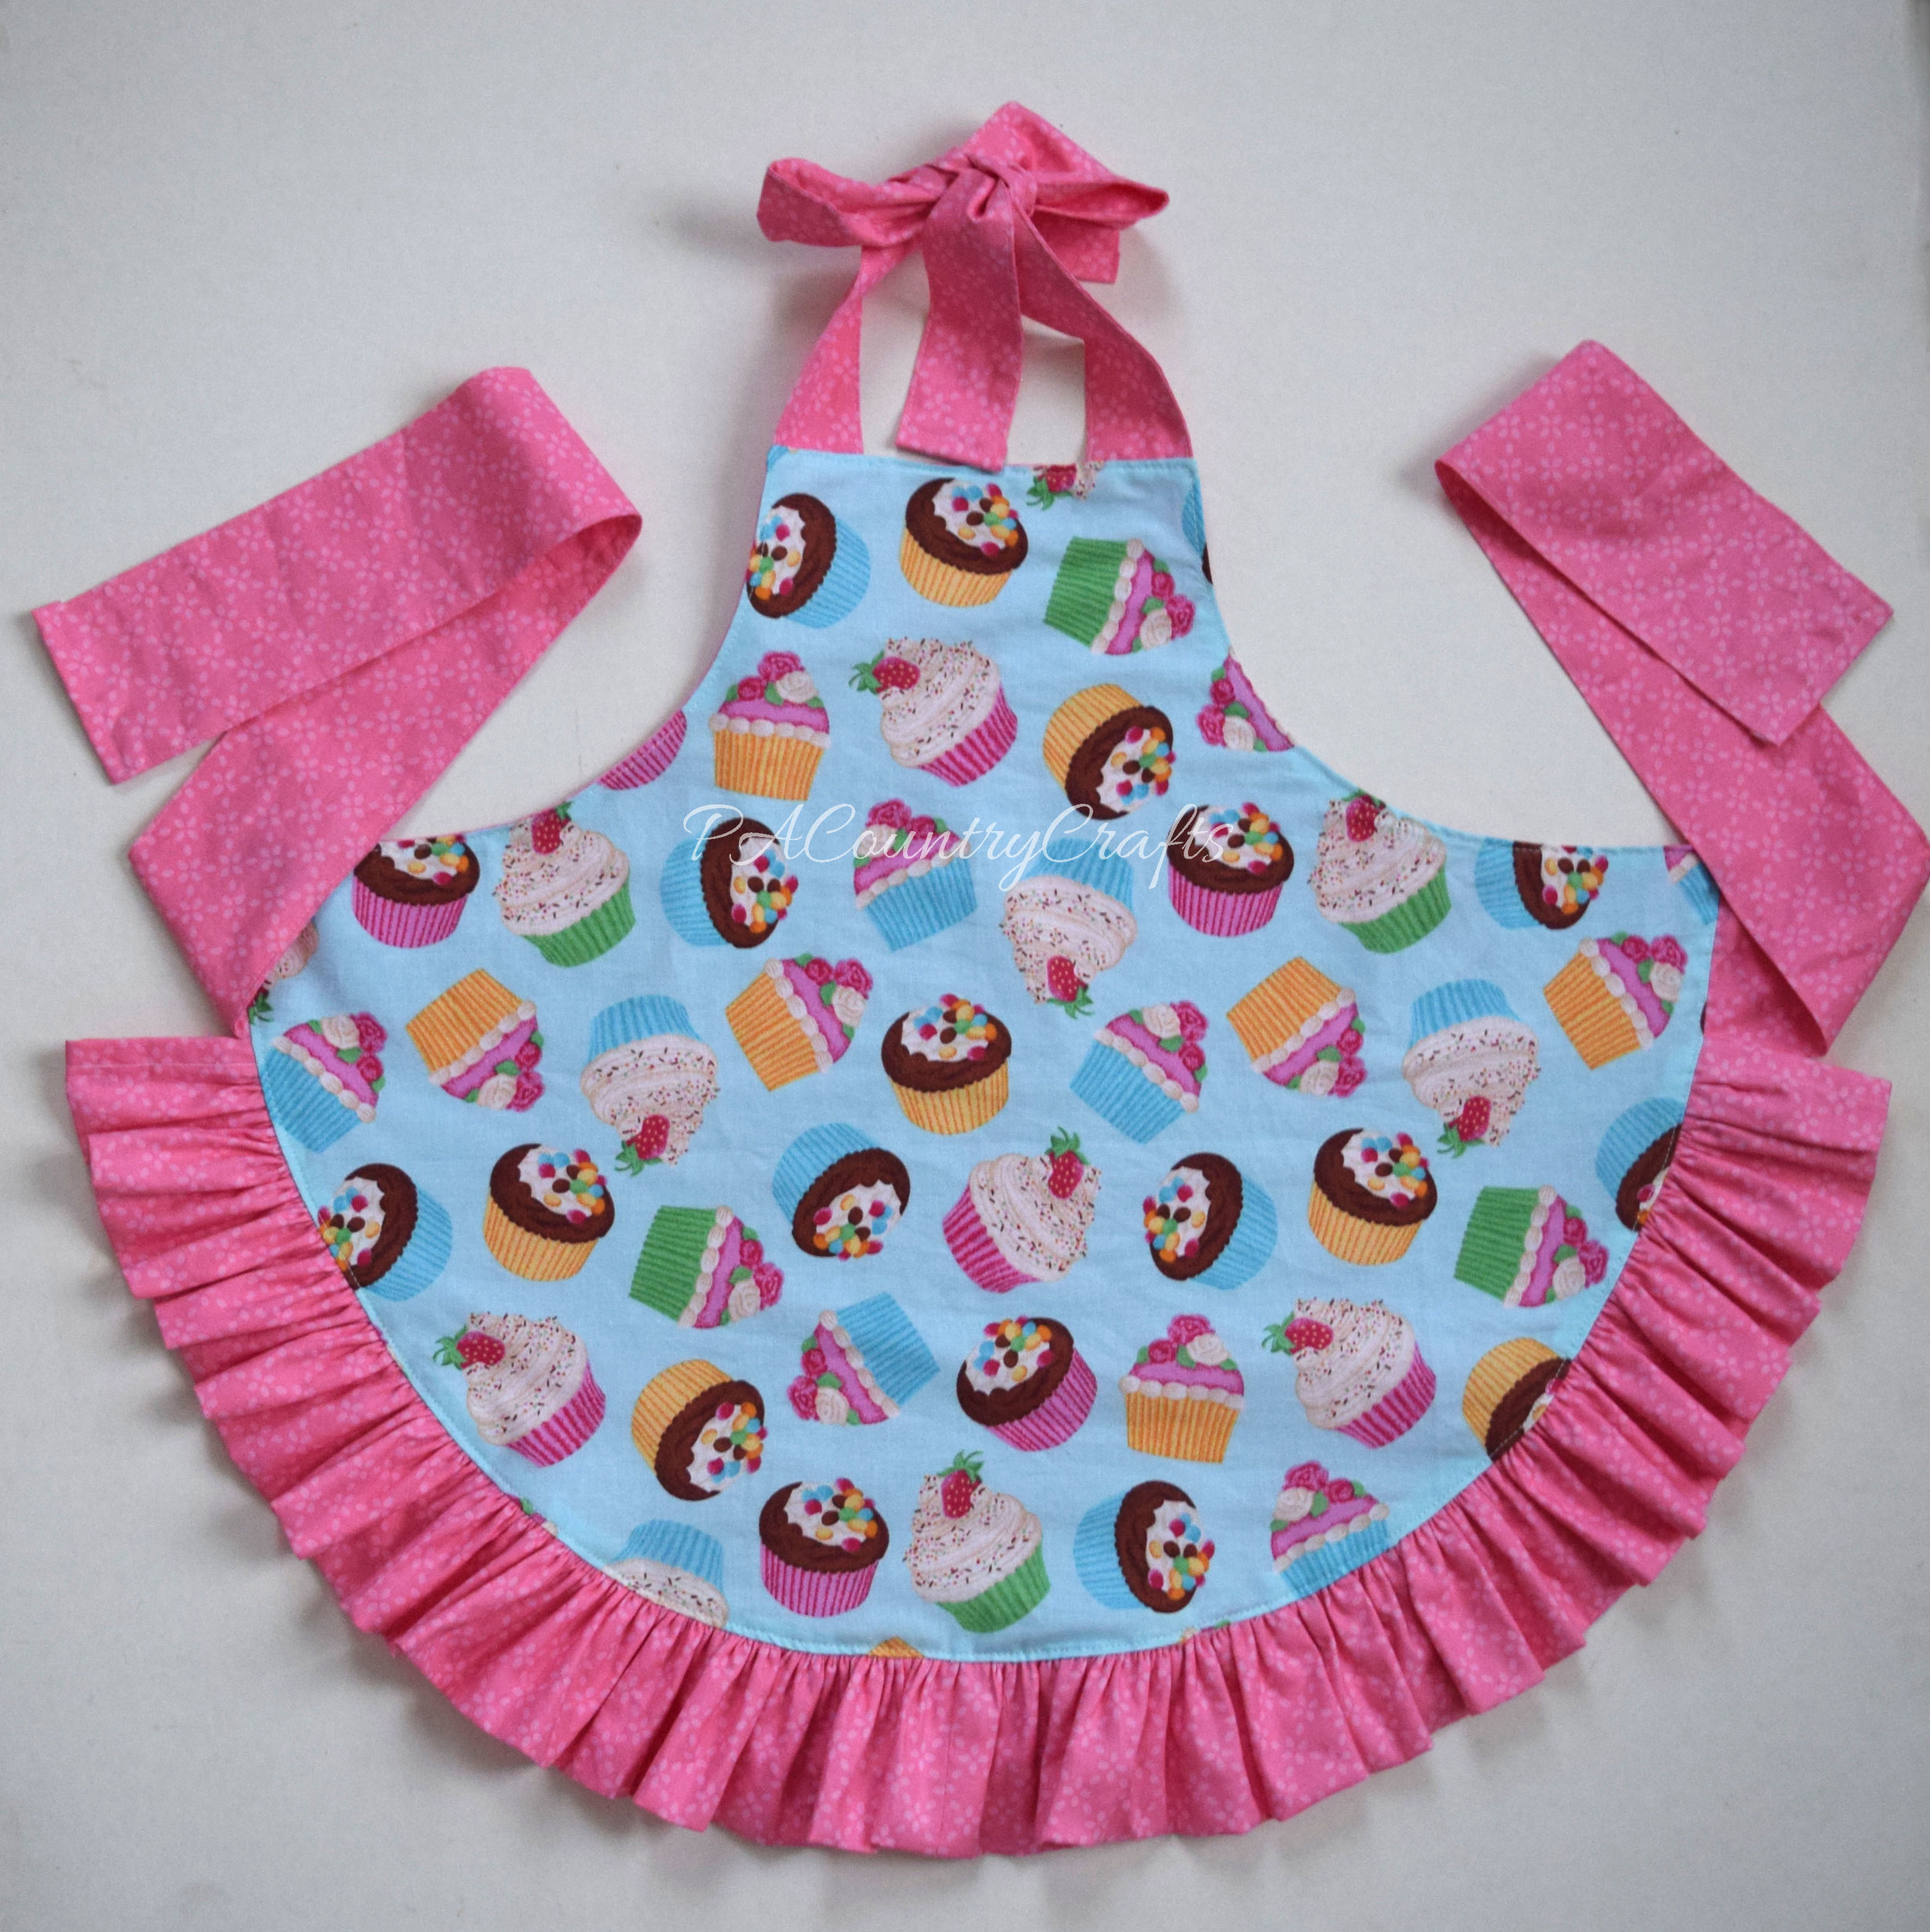
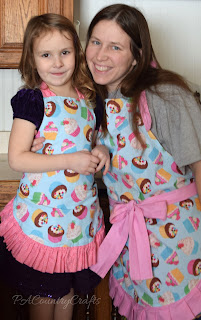
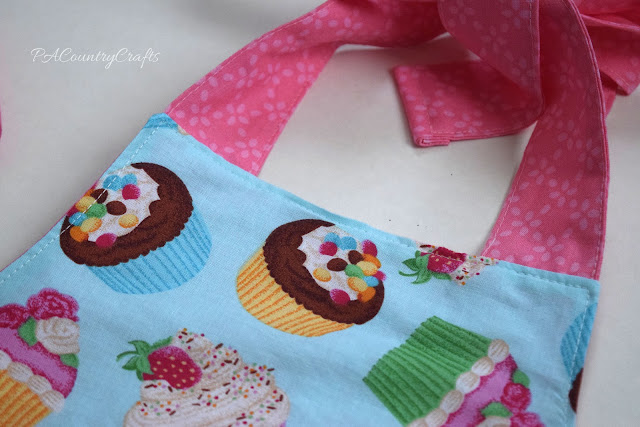
My 4yo has been not so patiently waiting for her new apron. Previously, she used a hand me down one from her sister, but it was getting pretty small. She wanted to match my cupcake apron, but I let her choose the fabric for the back, ruffle, and ties.
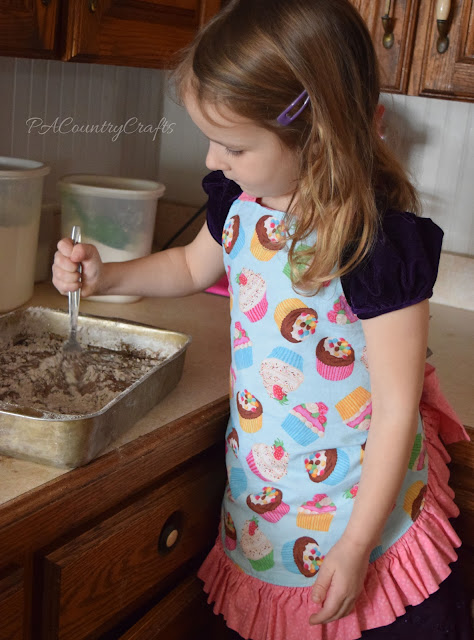
She LOVES to bake with me. Especially cookies or anything with sprinkles. And now we can match.
I took pictures as I was making this apron, so I am throwing together a little tutorial.
You can adjust the size of the main apron piece as needed. I have a smaller one that my 7yo is quickly outgrowing, so I made this one a little bigger. It fits my 4yo (who is tall for her age) with room to grow. I made a digital pattern and it requires 4 pages. Print them out (check the "actual size" box), tape them together (left to right, top to bottom in numbered order), and cut it out. It is available HERE.
As for fabric requirements, you will need 2 yards total- a half yard for the front, a half yard for the back, and a yard for the ties and ruffles (with some to spare).
Now, I learned to quilt before I sewed anything wearable, so I do a lot of cutting things in strips with the rotary cutter from fabric off the bolt. That is usually about 44" or so. The fabric should be folded with the selvage edges together.
Cut out your pieces as listed below.
Ruffle: Cut 2 strips 6 1/2" x width of fabric (WOF)
Waist Ties: Cut 1 strip 6 1/2" x WOF
Neck Ties: Cut 1 strip 4" x WOF
Front and Back: Cut 1 of each from pattern pieces- available HERE.

I started with the ruffle. Sew one edge of each piece together on the short ends to make one long strip.

Hem the short ends of the ruffle pieces. I just folded it under twice and stitched it down.

Press the long ends together so that there is a nice fold on the bottom edge of the ruffle.
Sew two long gathering stitches and pull the bobbin threads to gather the ruffle. Pin it to the bottom of the apron, making sure the seam where the two pieces were joined is in the middle. Also, start 3 1/2" from the edge on each side to leave room for the waist ties and seam allowances.
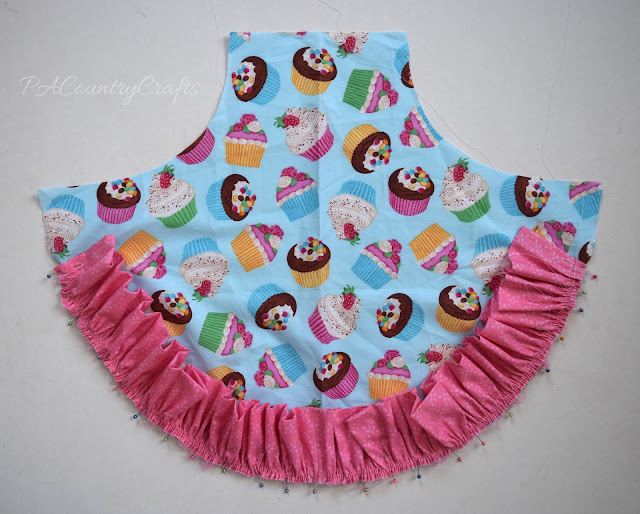
Baste the ruffle to the apron. It just makes it easier to work with later.
Now... for the ties...
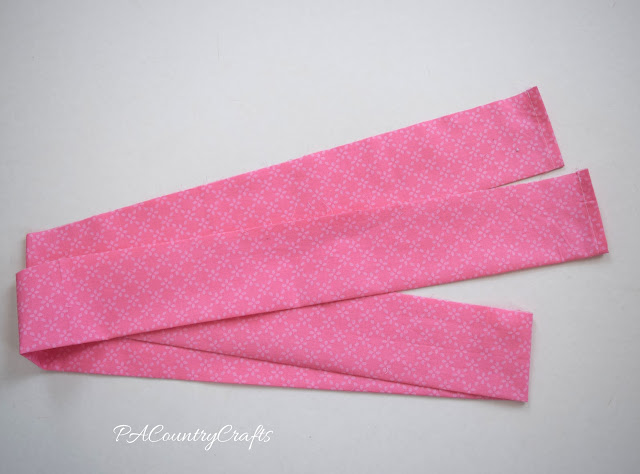
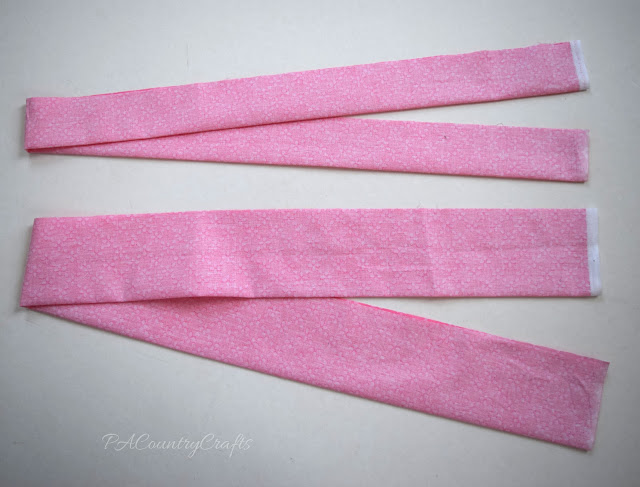
Fold each strip in half lengthwise with the right sides facing in. Stitch 1/4" from the edge on each piece to make long tubes.
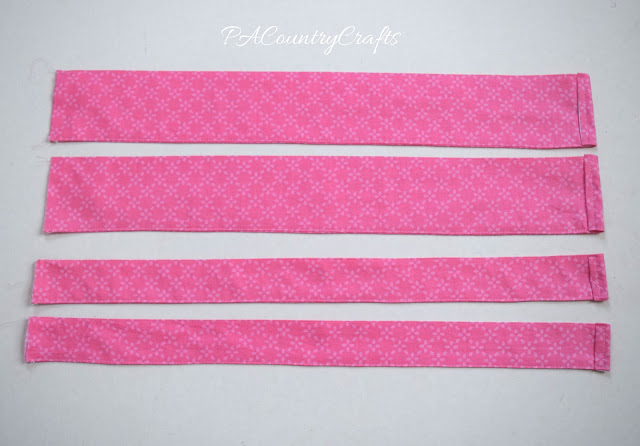
Cut each piece in half, flip right sides out, and press well. Top stitch 1/8" from the edge all the way around each tie, hemming one end by folding it under twice before stitching. When I topstitch, I usually increase my stitch length a bit (to a 3).
Pin the ties in place on the main apron piece, paying attention to the hemmed ends to make sure they will face the same way. Leave 1/4" seam allowance between the tie and the edge of the apron at the corners.
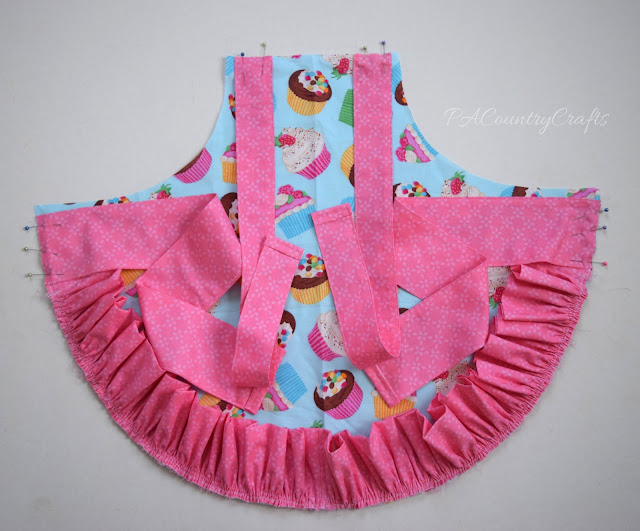
Pin the back of the apron to the front of the apron, sandwiching the ruffle and ties. Be careful to make sure the waist ties are folded down so that you don't catch the edge when sewing the waist area of the apron.

Sew all the way around the edge of the apron, leaving an opening at the top between the neck ties. Also, stitch over the ties several times to make sure they are held in place really well. Use the opening to flip the apron right side out. Press it really well. Finally, topstitch 1/8" from the edge all the way around the apron. This will also close the opening at the top that you used to turn it right side out.
That is it! A pretty, ruffly apron!

Now, some things I have done differently on other aprons...
~you can make the ruffle extend all the way to the corner and put the waist ties under it if you prefer
~pockets can be added to the main body piece which is also nice if girls want to play restaurant and have a pocket to put their order tablet in ;)
~interfacing can be added to the waist ties to make them a little sturdier
~the waist ties can me made twice as long so that they wrap around and tie in a bow at the front
~the back can be made of a more contrasting fabric so that it is clearly reversible
~the ruffles and ties can be made of contrasting fabrics
~pleats instead of ruffles can be made along the bottom
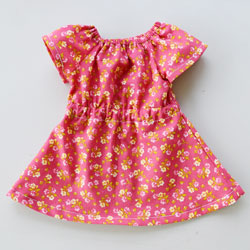
UPDATE- There is a matching doll version available HERE!