DIY Fabric Bow ~ Pattern and Tutorial
/
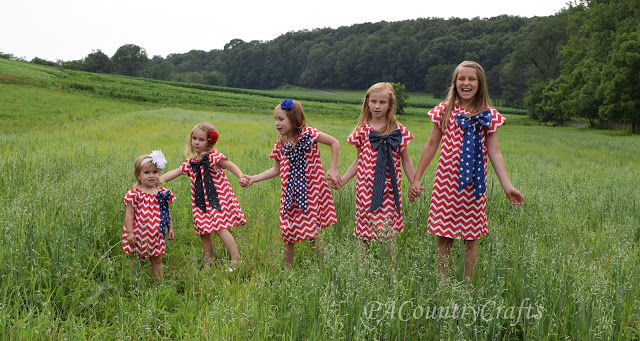
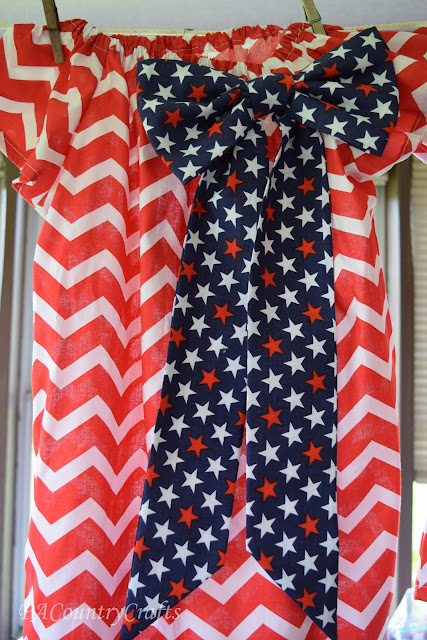
I made THESE cute patriotic peasant dresses for my five girls before Independence Day. The dress is made of red and white chevron quilting cotton. The bows are detachable, making it a multi-holiday dress, if they so desire. It took me awhile to figure out how I wanted to make the bows but eventually I came up with a way to make them that is simple and holds a nice shape. I thought I would share a tutorial today showing how I made them.
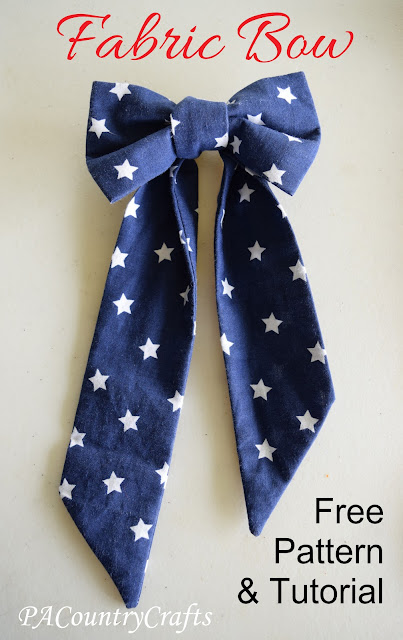
They can be made in any cotton fabric and added to any project, so it is a super versatile thing. I made 3 different sizes, too. The small one would even work with a small loop instead of a long tie to make a hair bow or adapt it to make a bow tie!
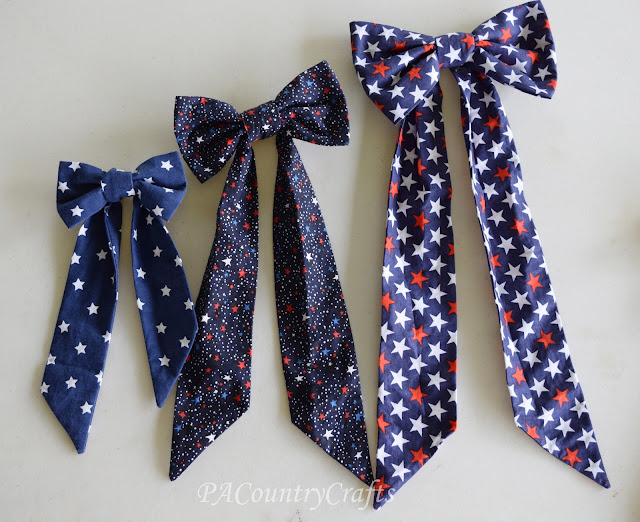
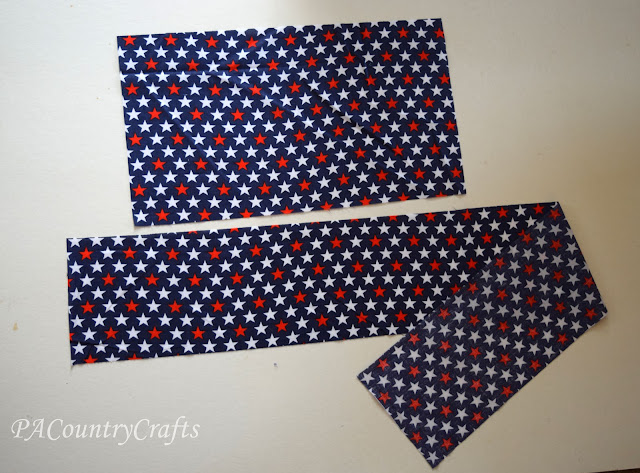
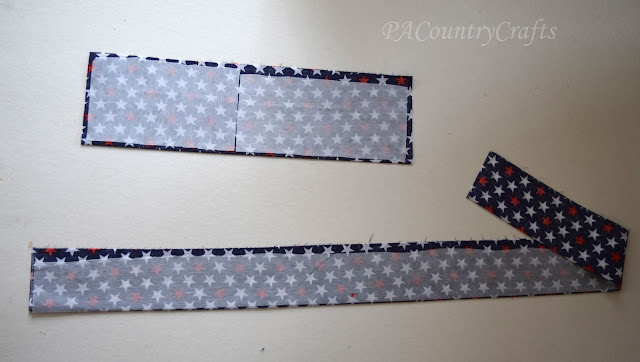
For a large bow, cut one piece of fabric 10" x 18 1/2" and another piece 6 1/2" x 42".
For a medium bow, cut one piece 8" x 14 1/2" and another 6" x 35".
For a small bow, cut one piece 6" x 10 1/2" and another 4 1/2" x 24".
I am showing you how to make it using pieces for a large bow.
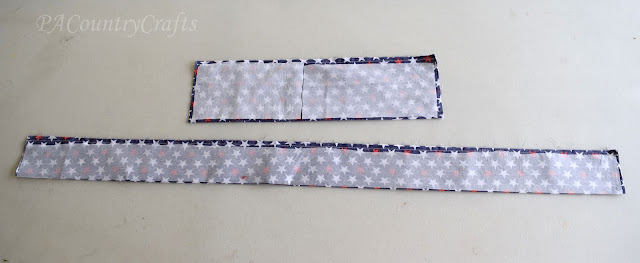
Fold both pieces in half lengthwise, right sides in, and press with an iron.

Interface one side of each piece from the fold to about 1/4" from the edge. This is what helps them keep a nice, crisp shape that doesn’t wrinkle.
Sew the long sides together.
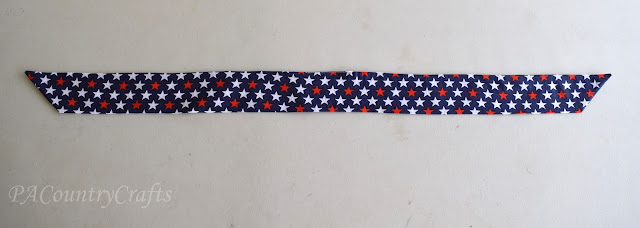
Now, lets just work on the tie section. Sew a diagonal line on each end as shown.
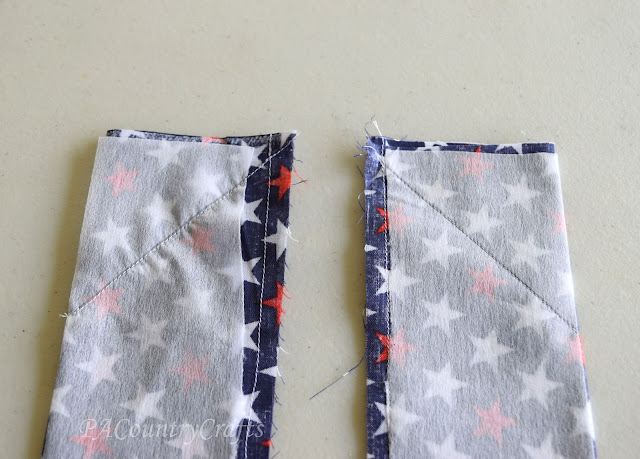
Trim 1/4" or so from the diagonal line and narrow it in a bit at the corners.

Seam rip a section in the center of the tie - about 1 1/2" to 2" should work.
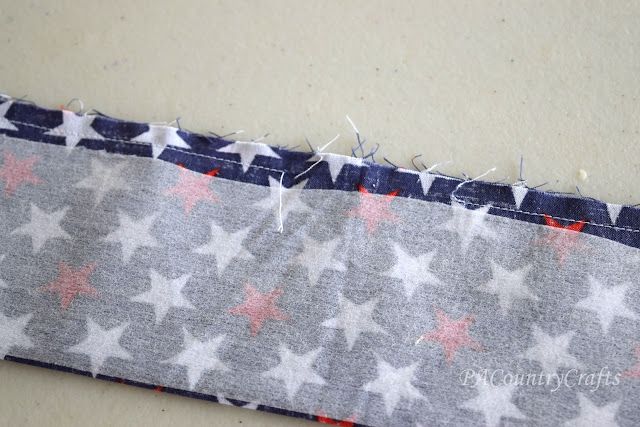
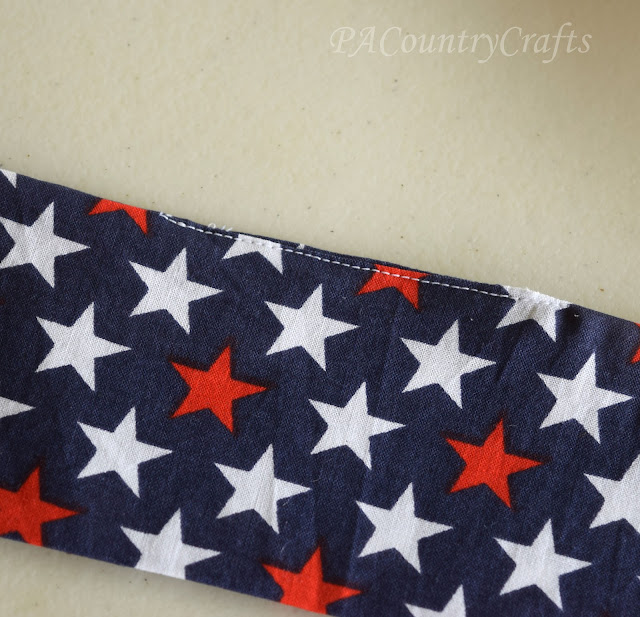
Flip the tie right side out using the opening you just made. Make sure to push the points out really well. Press and starch the tie.
Sew the opening closed. It is OK if you see the stitches. That will be hidden later.
Now, for the bow part...
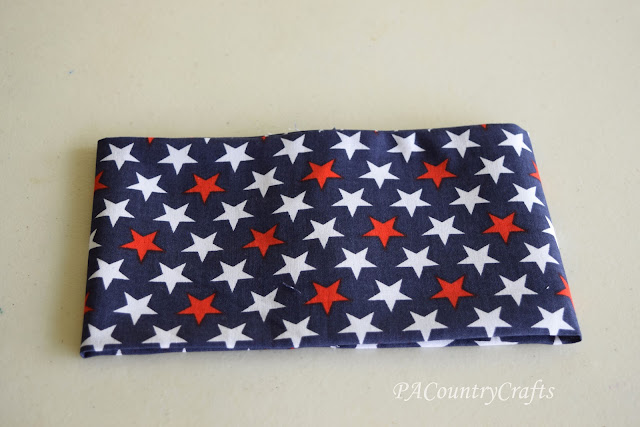
Flip the bow tube right side out. Press and starch.
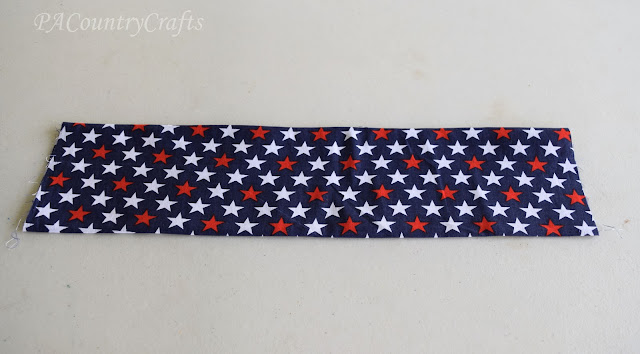
Fold it in half and sew about 3/8" to 1/2" from the raw edges.
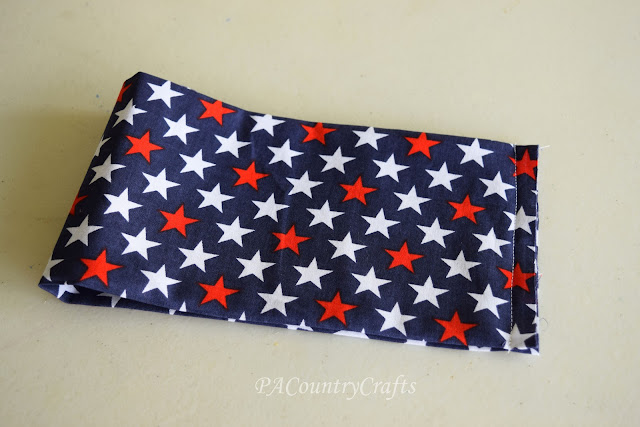
Flip the seam to the inside center of the tube and press open.

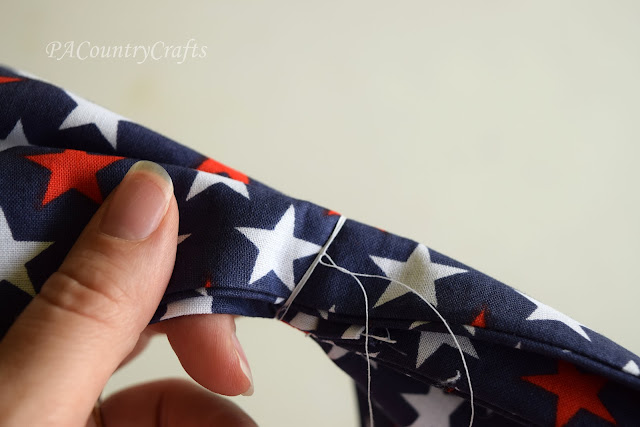
Fold the bow like and accordion and pinch it together. It may take some fiddling to get it just right.

Loosely wrap some thread around the center and tie the ends to hold it in place.
Now, to put it all together...
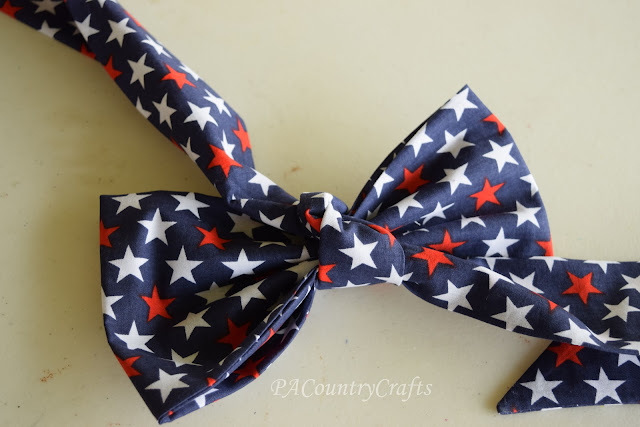
Take your tie and fold it in half at the center. The side with the stitching will go against front of the bow. (The bow is laying with the back facing up in this picture.)

Tie it around the bow.
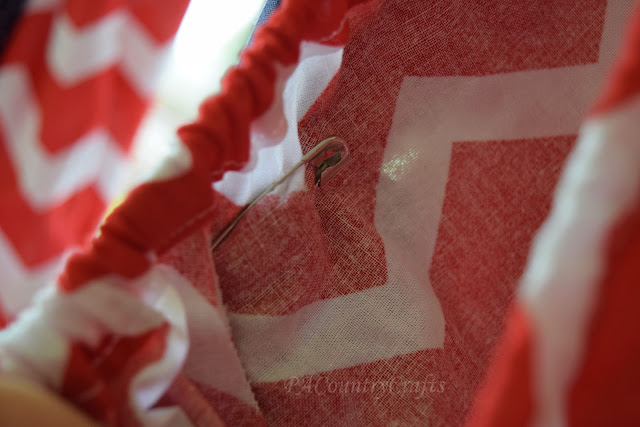
Then, carefully arrange the bow and pin it to the dress. I pinned them at the shoulder. If it is for a baby, you might want to stitch it down and avoid the choking hazard
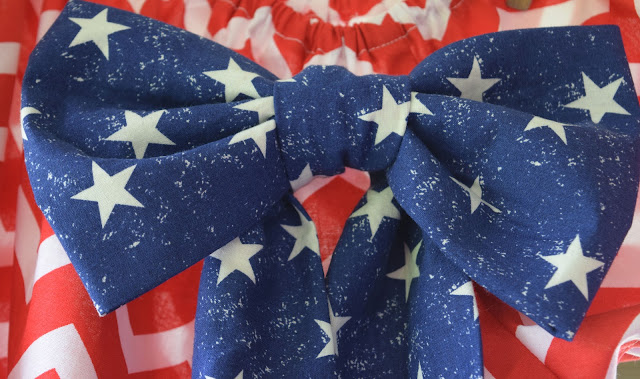
Pretty! I like that the bow is neater and holds it shape better than one made of one continuous piece of fabric. All the extra interfacing, ironing, and starching made them very crisp. My daughters have also tied them onto hair elastics and worn them in their hair for special events at school.

Here are some more tutorials you might like: