All-American Dress Tutorial
/
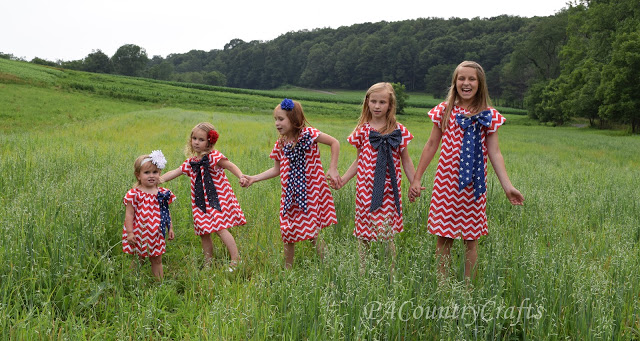
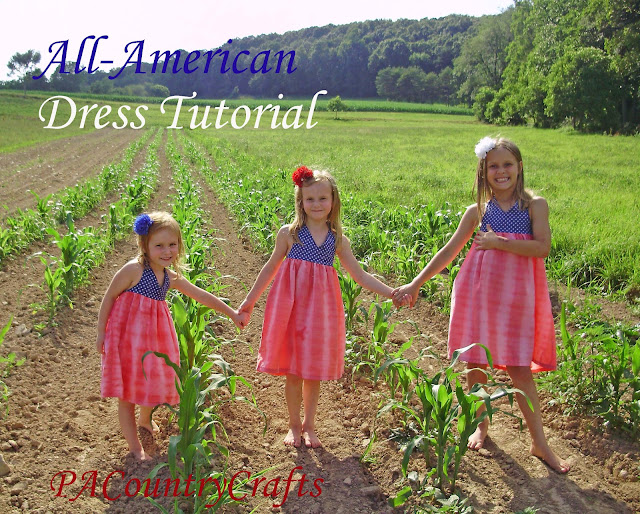
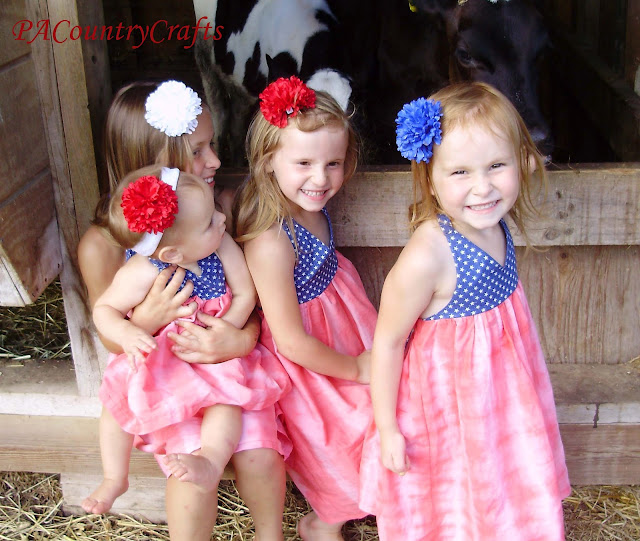
Just for fun, I decided to make dresses for all four of my girls for Independence Day.
I designed this high waisted halter style and it was sooooo easy to make! Really!!

OK... here goes a little tutorial.
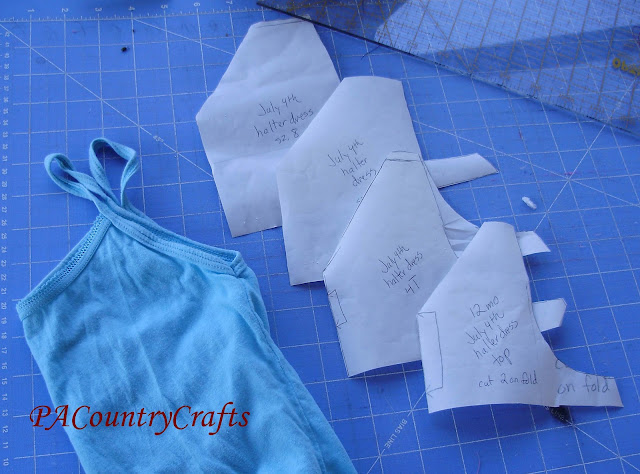
I make my bodice patterns by tracing shirts that already fit the child well and adding seam allowances. For this one, I also made a V-neck and a high waist- only about 3/4" below the armpit.
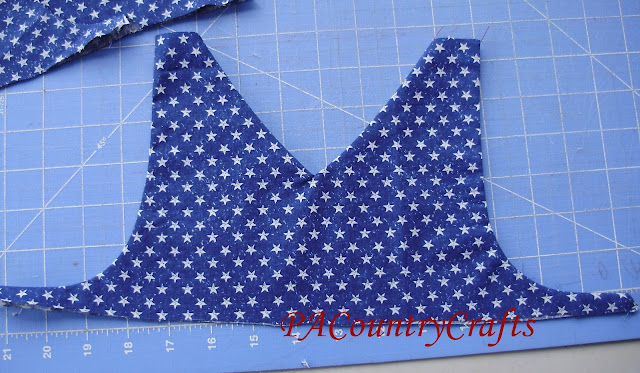
Cut two of them out, sew the right sides together, clip the curves, and notch the V-neck.
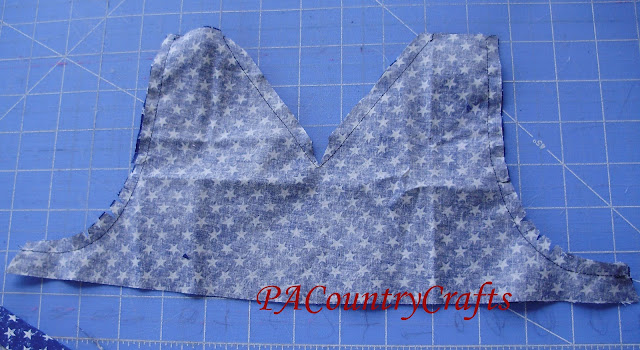
Then just flip and press. Top done. Easy!
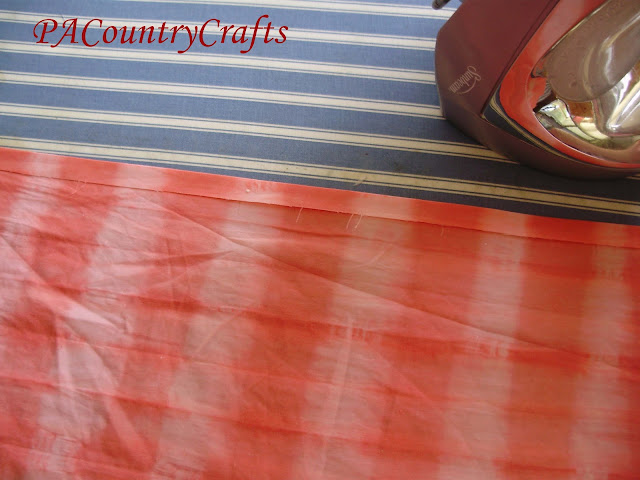
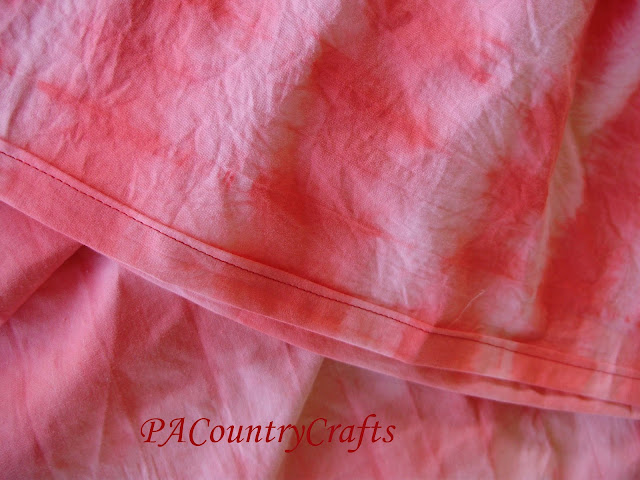
I am about to get a little sidetracked here... bear with me. Originally I was hoping to put a bigger dent in my patriotic fabric stash from 10 years ago, but
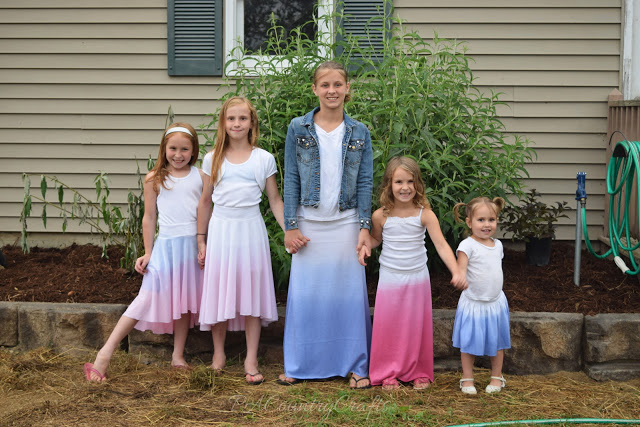
I couldn't find fabric that I liked for the bottom- plus I am cheap- so I tie-dyed a plain, white, flat sheet. I used Rit Dye and a lot of the red washed out. :( I mixed more dye and brushed concentrated dye on using a foam brush. That helped, but most of that washed out as well and made my whites more pink. I decided to call it the "faded" look. I have pictures of this process, but I will spare you since I have just wasted a whole paragraph talking about it already.
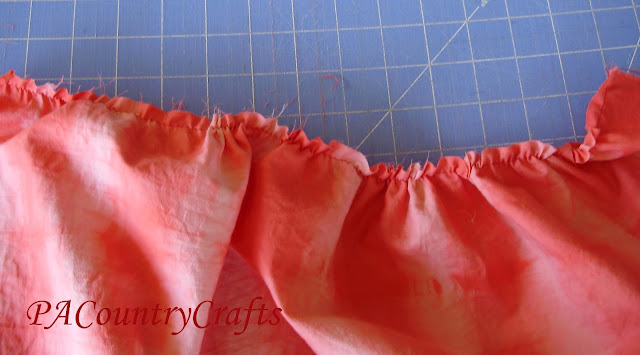
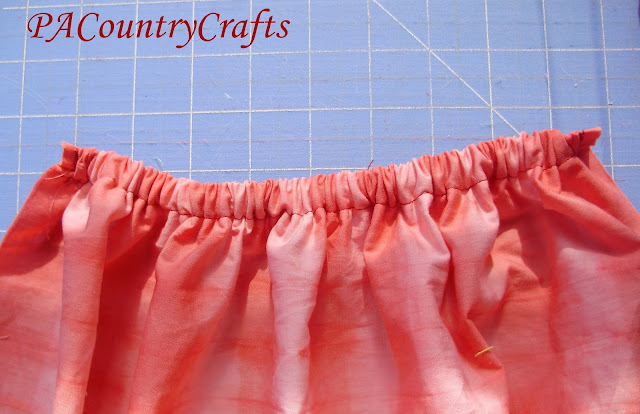
Back to the sewing part now... For the skirt part- take the measurement of the bottom edge of your top and double it- that is your width. Then, measure about how long you want the dress to be and add 3-4"- that is your length. Cut two of those (front and back). Sew a gathering stitch along the top edge of your front piece.
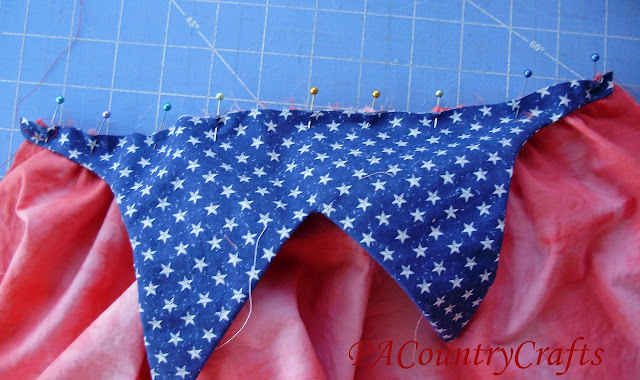
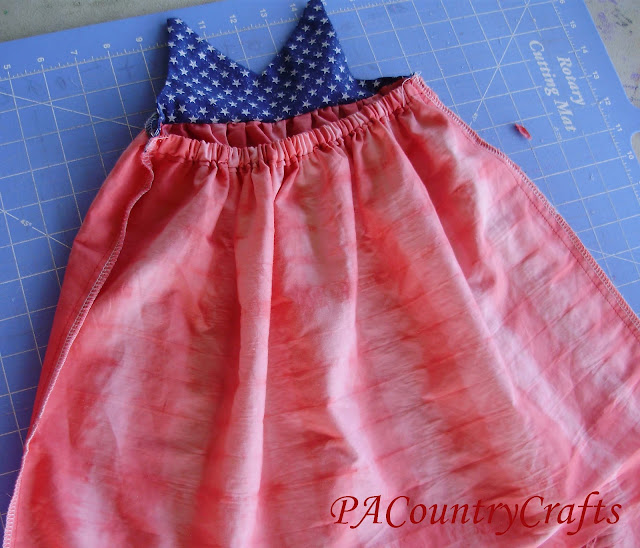
Pin right sides together with the bottom edge of the dress top.
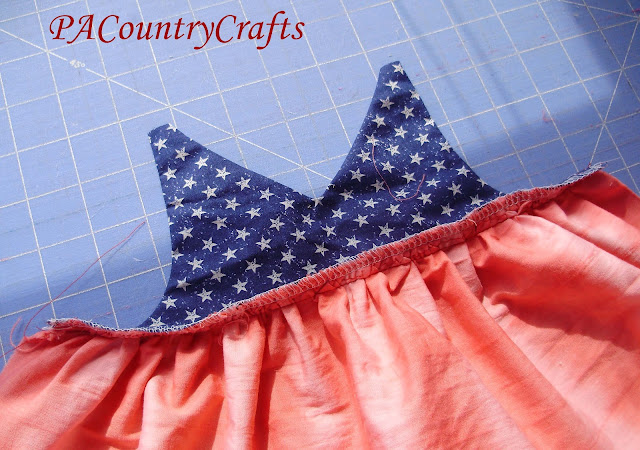
Sew and zigzag or overlock. Front done- see how easy this is?
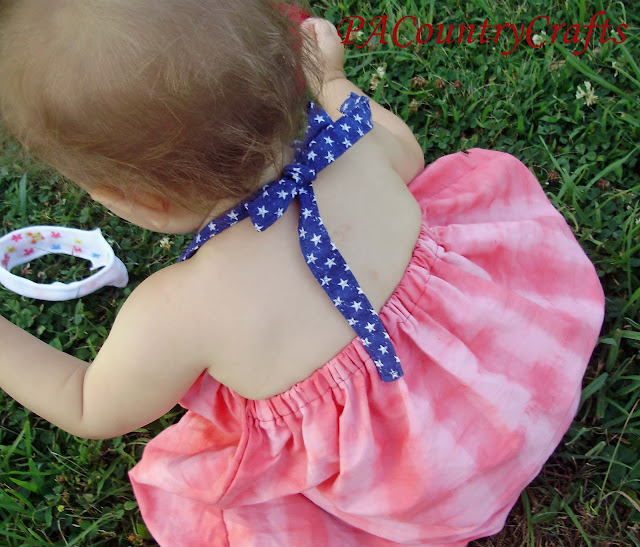
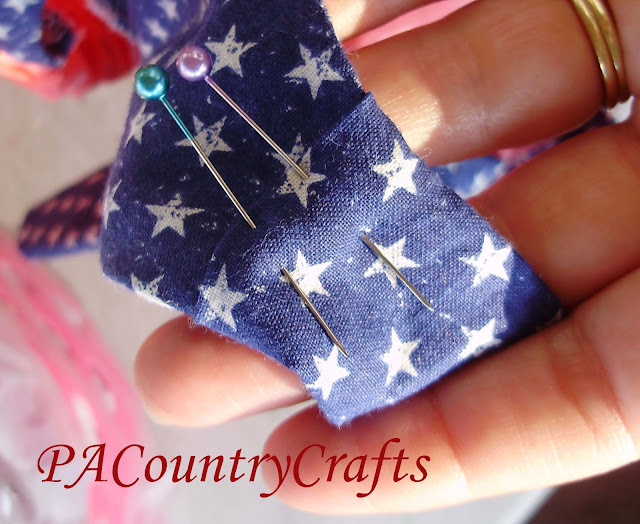
Now for the back... Press the top edge in 1/4"...
Then press under again and sew a casing that is a little wider than your elastic.

Cut a piece of elastic a little smaller than half of the chest measurment. Push it into the casing and zigzag over it several times to hold it in place.
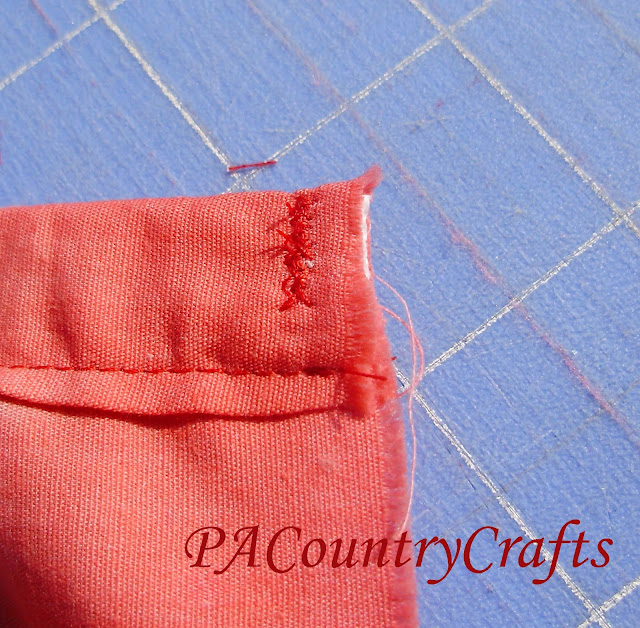
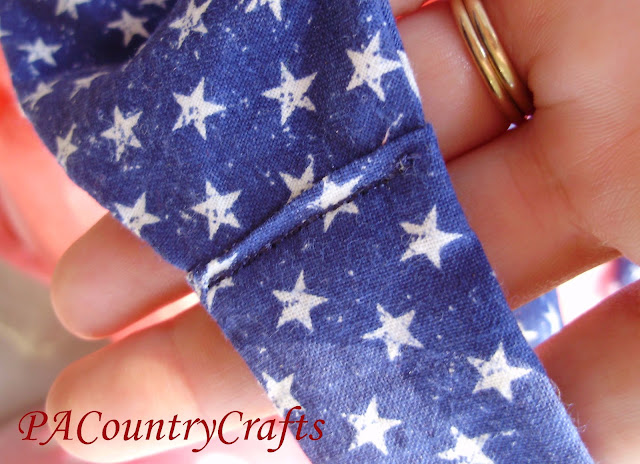
Do the same on the other side so that your back looks like this:
Sew the sides of the dress together and zig zag or overlock the edges.
Almost done! Now for the straps... go back to the top of the dress and measure the width of the shoulder 1/4" below the top edge. Double that and add 1/2" seam allowance. For example, the smallest dress measured 3/4" at the shoulders, so I doubled that to 1 1/2" and added 1/2" to make 2". Then just cut two straps the width you just figured out by whatever length you want. Sew the long edges together with the right side facing inward.
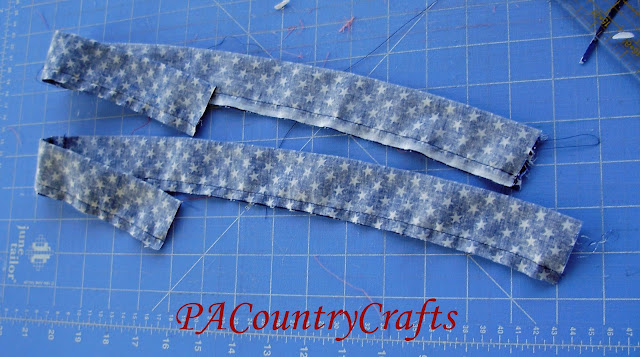
Flip and press the straps. Turn the bottom edge in about 1/4" or more and slide it over the shoulder of the halter top.
Sew it in place really well- I went over it several times to make it stronger. This is the hardest part to sew- be careful that it doesn't slide around as you are sewing and that the edges match up.
Topstitch close to the edge around the entire top- from one armpit, all the way up and around the straps on both sides, and back around to the other armpit. Take your time and try to keep a nice, even line.

Finally, hem the dress! It will be uneven because the casing in the back makes it shorter than the front. Just trim off the excess and even things up.
See? It wasn't hard. I whipped up all four of them in no time. :) I even had time to make flower hair clips to match.
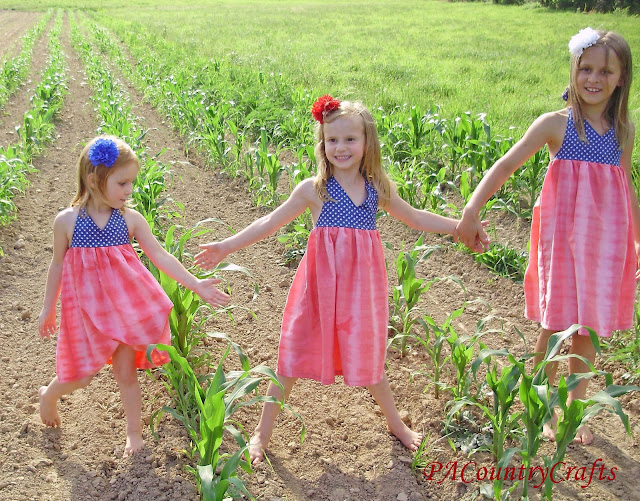
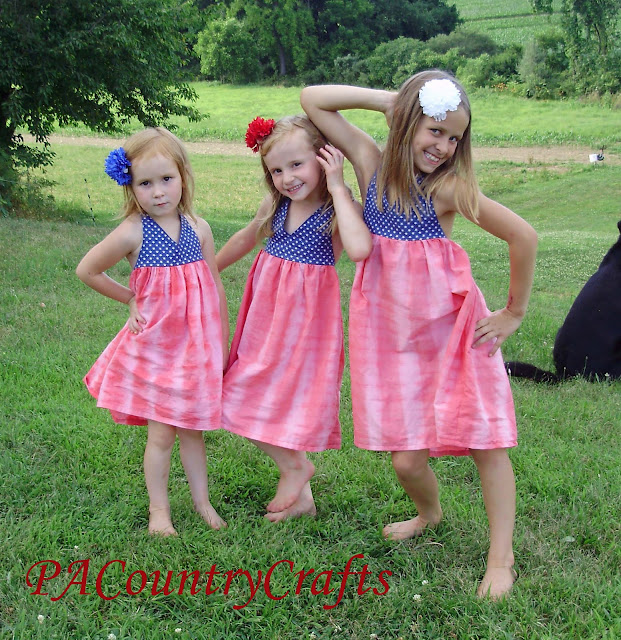

Happy Independence Day!